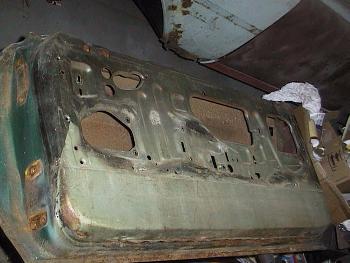
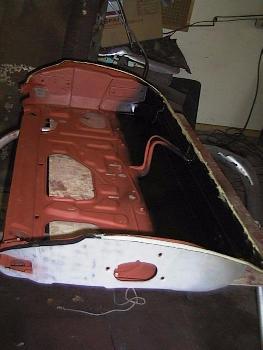
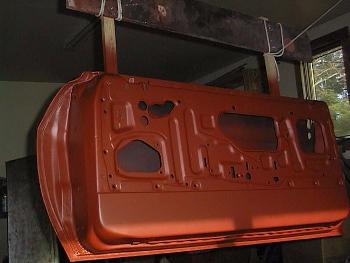
 The passenger's door at one time had received a lot of damage at some point, which was repaired with lots of filler.
The inside was fine so I decided to put a new skin on it. Here is a picture of the inside. Notice the color of the
bottom portion ? Ford had painted the bottom of the doors this color to match the interior. I compared the color to the
1969 Mustang paint chip set that I have. It matched the Lime Gold paint chip really well.
The passenger's door at one time had received a lot of damage at some point, which was repaired with lots of filler.
The inside was fine so I decided to put a new skin on it. Here is a picture of the inside. Notice the color of the
bottom portion ? Ford had painted the bottom of the doors this color to match the interior. I compared the color to the
1969 Mustang paint chip set that I have. It matched the Lime Gold paint chip really well.
|
|
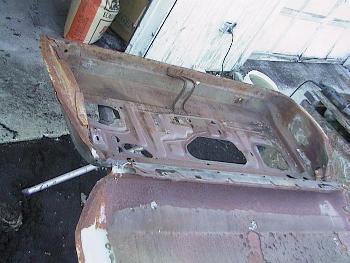 Removing the skin was pretty easy. I took a grinder and ground all the way around the perimeter were the skin was folded
over. I popped the two spot welds that were located on the inside at the top on each end with a chisel. I then took a torch and melted
off the braze at the tops that the factory originally used to tack the skin in place.
Removing the skin was pretty easy. I took a grinder and ground all the way around the perimeter were the skin was folded
over. I popped the two spot welds that were located on the inside at the top on each end with a chisel. I then took a torch and melted
off the braze at the tops that the factory originally used to tack the skin in place.
|
|
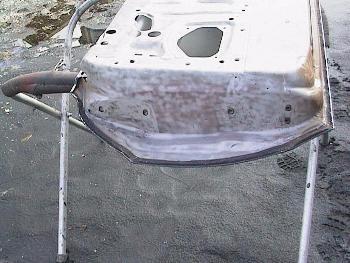
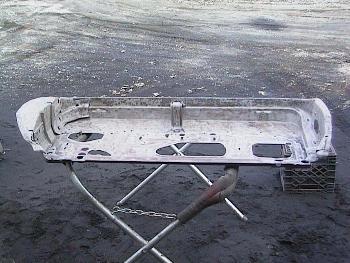 I then sandblasted both sides of the frame. A couple of very minor pin holes were uncoverd by sandblasting, but they were easily
fixed by drilling them out and filling them with the mig welder.
I then sandblasted both sides of the frame. A couple of very minor pin holes were uncoverd by sandblasting, but they were easily
fixed by drilling them out and filling them with the mig welder.
|
|
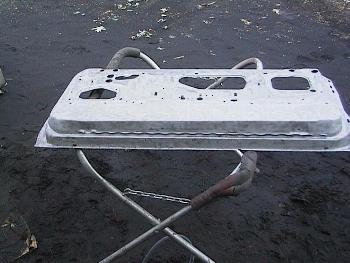
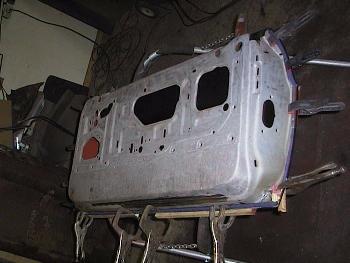
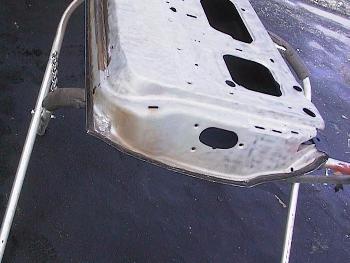
 I then primed the inside of the door frame. When the primer dried, I undercoated the bottom portion where water would most likely
come in contact with the frame. I thin applied a bead of seamsealer (white in this picture) all the way around the lip of the door
where the skin will make contact. Note: I masked off this area when applying undercoat to keep if off the lip. The seamsealer needs to
adhere to the primed metal.
I then primed the inside of the door frame. When the primer dried, I undercoated the bottom portion where water would most likely
come in contact with the frame. I thin applied a bead of seamsealer (white in this picture) all the way around the lip of the door
where the skin will make contact. Note: I masked off this area when applying undercoat to keep if off the lip. The seamsealer needs to
adhere to the primed metal.
|
|
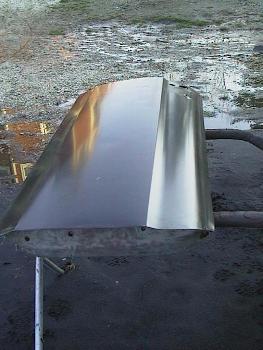
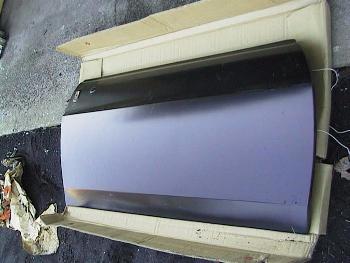 Here's the skin that I got from Matt at Ponderosa Mustang. The quality of the skin
was real good. Before attaching it to the door I masked off the perimeter of the underside and undercoated it.
Here's the skin that I got from Matt at Ponderosa Mustang. The quality of the skin
was real good. Before attaching it to the door I masked off the perimeter of the underside and undercoated it.
|
|
 With the seamsealer freshly applied to the frame I set the skin in place and clamped it down. When the skin was clamped down the excess
seamsealer squeezed out along the inside. This helps to form a water-tight seal. After the car is painted the inside of the door will
receive some more undercoat as added protection.
With the seamsealer freshly applied to the frame I set the skin in place and clamped it down. When the skin was clamped down the excess
seamsealer squeezed out along the inside. This helps to form a water-tight seal. After the car is painted the inside of the door will
receive some more undercoat as added protection.
|
|
 After the seamsealer had set, about 20 minutes, I folded the seam around using special plyers and a hammer and dolly.
|
|
 I then brazed the skin at the top like the factory originally did and welded the inside where the original was spot welded.
|
|
 Here's the skin fully installed. A few minor imperfections (mistakes), were fixed with a little filler.
|
|
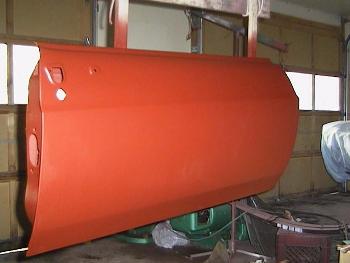 I hung the door from the garage ceiling and primed both sides at the same time.
|
|
 I think the door came out really good.
|