|
So I had battery issues with my camera during the rebuilding of the K-frame, so I have no standalone pictures of the frame after it was put together. The best I can offer here is some pictures of some of the
items attached to it getting restored and some pictures of the engine/trans installed on it. So let's start at the beginning...... |

 |
|
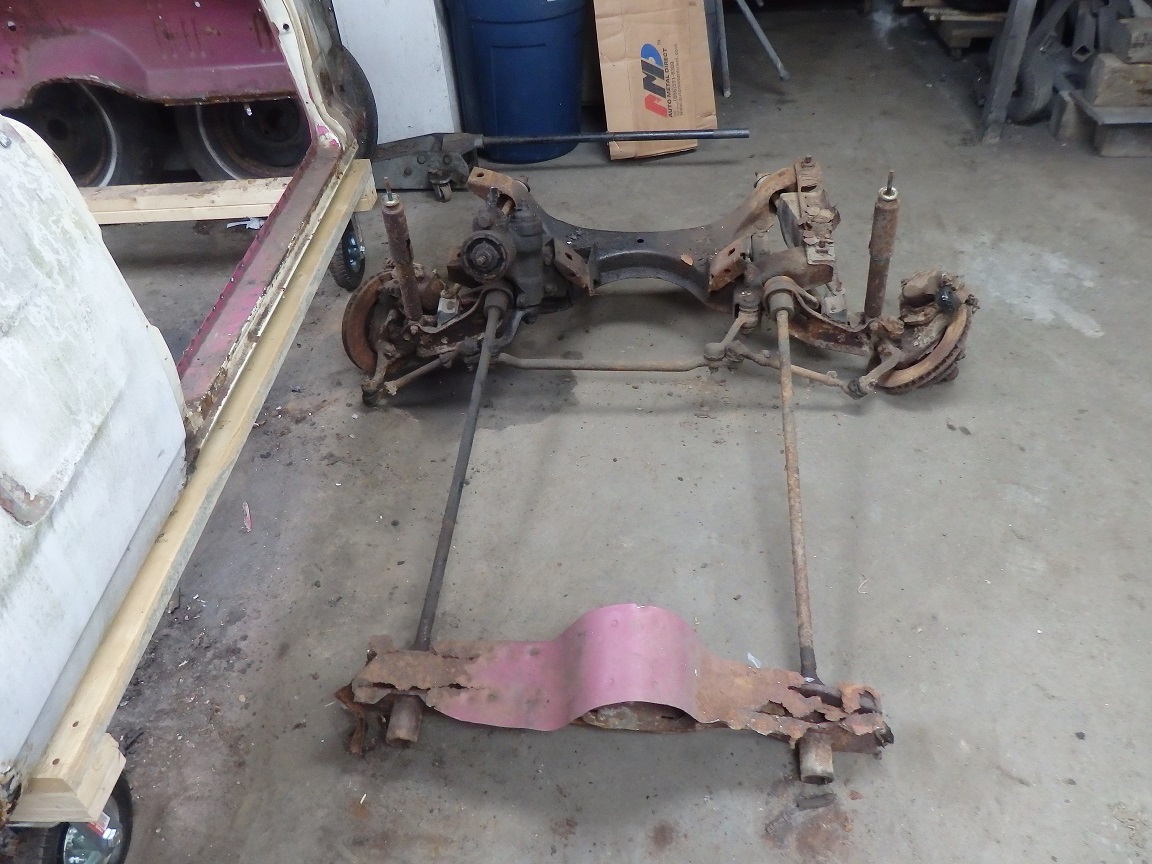
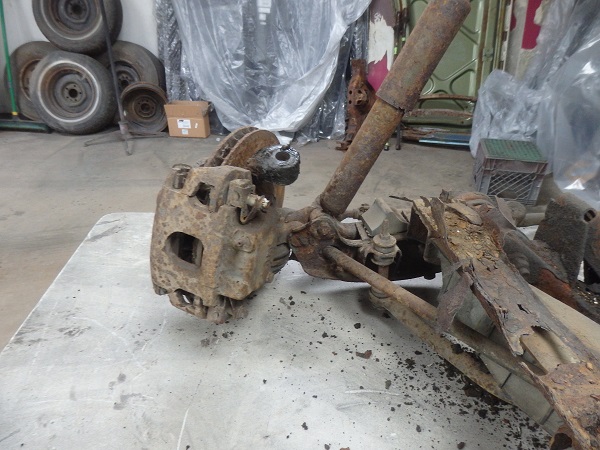
I actually had to cut the K-frame out of the car. The frame rails where so bad that it was a pretty easy thing to do. You can actually see pieces of the frame rails
atthached to the K-frame. You can tell that the car sat on the ground for quite while by looking at how rusty the lower control arms and rotors were. Too bad to actually save. |
|
|
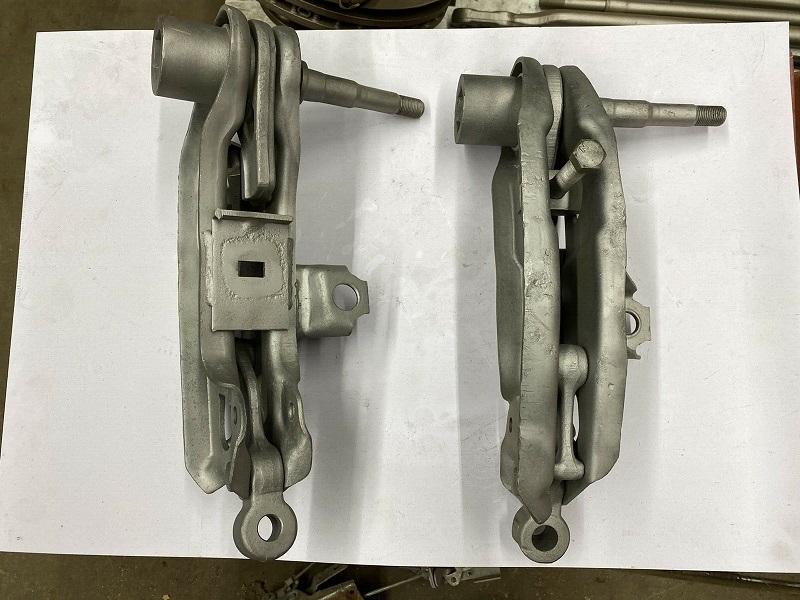
I got a really good used set of lower control arms off ebay. I think I paid $250 for them. You can tell these are for a 1970 by the location of the swaybar brackets. |
|
|
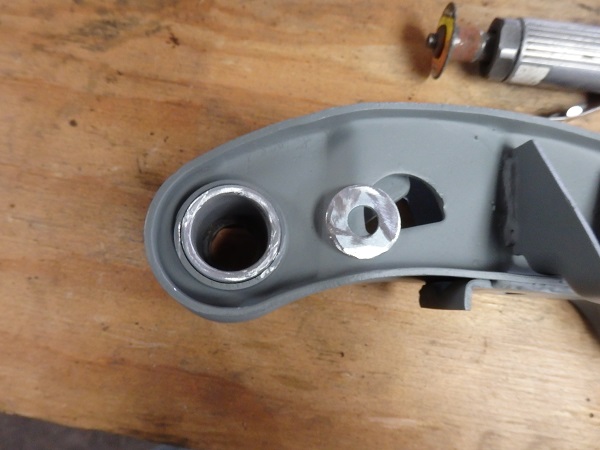
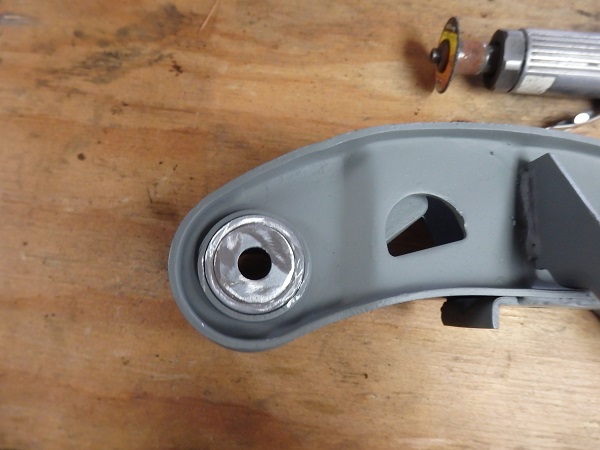
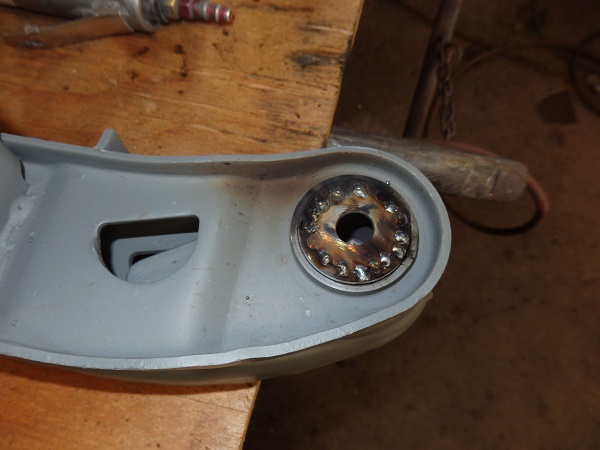
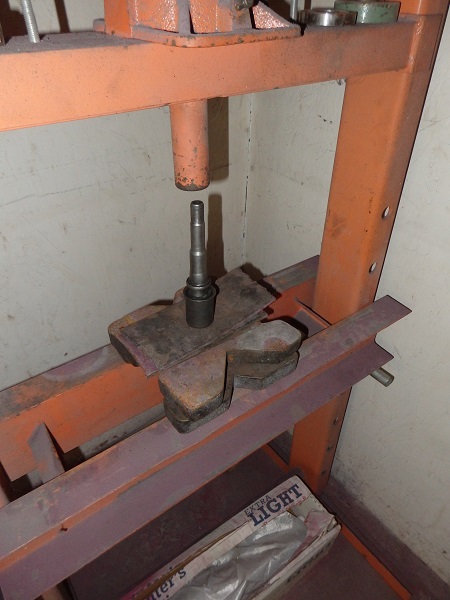
I sandblasted and epoxy primed the lower control arms before I removed the lower control arm bushing outer shells out. You can cut then out, chisel then out or remove them like I did, which
is to weld a washer to the face of the shell and press them out. |

|
|
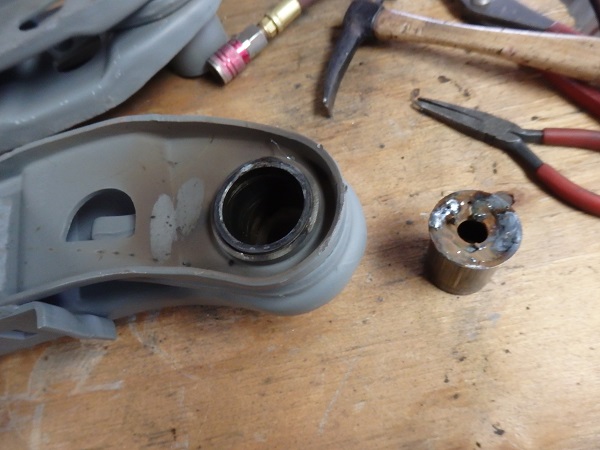
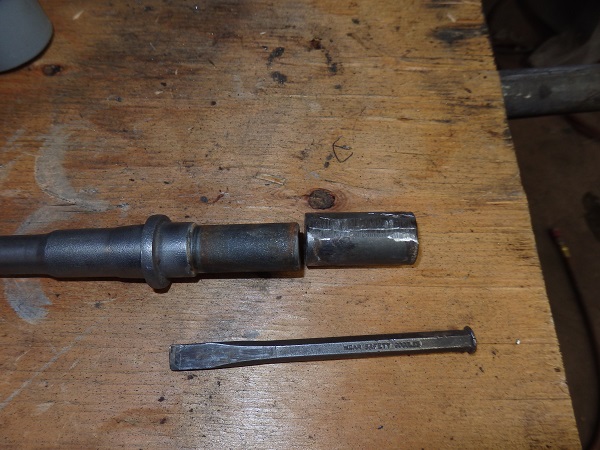
The inner sleeves of the lower control arm bushings are pretty easy to remove. You grind down an edge and wack them with a flat chisel. It deforms them enough so they just drop off. Before pressing on the new lower control arm bushings, I treated the pivot pins with RPM Magic so that they retain there original natural finish. You press the bushings onto the pin, then you press the pivot pin with the bushing installed into the lower control arm. |
|
|
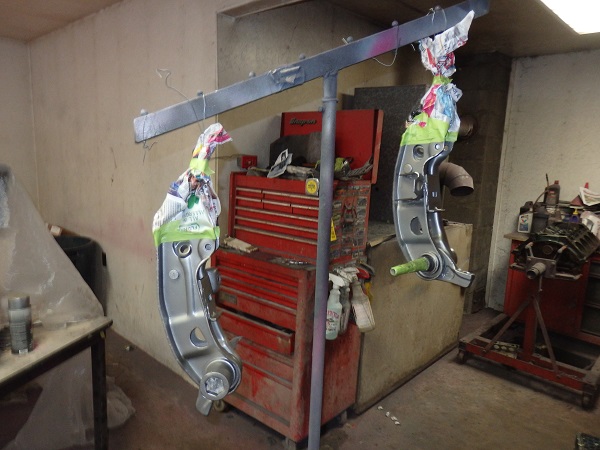
When the lower control arms were made they were bare steel and where almost completely dipped in cosmoline. I replicated the look by first painting them with Seymour Stainless Steel paint and then
after letting the paint cure for days, I painted them with quosmiline, which is a paint designed to mimick cosmoline sold by Resto Rick. I tried to replicate the runs the factory left by the dipping
them in cosmoline. It might be a tad over done. |
|
|
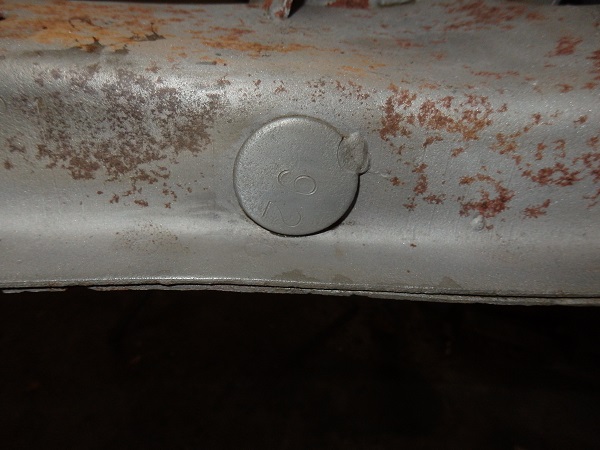
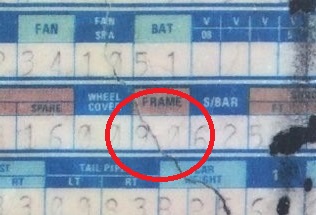
The "coin" on the K-frame reads "92". As with the my Challenger, the number doesn't seem to correlate to the frame number on the broadcast sheet. |
|
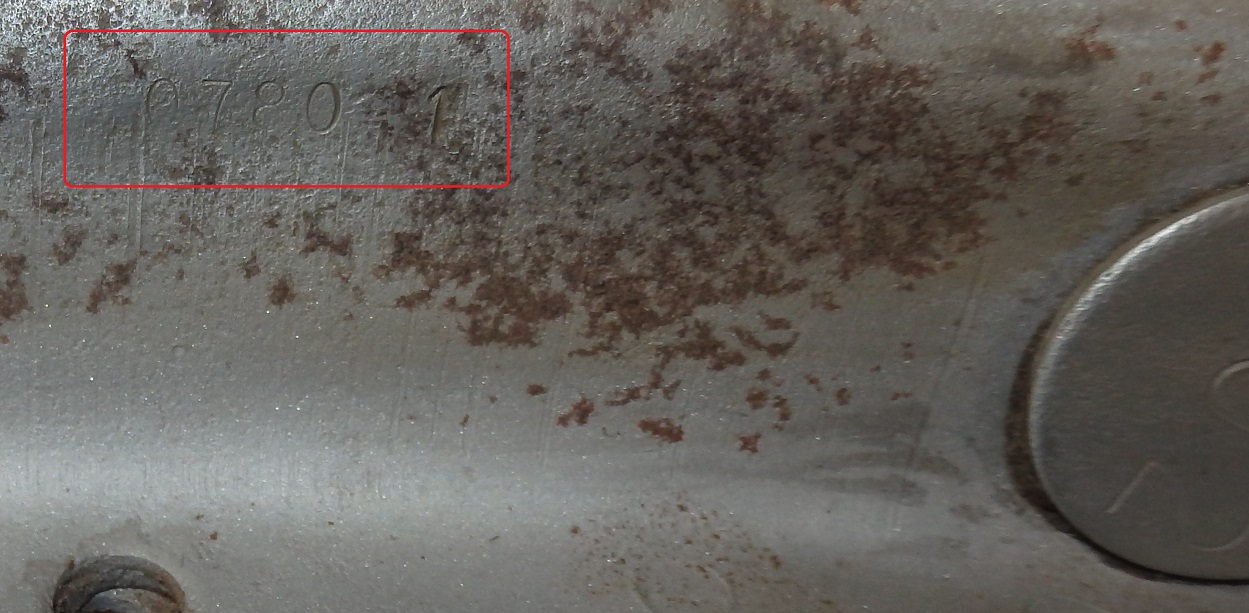
The K-frame was sandblasted to clean it up. It sat for a year before I need to do something with it so the rust started again. At that point I sent it out to be sandblasted and powder coated. Sorry no pictures. The assembly date of the K-frame assembly "0780" is stamped next to the coin. It translated to the 78th day of 1970, which is March 19, 1970. This is right in line with the build date of the car. |

|
I bought all of the front steering and suspension rebuild components from Rock Auto. The parts are all MOOG brand:
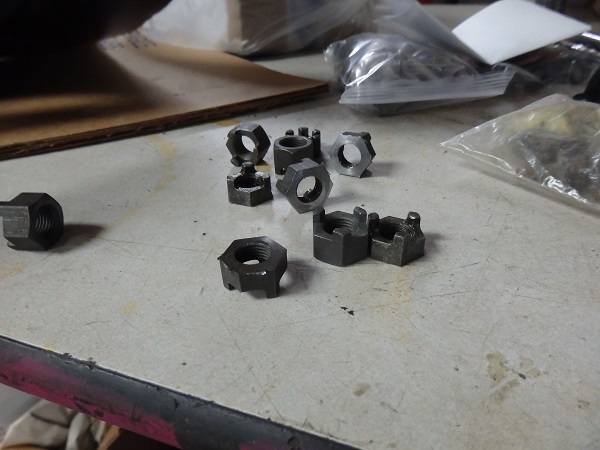
Also another thing people don't really like to advertise is that the cotter pin holes on the tierod ends are a little lower then factory original. So if you are trying to user original style factory tricastle nuts on them, they won't fit unless you drill new cotter pin holes or grind down the nuts. I chose to machine down the nuts a little. I probably should mention somewhere on this page, that I bought a master chassis bolt kit from AMK Products to rebuild the front suspension, but not everything is factory correct in those kits. I had to shop around for the correct tricastle nuts and some of the other hardware. |

|
|
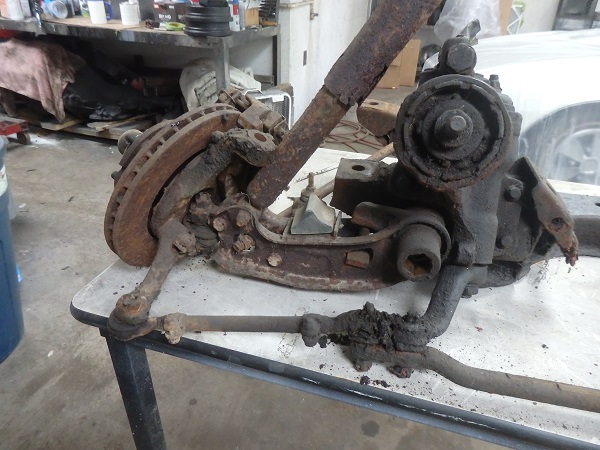
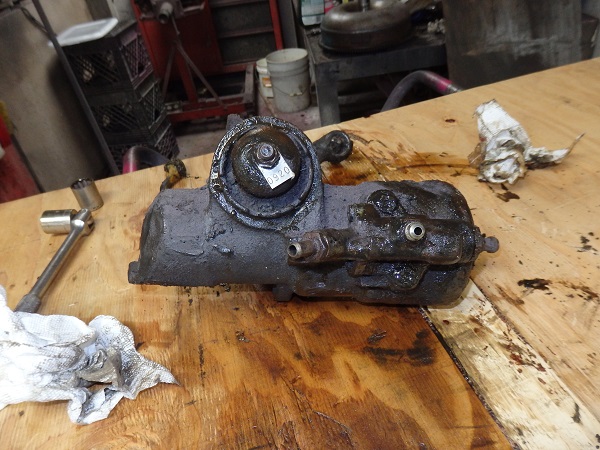
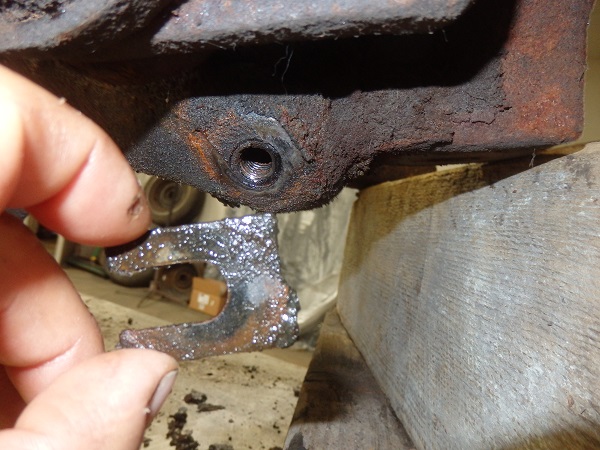
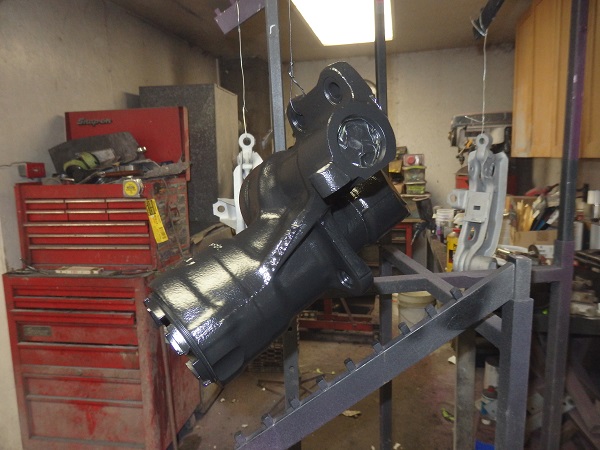
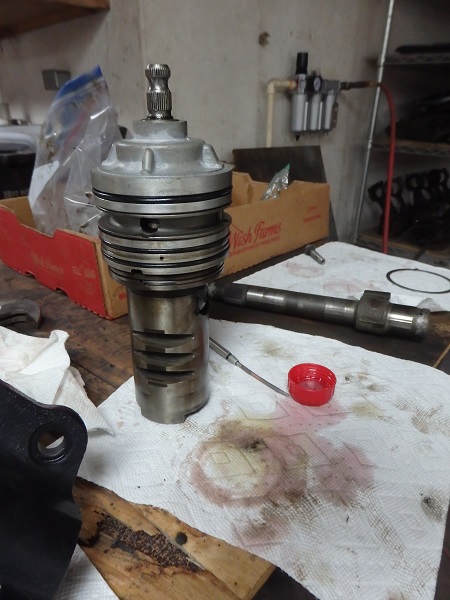
Here is the very grimey power steering gear box. The shim shown in the middle picture was found behind the gear box at the upper right hand bolt. The assembly date tag reads "0920" which indicates and assembly date of April 2,1970. So no
reason to think it was replaced with a May 1970 build date for the car. |
|
|
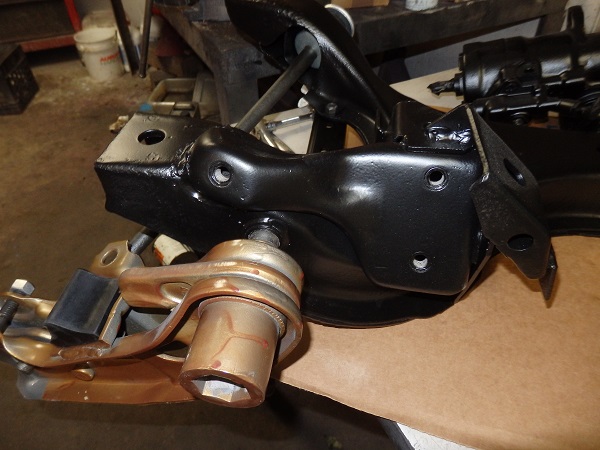
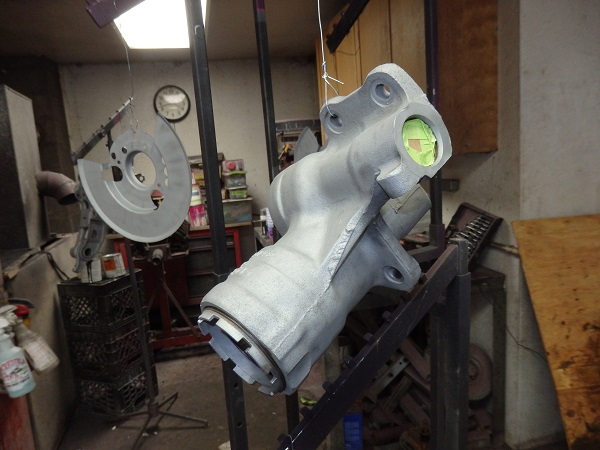
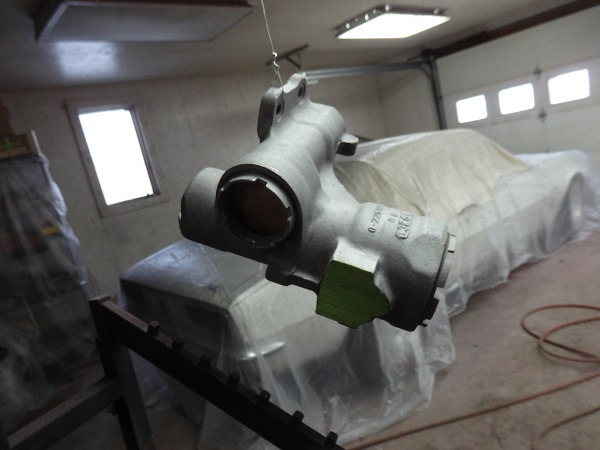
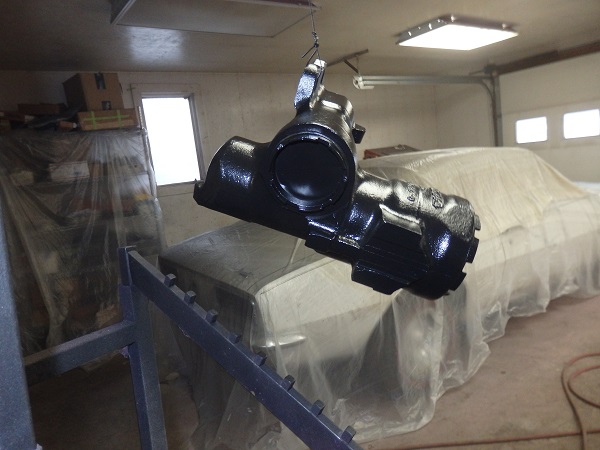
The case was cleaned, sandblasted and the new bearings and seals were installed before it was epoxy primed and painted semi-gloss black. |
|
|
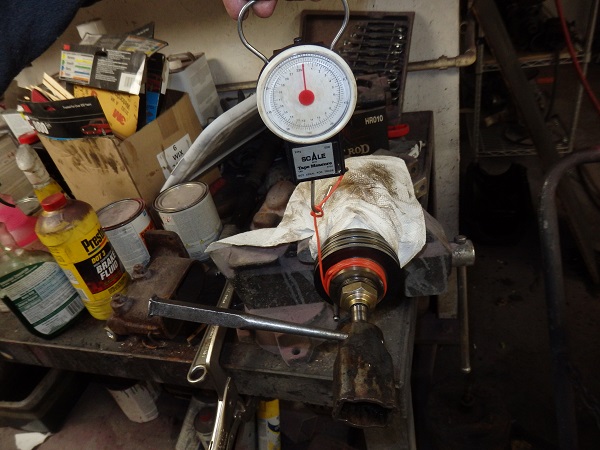
The hardest part about rebuilding the power steering gearbox is setting up the tension on the head and staking the nut. The factory service manual shows you the correct method for doing this activity.
I basically used some cord and a fish scale to set the pull force. |

|
|
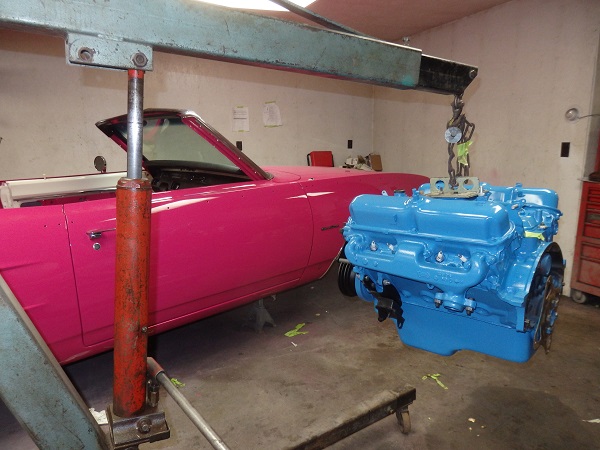
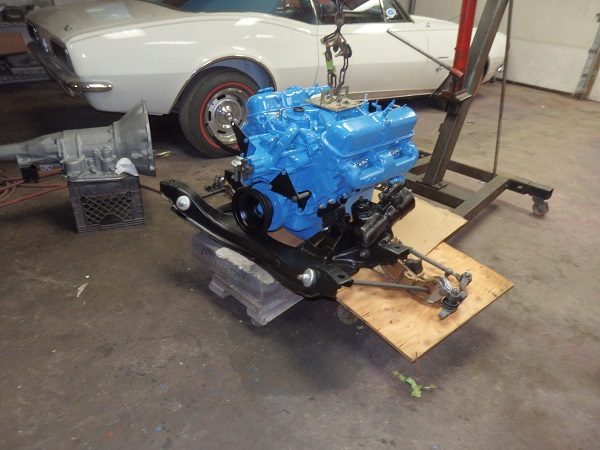
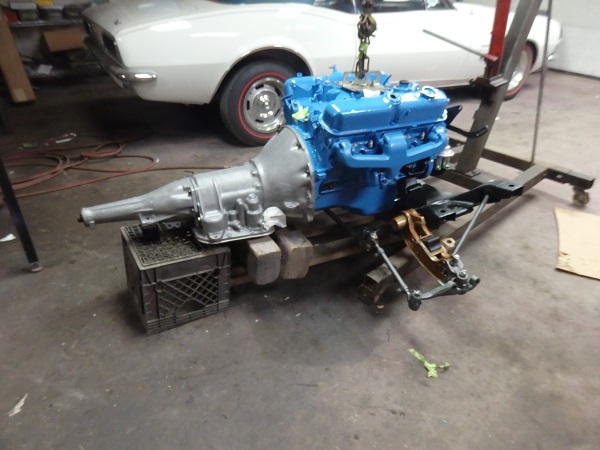
I placed the K-frame assembly on a small roll around cart that I created for the Jaguar some years ago. Installing the engine on the K-frame was a simple matter of rolling the K-frame under the engine while
it hung from the hoist and then just lowering it in place. The it was a simple matter attaching the torque converter and bolting on the transmission. |