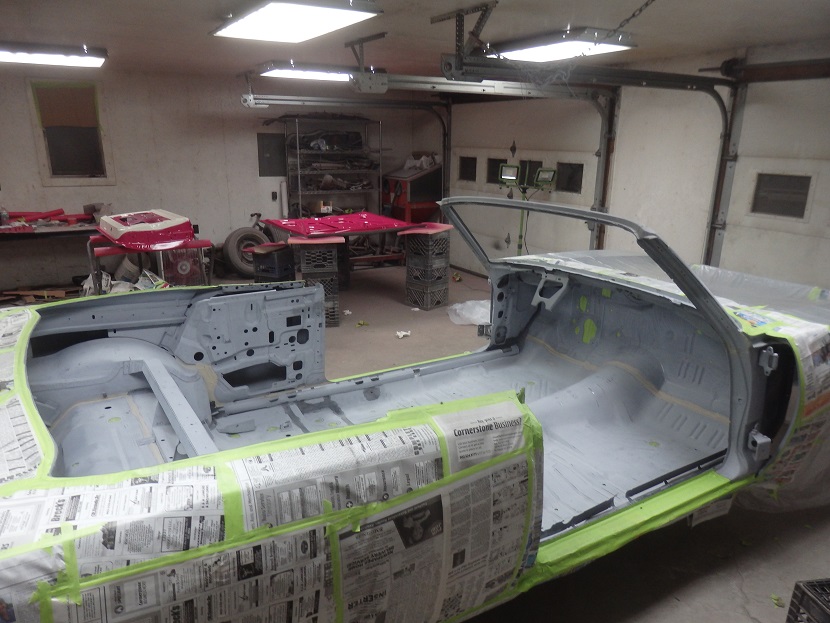
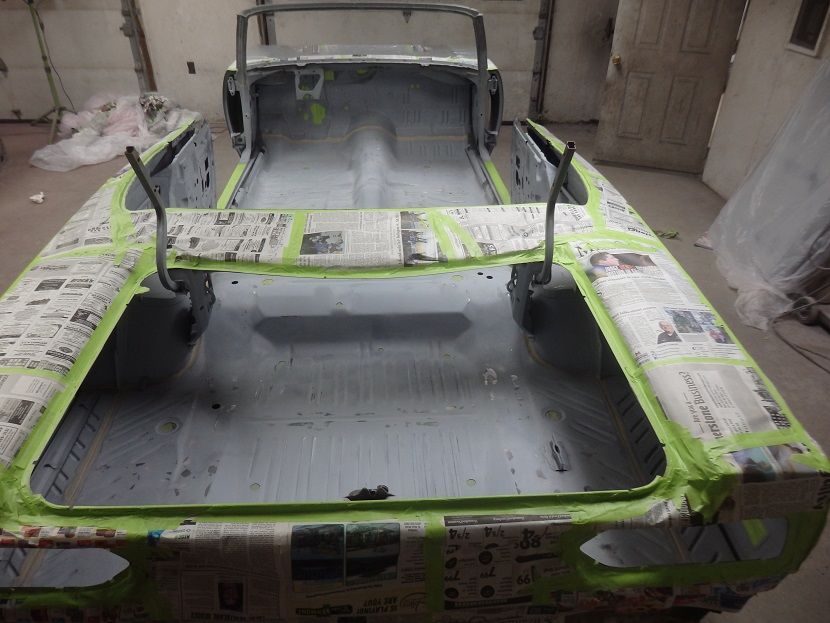

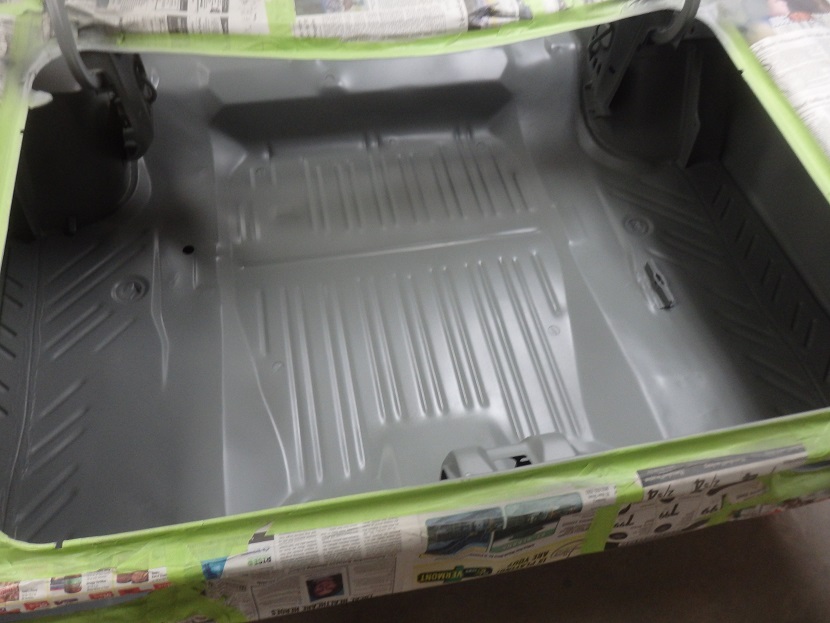
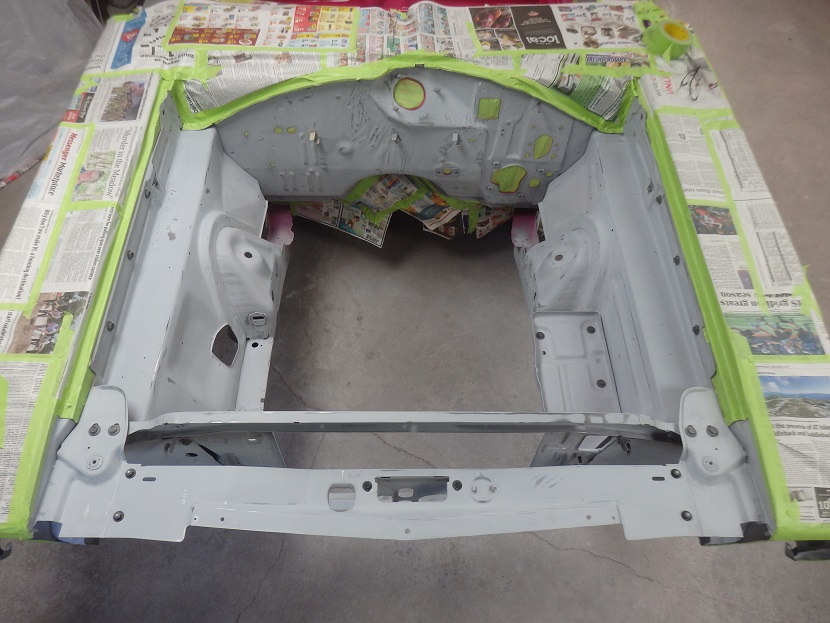
With all of the bodywork done, it's time to finally turn to painting things. I started with the inside and worked myself out. First I sanded the inside and the engine compartment with 180 grit and with red scuff pads. I then sealed it with DP40LF gray/green epoxy primer, which fills the sanding scratches. I chose the primer color as that was what I used on my FM3 Challenger, which this car needs to match.
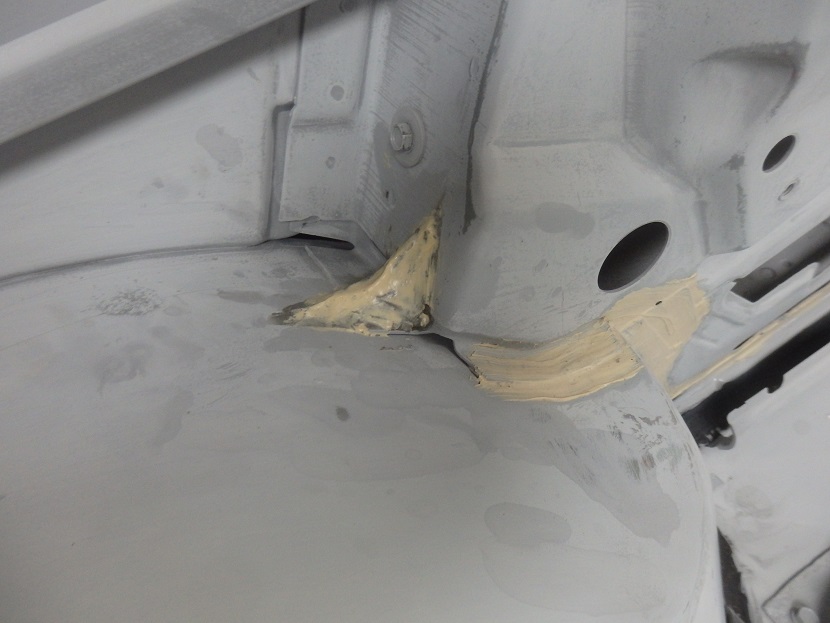
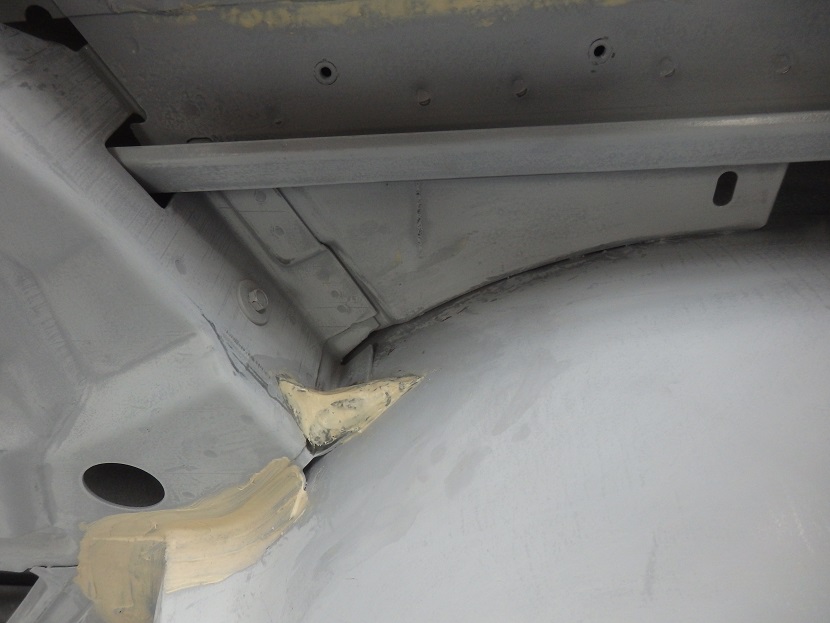
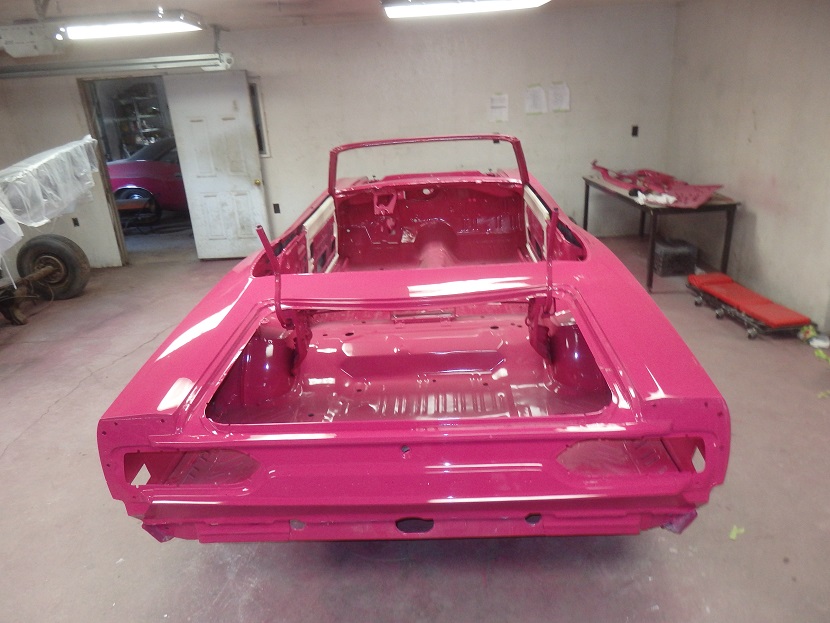
Here is my attempt to reproduce the weird globs of body sealer in the convertible well area.
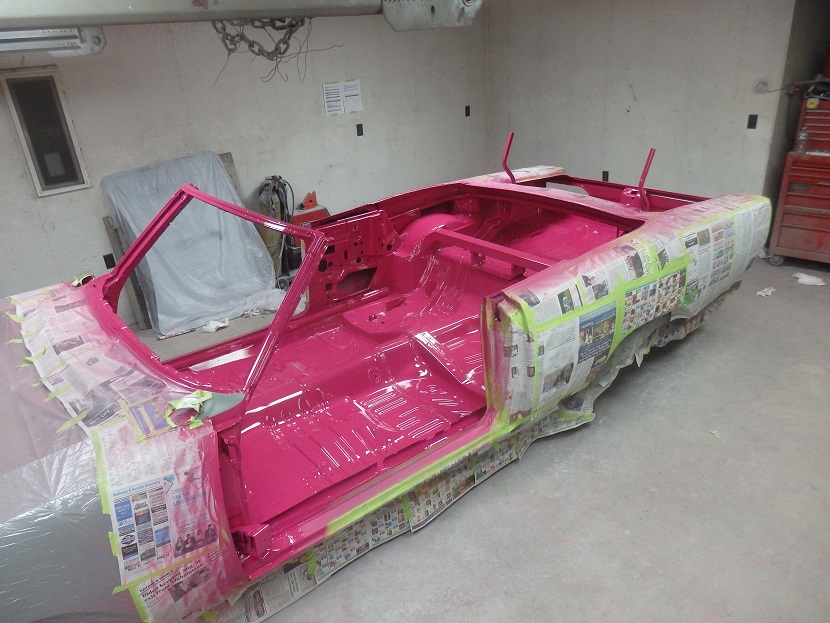

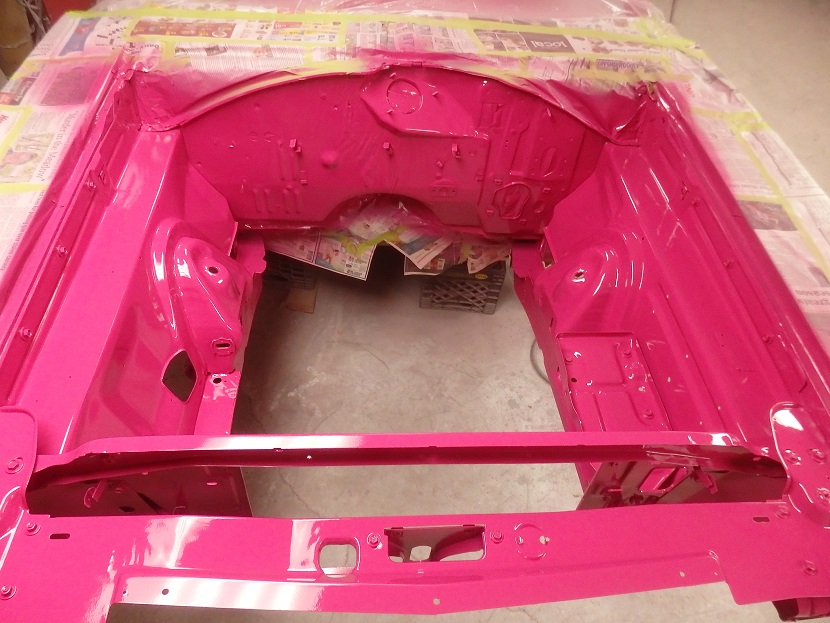
I painted the inside 1 day after spraying the DP40LF epoxy primer. It is a non-sanding primer so all I had to do is wipe it down and spray the color. This was done in a basecoat clear system. PPG all the way.

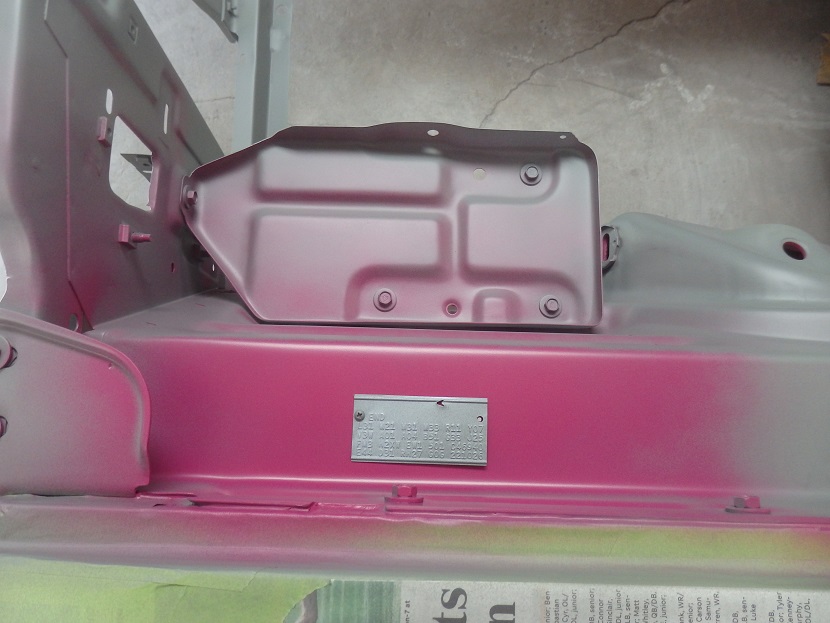
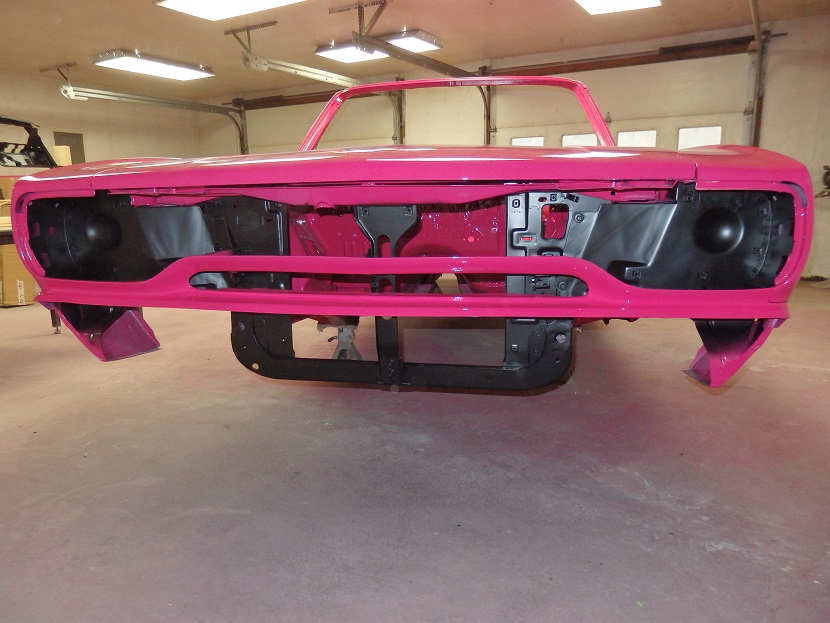
The engine compartment was done in a similar fashion. As you can see the fenders and upper panel were bolted in place like the factory did it. The factory originally screwed the fender tag down with one screw and bent the tag up to shoot color under the tag. I just hit the area with basecoat and then put the tag on with one screw before painting the whole engine compartment.
The process was sand everything with 180 and wipe down with a red scuff pad, followed by DP40LF epoxy primer and paint on the following day. As a final touch I put the remaining fender tag screw in like the factory did.
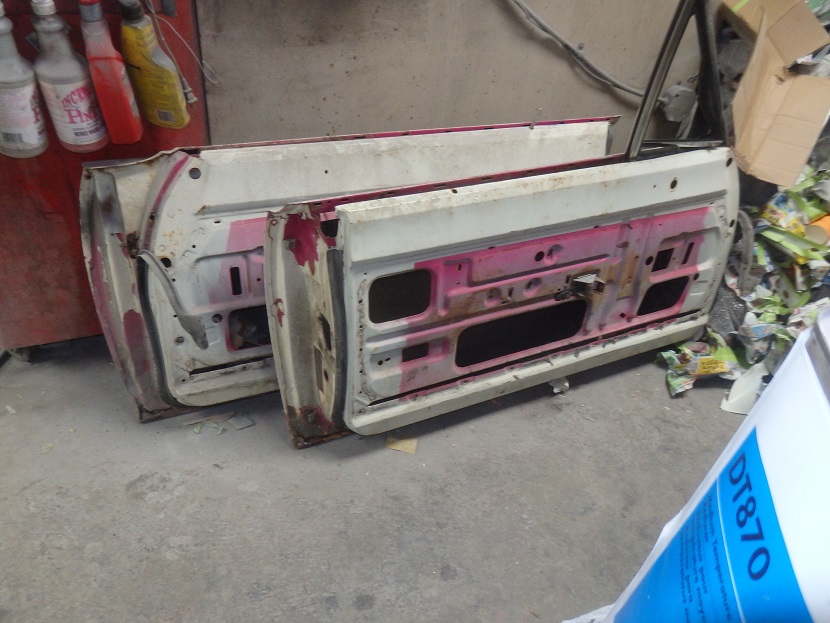
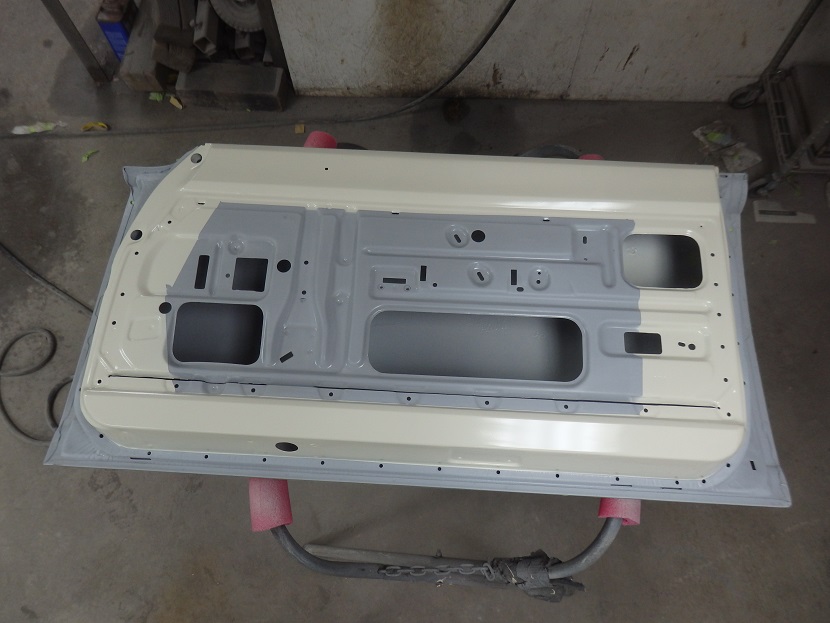


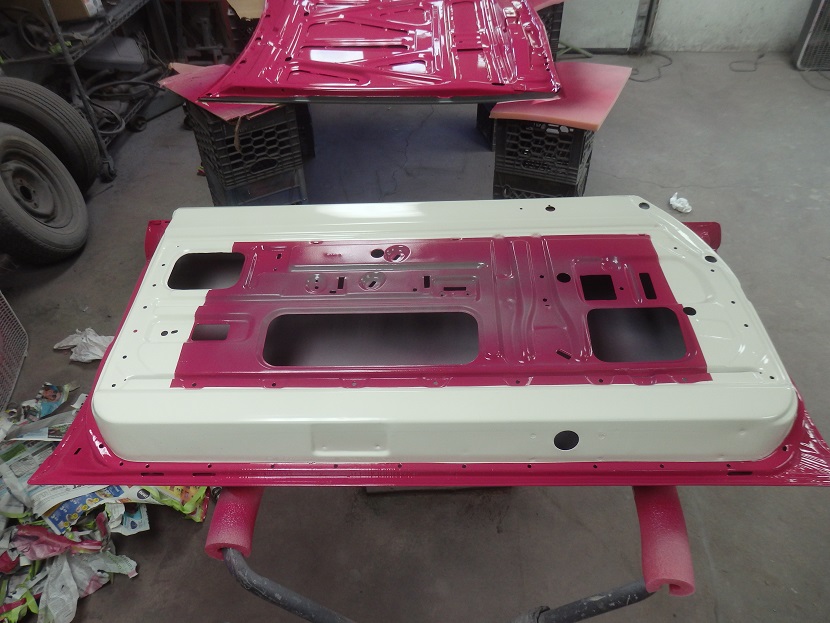
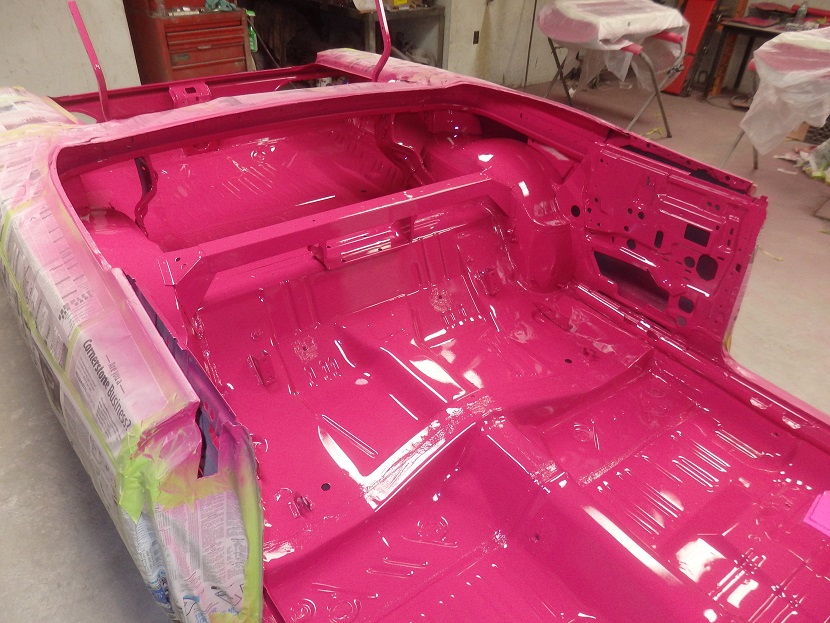
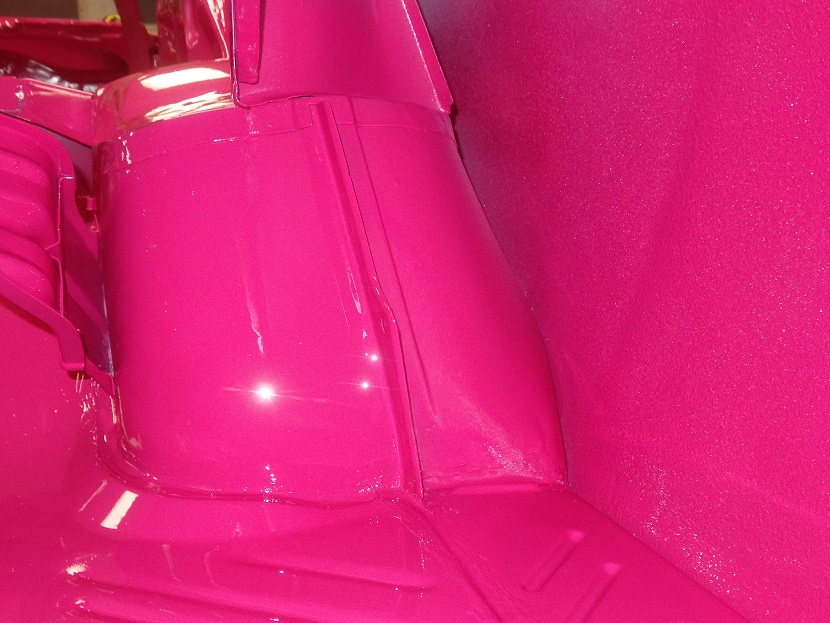
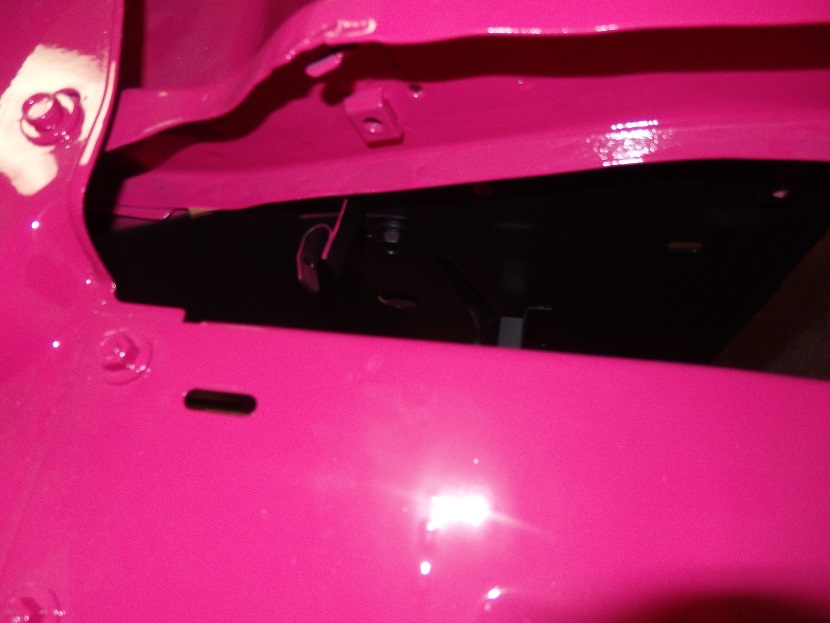
Originall the factory paint the doors with interior color and masked them off around the outer perimeter before applying body color. Not many people reproduce what the factory did as it is covered by the door panels. I decided to go with what the factory did.


I also reproduced the factory application of the interior color on the inside of the B-pillars. I haven't seen any restorations yet where people have done this.
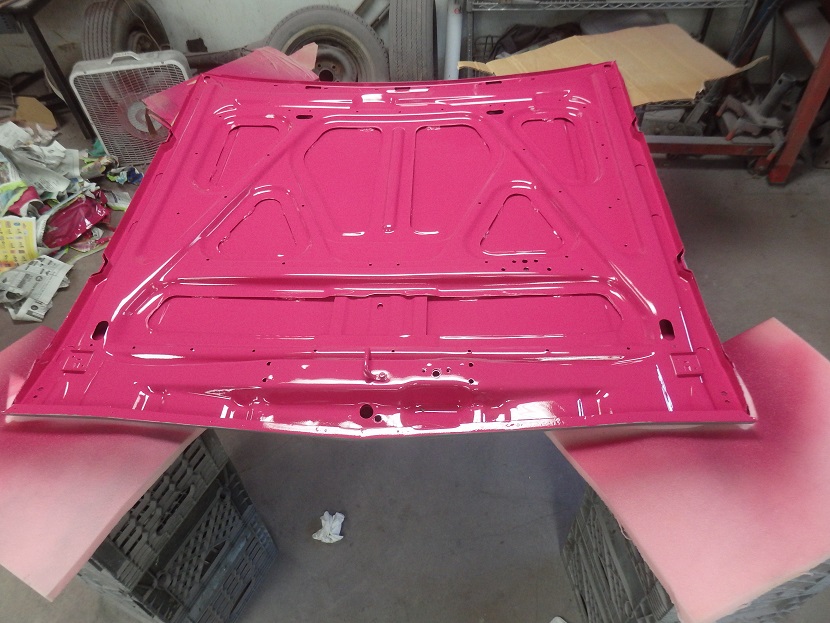
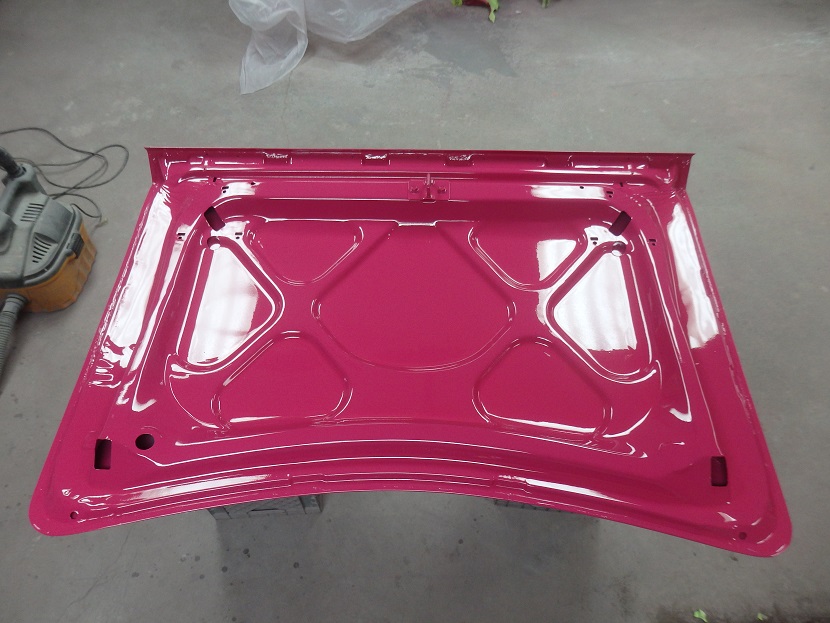
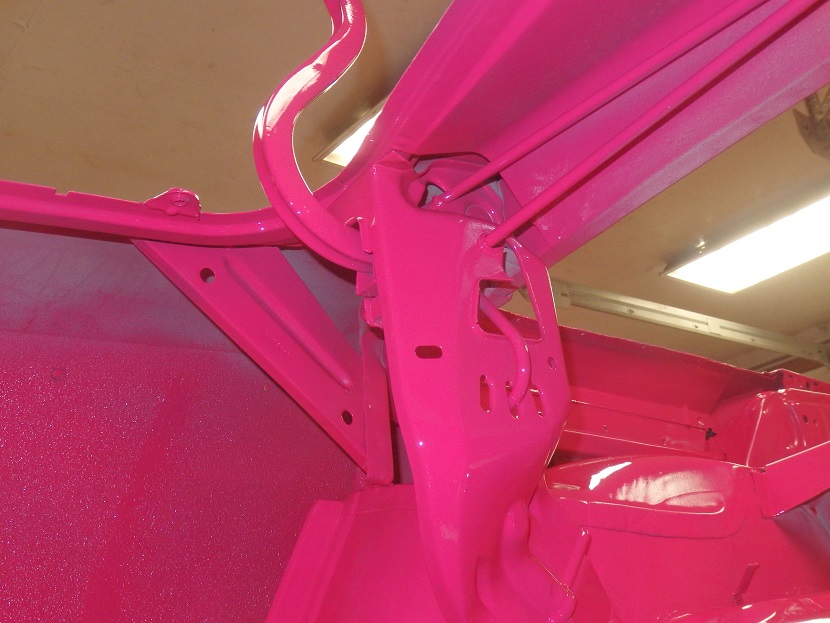
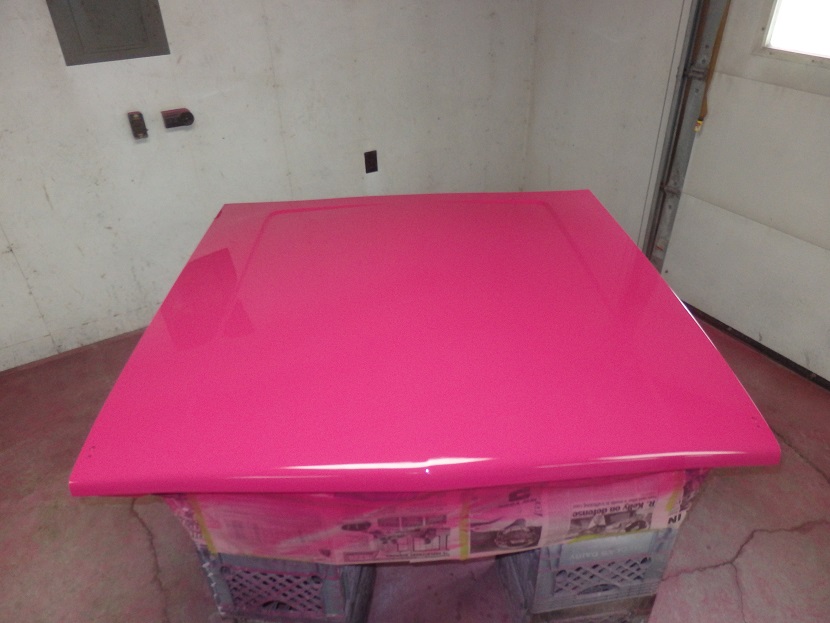
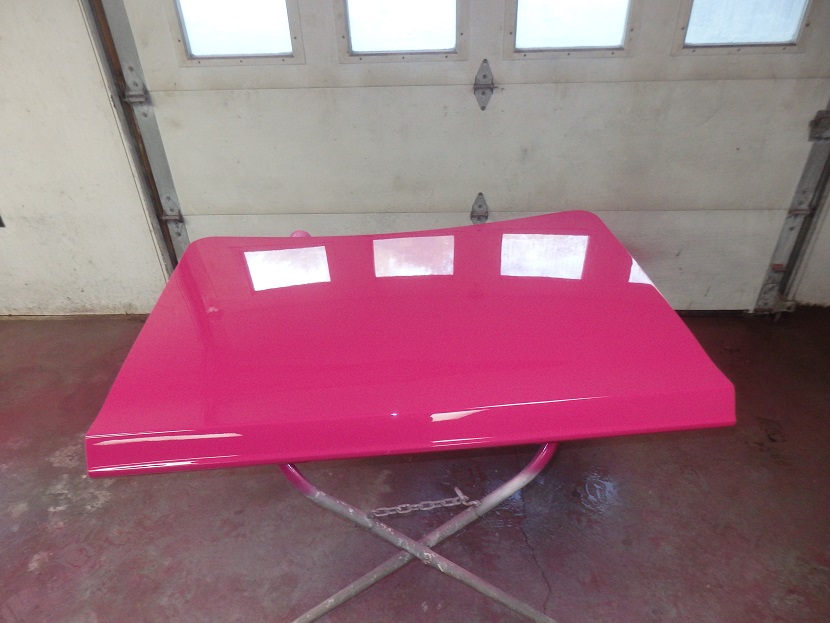
And finally, before moving on to the outside I painted the underside of the hood and trunklid.
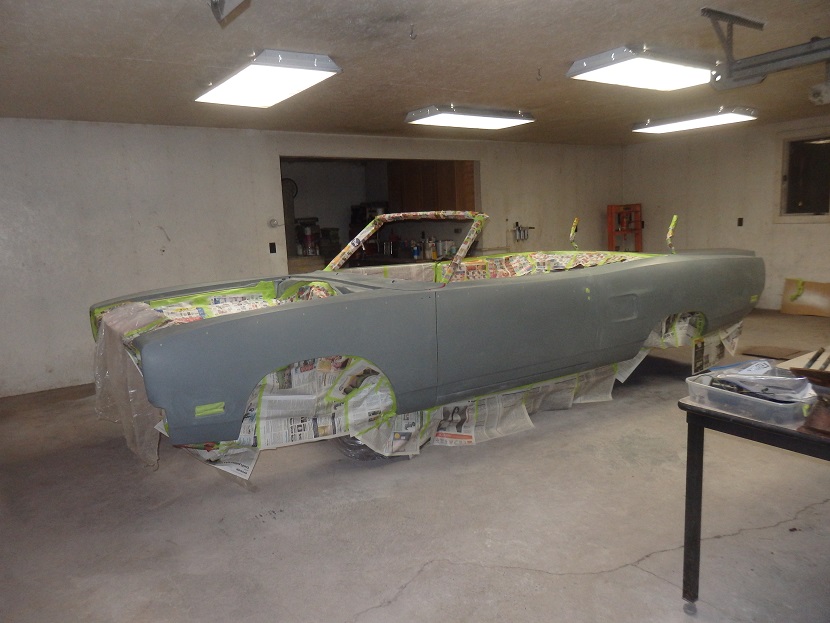

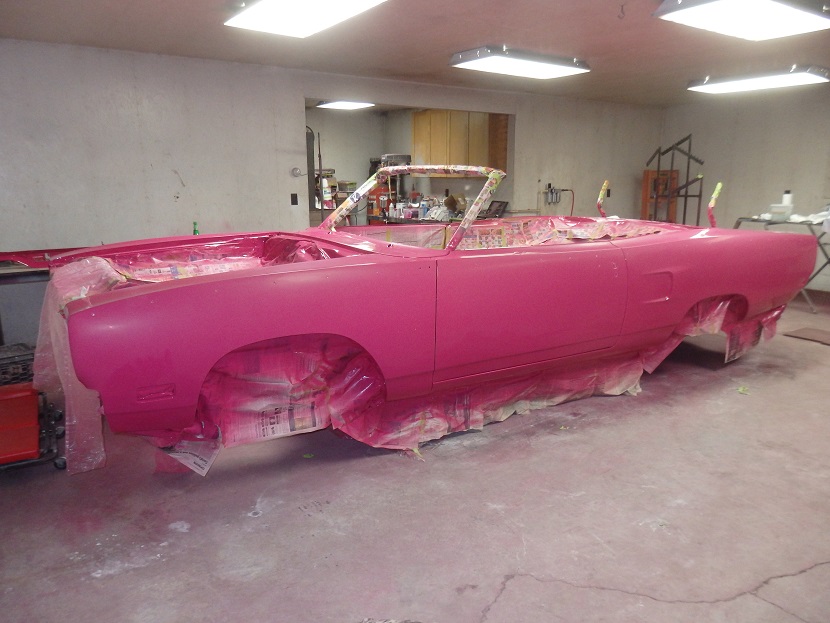
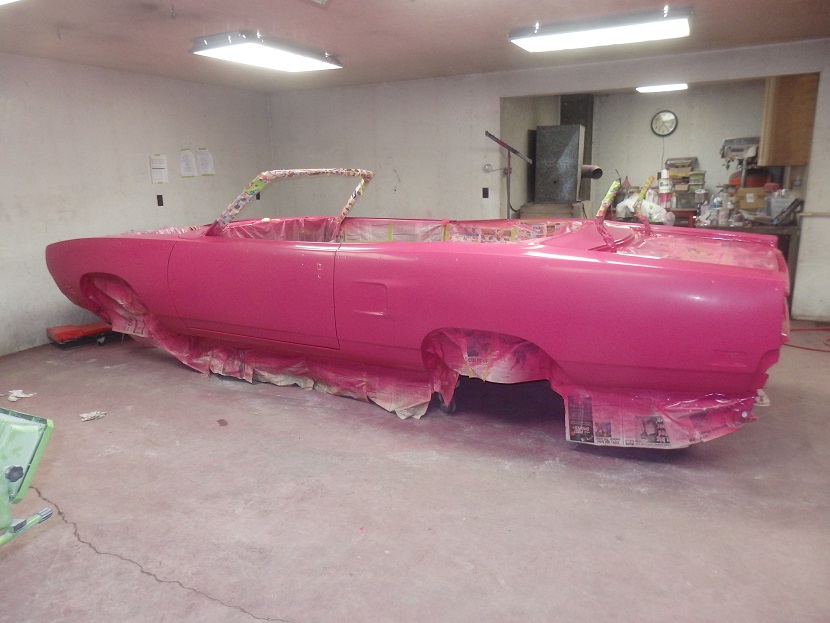
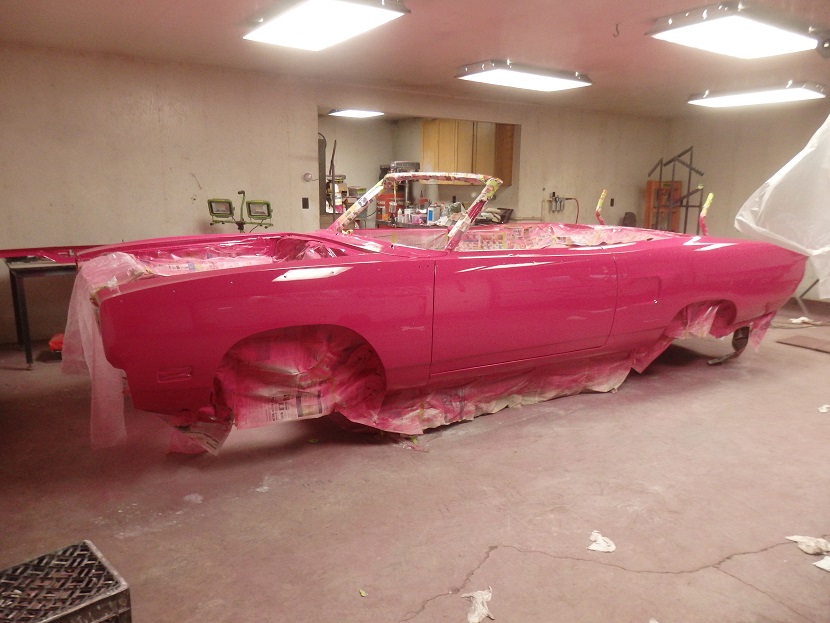
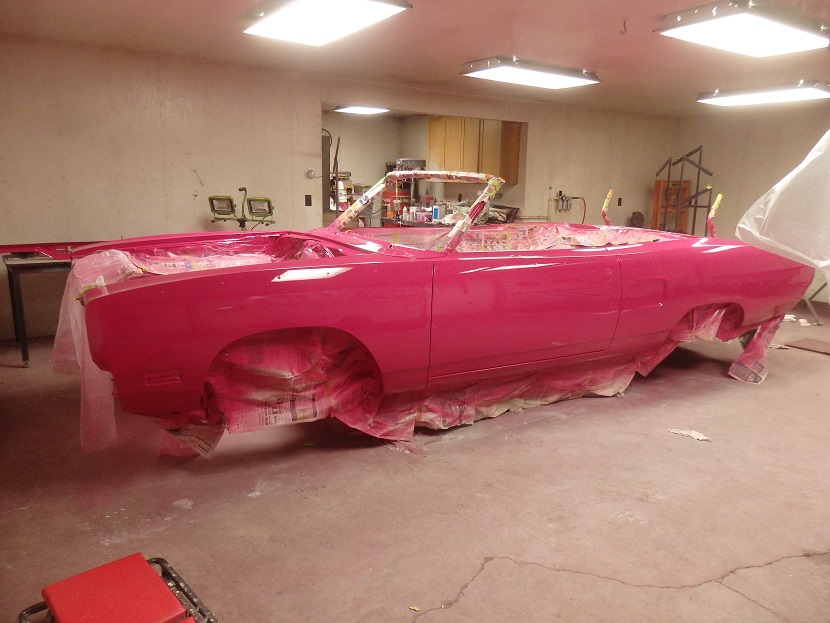
Paint day was actually paint 2 days. With the car wetsanded with 600 grit and wiped down, I painted everything with basecoat on the first day. It took 5 coats of FM3 paint. I used roughly 1 gallon of basecoat, not reduced. 2 gallons reduced. For PPG that is a $1000, just for the basecoat.
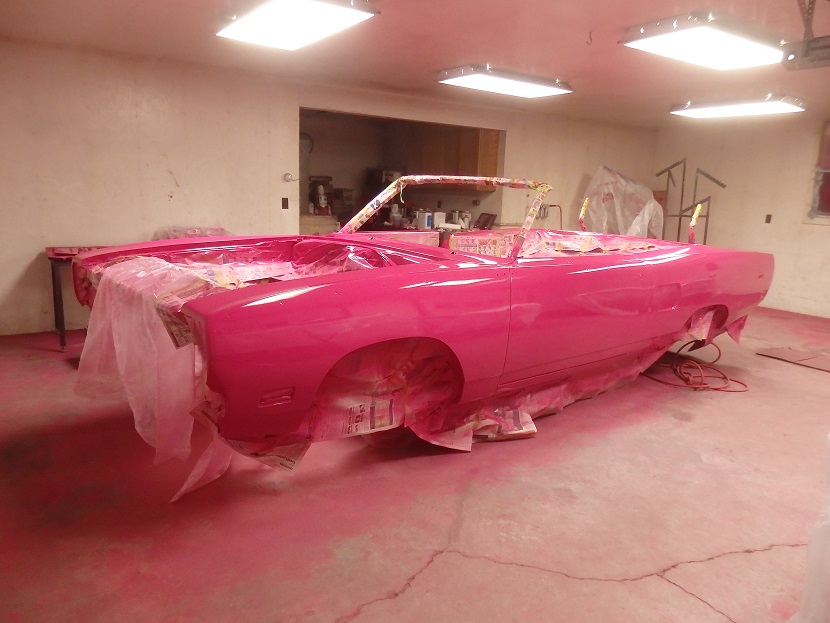
The car is so large that I could clearcoated everything on the same day. So I covered everything that wasn't bolted to the car with plastic and clearcoated the car. I used 3 coats of DCU2021 Concept Clear. It came out great!
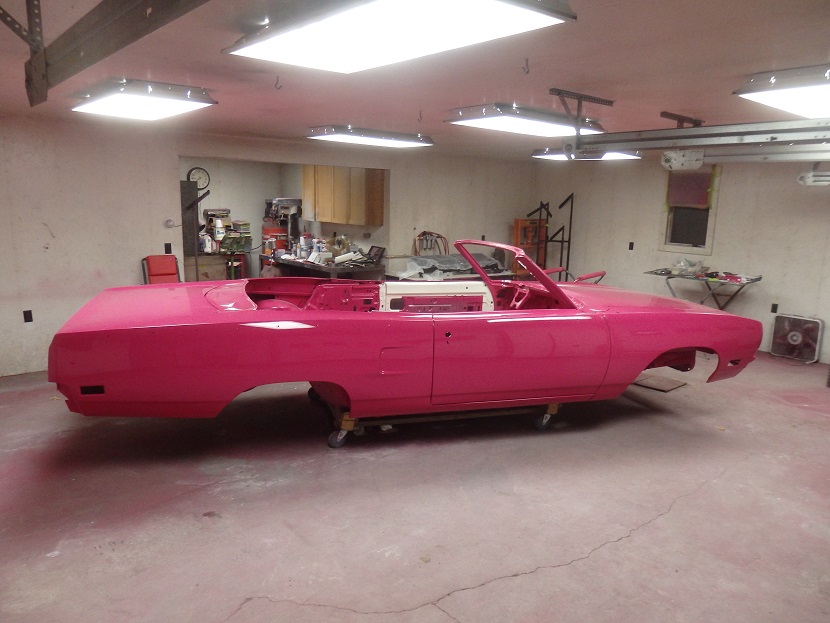
You may notice in the 2nd picture that I painted and clearcoated the inside of the door jambs at the same time as the outside. I did this to avoid having any visible mask lines.

On day 2 I covered the car and clearcoated the rest of the parts.

I am not going to go into big deal about the cut and buff process as I described this for previous projects on this site (refer to the 1967 RS/SS Camaro Conv and the 1970 FM3 Challenger Projects.
LEFT PICTURE: Basically what I did was blocksand the nibs with 800 grit wet, then I hit the entire outside of the car with 1500 Trizact disks on my DA with the speed turned down low. Risky areas I did by hand with 1200. Refer to the picture on the left. First sanding took about 8 hours.
CENTER PICTURE: Here the car was hit with a Trizact 3000 disk, wet, on a foam backing pad. 2nd sanding took about 2 hours.
RIGHT PICTURE: Here the car was hit with aTrizact 5000 disk, wet, on a foam backing pad. 3rd sanding took about 2 hours as well.

With the car all wiped down I commenced with the buffing process.
LEFT PICTURE: The car was buffed with a wool pad and 3M PerfectIt #1 compound.
CENTER PICTURE: The car was buffed with a blue pad and 3M PerfectIt #2 compound.
RIGHT PICTURE: The car was buffed with a gray pad and 3M PerfectIt #3 compound. At this point the paint is like a mirror.
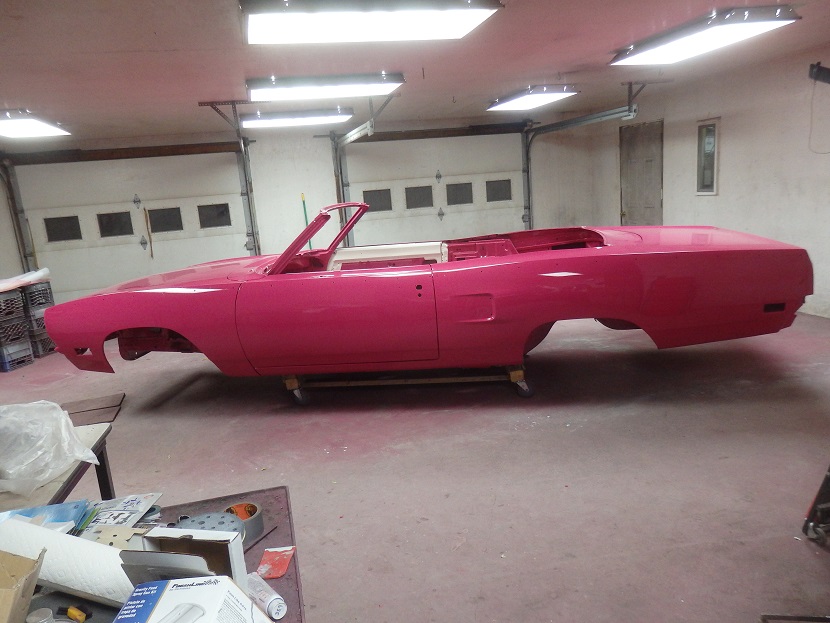


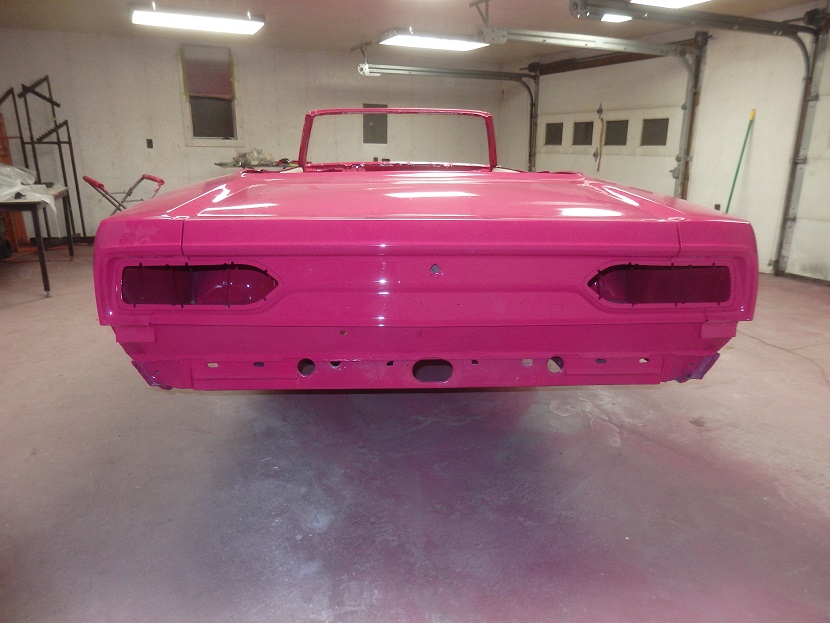
The hood and trunklid followed the same process, but off the car. Once buffed they were installed. Now that is a lot of Pink!

 <
<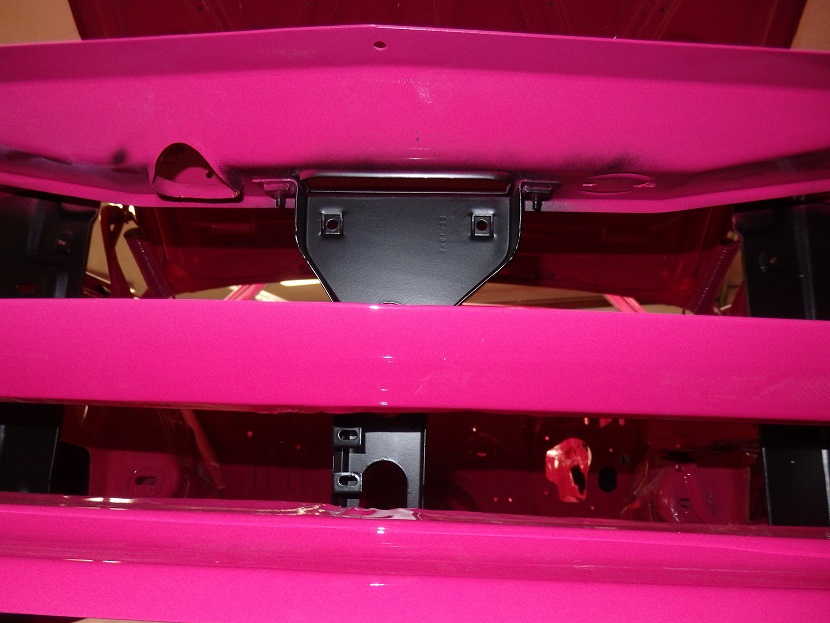
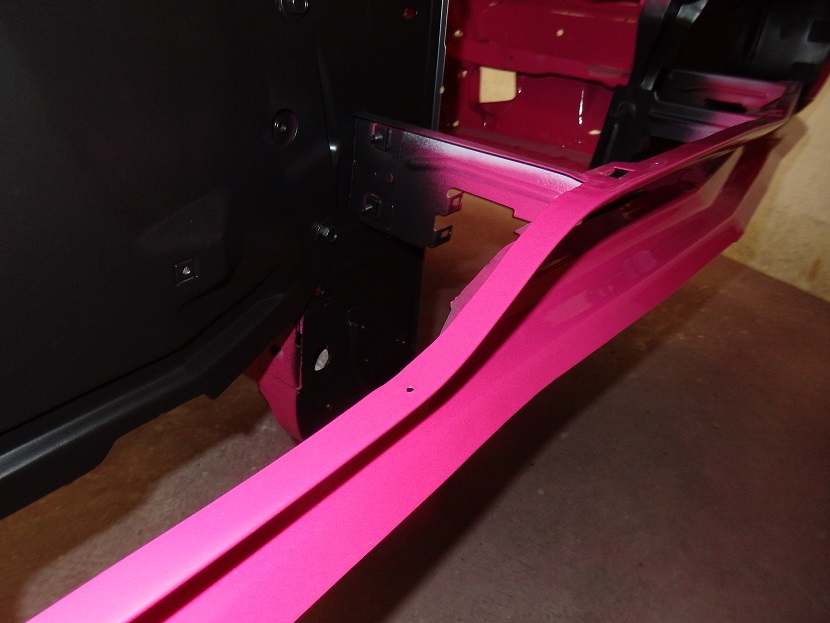
The factory originally blacked-out the front of the radiator support so that the body color could not be seen through the grill. This was done by a person sanding in a pit below the car. They sprayed a thinned out black paint and the car was not masked for this. black paint was often spattered into the engine compartment. I did not go to that extent, but I did lie down on creeper and spray it from below with SEMs Trim Back in and aerosol can to replicate the sprayd from below look.
In the ssecond picture from the right you can see that the primer was not thoroughly covered with pink paint and the pink paint was not thoroughly covered with blackout paint. That is how it would have looked from the factory. Except the factory paint would have runs in it.
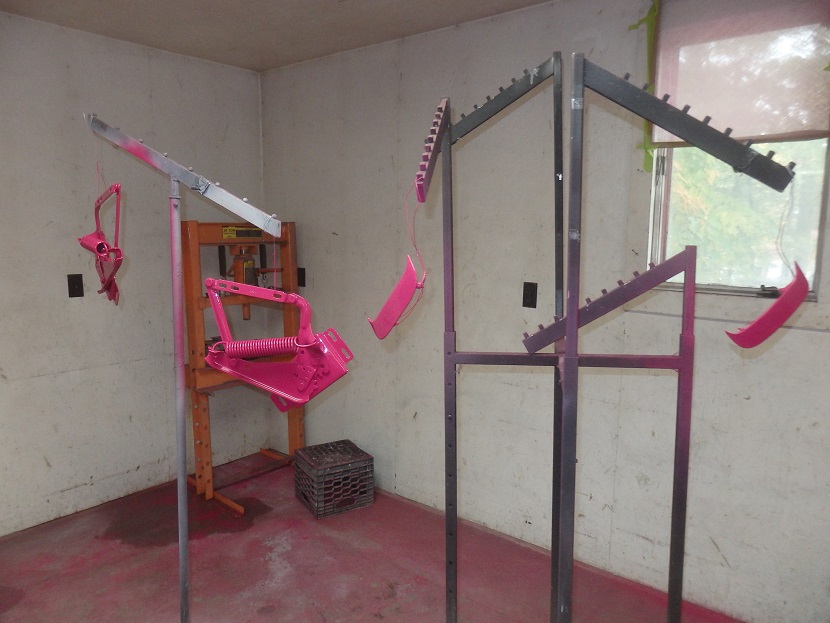
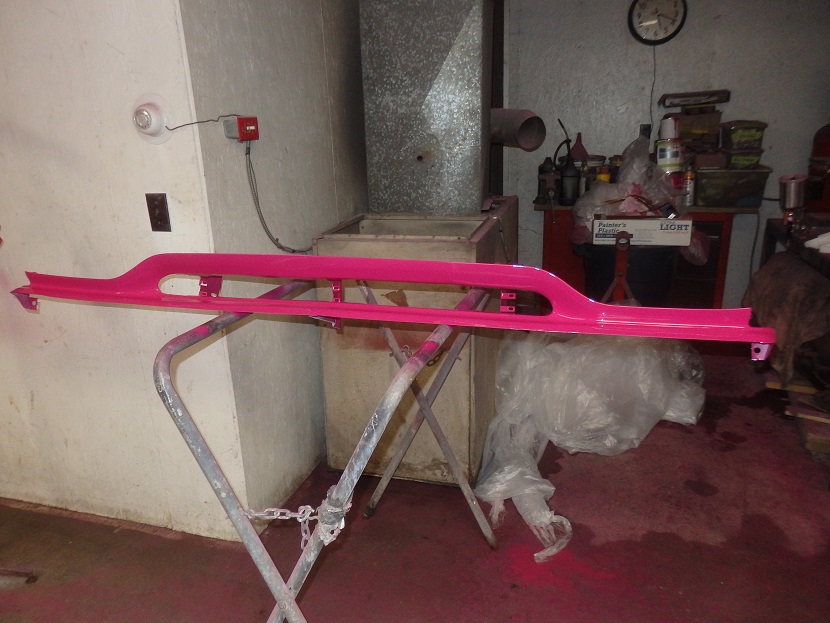
Now the progress will be slow again as there are lots of parts to restore before things get bolted to the body.