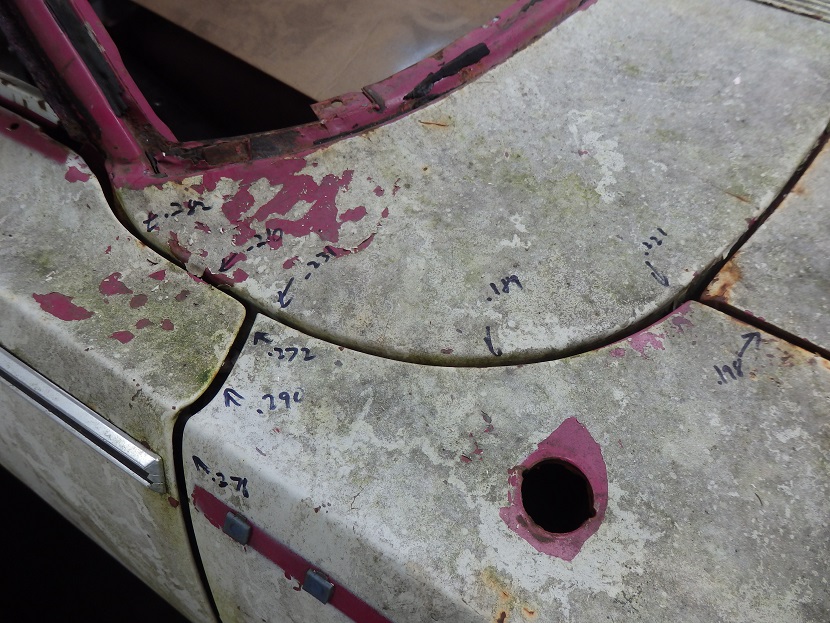
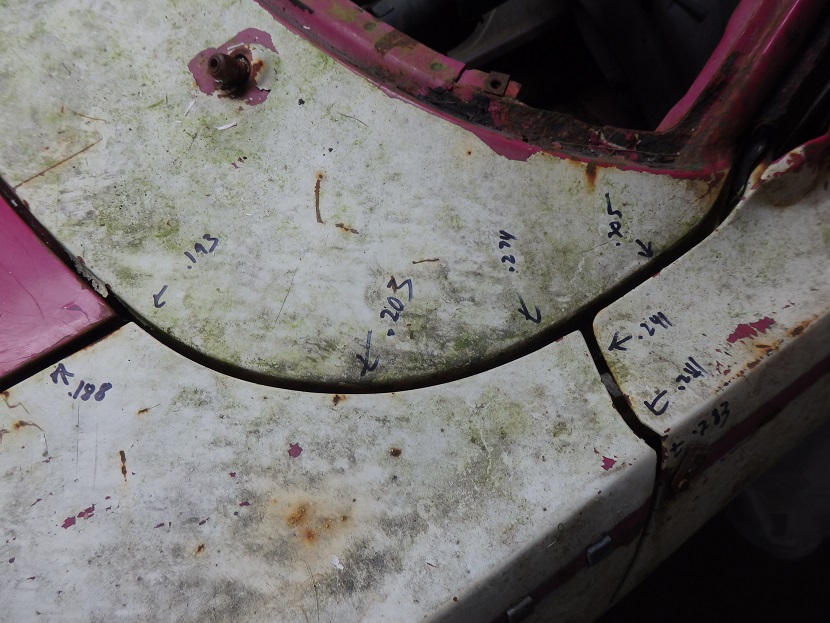

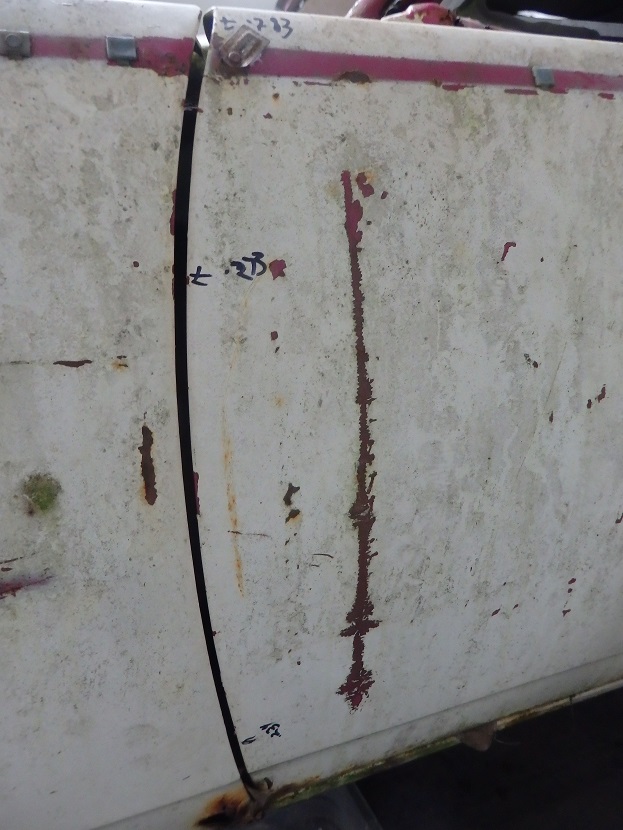
Using a pair of calipers I took gap measurements all over the car and wrote them on the panels and capture them in pictures. Mopars had really bad panel gaps as you can see here. Door and fender gaps can be 1/4 inch or more. The gaps between the doors and rocker panel can be 5/8" or more.
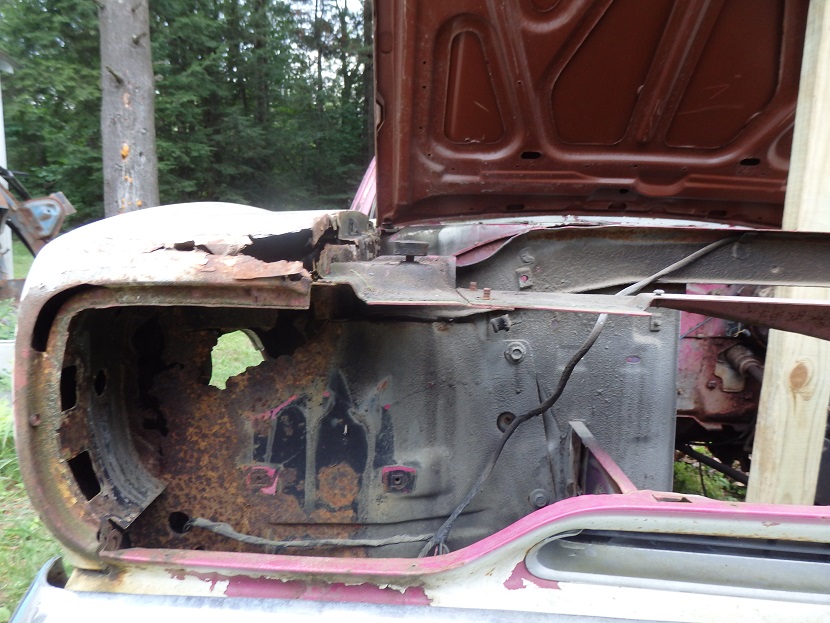
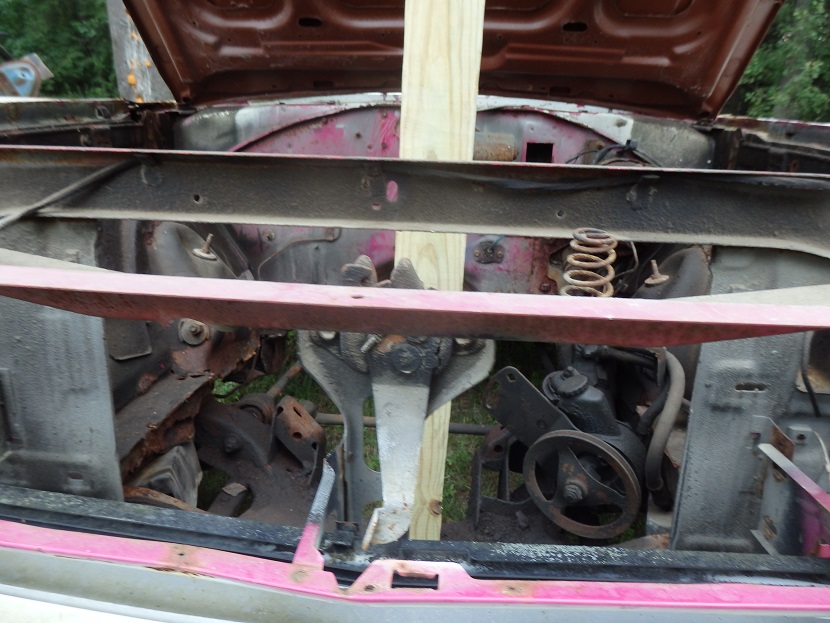
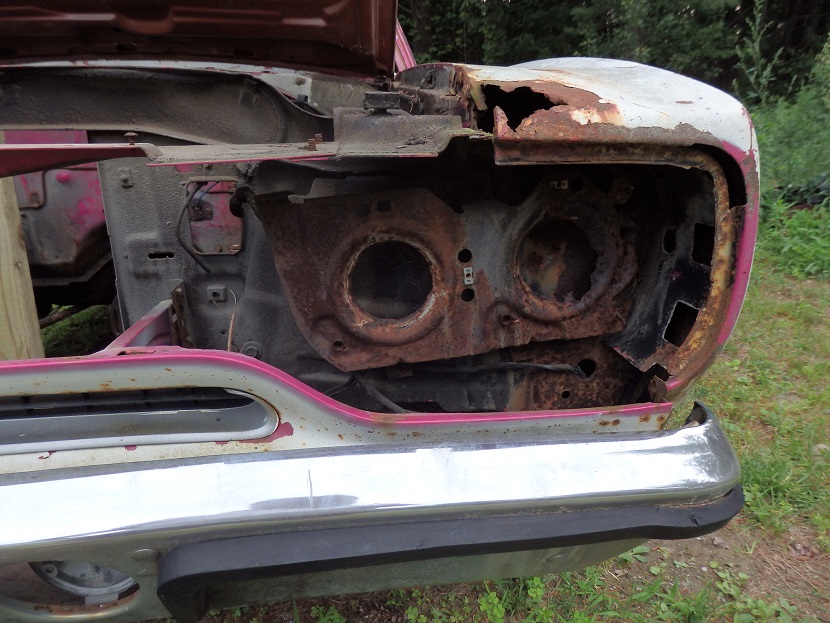
Chrysler blacked out the front of the radiator support so that the body color could not be seen through the grill. This was done by having a person stand in a pit below the car and spray thinned black paint from below. It was often messy and paint spatter would sometimes appear in the engine compartment. It's good to get pictures of the backout before the car is stripped to bare metal.
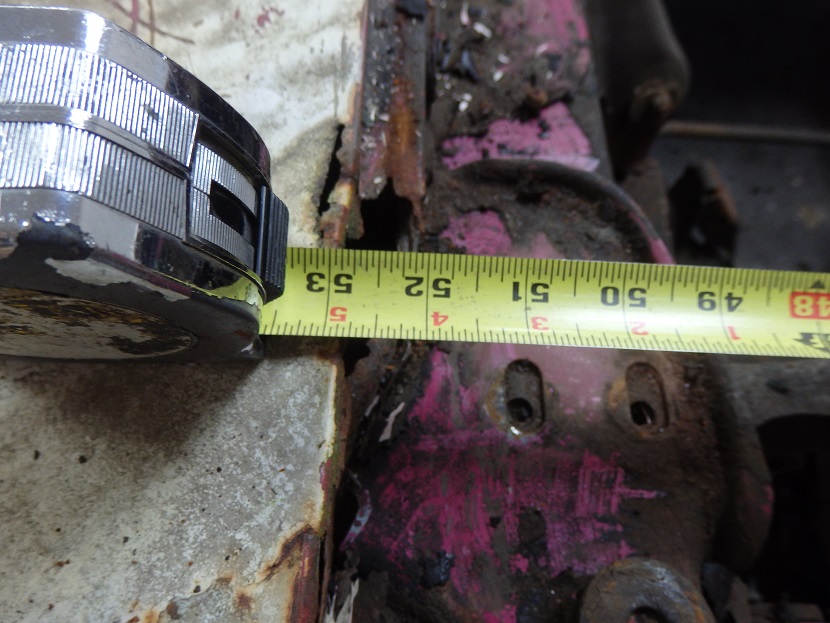
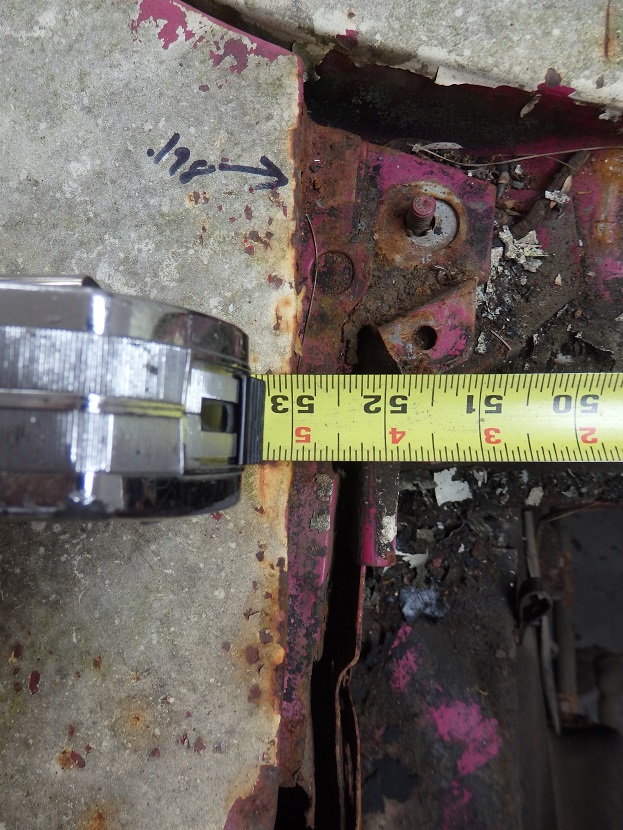
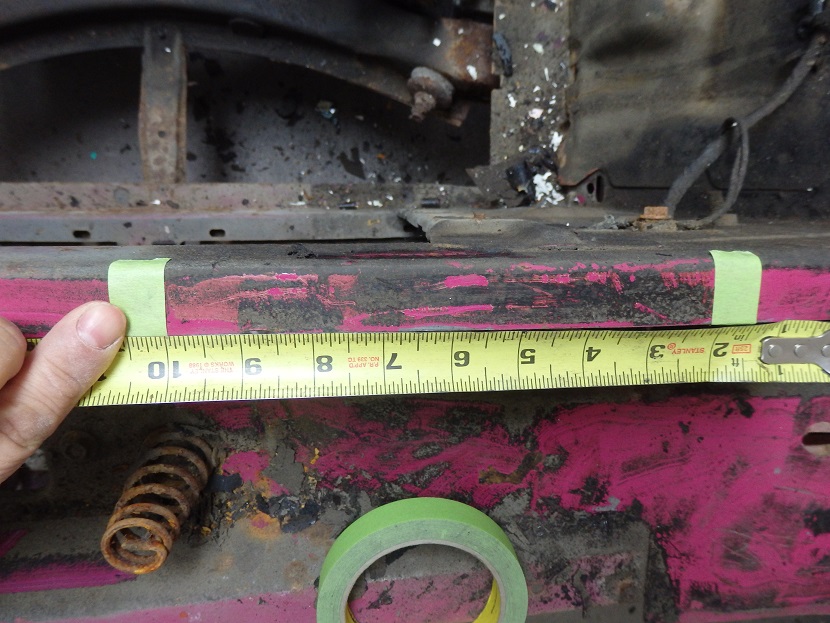
Another good thing to do is measure the front fender spacing so that the original gaps can be maintained as I did here.


Taking pictures of the wire routings and the wire clamps and ground connections is recommend.
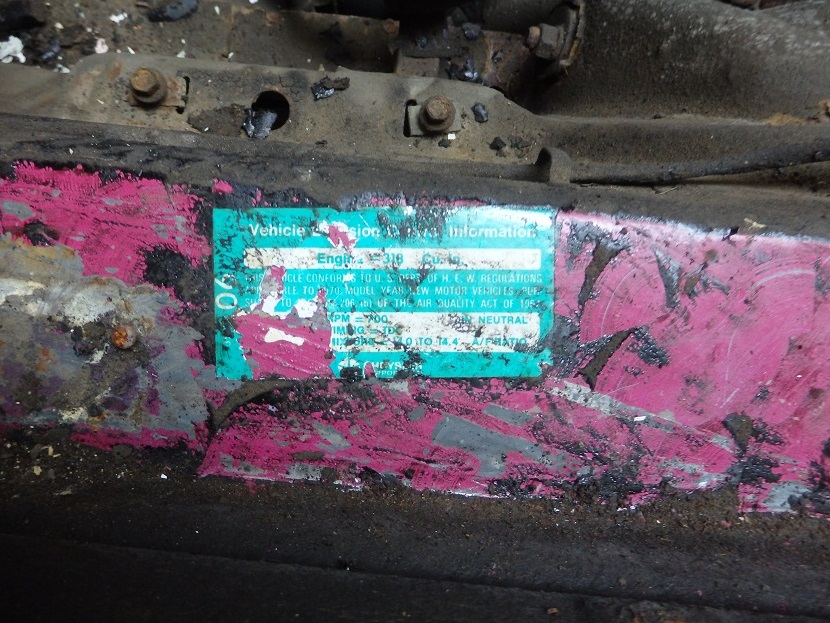
The location of the emissions decal and radiator coolant labels should be documented. For this car the coolant label was missing, but the residual adhesive was there.
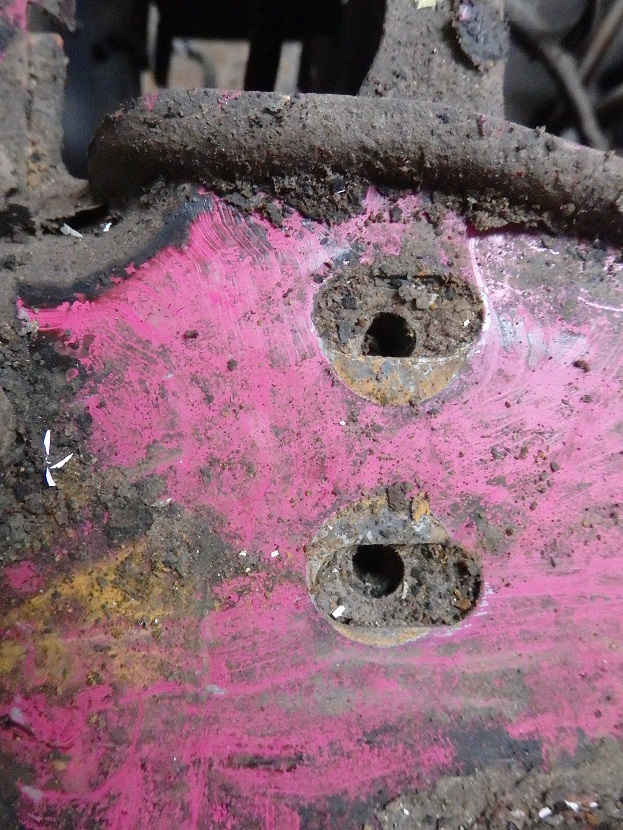
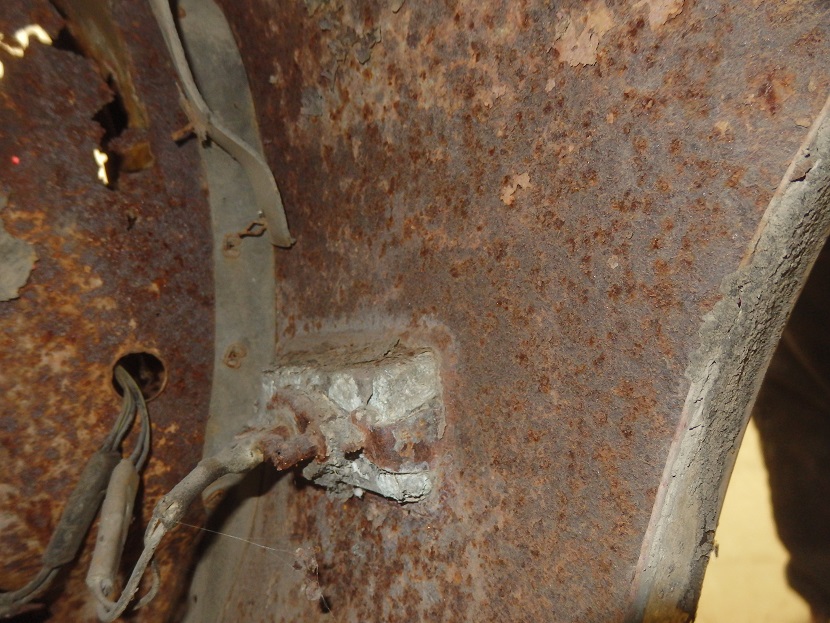
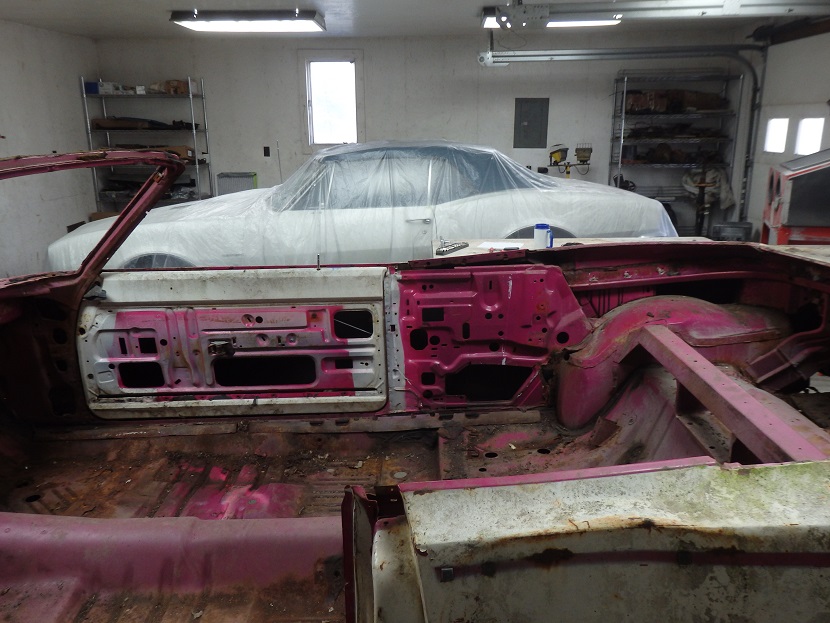
When you do start take things a part you will start to notice things like this. The body was fully assembled when it was painted, evident by the bare metal when the fasteners are removed.
This car was undercoated after it was bought from the dealer. When I scraped it off it revealed the number "7" in yellow (Seen faintly in the middle of the first picture). I am not sure what it meant, but it will be reproduced after the car is painted.
Removing the windshield trim reveals all of the sealers the factory used to waterproof the windshield area. This is a big clue that special attention will need to paid to this area when it goes back together.
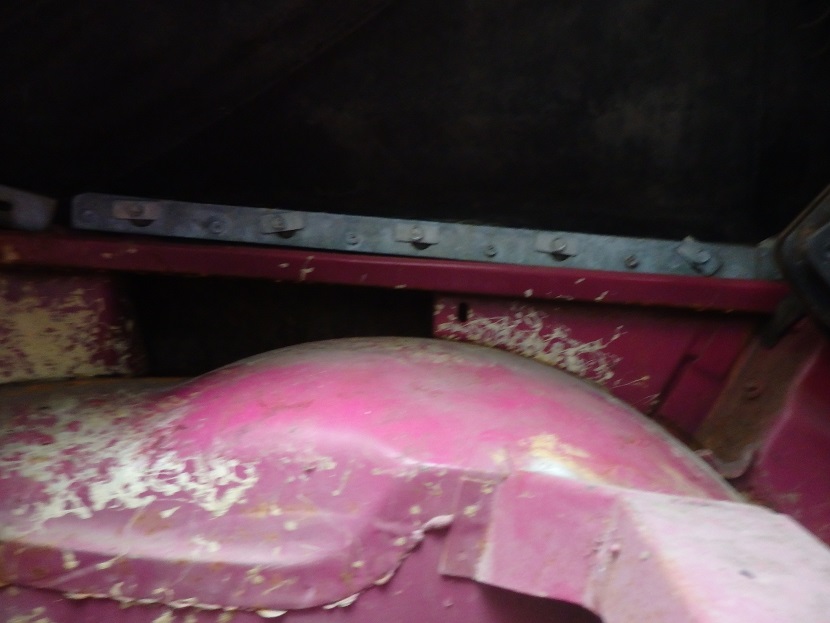
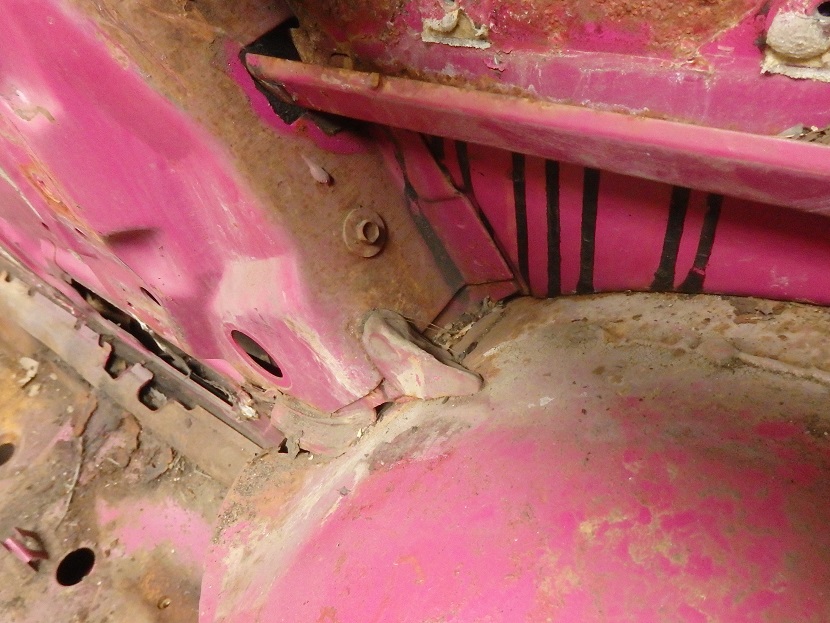
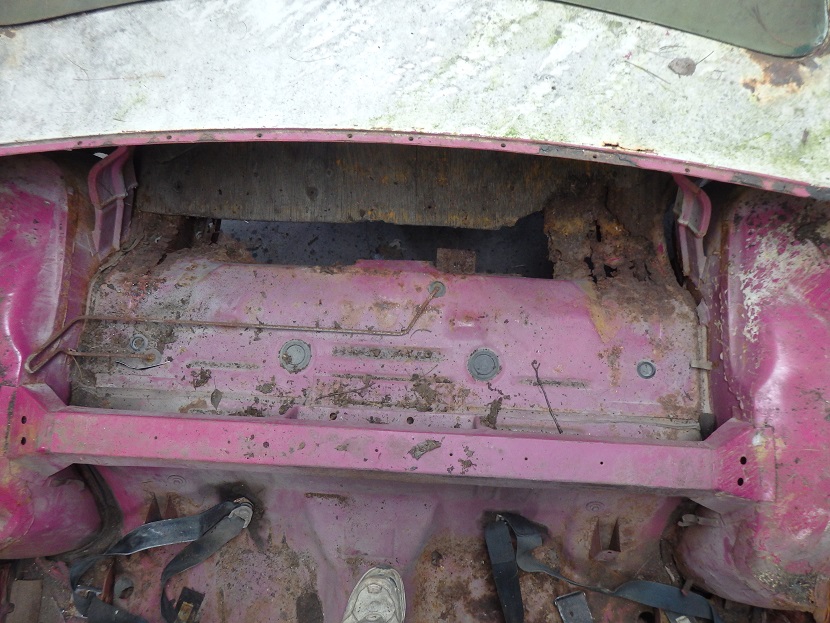
Here are some pictures of the convertible well area, before and after removing the top. I am pretty sure the oozing black stuff is from the post factory undercoat job the car got.
They make convertible sealing kits which come with foam for the convertible well area and the windshield opening. As of this writing, I have bought the kit but haven't tried it.
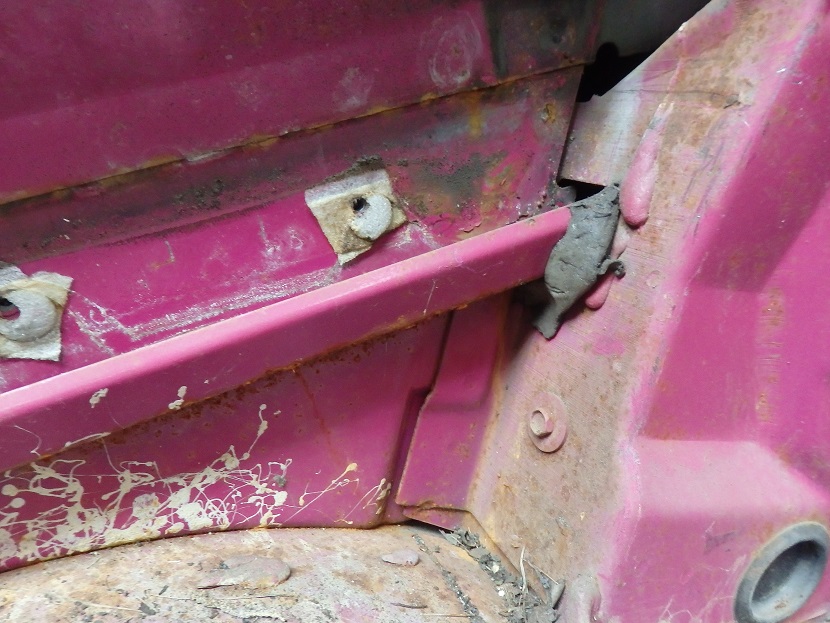
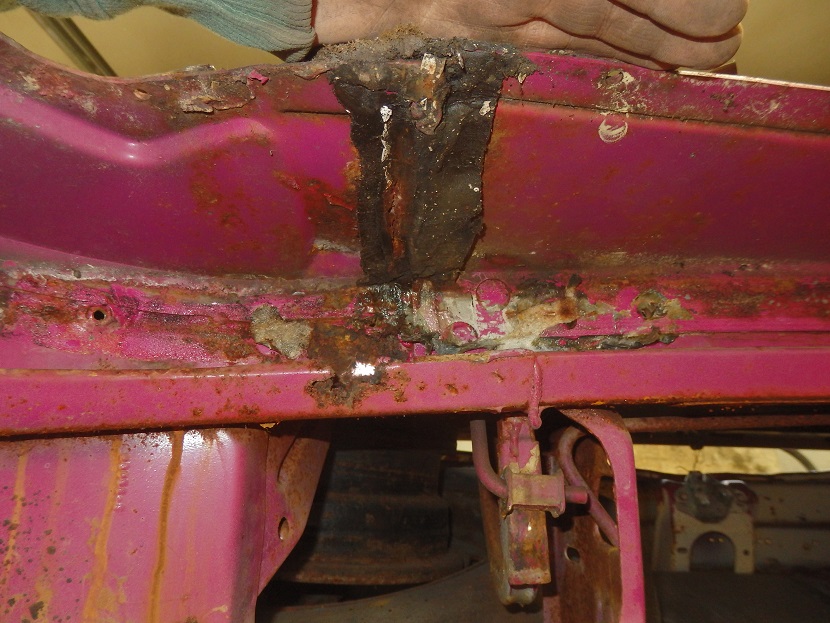
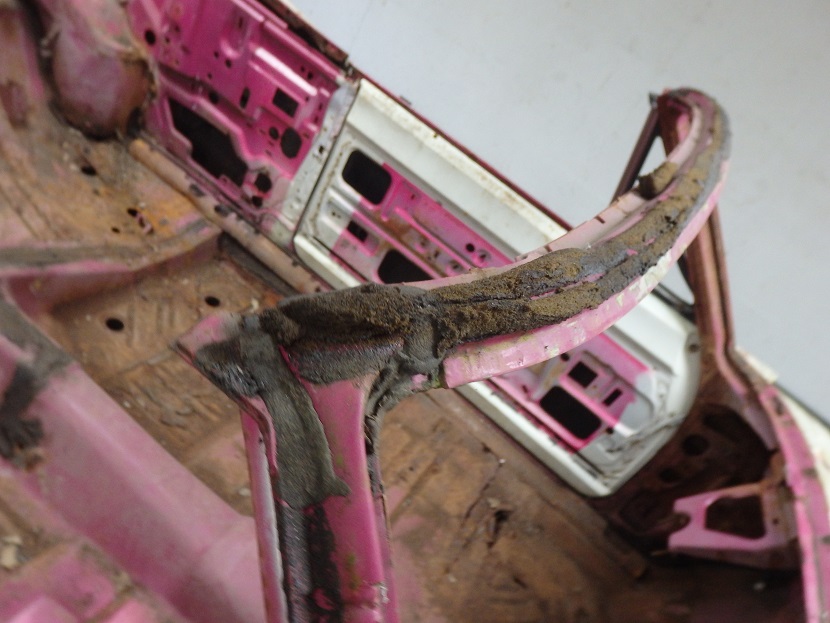
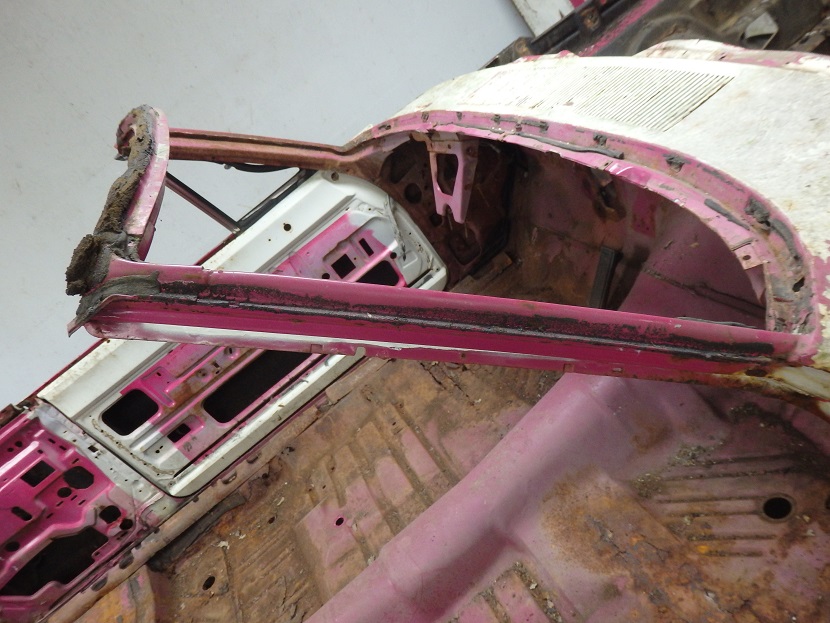
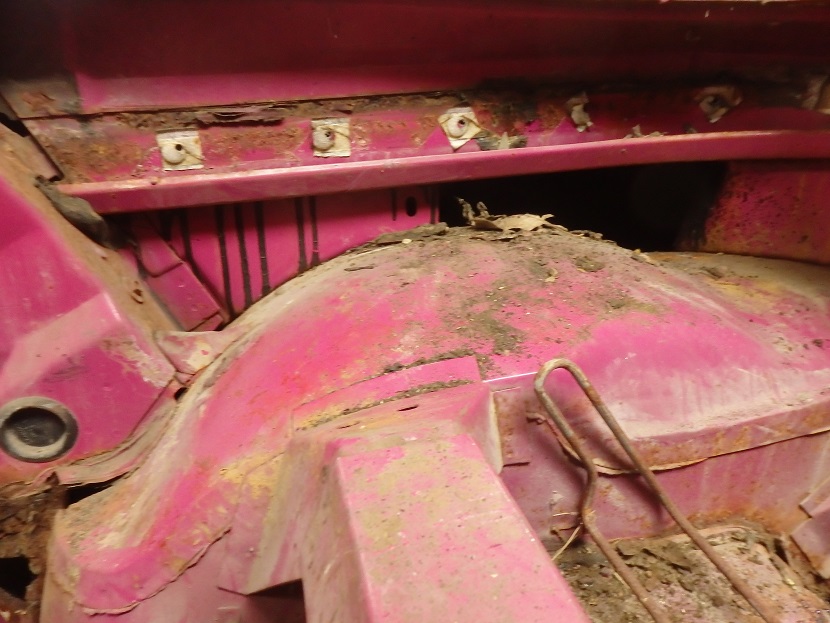
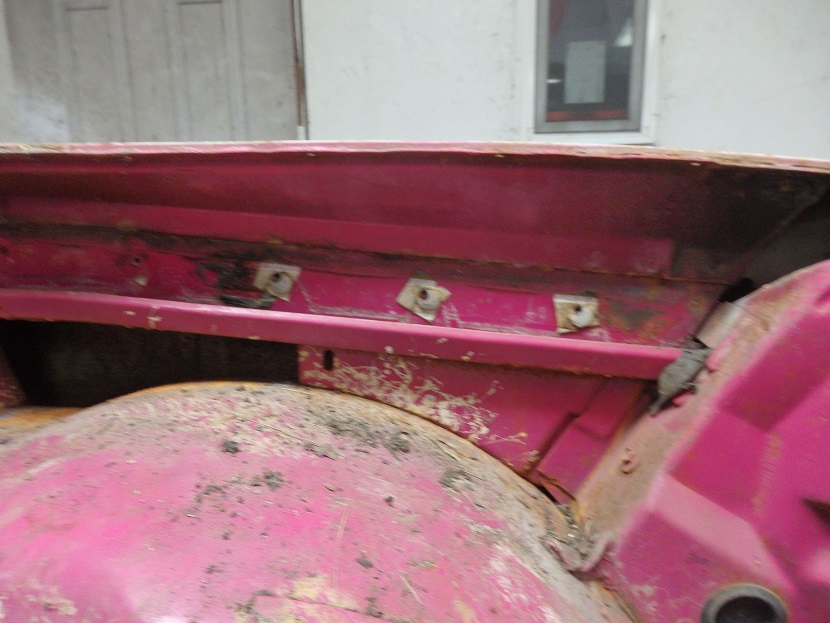
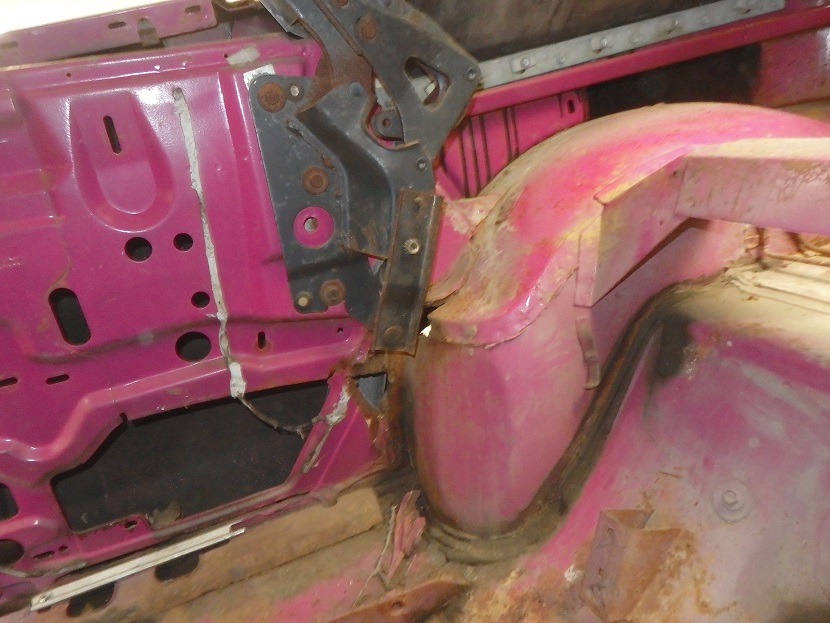
The quality of these cars wasn't very good at all. In the first 2 pictures you can see where the factory put globs of sealer at the ends of the convertible well gutter. Also, the seams at the back were jsut plastered with the stuff, which probably was used as a fix for the poorly welded seam which was broken open on this car.
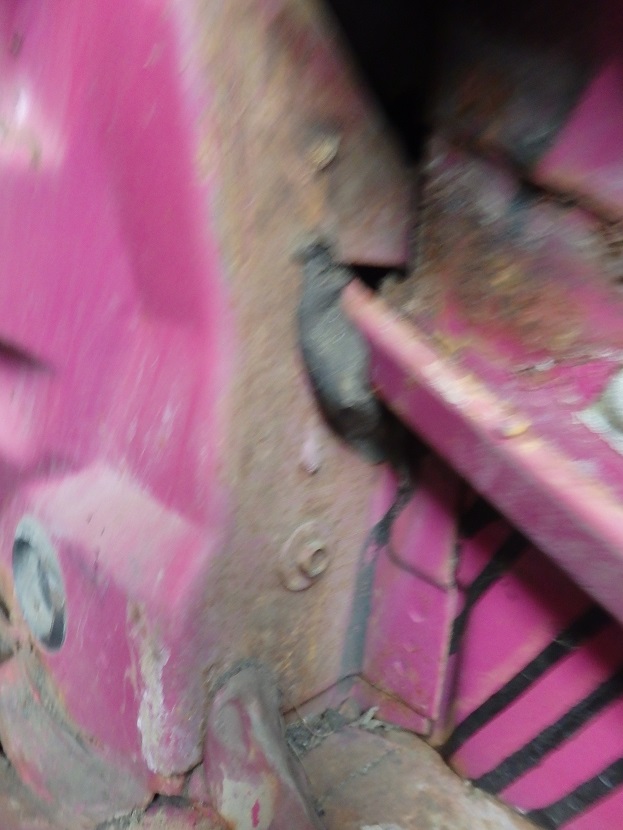
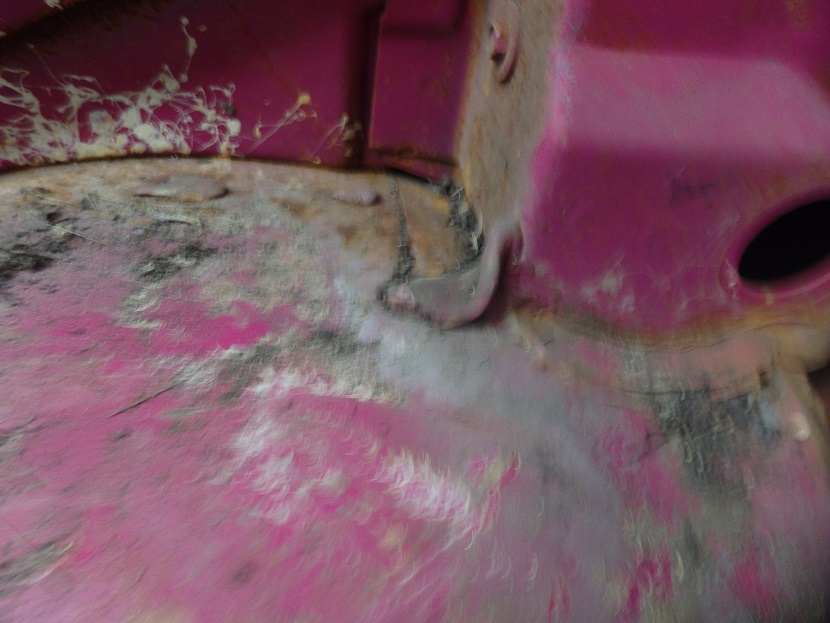
The last 2 pictures show rigid glops of sealer that were pinched in place and where painted over when the car was painted. Not sure what good it did, but this detail was reproduced when I painted the inside.
Another thing to note in the last 2 pictures are two bolts with washers that were painted body color. These hold braces in place, which are located inside the quarter panel which can not be seen without pulling the quarter panel off.

The rear seat belt locations, how they are stacked together and where each type are bolted needs to be documented.
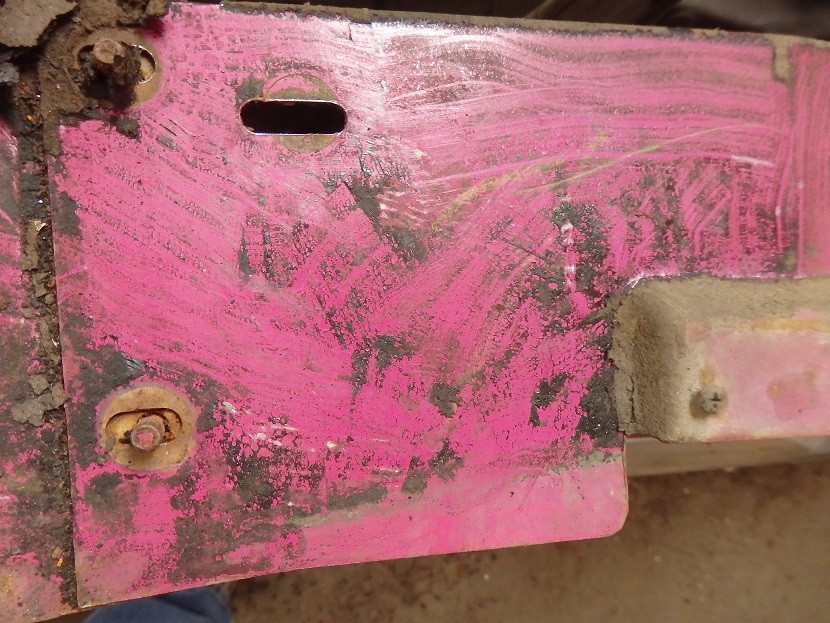
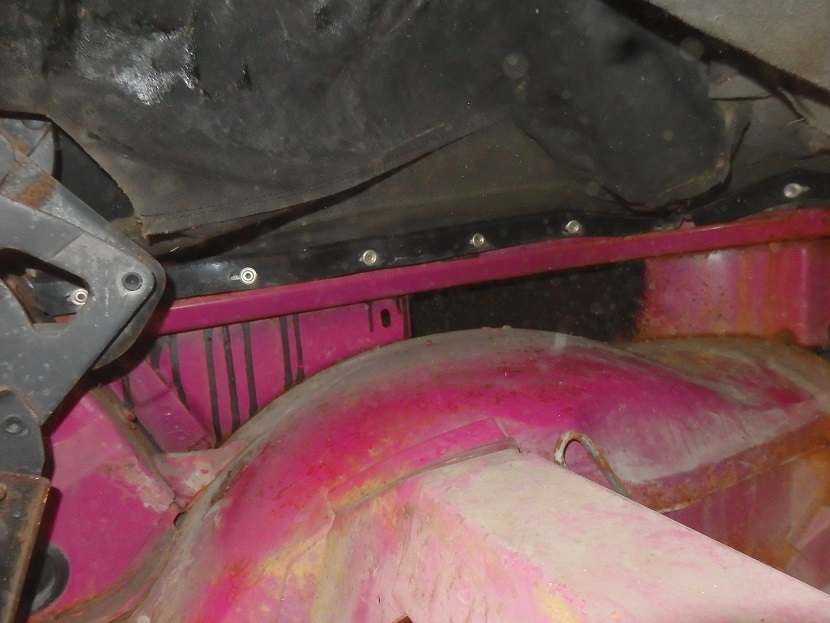
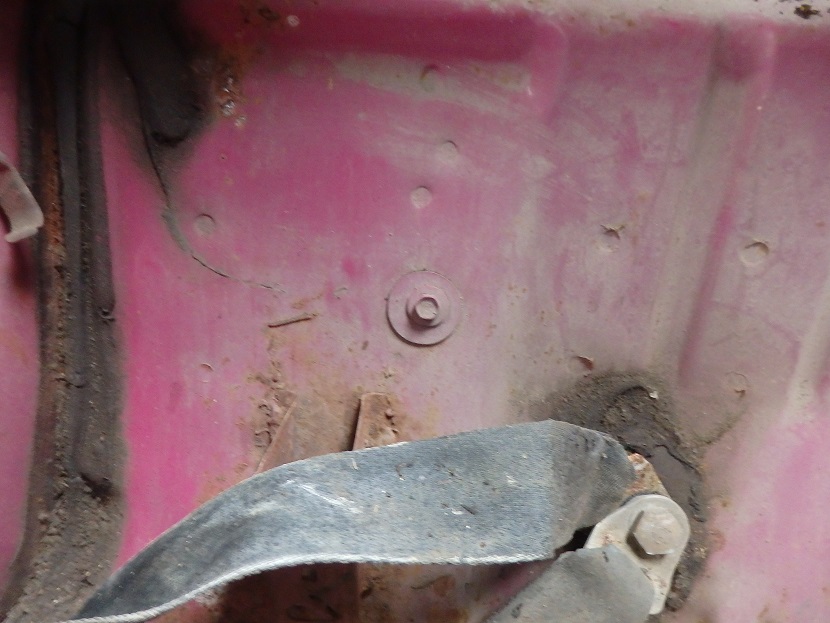
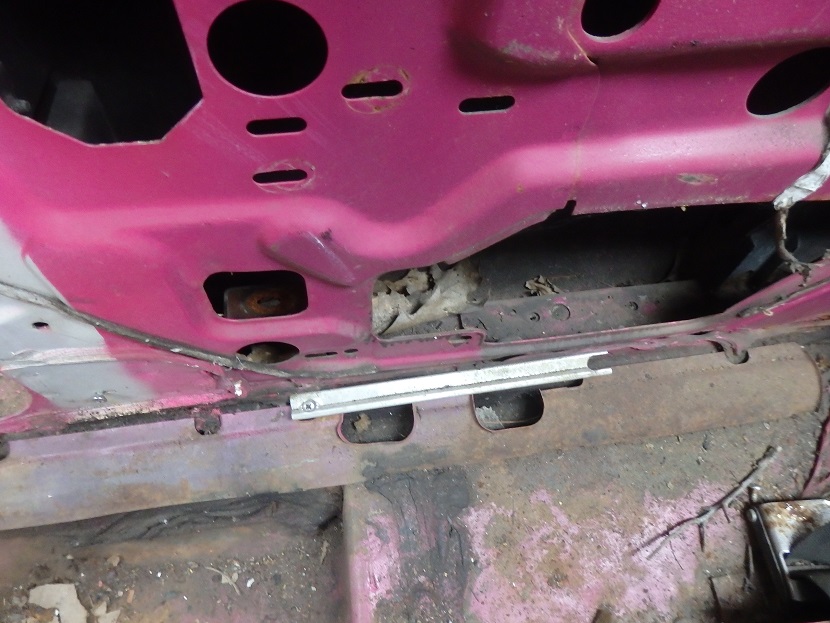
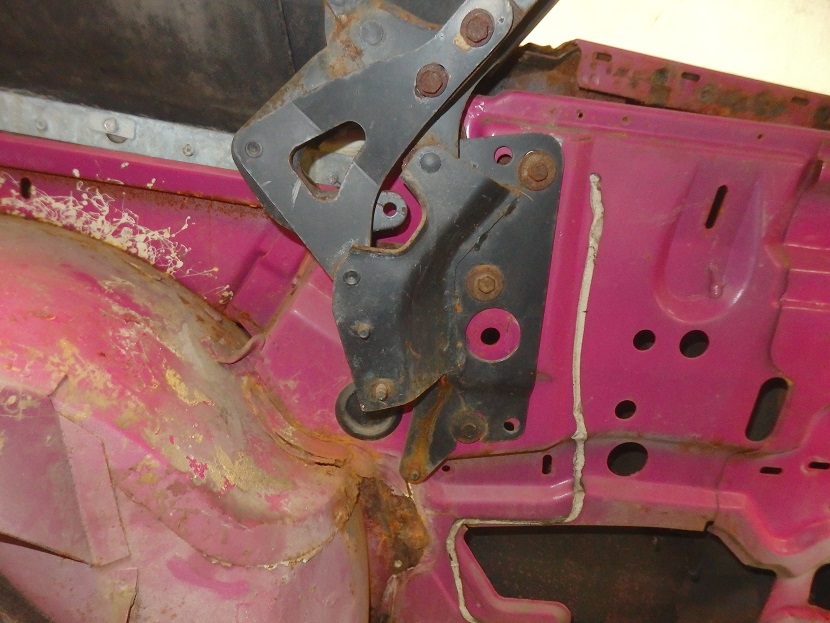
In the first 2 pictures you can see 2 bolts with washers that are painted body color. The bolts have corespiodng U-nuts on teh frame rails. These parts need to be installed prior to painting the underside and the inside of the car.
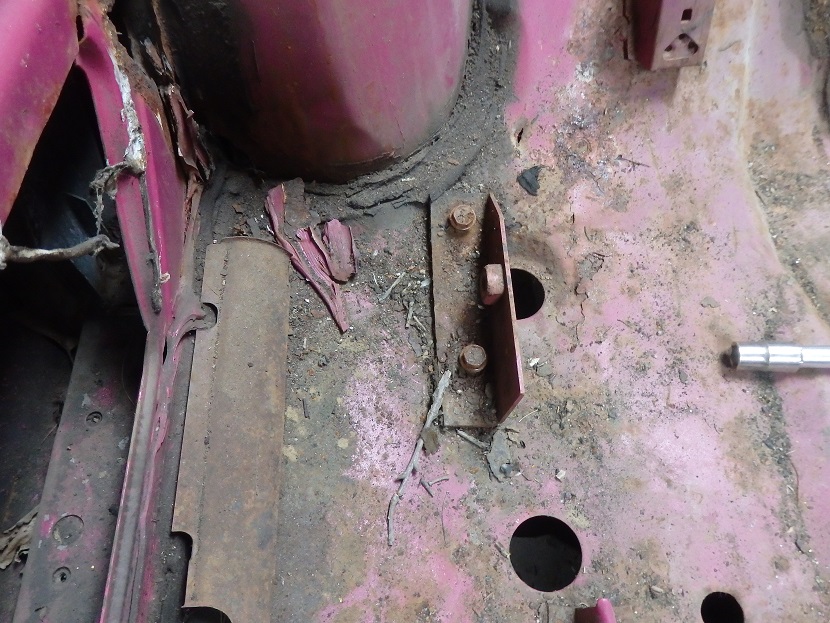
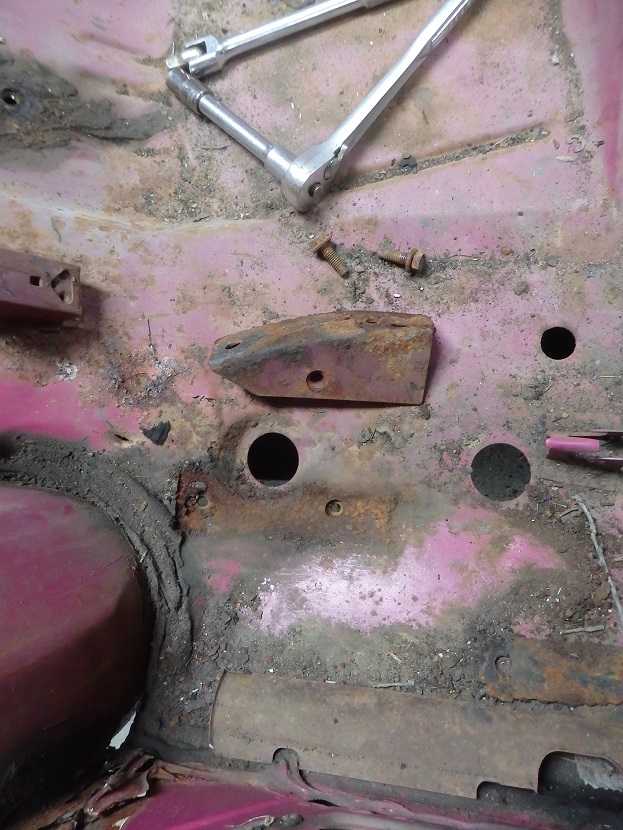
The 2 pictures on the right show the convertible only seat belt mounting anchor brackets. It's obvious that they were bolt in place when the car was painted. This detail needs to be reproduced as well. Note: The bolts that hold them in are the same as the door hinge bolts.
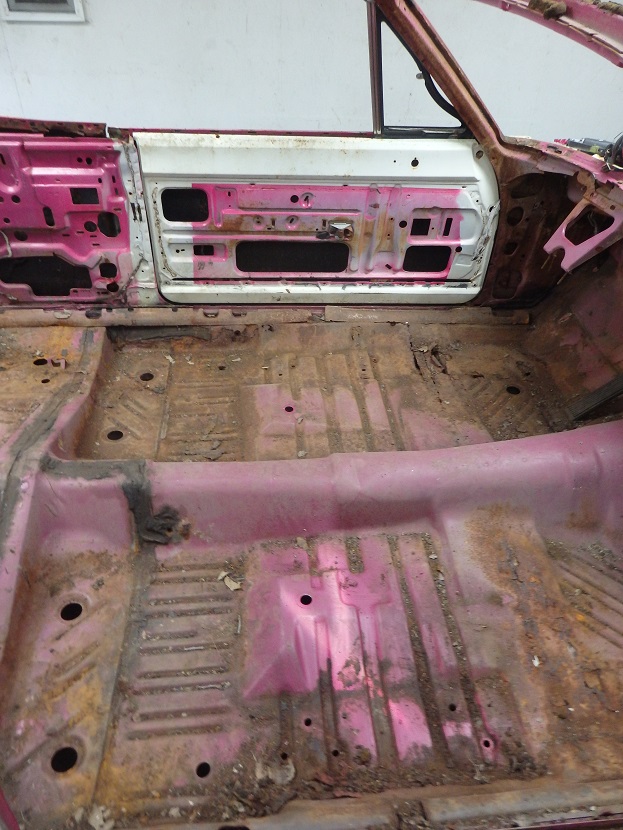
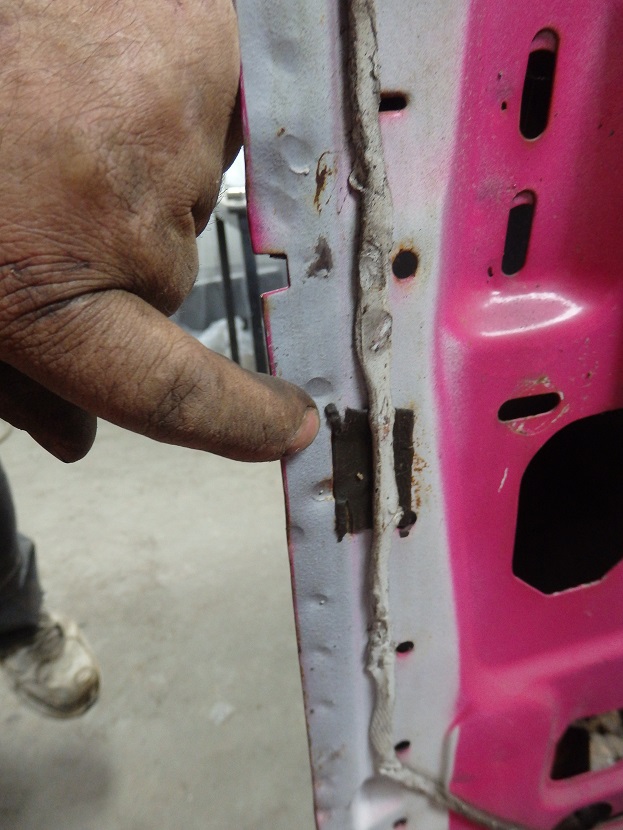
The door frame color is painted interior color before the body. The front section of the rear inner door area is painted interior color as well. In the first picture you can see a white X on the floor. This is where the factory worker prep'd his paint gun before spraying the interior color. I've seen many, many pictures of B-body cars and I have yet to see one where they painted the rear inner door area interior color. I suspect that this needed to be done so that the interior color can be seen in the gap between the door welting and the rear interior panel.
An item not to be missed is in the picture on the right. A little piece of flat sealer was applied over a square hole on the inner side of the B-pillar. This is the same sealer that is on the E=body upper cowl under the weatherseal.
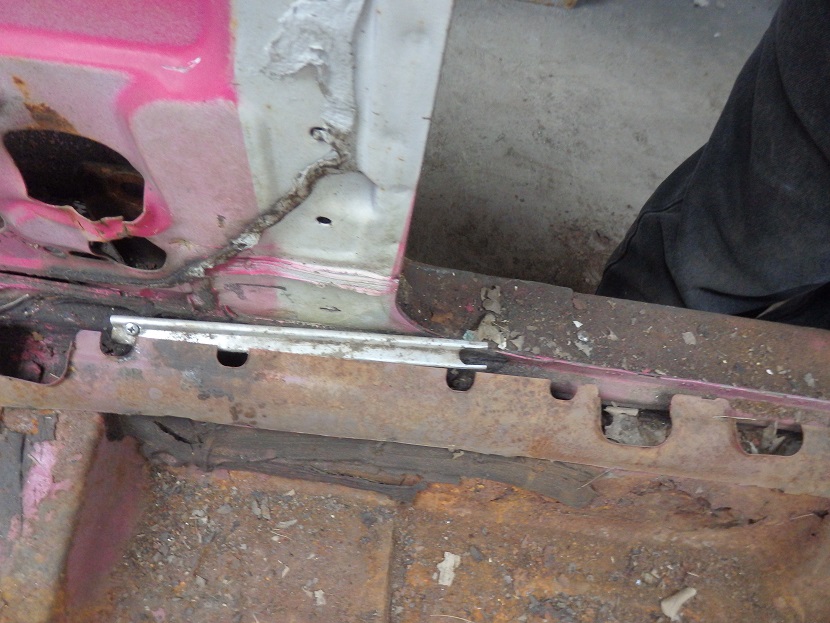
An item that is often installed wrong by restorers is the rear carpet hold downs (sometimes called sill plate extensions). The one on the right is spun around, but still they both have not been removed since the factory installed them.
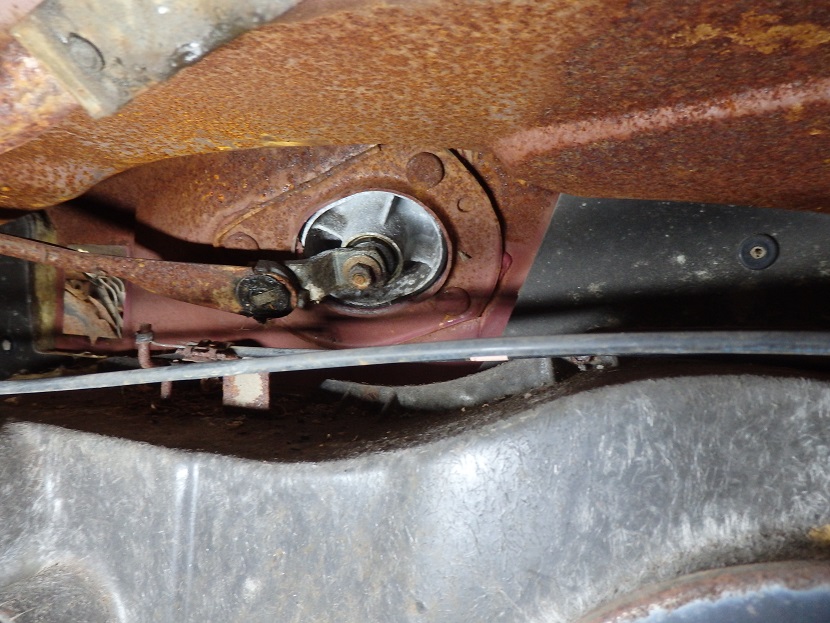
It's good to take reference pictures of the convertible to frame attachment points to use as a starting point when putting the top frame back in. Also some picuters of the floor pan plugs may come in handy.
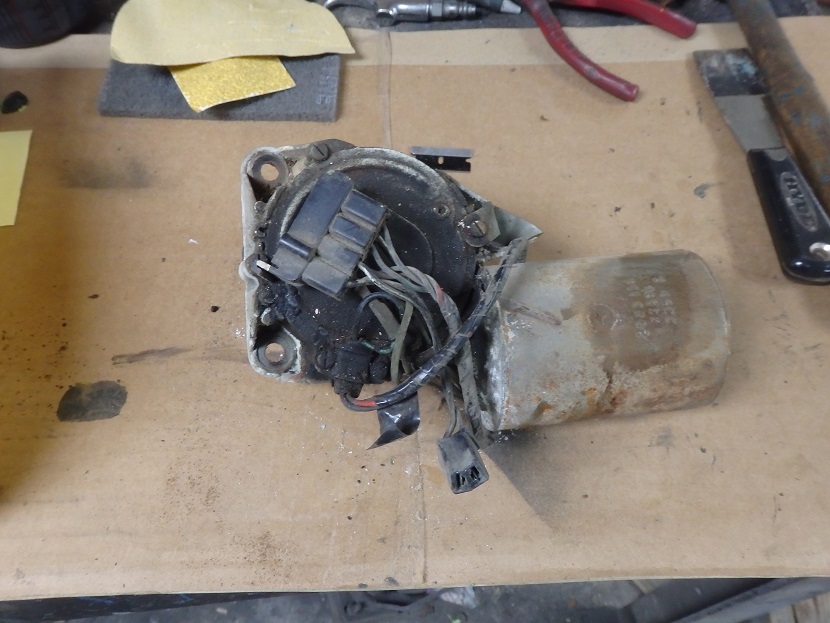


Here is the wiper motor and linkage. All of the mounting nuts are supposed to be dyed red. They dye has since faded, but once removed the underside of the nuts shows the red. The date code code on the wiper motor is 3359, which translates to the 335th day of 1969. Kind of early for a car built in May of 1970, but the motor appears to never have been removed from the car.
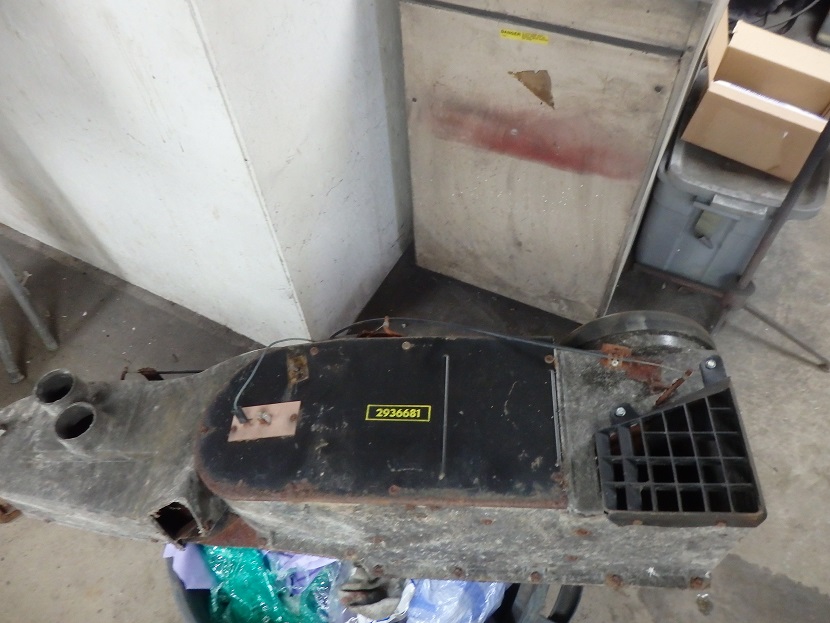
The heater assembly comes out really easy once the dash is removed (the dash was already removed when I bought the car..). Notice the yellow stamp reading 2936681 on the heater ? The number is correct for late 1970. The early version is 2936680.
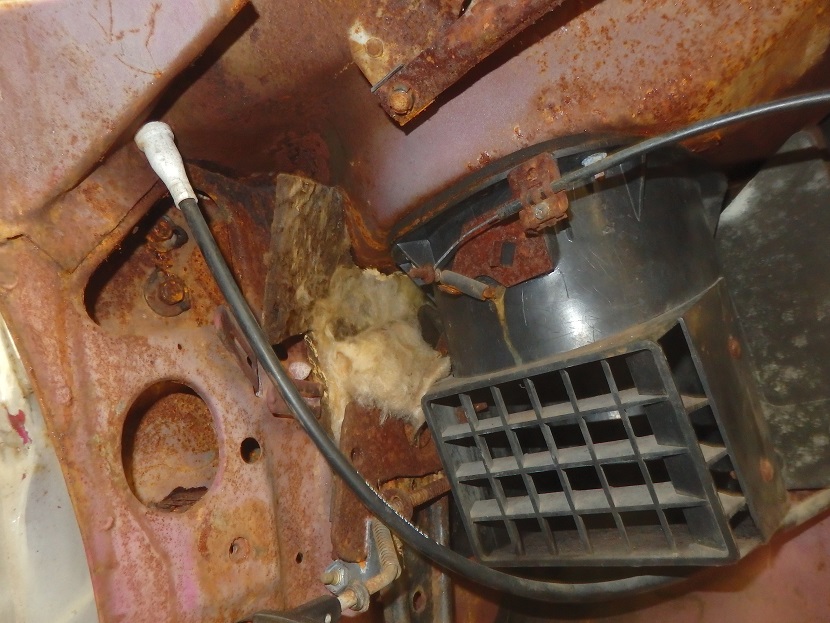
Before taking out the LH vent, it's good to document the existance of insulation in the upper corner.
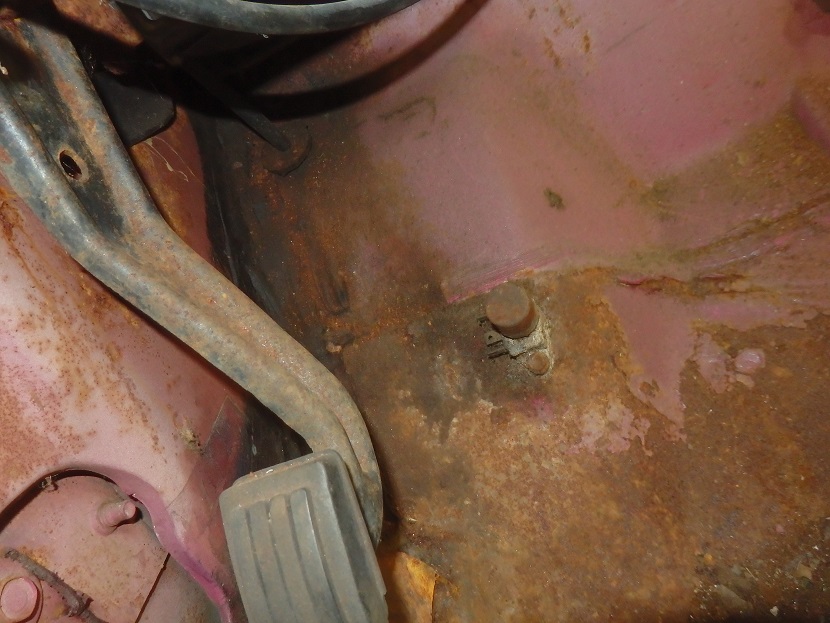
To the left of the gas pedal is a flap stapled to the firewall pad. The repo kits don't come with the flap. So you will need to save it.
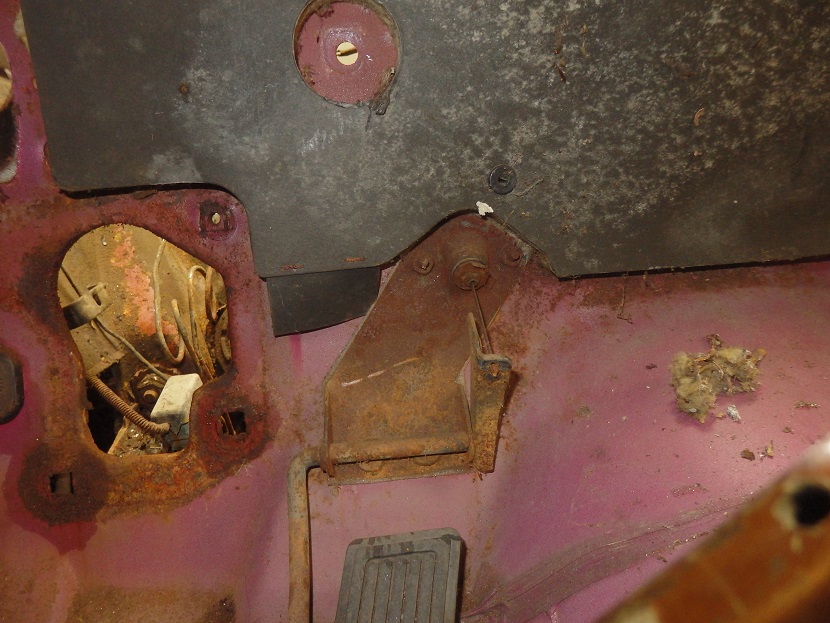
Another good thing to document is the headlight switch mounting and its orientation.
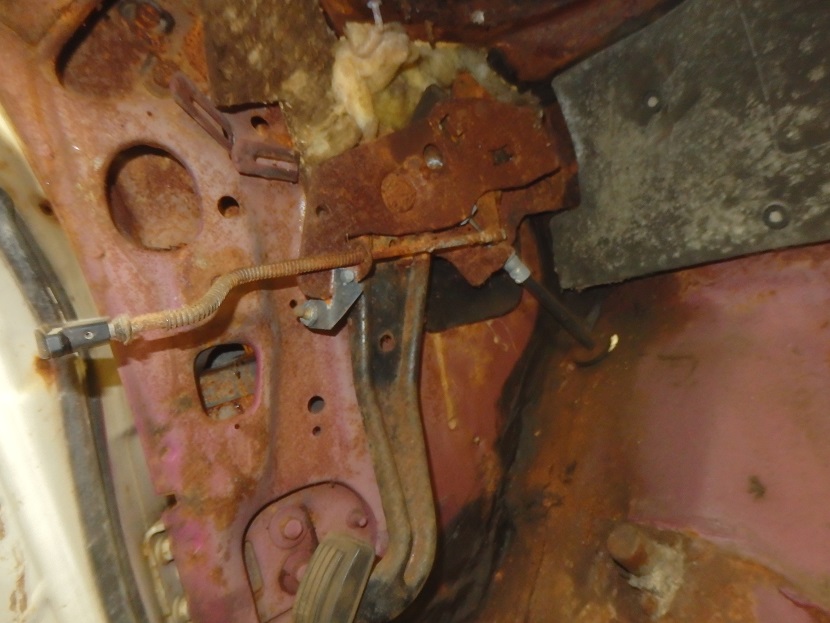
The last picture shows the parking brake assembly. You can see the left side cowl insulation protruding at the top and bottom. This is a good indicator that the new insulation must be installed prior to the parking brake.
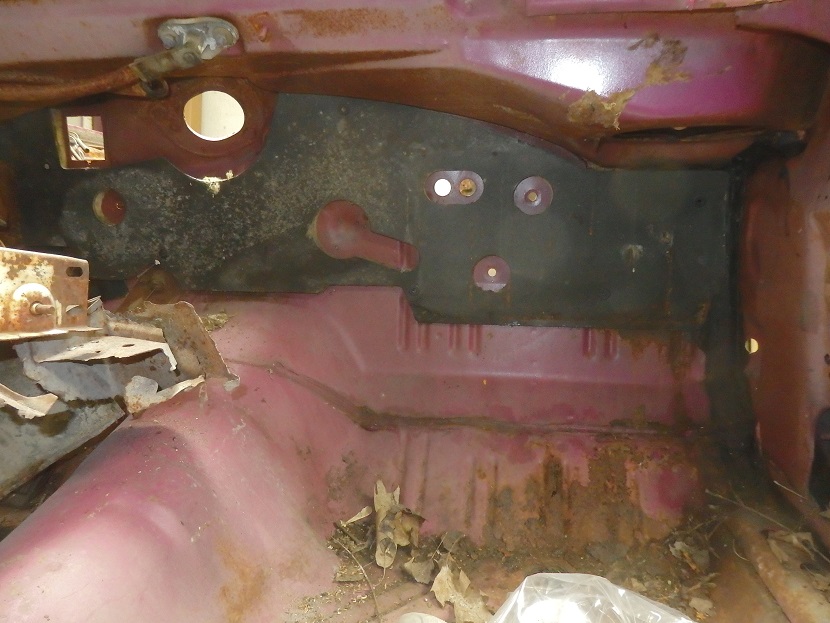
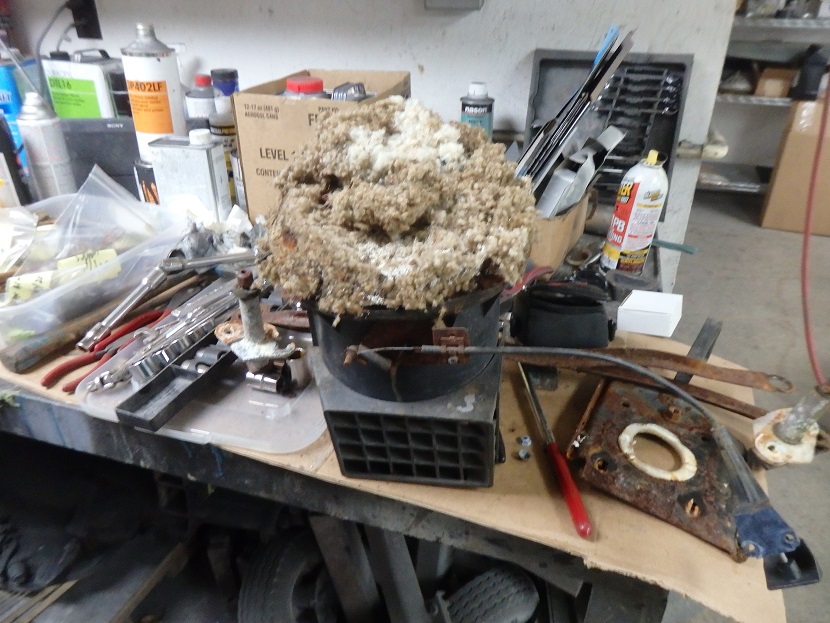
With everything removed from the firewall you can see the what the firewall pad is supposed to look like. The insulation that is supposed to be glued to the underside of the cowl is missing. Most of it became a mouse nest inside the LH vent.
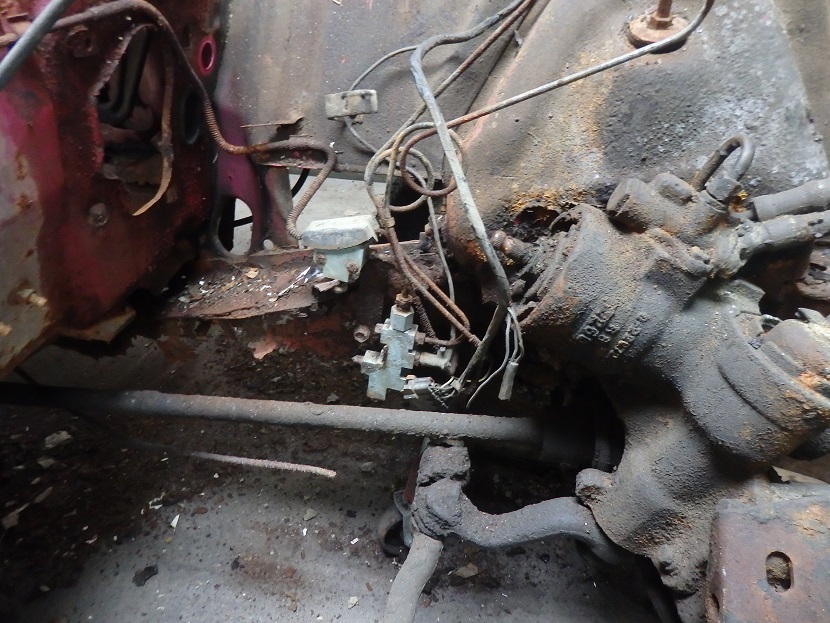
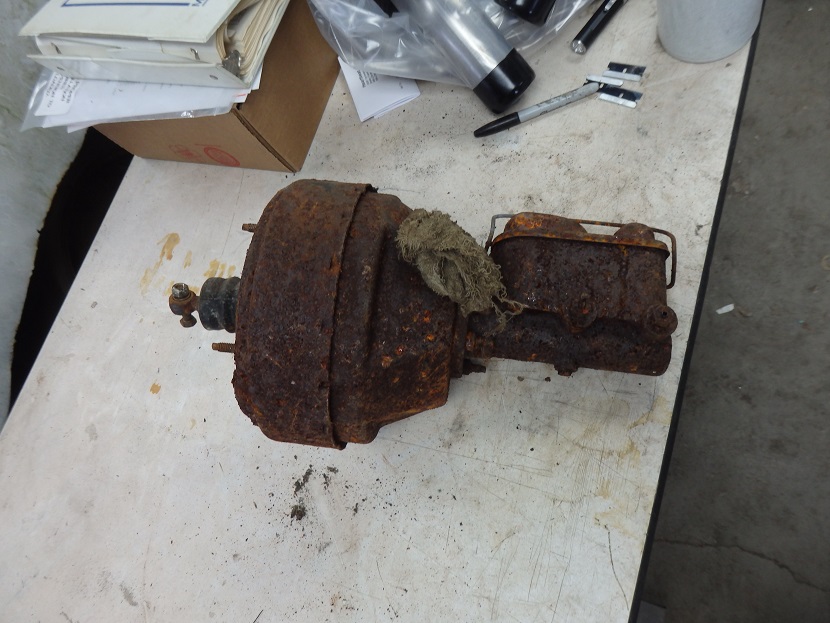
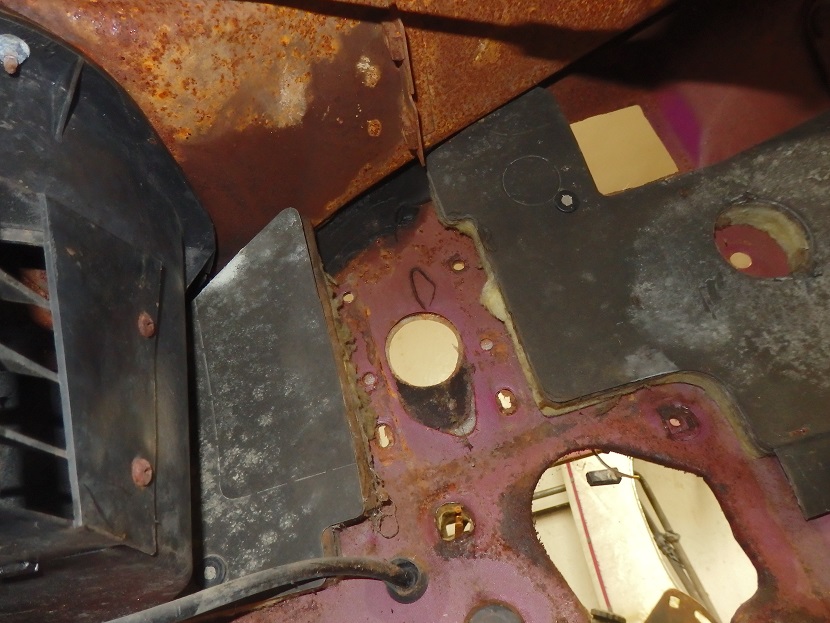
This car came with power front disk brakes. The booster and master cylinder were a rusty disaster. The proportioning valve wasn't much better. Either way the connections all need to be documented before taking it a part or you will spend a lot of time trying to figure out how to put it back together.
To reiterate, it's very important to take lots of pictures and you can never take enough. Infact you will probably find that you wish you had taken more when you can't find that one picture that shows how something goes together.