|
|
Vent Windows
|
|
|
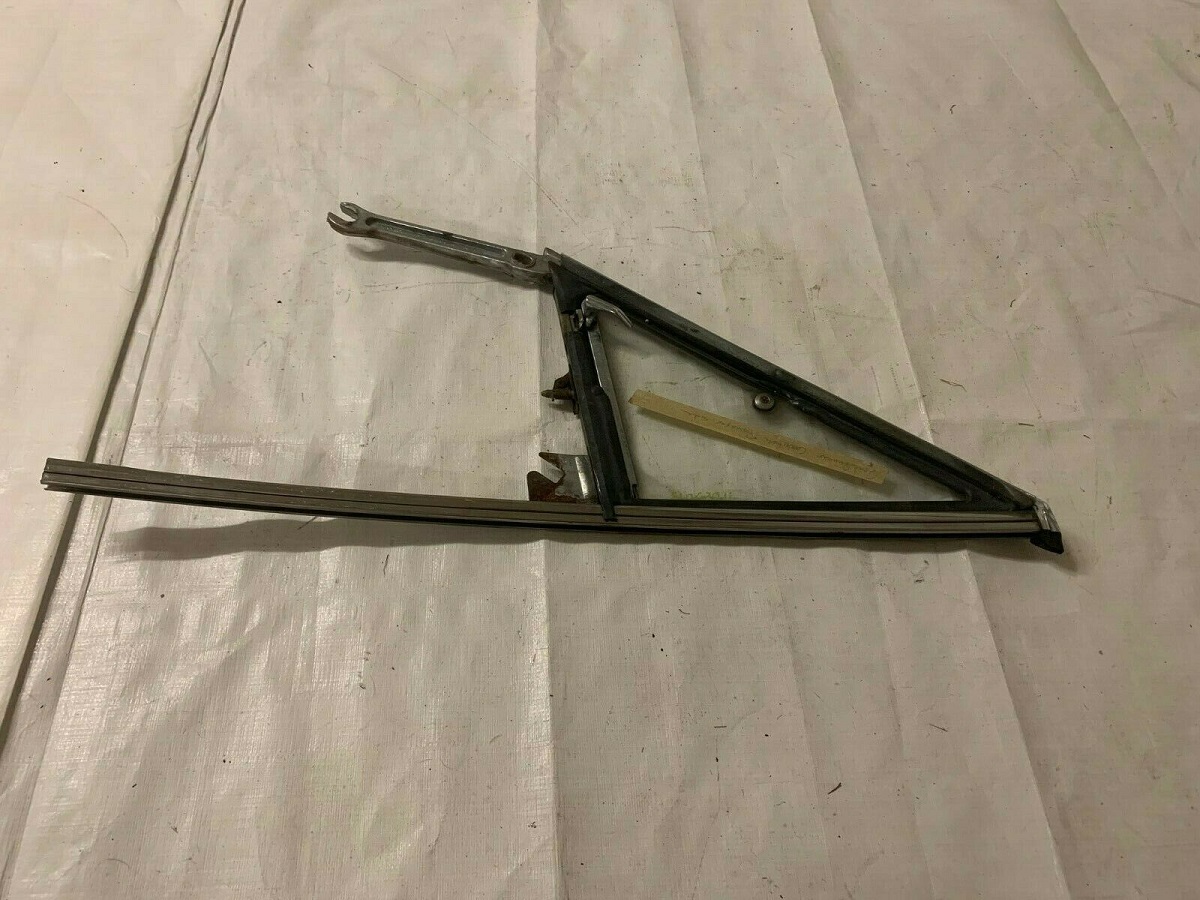
Convertible vent windows are not the same as coupes/hardtops. This has to do with the fact that the windshield is sloped back more on convertibles. Because of this and the rarity of b-body convertibles I had to pay a lot of money to
locate this missing RH vent window.
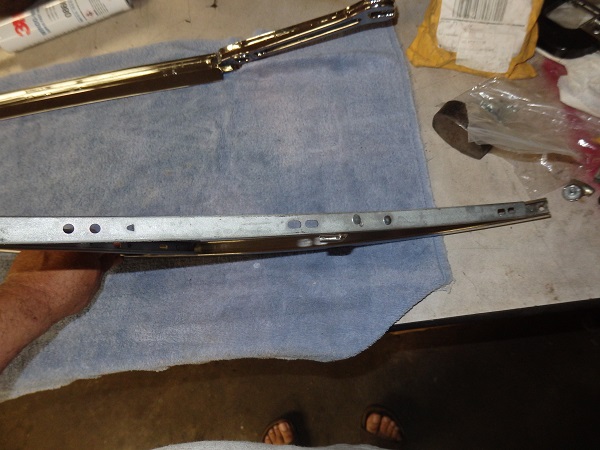
What compounds the expense is the fact that the quality of the chrome isn't very good on these cars, so the vent windows had to be dismantled and the chrome pieces needed repair and rechroming. The vent window frames were never intended
to come apart. The L-shaped steel piece that retains the weather seal is actually held in place with pins that stick out of the chrome that are mushroomed over to hold the pieces together. You have to grind the mushroomeds head off to take it
apart for rechroming. More on that shortly.
|

|
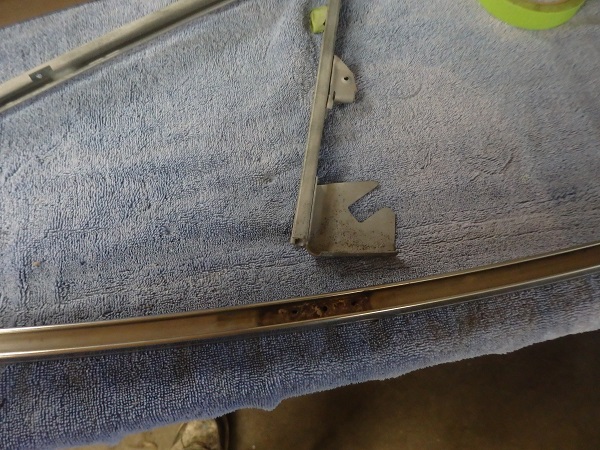
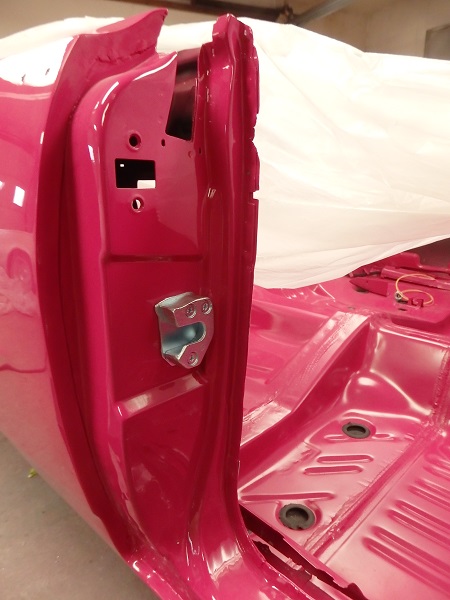
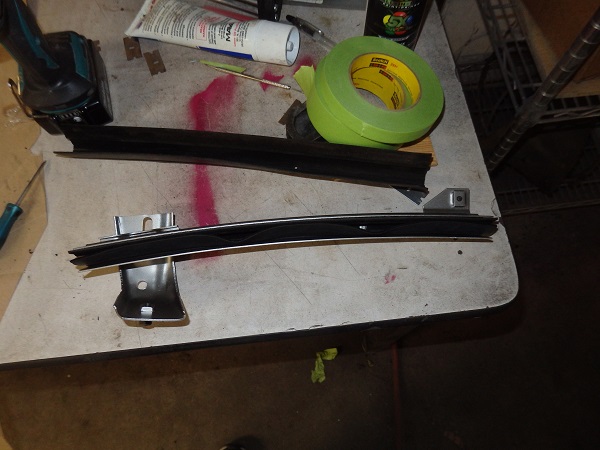
The vertical window channel is stainless steel (hardtops are only SS on the top half). The L-shaped (triangular shaped ?) weather seal retainers are spot welded to the SS channels at the factory. I ended up breaking these welds free to get my trim polished and
then I had to weld them back on.
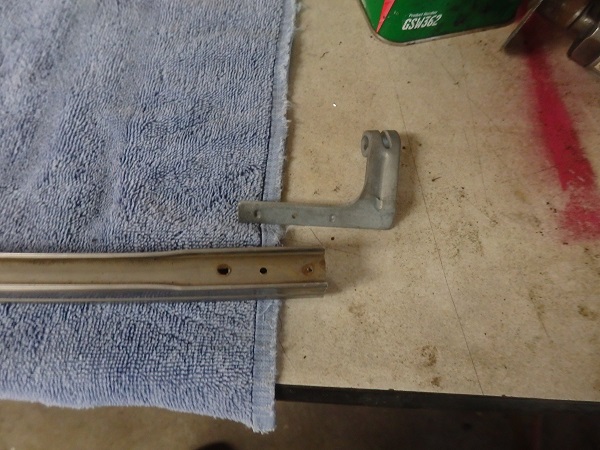
The bottom of the SS channels also have these locating brackets spot welded to them. They are often found broken off on convertibles and hardtops. And of course, convertibles are different then hardtops. I put a nice strong weld on them to keep thme in place.
|


|
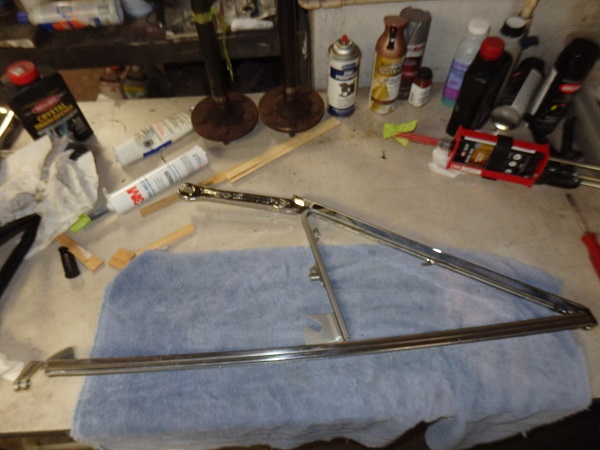
Convertible vent windows have chrome pivot pins rivetted to the L-shaped bracket. I had to drill out the rivets so that I could send them out to get rechromed. Since I had the correct tool I was able to rivet them back on with the correct solid rivets.
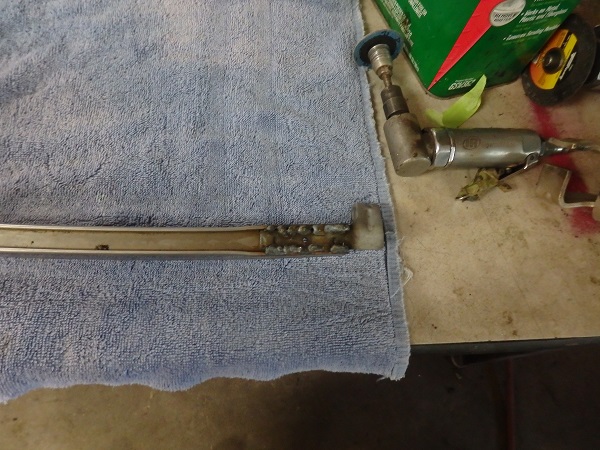
Since the L-shaped piece could not be attached the way the factory did it, as I had ground off the mushroomed pins, they had to be epoxied to the chrome pieces. Seen here, the channel was filled with SEMS panel bond
and the pieces were clamped together for a couple days. Note: Paint paddles were used on the chrome face as to not scratch the chrome.
|
|
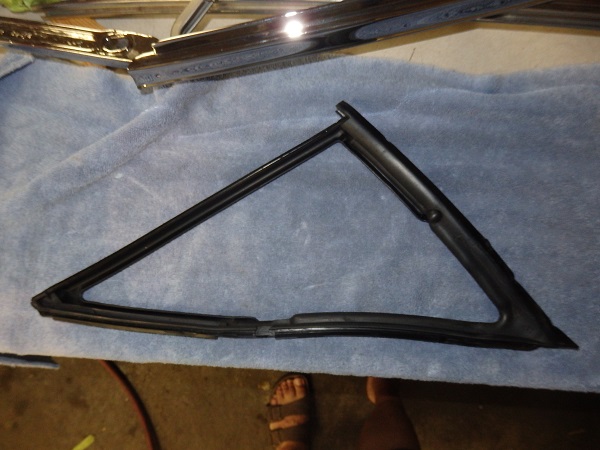
I reused the original vent window seals since they were in great shape and nothing fits like the originals.
|


|
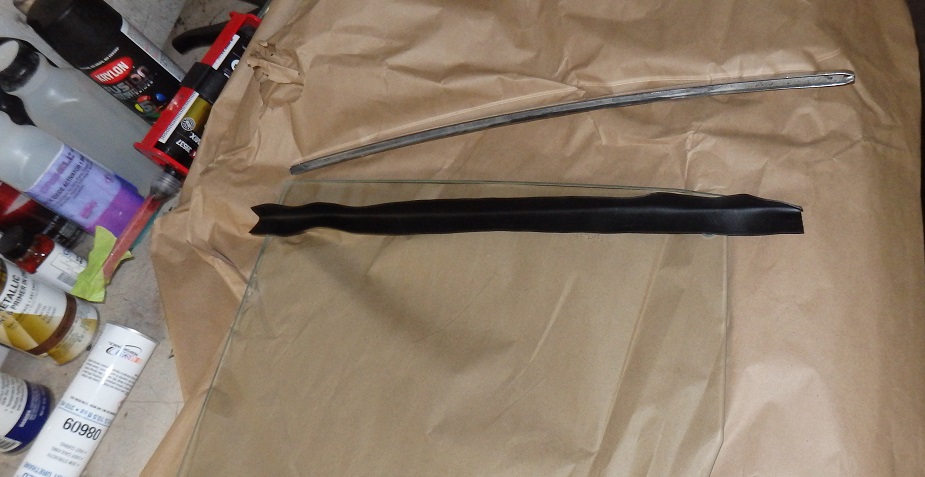
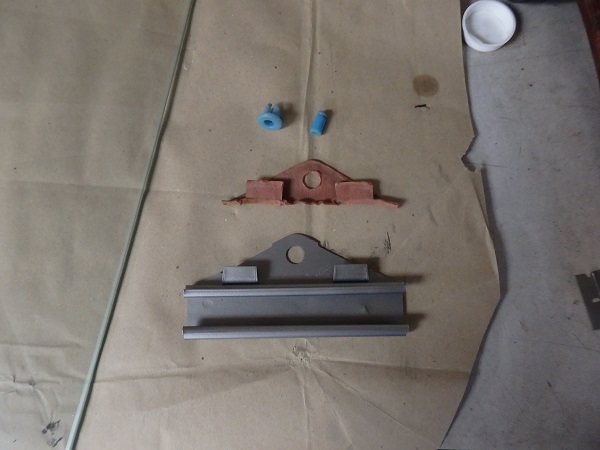
I purchased new correct date-coded glass form ECS Automotive. It took a good 6-8 months to get all of the glass as convertible stuff is not manufactured very often. In the first picture you can see the new glass next to an old one that I had.
The bracket and the handle were rechromed originals.
I was able to locate NOS pivot kits, so I did not have to restore and reuse the originals. The kits come with different depth seals, so you have to pick the one that matches the original.
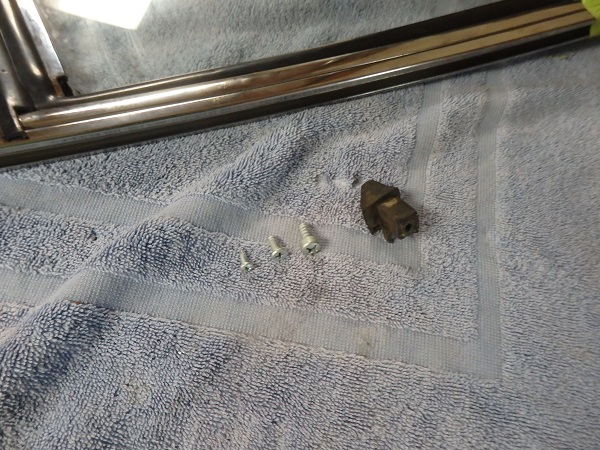
The last picture shows the unique hardware that is used on vent windows. These I replated in zinc at home.
|
|
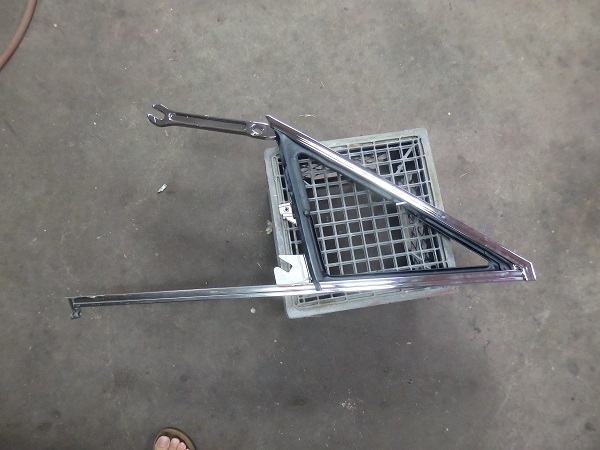
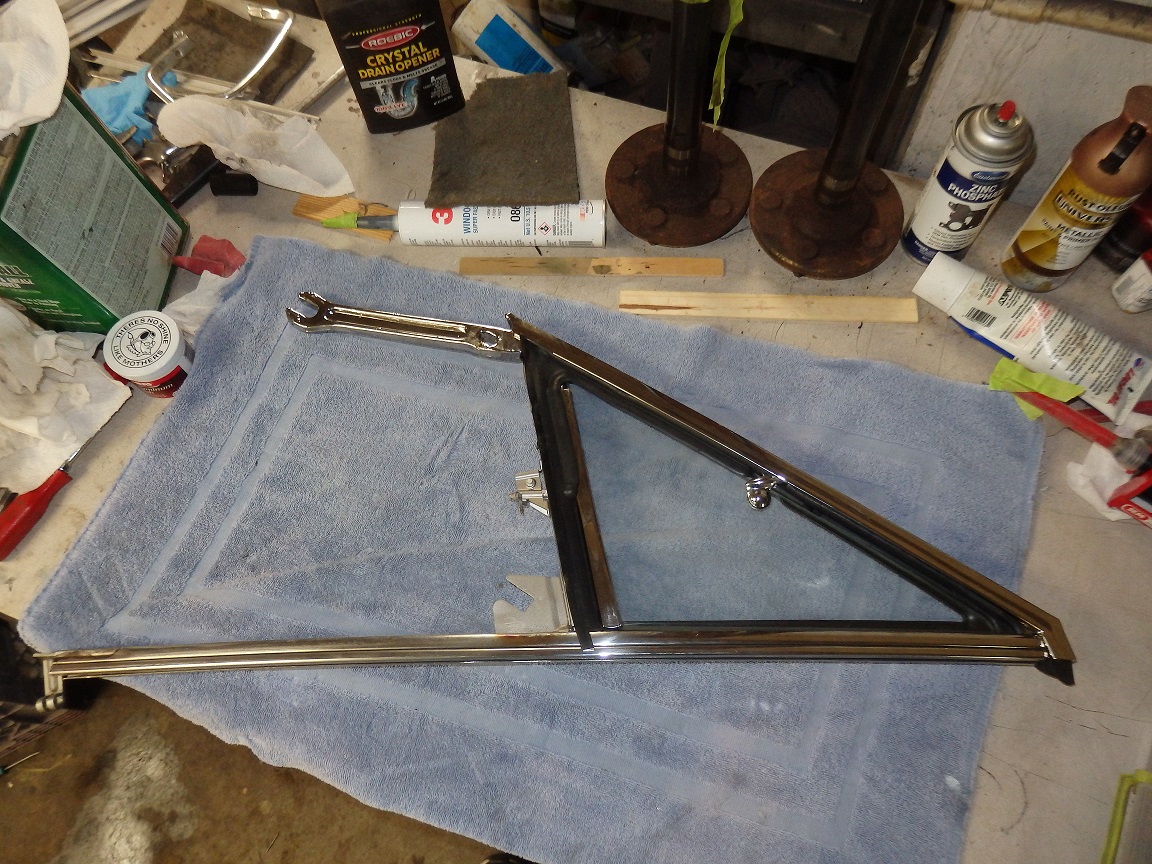
And here we have a completely restored vent window assemble (LH).
|
|
|
Door Glass
|
|

|
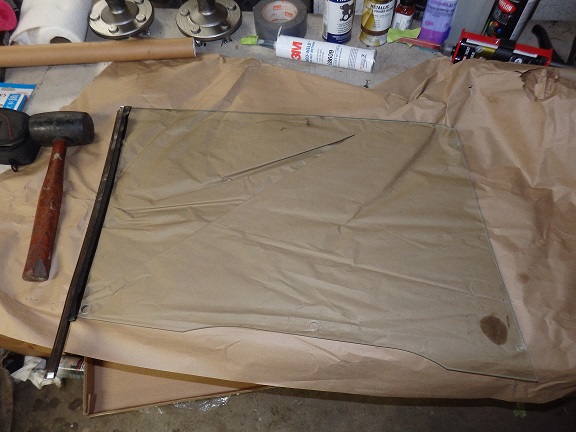
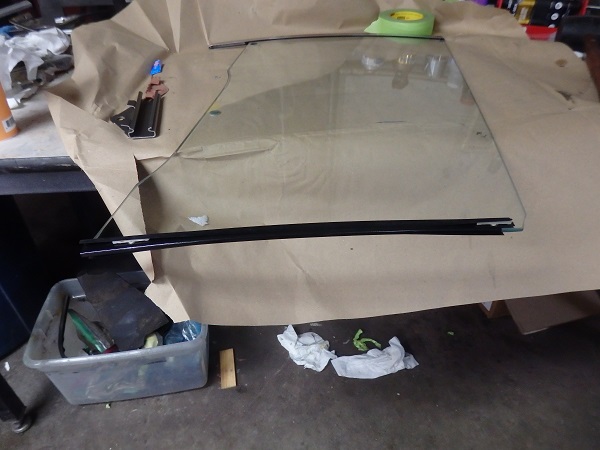
Here is the complete RH door glass assembly before it was installed in the door. The white foam piece at the very bottom of the picture is to prevent rattling with the alignment pin at the bottom of the door.
|
|
The first step in the process was to install the vertical stainless steel trim. Convertibles use different trim than hardtops. You wrap the edged of the glass with glass setting tape (available online or through auto glass shops), and then you tap the moulding in place
with a rubber mallet. I use wax & grease remover as lubricant. Then you trim off the access with a razor blade.
|
|
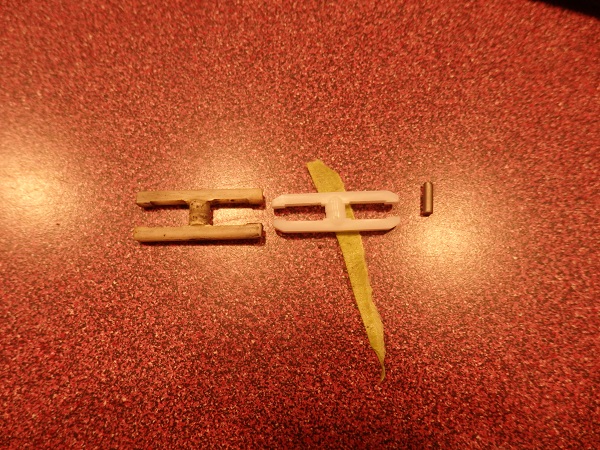
The door glass has a guide strip attached at the front which captures it within the track of the vent window frame. The guide strip his held firmly to the glass using a pair of plastic guides the go through holes in the door glass.
In the leftmost picture you can see the guide strip installed along with the guides (white) that hold it to the glass. In the second picture you can see a pair of original guides and repos. Repo on the right. The
repos are not correct and need to be modified so that the windows don't bind. I opted to locate and use originals.
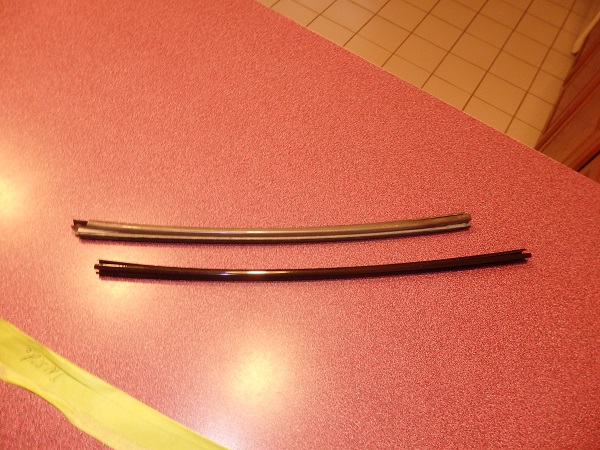
In the third picture is an original window guide strip and a repo (black). Though the repos are nice, I had to punch some holes into them with a paper punch, for the plastic guides. I also notched them at the top. The notch
is there so the guide strip clears the plastic cap on the vent windows.
|
|
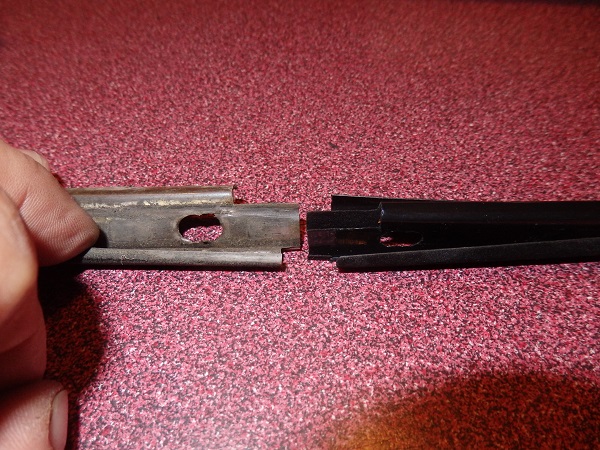
This is the bracket that is attached to the glass and it is the only place the window regulator makes contact with the glass. The blue pieces are actually the two piece rivet that holds it to the glass. Repos don't fit very well
so you should try to use an original one like I did. The redish pieces is a gasket insulator that goes on the window between the bracket and the glass. On the RH door I had to make a new one. On the left hand door I was in trouble as the
hole in the glass was in the wrong place. So I ended up bedding the bracket in place with 3M window weld in addition to the gasket.
|
|
|
Going Back Together
|
|
|
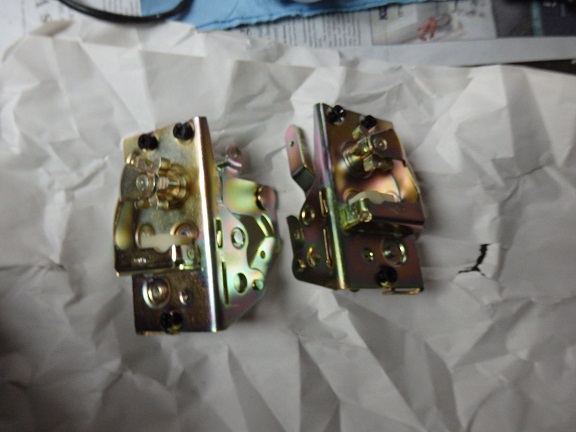
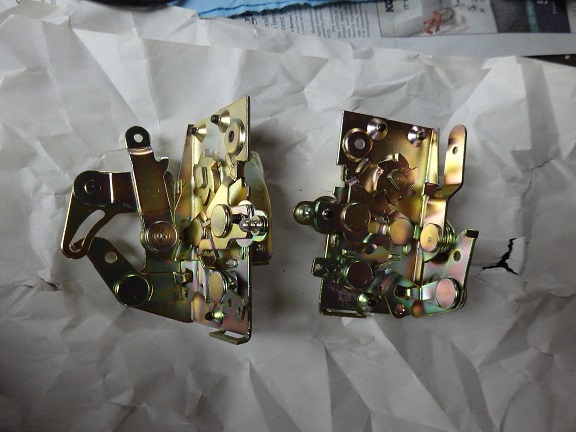
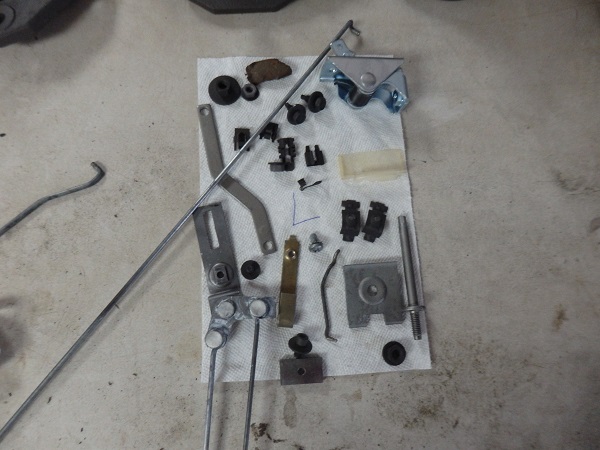
I was able to send out my original door latches and got them restored. They look amazing.
The make really high quality repo door handles, so I didn't bother replating my originals. The problem with the repos is that the brackets for the button (bottom right) that comes with it are not very good. Luckily the originals cleaned up nice and they fit the repo handles.
The metal plate at the bottom of the right picture is not original and it was never put on these cars. There is a weak point on the doors where the studs go in at the push button, which can cause the door to crack if you pry on them too hard.
They sell these reinforcement plates to stiffen up the doors.
|
|
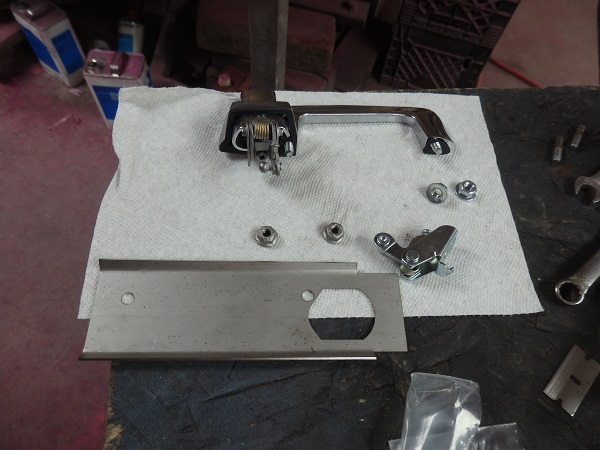
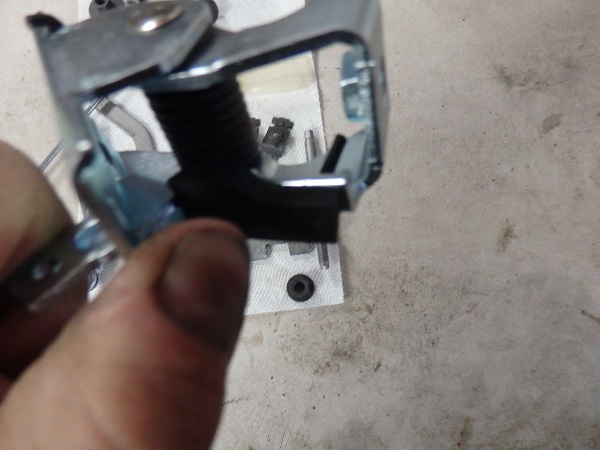
Here is the door hardware all restored and ready to install. Not clearly shown in the second picture is the rubber bumper that needs to be installed on the interior door handle mechanism.
|
|
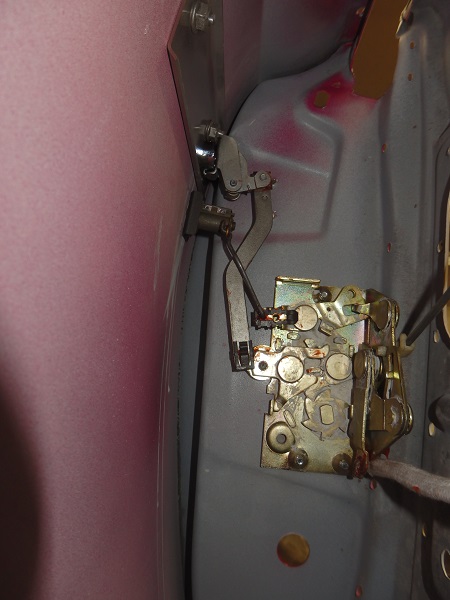
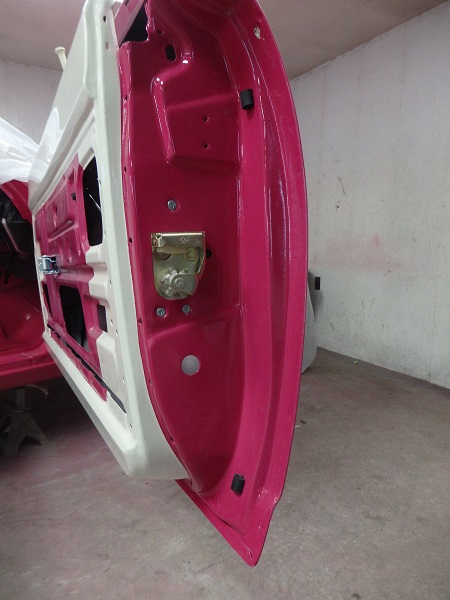
Here the door latches and handles are installed. The door handle reinforcement can be seen at the top of the picture.The latch I lubricated with sprat lithium grease. Everything else I lubricated with a red general purpose grease.
|

|
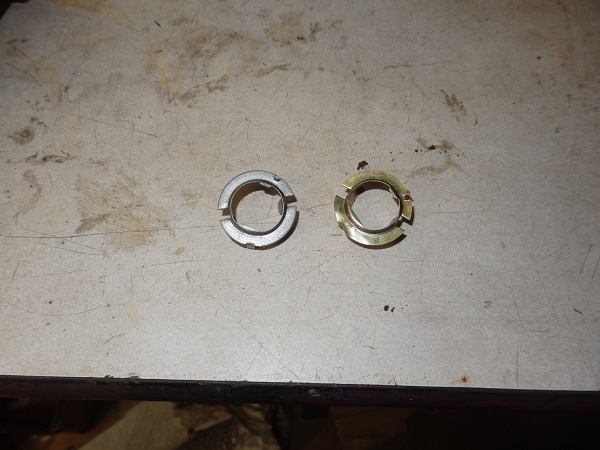
I purchased a NOS remove mirror for the drivers door. They are easy to find as the same mirror was used for many years. The only issue for me was that the anti rotation bracket/ retainer that holds the adjuster to the inside of the door
does not come with it (for 1970 and earlier cars that is). The second picture shows an original one (left) and a repo one (right). The repo one never fit the factory hole in the door and I was not about to modify my door. So I ended
up locating a used one.
|
|
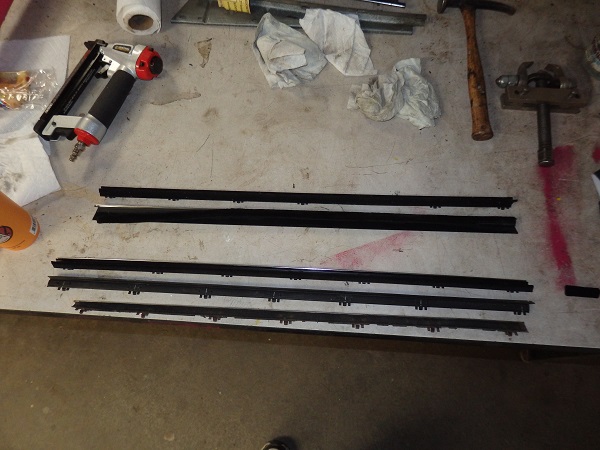
The fuzzies that go on the inside of the rear door guides are available. They were originally installed with solid rivets that were clinched down. I was able to reproduce the factory method as I had previously spent the big bucks for the tool. In these
pictures you can see installed, while the other one was beside it on the bench.
|
|
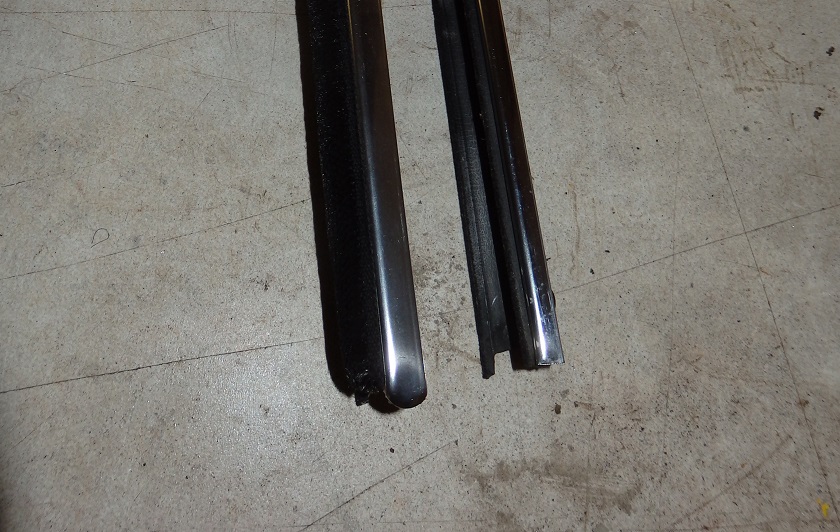
Another point of contention where the window sweeps, aka cat whiskers. Convertibles are different then hardtops. They are longer on the outside, where hardtops are about 2" shorter and a special rubber piese is used to fill the gap. The insides are different too.
The convertibles have a wide flat SS bead while coupes are just a round bead. Also many of the convertible repo window sweeps do not have the SS bead whide enough (refer to picture). I used REPOPs brand on this project, but I still had to reinforce their glue
as they didn't hold up right out of the box.
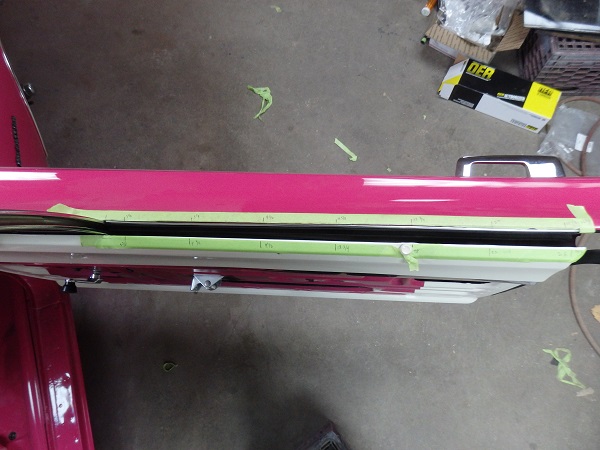
To install the window sweeps you first have to have the windows installed and their bottom stops loosened so that you can crank the windows down below the level of the sweeps. I also tape everything to protect the paint during this process.
|

|
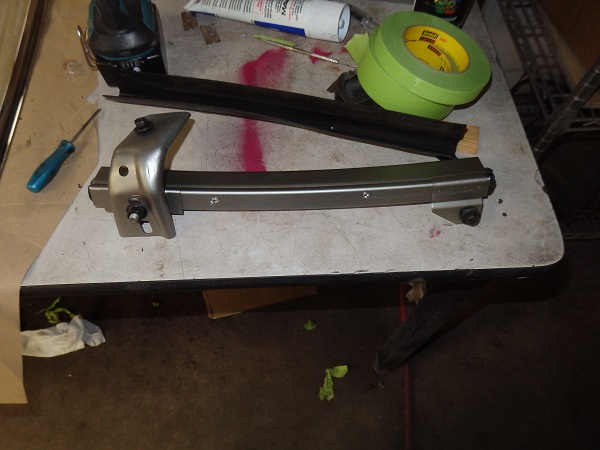
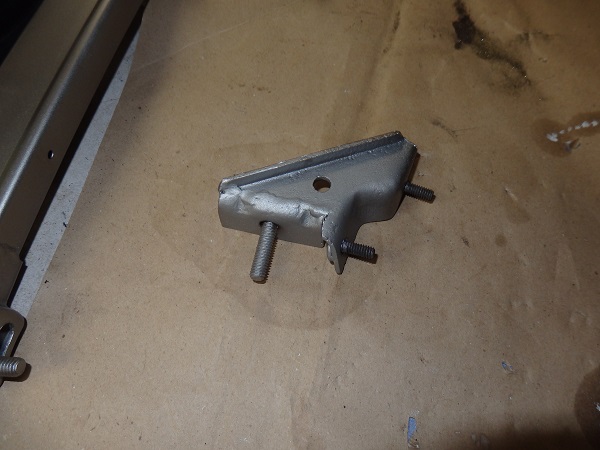
Here is some stuff that I wish I had taken mode pictures of during assembly. The first part (far left), is one of the brackets for the vent windows. They bolt inside the door and a the short studs stick out the front edge of the door. The long
stud is where the vent window hooks in the front.
The middle picture is obviously the window regulator. You have to install it before the vent window goes in as the window guide interfers with the installation.
The picture on the right is the door stops that are mounted to the glass at the rear. They are totally useless on convertibles as the rear window guides do not have the coresponding stops.
|
|
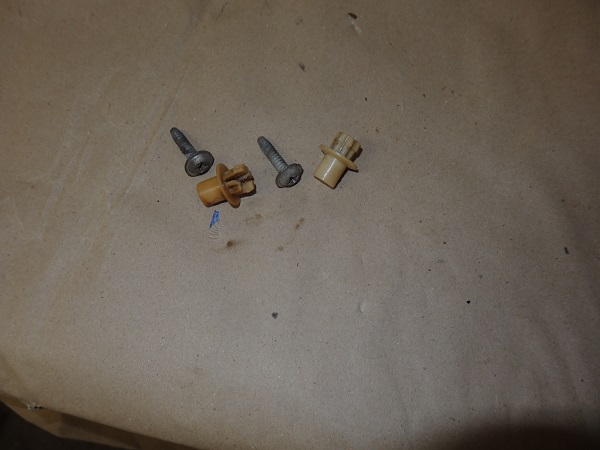
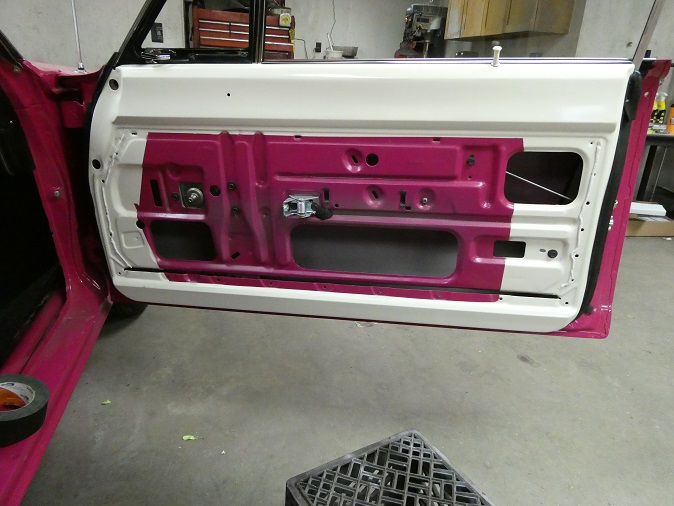
Now on to some door panel installation. Starting with the picture on the left, gray strip caulk is applied vertically along the holes where the door panel clip holes. Also there is a glob of black sealer applied to the middle where the
interior door handle is mounted.
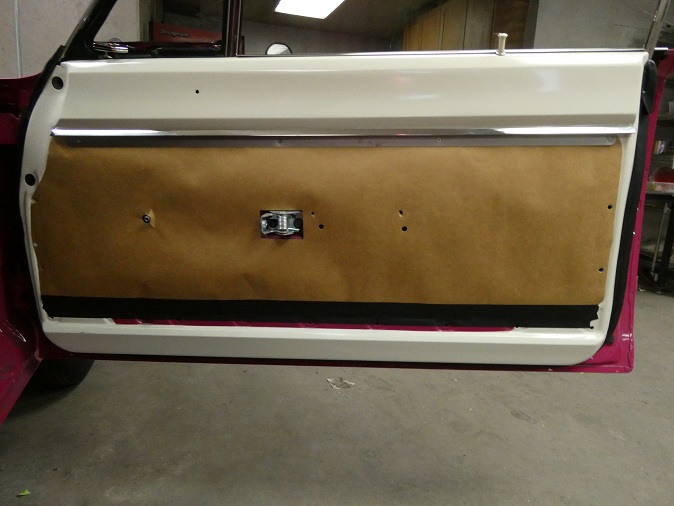
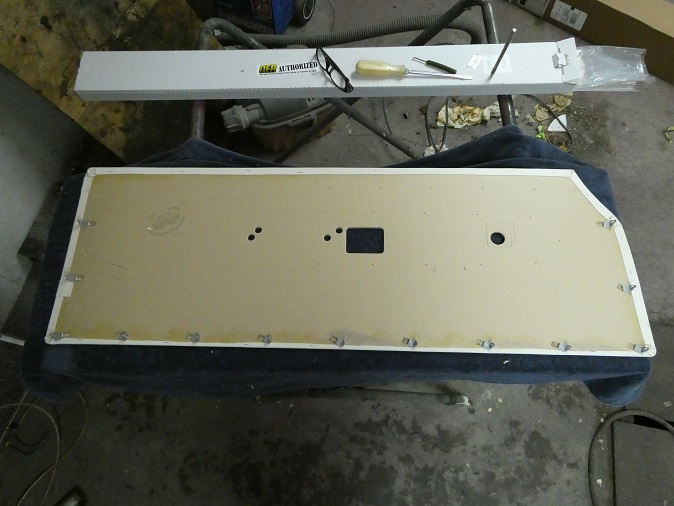
Next to go on is the water barrier. Originally this would be plastic, but I prefer these paper ones as they will withstand be removed several times without taring. The top of the water barrier is held in place
with the stainless steel trim. The bottom goes in a slot in the door and it is retained with black paper based tape.
The new door panels from Legendary Interiors are really nice, but I had to knock out the plugs to install the door panel clips. No big deal, but you do have to be careful as to not break through the fabric in the front.
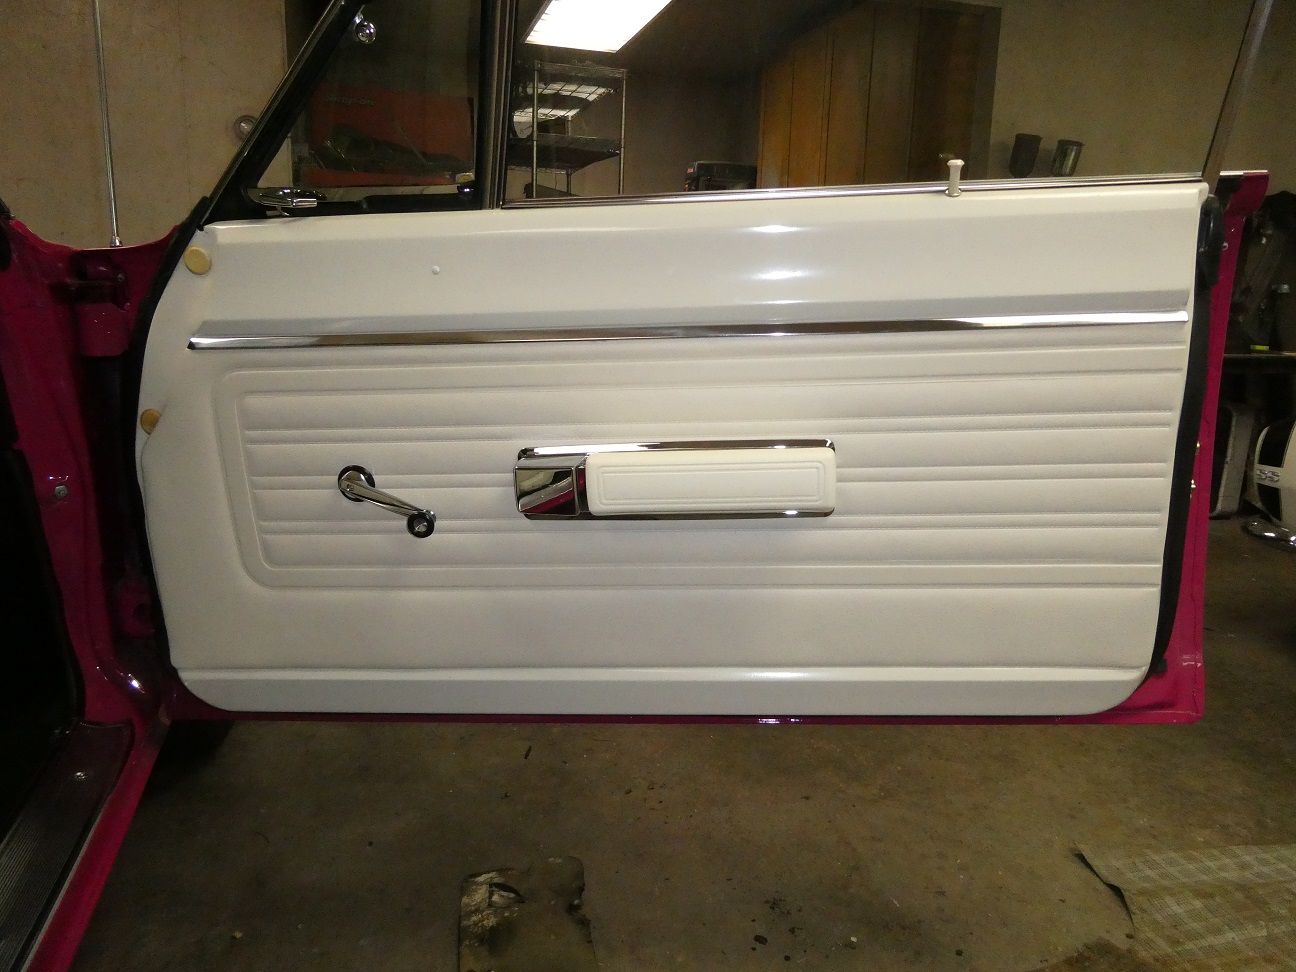
Next to go are the window cranks, the armrest base and the door handle. (note: IOU a picture showing the door pull).
|
|
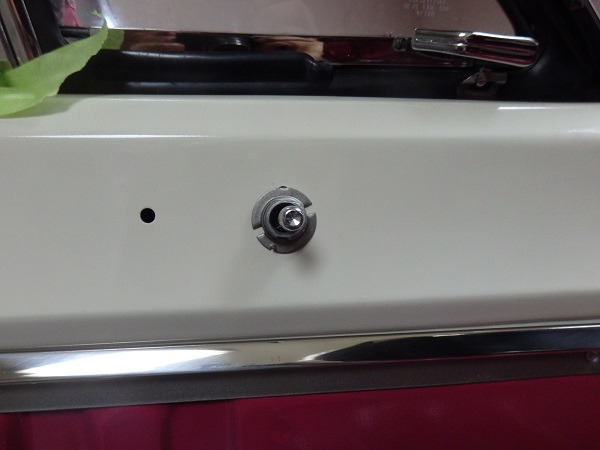
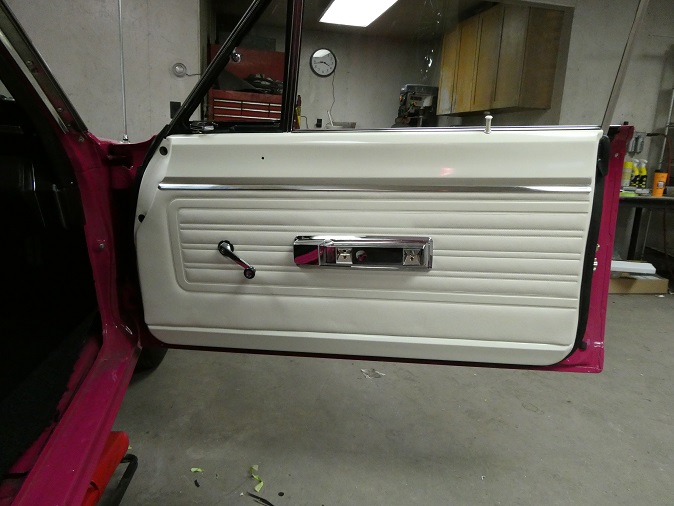
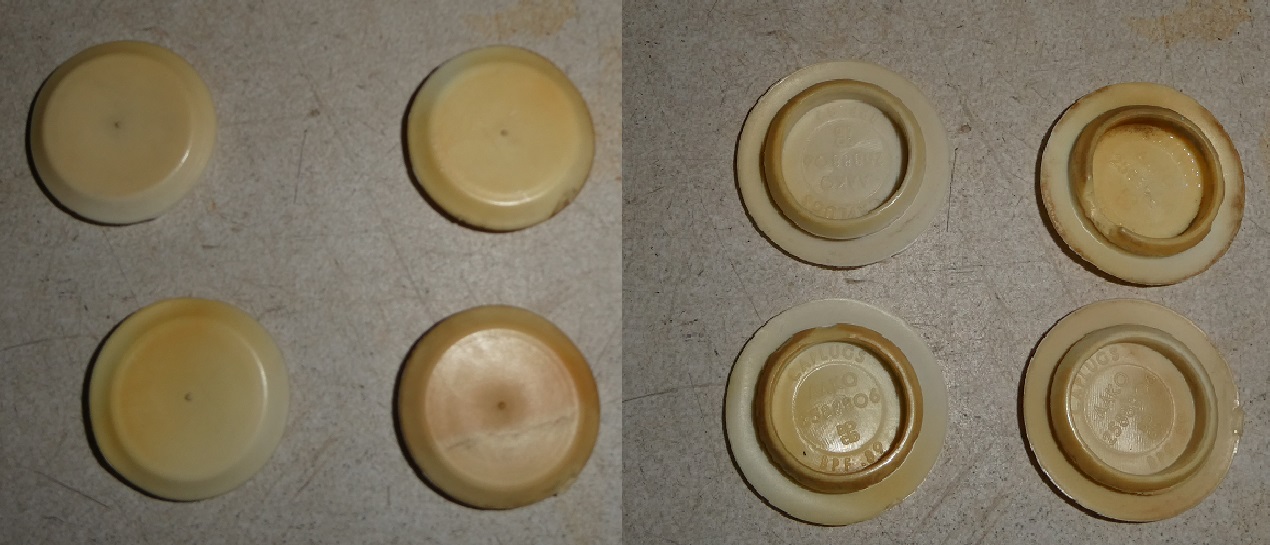
It took me quite some time to locate a set of white vent window plugs. They are supposed to be color keyed to the upper door frames, but the repos are only available in black. The best I could hope for are a set of stained ones.
There is also supposed to be a pair of really small white plugs, which I still need to locate. The best I could do was to buy the repo black ones and paint them white.
|
|
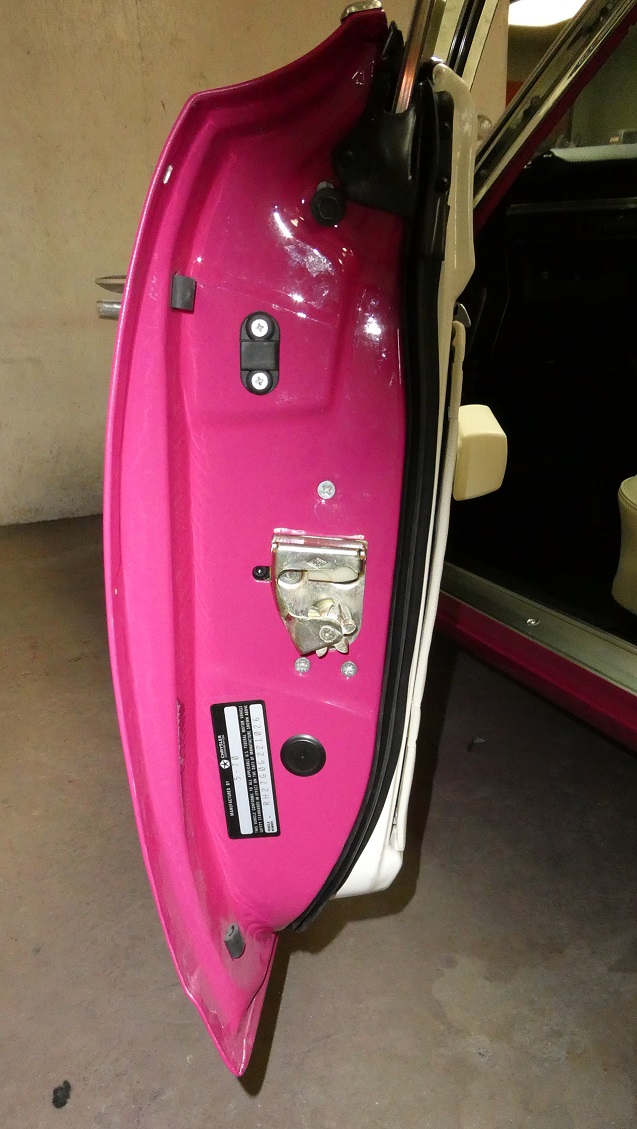
The finishing touch is the reproduction door tag, which was fantastically reproduced by ECS Automotive.
|