|
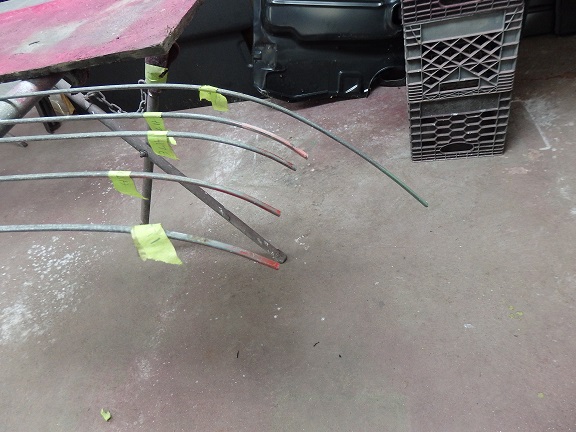
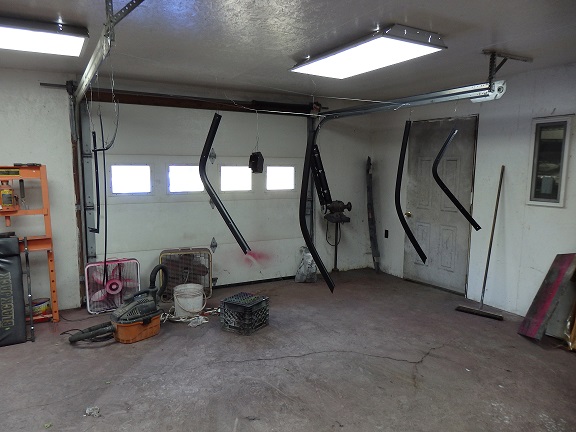
I've done a lot of research on how to install a vinyl top on a 1970 Challenger and have only come up with instructions and videos for 69/70 Chargers. Obviously a Charger would be harder with its flared-out rear window opening. So I will just go into detail on the Challenger rear window. Locate the Charger Vinyl Top Installation video on YouTube produced by Legendary Interiors. It contains just about all you need to know except for the Challenger rear window details. First the basics, you have tape off the section of the car that does not receive the roof to prevent the adhesive from wrecking the paint. You temporarily install the rear vinyl moldings. Using masking tape you mask along the bottom of the molding, being careful not to expose any paint between the molding and the tape or else you will risk having adhesive and/or vinyl sticking out below the molding. You then mask of the lip around the windshield and rear window since the glass can not be glued to the vinyl. With that done you mark the hole locations for the window molding clips and the vinyl trim clips. The centerline of the roof needs to be marked with a pencil or Sharpee. This includes the little section between the rear window and the trunklid. 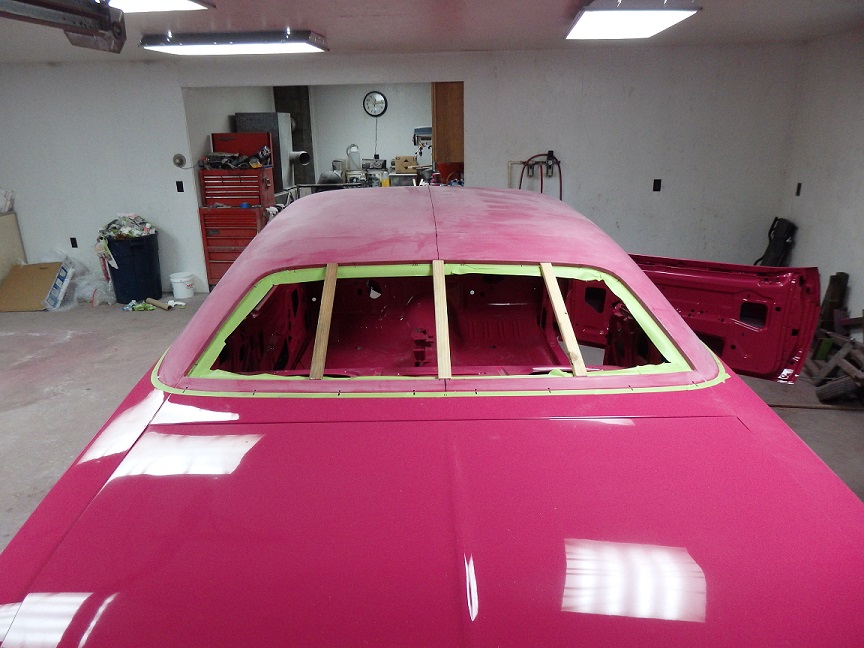 253) I stumbled by this trick in a web search. It was in a picture only. You cut thin pieces of wood to fit into the rear window opening. This will keep the vinyl from falling into the window opening and will aid in getting the fore/aft location figured out. In this picture the rest of the car needs to be masked off. It also needed to be wiped down with wax and grease remover.
The centerline of the vinyl top also needed to be marked. I tried to do this with a tape measure, but I couldn't get it right because of the curved seams. What work well for me was to fold the top in half with the underside showing. I aligned the seams and clamped the folds together. I then made a mark with a sharpee on each end. Then I opened it up and drew the centerline with a long straight edge and sharpee. |
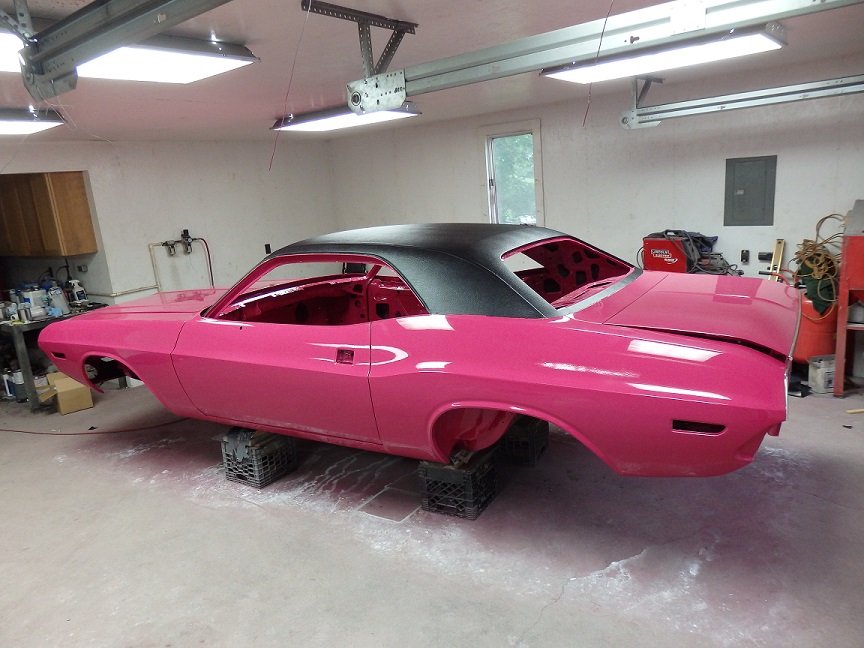
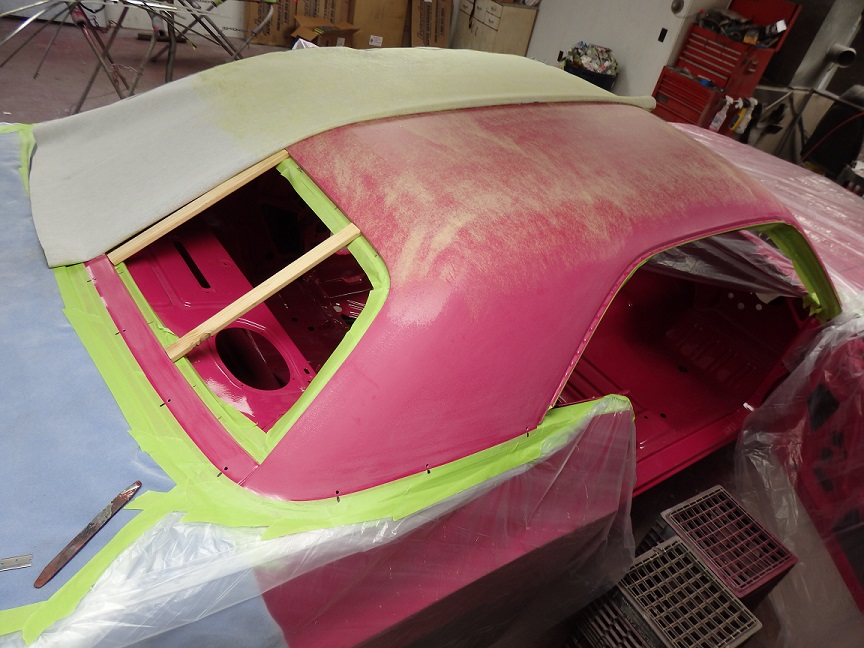 254) With the top placed over the roof and the centerlines aligned, the fore/aft position needs to be worked out. The seams on the 70/71 Challengers curve down the sides of the quarters, which makes it more difficult to align than a Baracuda or later Challenger. Basically the arc of the seam intersects the crease line on the roof somewhere outboard at the top of the rear window. But in the end, you basically have to pick a spot that works best for your top. Once found, a cross mark is made at the center of the roof.
The first thing to do is brush a 1/2 inch wide line of adhesive down the center line of the roof and the vinyl top itself. Then align the cross marks and stick them together. Then it is just a matter of lining up the center lines (ignoring the area below the rear window) and pulling the top tight while rubbing the down along the centerline. If you made a mistake it can still be corrected at this point by pulling the vinyl top off. Next comes the half of the center section up to and including the seam. I applied the adhesive (Weldwood Landau Top & Trim Adhesive) using my primer gun with a 2.2mm tip. Works just like an aerosol can, but with better control. Once dried, it was simple matter of rolling the top out and rubbing it down like the video shows. What comes next is not in the video. Adhesive is sprayed across the bottom of the rear window and along the rear quarter pillar. The centerlines getting applied together first. You then apply the rear quarter section, which requires a bunch of hard pulling and rubbing, to get the wrinkles out. With that done, the rest of the side can be glued down. Getting the wrinkles out takes a bit of trial and error, but its not very hard. |
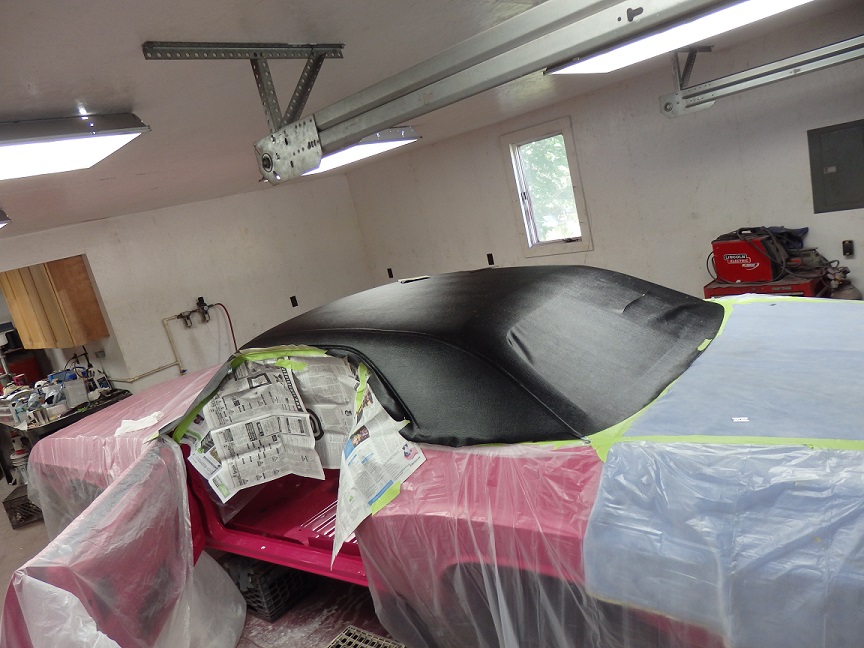
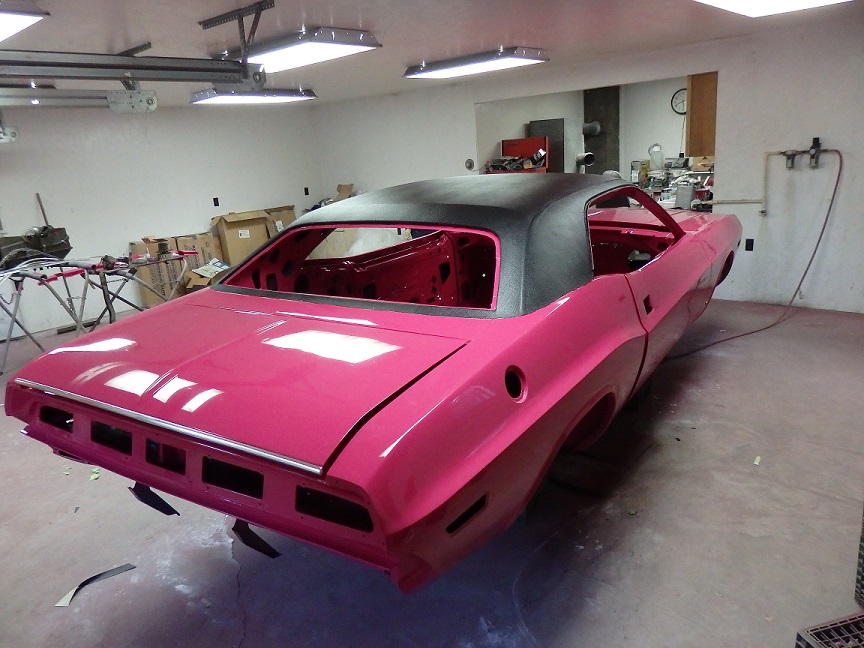
 255) Next comes the most difficult part of the whole thing. I think I've got the trick down. You apply glue to the remaining center section and top up to and including the seam as if you are just glueing the center section down only. When you roll the vinyl top down, start at the rear (instead of the middle). Pull the rear down and forward so that you take the slack out of the top below the rear window as you start to make the top make contact with the roof. Pull the vinyl forward was you glue down the rest of the center section.
 The rear quarter area gets glued down next. It is glued down exactly like the other side was. Getting the rear window opening correct seems to be a common problem. Some installers give up and actually cut the material below the rear window to get the wrinkles out, because they didn't fit the top right. I've seen several of these cars at the shows. Gluing down the last roof rail section isn't as hard as I expected it to be. The wrinkles are sort of pushed and pulled out as the vinyl is being rubbed down in place. |
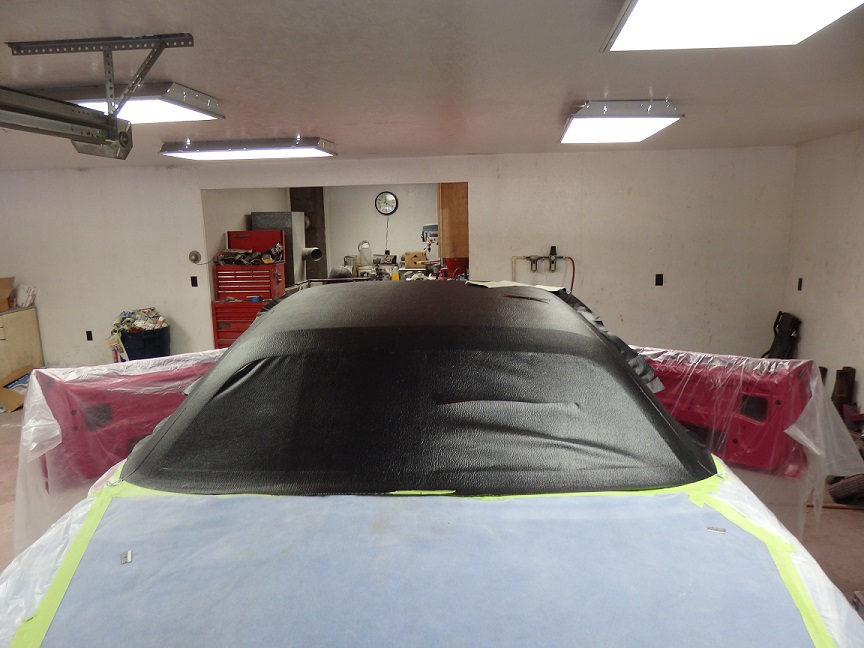
 256) In this picture the top is fully installed except for the windshield pillars. On the roof you can see a little tool. It is a urethane windshield install tool. It works perfectly as a vinyl top install tool. I used it to work the vinyl into the drip rail channels and to dress up the seams in the vinyl. What I mean by "dress up" is that I use the rounded end of the tool to press down and follow each side of the vinyl seams. This will leave a nice crisp edge along the seams.
 |
 257) Applying the vinyl down the A-pillar is pretty simple. There is supposed to be a stainless steel end cap at the bottom of the pillar to cover the end of the vinyl. It is pretty wide, so you just need to be in the ball park on where to cut the vinyl at the bottom.
 |
 258) The last step is to trim away the unwanted material along the perimeter of the vinyl and in the window openings. There should be no vinyl were the glass is to be glued down. The vinyl is trimmed flush to the face of the drip rails.
 |
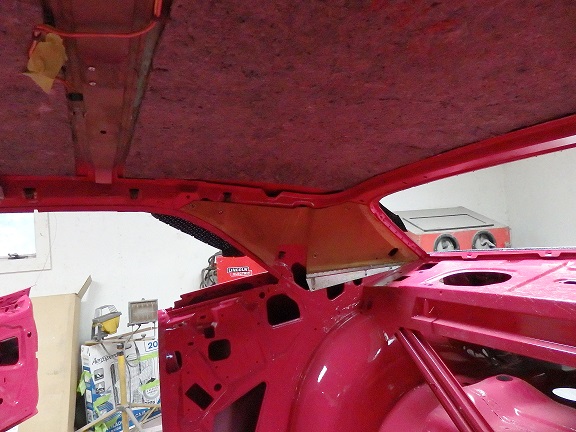
 259) In this picture you can see the seam as it goes down the quarter pillar along the rear window opening. The crease along the roof ends roughly where it meets the seam on the vinyl top.
 |
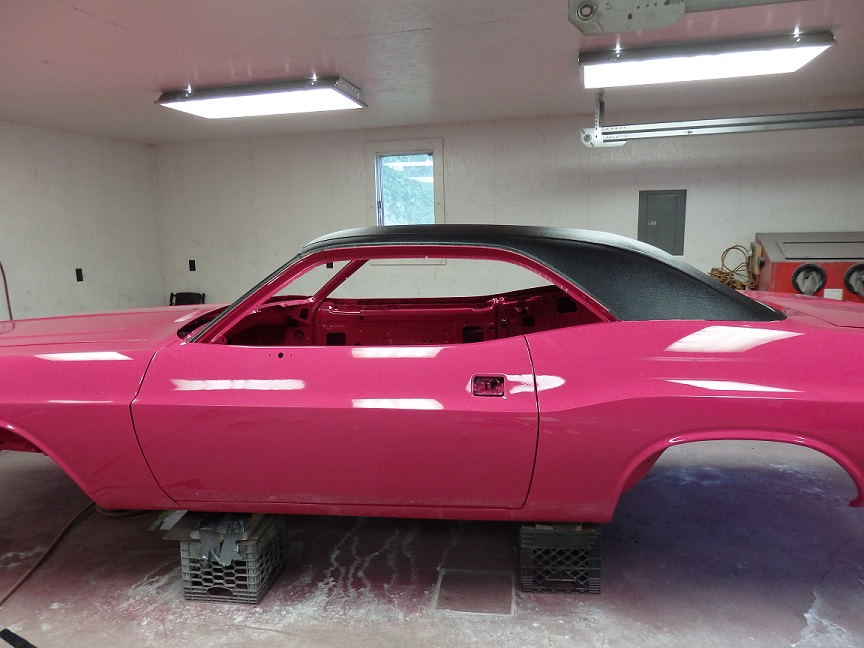 260) Here is a side view showing the entire seam. It kind of makes the roof appear smaller I think.
 |
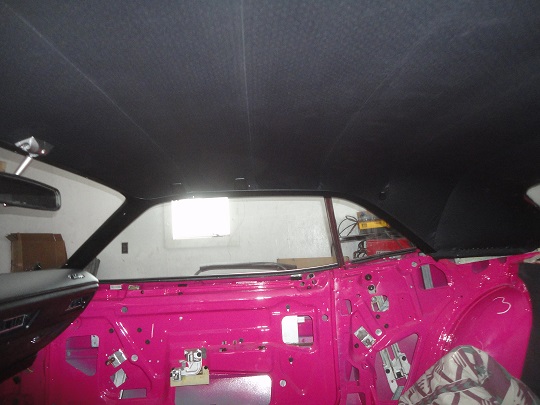
 261) Installing headliner is relatively easy with a little patience. I used a paint gun and sprayed the underside of the roof and the top side of the
headliner insulation with the same contact cement I used for the vinyl top. I did mask off the inside of the car first though.
261) Installing headliner is relatively easy with a little patience. I used a paint gun and sprayed the underside of the roof and the top side of the
headliner insulation with the same contact cement I used for the vinyl top. I did mask off the inside of the car first though.The sail panel boards were in great shape, so I just cleaned them up and clipped them in place. The metal tack strip just need the teeth straightened out. Prior to installing the headliner I ran the dome light wires and installed all of the dome light, coat hook and seat belt bracket phillip screws so that I did not have to fish around for the bolt holes after the headliner was installed. The screws are a lot easier to locate then the holes. |
 262) The headliner bows are color coded to identify which one goes in which location. Here they are in order front to back (red, red, red, pink, green).
 Unforetunately I was too deep into installing the headliner to take pictures of the process.The process is the same as shown in my Mustang projects. You install the rods in the loops on the back of the headliner. You cut the loops back until the ends of the rods are exposed on either side (roughly 1"). You then hook the headliner in place. Don't forget the two wire hooks that hook the rear rod to the rear window area. Now you get the wrinkles out along the rods. You do this by cutting the loops back on each side and pulling the wrinckles out. You only want to cut enough of the loop on each side to be even with the end of the rods when the fabric is pulled tight. You start at the middle rod and work your way fore and aft. Once that is done you pull the fabric very hard from the front to pull the big wrinkles out. After clamping everything in place, you can work on the sail panel area. The headliner is glued down and hooked in place at the sail panel area. This area is quite tricky to get right. |
 263) I painted the roof rail trim and rear window trim were paint SEMS Trim Black using a paint gun, though the rattle can version would work jsut as easy.
 |
 264) Here is the headliner and roof rail trim installed. The only thing missing here is the seatbelts, which needed to be sent out, and the dome light.
 |
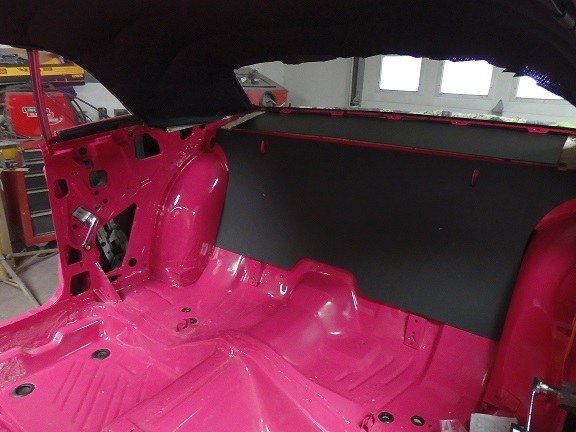 265) Here the package tray and rear seat filler board are installed. The rear window trim goes in after the carpets and rear quarter interior panels. This is because the moldings rest
on top of the panels.
265) Here the package tray and rear seat filler board are installed. The rear window trim goes in after the carpets and rear quarter interior panels. This is because the moldings rest
on top of the panels. |