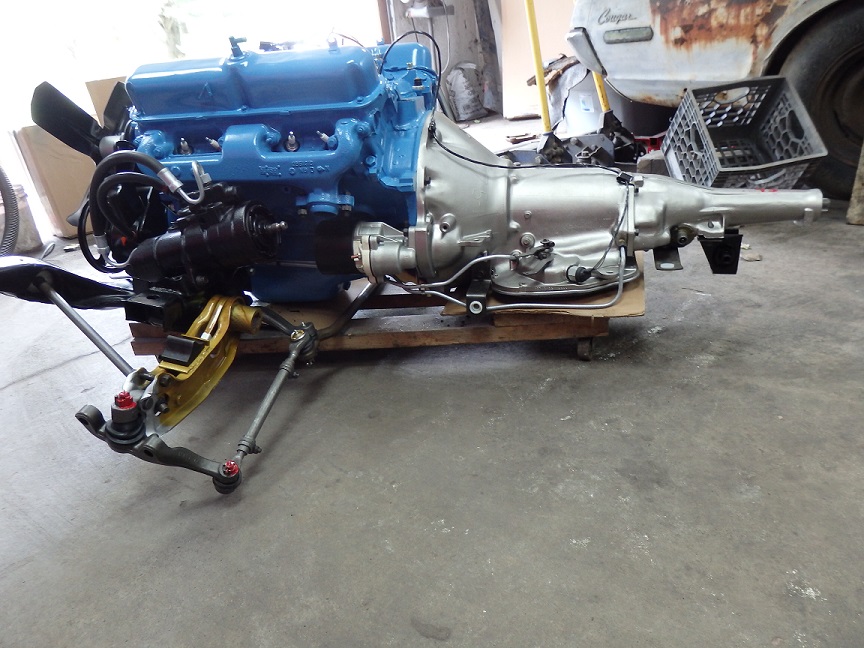
 356) Before the engine came off the stand I installed a new water pump, new engine mounts the pulleys and the power steering pump which was restored. Though the
fan was mounted, it was removed before installing the engine since it got in the way. I used an engine pull plate to support the engine to remove it from the stand. I had built
a cart to move the engine/trans around on when they were originally pulled. This worked out perfectly for setting the engine back on the K-frame and wheeling it under the car.
356) Before the engine came off the stand I installed a new water pump, new engine mounts the pulleys and the power steering pump which was restored. Though the
fan was mounted, it was removed before installing the engine since it got in the way. I used an engine pull plate to support the engine to remove it from the stand. I had built
a cart to move the engine/trans around on when they were originally pulled. This worked out perfectly for setting the engine back on the K-frame and wheeling it under the car. |
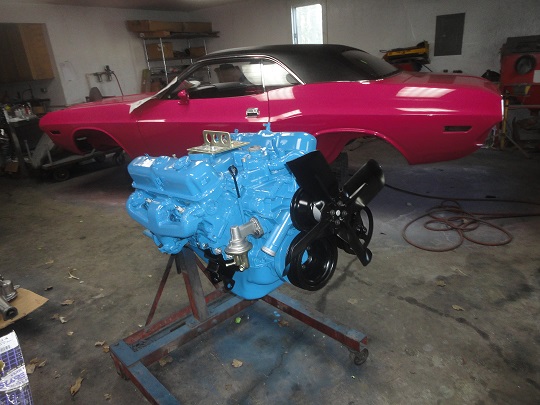
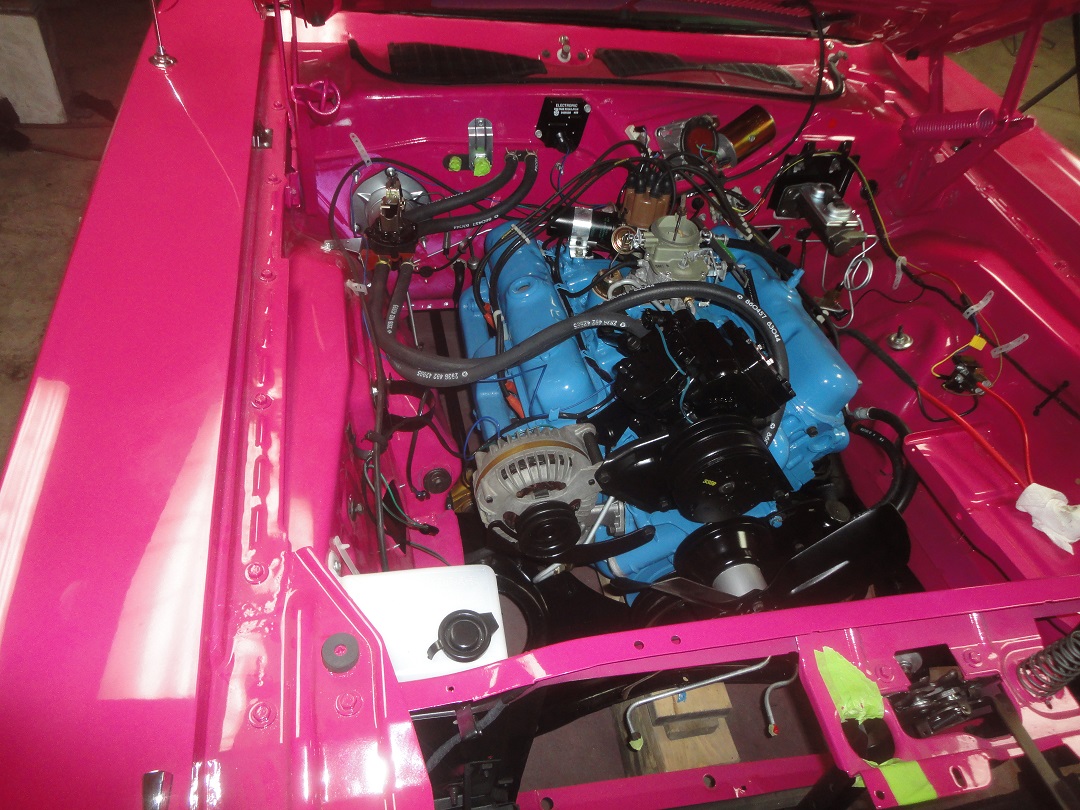
 357) Now for the glamour shots. In the first picture you can see the restored starter and the power steering hose, which I had restored by Stephan Fournier (just the hose). You can just make
out and orange paint daub on the power steering pump. This was a factroy applied mark, probably to indicate that it was filled with fluid. The brake master cylinder has a similar orange mark.
357) Now for the glamour shots. In the first picture you can see the restored starter and the power steering hose, which I had restored by Stephan Fournier (just the hose). You can just make
out and orange paint daub on the power steering pump. This was a factroy applied mark, probably to indicate that it was filled with fluid. The brake master cylinder has a similar orange mark.I broke down and spent $100 on a reproduction oil filter (green one). It was only installed for this picture. I plan to put it back on after the first oil change. |
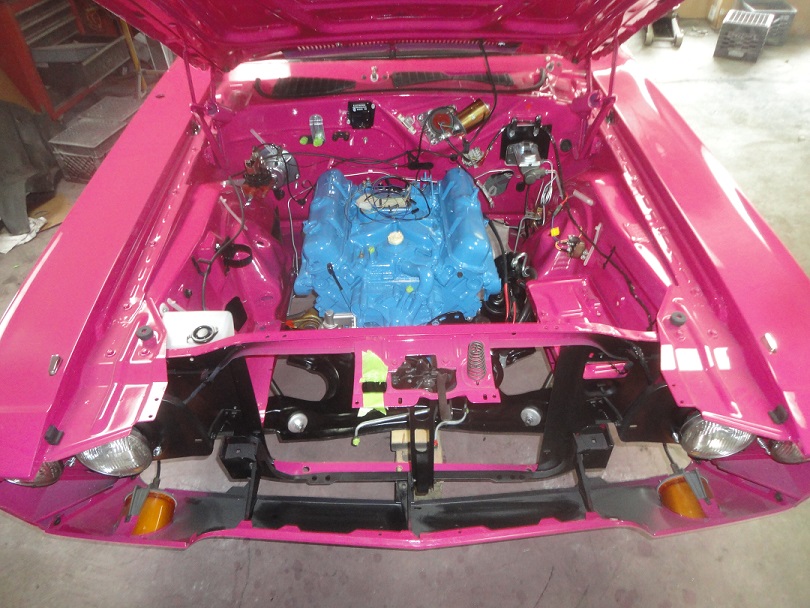
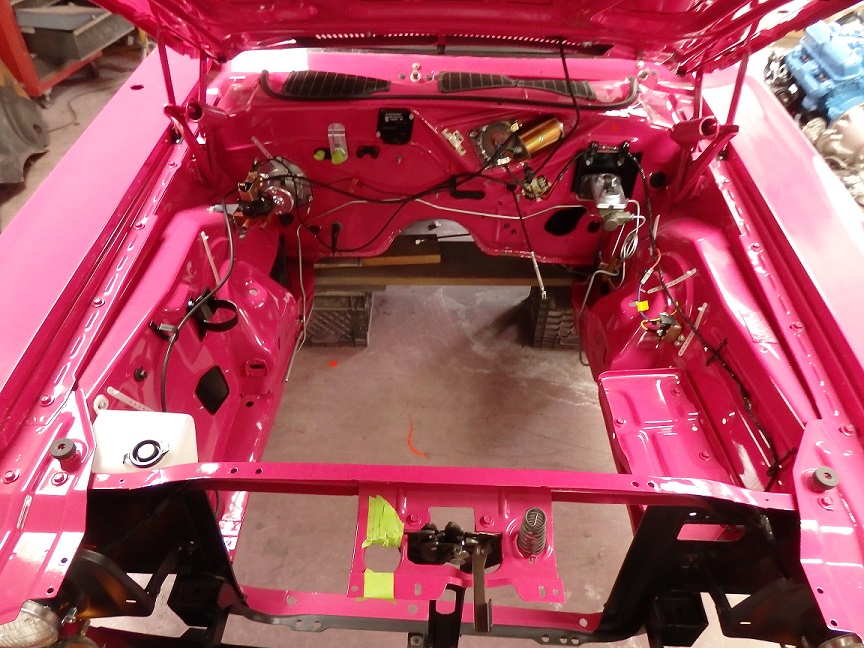 358) Before installing the engine, it's a good idea to get as much of the engine compartment components installed as possible. Remember, the steering column should not be installed until after the engine is in.
 |
 359) All of the ball joint tricastle nuts have red paint inspection markings on them which were placed after the nuts and the cotter pins were installed.
As a rule of thumb, if it had a cotter pin on it, it was inspected and marked. There was paint found on all 4 ball joint nuts on the center link.
359) All of the ball joint tricastle nuts have red paint inspection markings on them which were placed after the nuts and the cotter pins were installed.
As a rule of thumb, if it had a cotter pin on it, it was inspected and marked. There was paint found on all 4 ball joint nuts on the center link. |
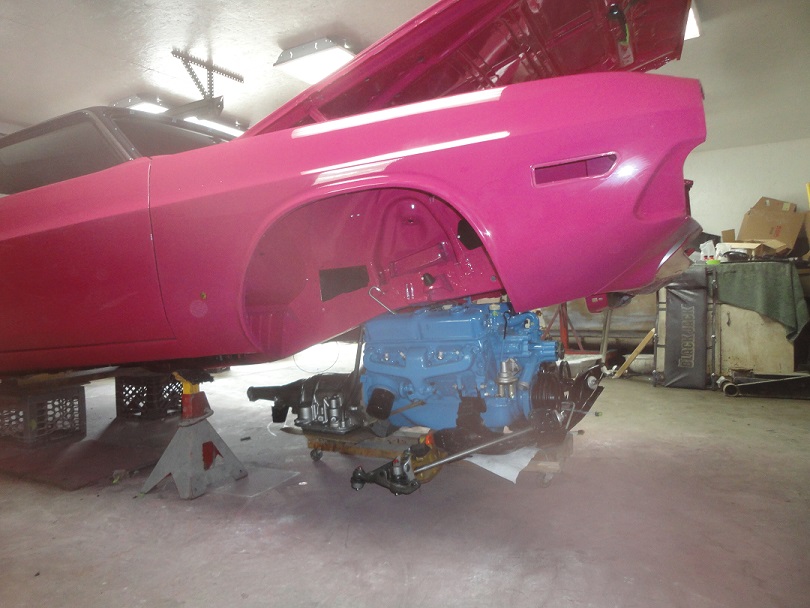
 360) I've seen some pretty elaborate ways to install the engine from below, but I chose none of them. I had the rear end support by a pair of milk crates on a 2x10. The front was supported by a pair of large jack stands. The engine
was turned sideways and was rolled under the car through the a wheel well. Once underneath, the engine was rotated to the correct orientation. Using a pair of jacks the front was lowered down to a shorter set of jack stands to
a height of roughly 10 inches. The engine's location was adjusted as I went.
360) I've seen some pretty elaborate ways to install the engine from below, but I chose none of them. I had the rear end support by a pair of milk crates on a 2x10. The front was supported by a pair of large jack stands. The engine
was turned sideways and was rolled under the car through the a wheel well. Once underneath, the engine was rotated to the correct orientation. Using a pair of jacks the front was lowered down to a shorter set of jack stands to
a height of roughly 10 inches. The engine's location was adjusted as I went.With one jack under the K-frame and one under the transmission, the engine was jacked up in place, roughly 5-6 inches. Once the 6 bolts were fitted (4 on the K-frame and 2 on the transmission). Being concerned about supporting the entire front of the car with the engine using jack stands at the firewall. Decided to lower remove the jack stands and lower the car onto blocks under the K-frame. |
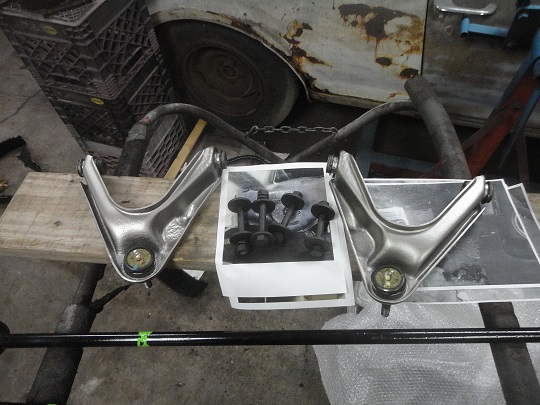
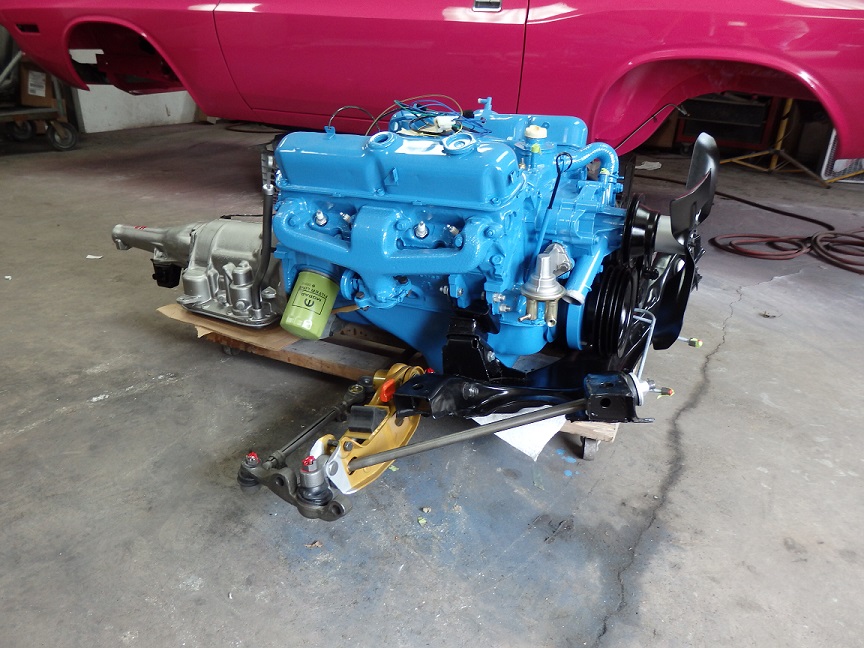
 361) The upper control arms were sandblasted, epoxy primed and painted with Seymour Stainless Steel paint. They were then rebuilt using Moog ball joints and bushings. The torsion bars were cleaned up and painted gloss black. The factory
bright green identification markings were reproduced.
361) The upper control arms were sandblasted, epoxy primed and painted with Seymour Stainless Steel paint. They were then rebuilt using Moog ball joints and bushings. The torsion bars were cleaned up and painted gloss black. The factory
bright green identification markings were reproduced.The front brakes were installed followed by the torsion bars. Plenty of grease was used in the torsion bar sockets as recomended by the service manual. |
 362) A couple hours more work and the engine compartment started to fill up quite nicely. I was able to locate the correct part number carb and had it restored by Harm's Automotive. Scott Smith did a great job on it. I restored the AC compressor and alternator myself. More on that later.
There isn't much missing in the engine compartment at this point. Here's the short list: Breather, Radiator, Fan Shroud, Radiator hoses, belts, battery, AC drier and AC lines. |