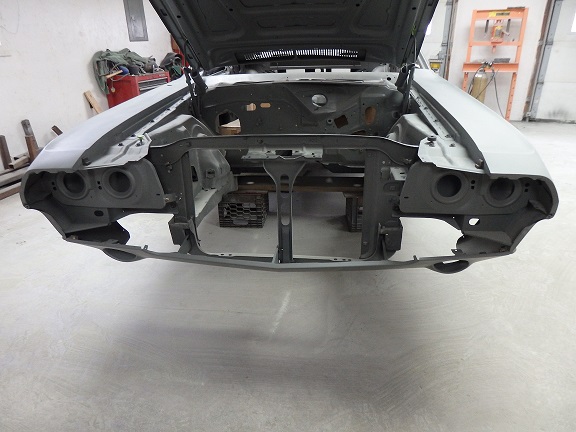
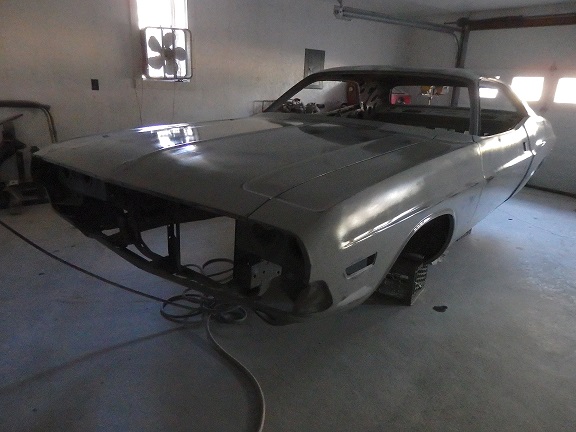
 207) With all of the panels in primer, it was time to assemble all of the panels. Since the next step was to put the car in High-Build primer and block the car, proper alignment is a must. Here the frontend sheetmetal was all installed and aligned. The grill assembly was used to align the nose to ensure everything would fit after painting.
 |
 208) Let me run down the process that I followed. I'm sure other people follow their own methods, but this seems to always work for me. First I start off with all the panels properly aligned. They have all been repaired and are in their initial coating of Epoxy Primer.
 Note: Amateurs and hacks would tend to wet sand it with 400 or 600 and paint the car at this point. That's why you see so many wavy and lumpy paint jobs on classic cars. |
 209) I then block-sand the entire car with 180-grit paper on duraboard sanding blocks. I block-sand the car as if it was already in high-build primer. I just don't use masking tape to protect the detail lines. This process will bring out any major defects in my initial bodywork. I am happy to report that there were none. It should be noted that I went though almost 2 rolls of 180-grit paper because the epoxy primer clogged the paper rather easily. This would be a mistake the more the car is blocked the more flatter the panels will become.
 Note: In the old days (when I was in my twenties) I would block the car with 220, fill the minor imperfections with scratch putty, prime it again, sand it with 400 grit and then paint it. |
 210) I then give the car a thin coating of epoxy primer again. This is to mainly cover the bare metal spots so that the high-build primer will stick to the car. It also acts as a color guide while block-sanding. If the primer color appears while block-sanding, you know that you have broken through the high-build and will soon find bare metal or body filler.
 Note: In the old days, I would stop at this point, sand it with 400 and then paint it. |
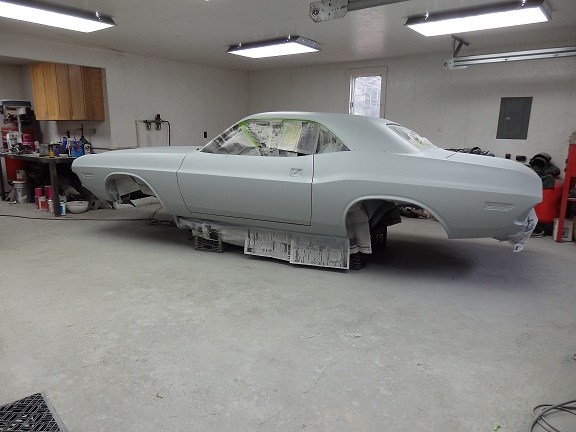 211) Within a day, usually after a couple hours, I lay down 3 coats of SlickSand high-build primer. This car required and entire gallon. I use a special gun with a 2.2mm tip to spray the stuff. It should be noted that I coated the roof with SlickSand even though it is a vinyl roof car. This is because defects in the bodywork will actaully appear as waves in the vinyl.
 |
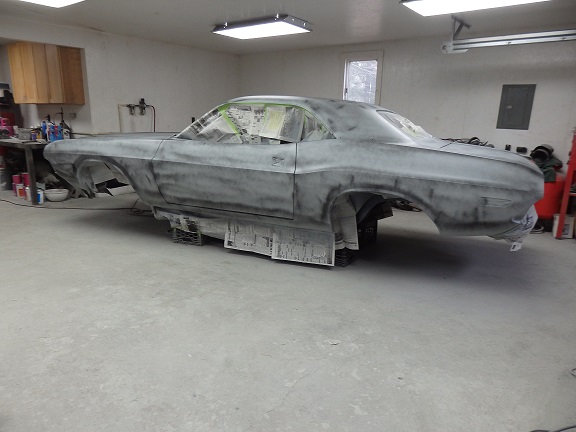 212) After the dust settles, I spray guide coat all over it. This acts as a sanding reference. It lets me see the low spots while I am block-sanding. If while block-sanding I break through to bare metal and I still see some guide coat, that means I need to lay down another layer of highbuild.
 |
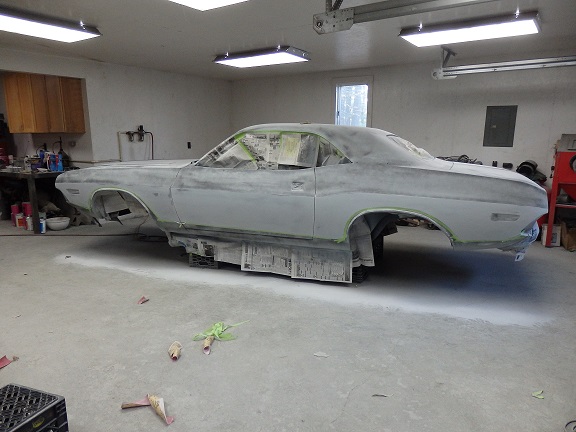 213) I then block-sand the car. I used blue detail masking tape and regular masking tape to protect the body lines as I sand. SlickSand is by far easier to sand then pimer. Infact, once you get cut through the outer surface, it is perhaps too soft. Making it easy to gouge into it if you are not careful.
 In this picture the center of the panels where already blocked and the upper row of tape was removed. Note: The process of block sanding was described on my 63 Jaguar E-Type pages. |
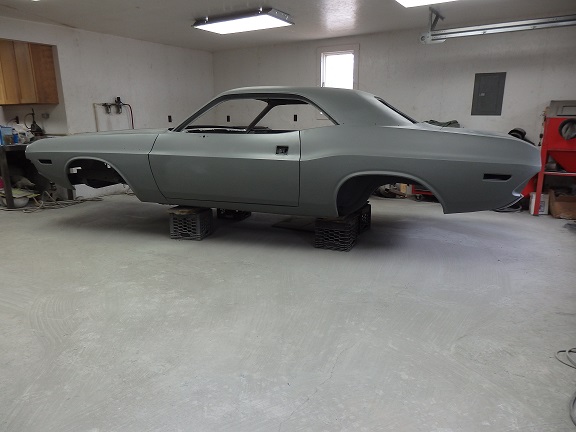
 214) Here it is all block sanded. I seem to have a pretty good track record of never needing a second coating of high-build.
 |
 215) One of the things I like to do at this point is to fill a paint gun with wax & grease remover and spray the entire car down. This lets me see what the car will look like when it has been clear-coated. With the shop lights turned off, I walk stray light across the panels to see if there are any waves in the panels. Waves stand a good chance of still being blocked out.
In this case I had a wave in the hood and the in the trunklid that I needed to touched up. This time instead of blocking with the duraboards that are rigid foam, I used my wooden sanding board that I used on bodyfiller. |
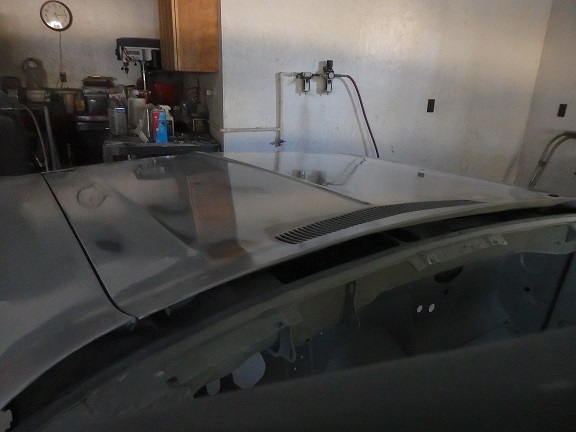 216) Here is a good shot of the light reflecting off the hood. It turned our really well.
When I was all happy with my results, I justed wiped the wax&grease removed off with paper towels (Bounty only). |
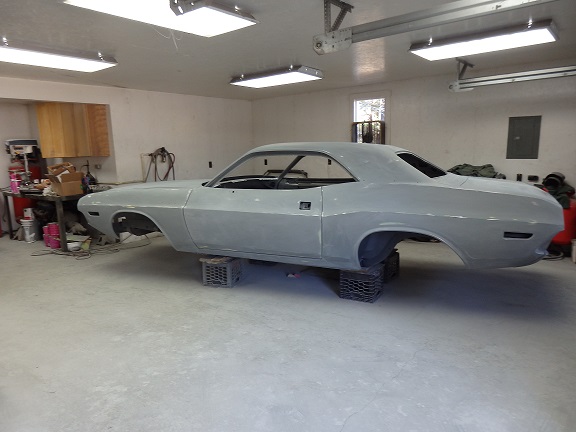
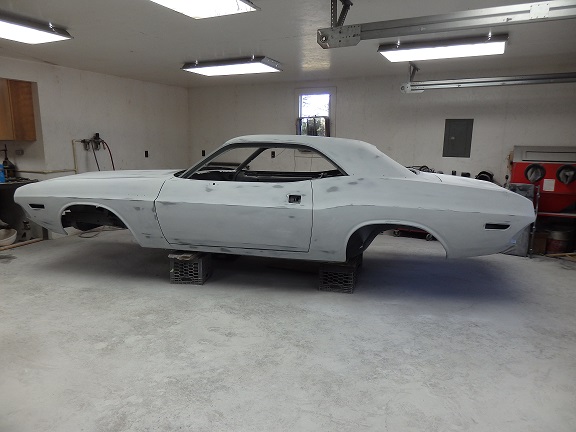
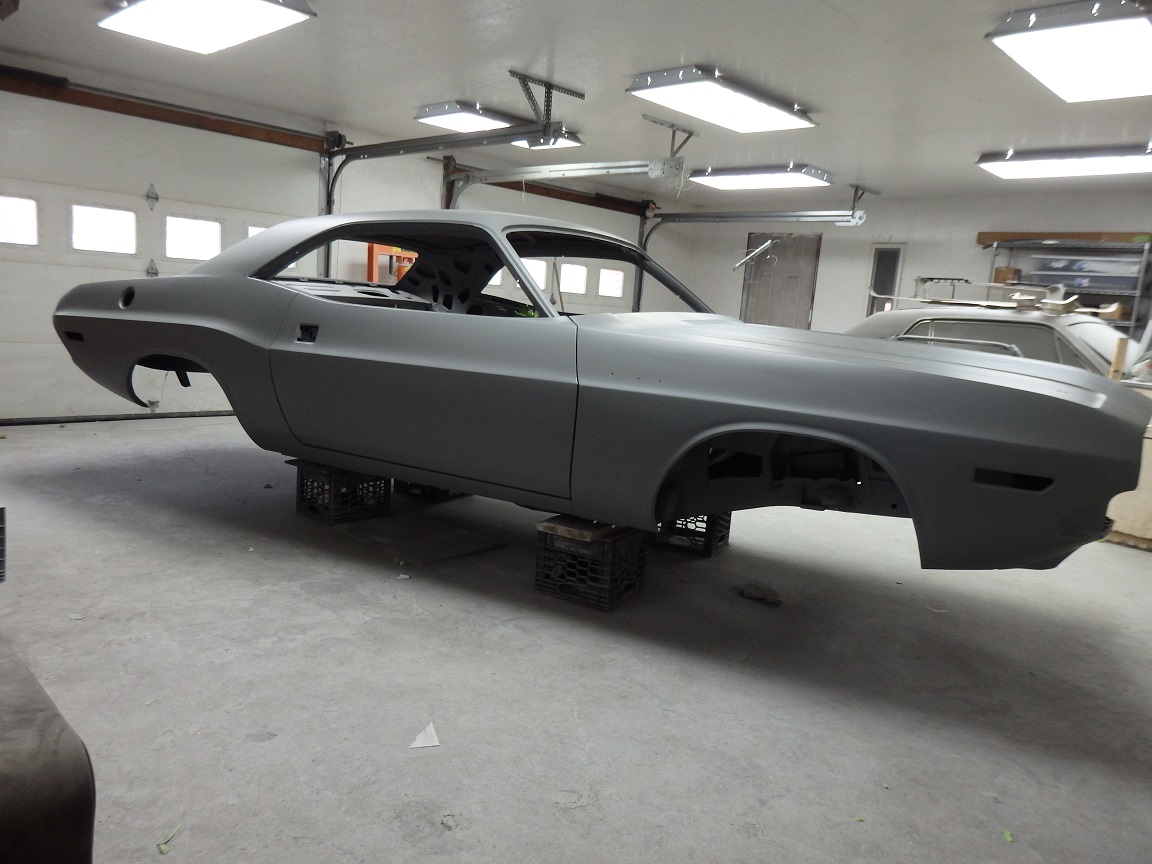
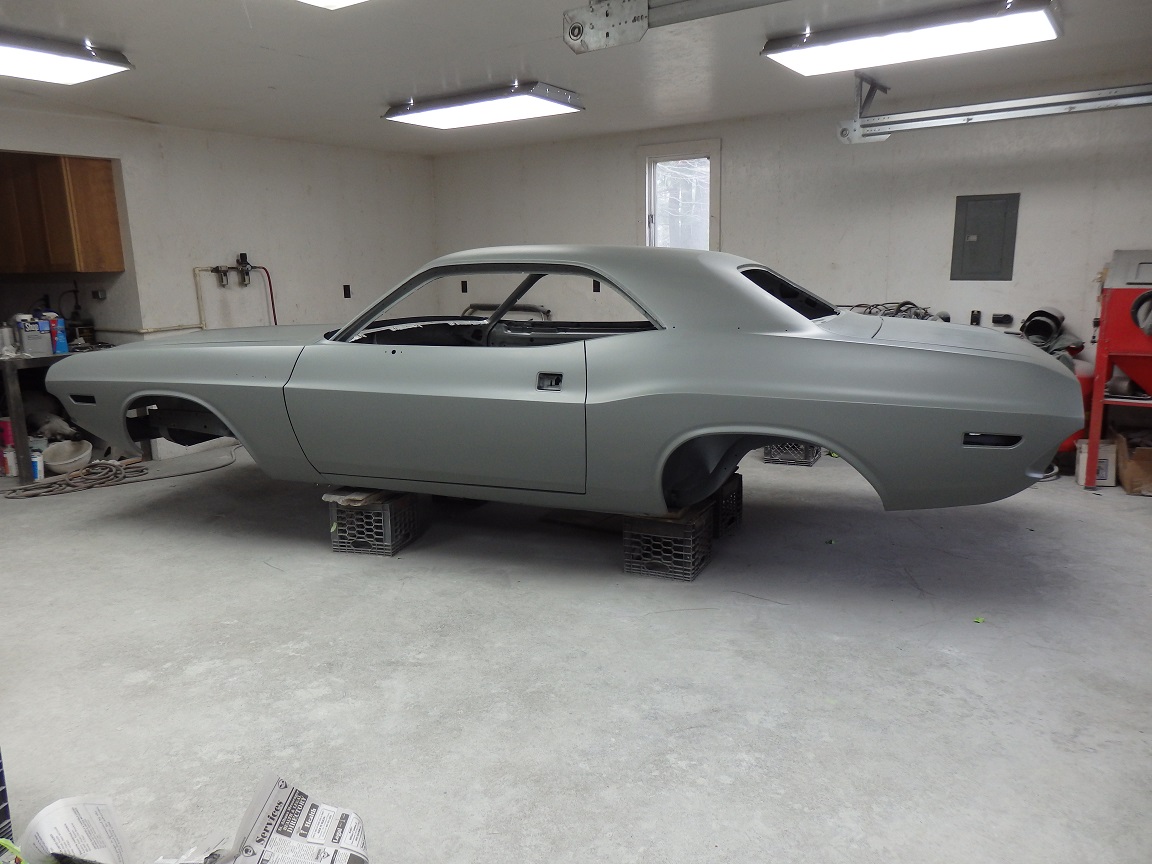 217) Finally comes the actual masking and priming. I mask the car the same way as I would for actual painting of the car. This gives me the opertunity to determine where the problem masking areas will be when spraying the color for real.
 At last, here it is in final primer. I went though 2 full quarts of DP40LF epoxy primer. |
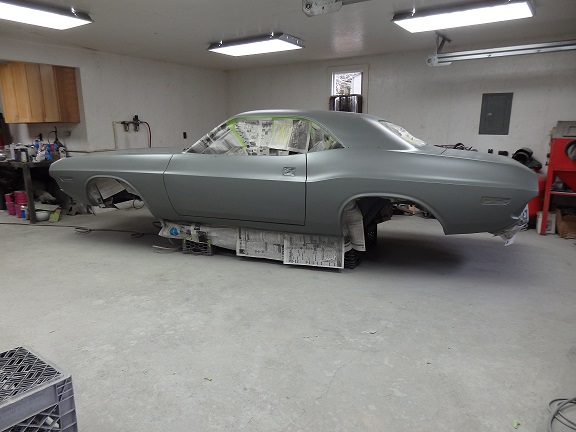
 218) The passenger's door will need to be lowered a bit before actual painting. It's no big deal at this point since the sheetmetal will have to come back off to put the car back on the rotisserie for undercarriage painting.
 |
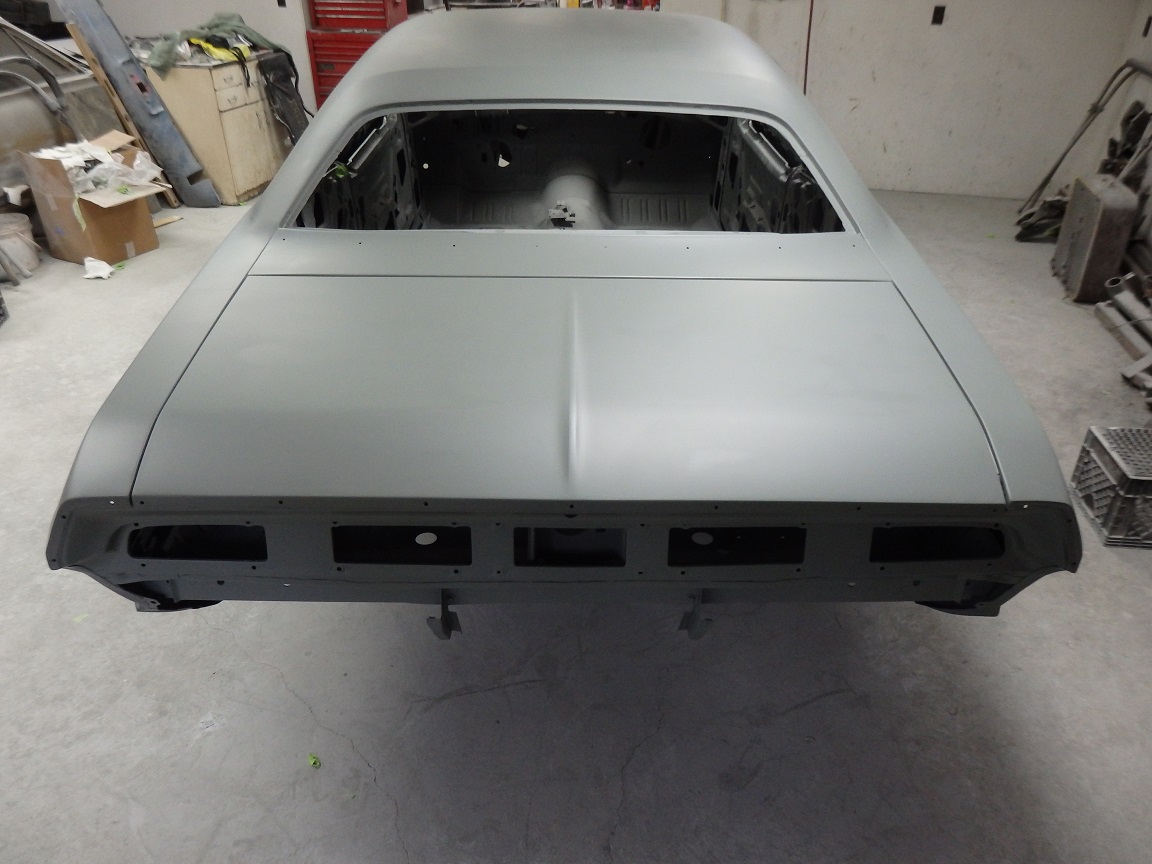 219) In this rear shot, you can see that the rear valance brackets were left on for final priming like the factory did it.
 |
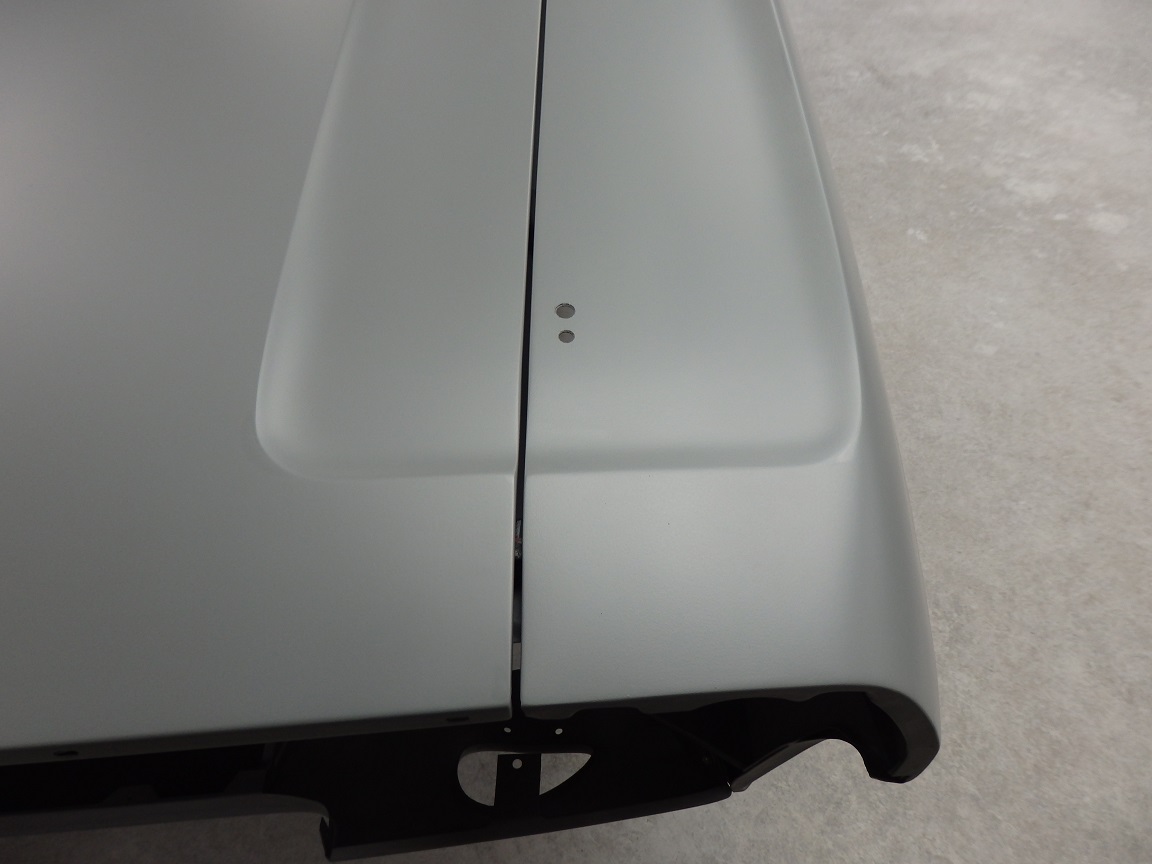 220) One thing that I failed to mention earlier was that I needed to drill holes in the fenders for the fender mounted signal indicators. The fenders where from a 1970 that didn't have any, but this car originally had them. I had a bear of a time trying to figure out where to drill the holes. Early Challengers had them centered in the middle of the fender and later ones, like mine, had them inboard, which turns out to be dead center of the U-shaped body line on the hood and fender (6 1/2" to center).
 With no cars to actually use as a reference I was forced to use pictures I found online and requested help multiple times on a couple webforums. I finally got a measurement, 7 3/4" fender edge to indicator front, that appeared to be the correct factory placement of the indicators. |
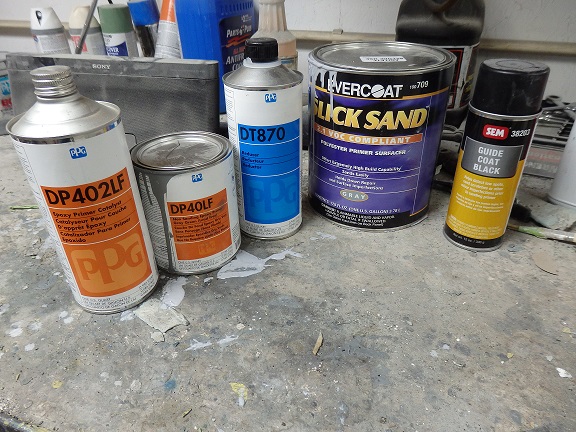 221) Here are the materials that I used. They are the same ones I used on my 63 Jaguar E-Type restoration and I don't feel the need for ever deviating from using them. To get the car to this point I must have used up 3 full gallons of DP40LF plus 1 1/2 gallons of DP402 Catalyst.
 |
| That's it for now. The next time I post pictures of this project, it will be fully painted. Stay tuned. CJM 5/9/2016 |