
I took the summer off from working on this project. In July I took a trip to Camaro Specialties in East Aurora, NY and bought all of the frontend sheet metal I needed (an original 1967 rust free passenger's door, a trunklid, both fenders, both inner fenders, radiator support, windshield washer bottle bracket, RS lower valance, upper header panel, wiper grill panel and an original 1967 SS Hood). The only front end parts that I didn't need to buy was the RS hood latch, hood hinges and the fender braces.
Before stripping the parts, I installed everything on the car to make user it all fit. It went together very quickly. I would not have been able to say the same if the panels were aftermarket. Eventually at the end of summer, I pulled it all a part and sent the panels to Dexter's Products to get sandblasted & bead blasted.
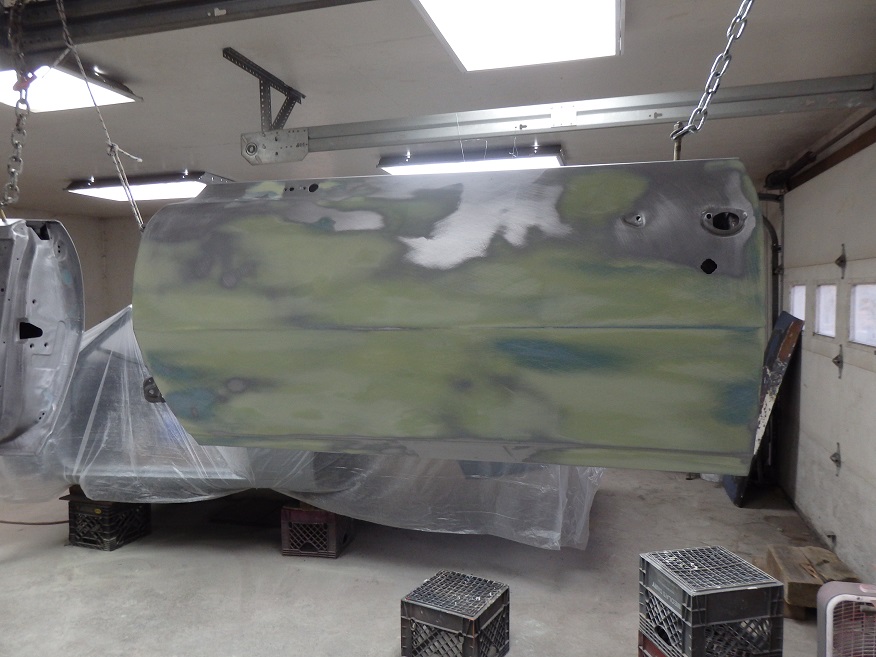
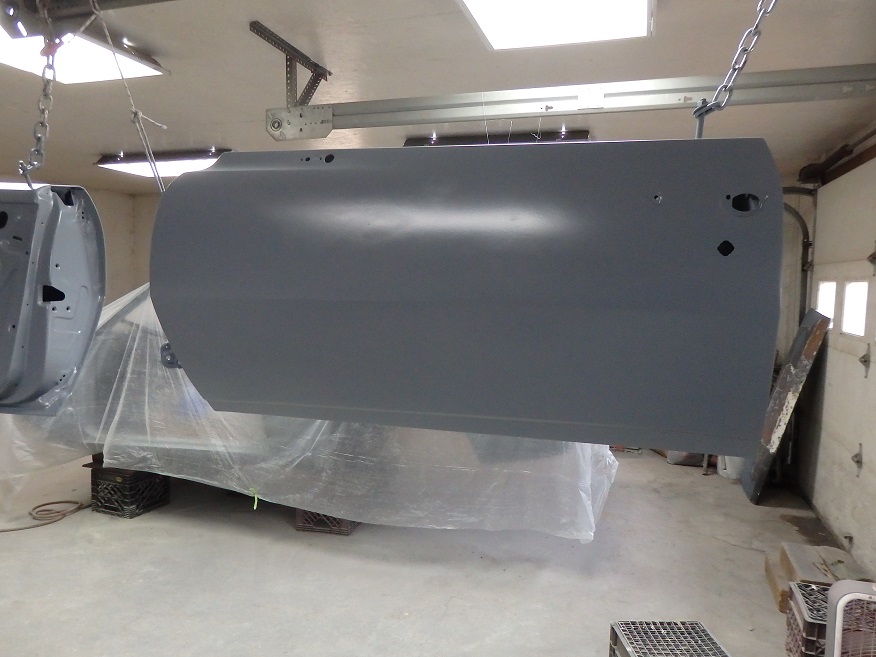
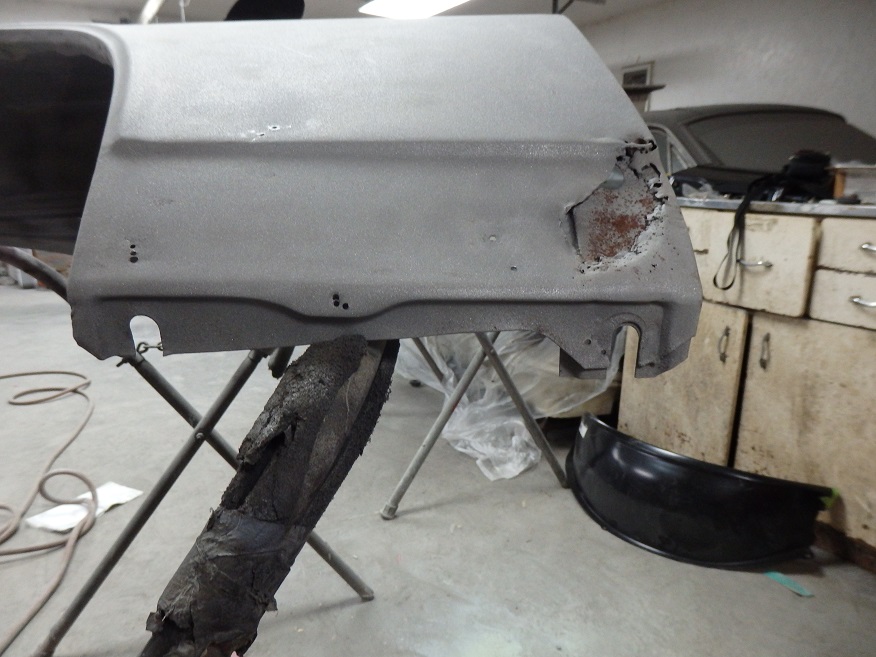
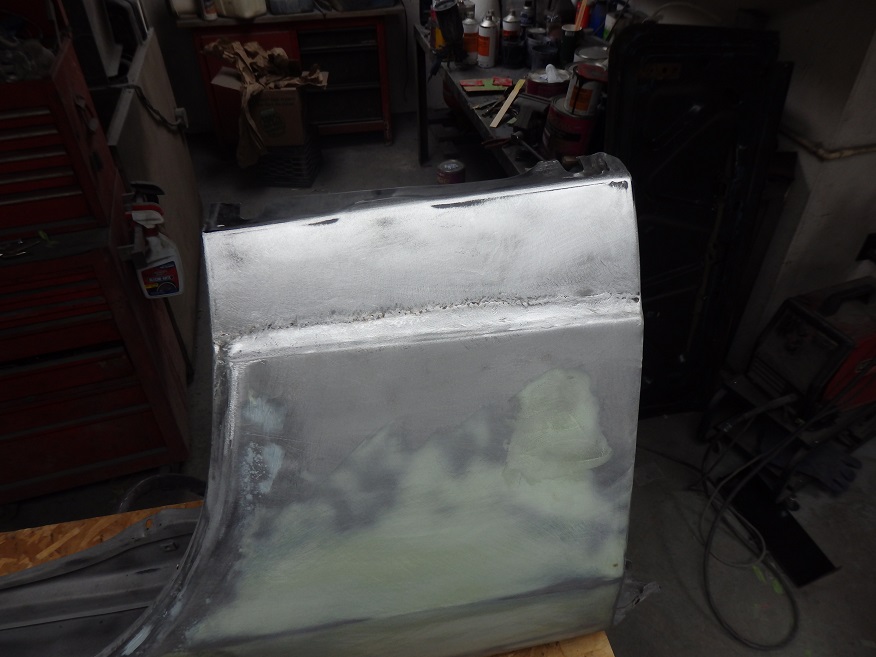
The driver's door as it turned out was not the original door to the car. Evident by the lack off RS trim mounting holes on the outside and the two plugged holes on the inside. Sandblasting uncovered small holes in the outer corners of the door at the bottom along with a crease at the front below the body line. Small patches were buttwelded in place to fix the holes. After metal work, the door was fitted to the car ensure the gaps and body lines were correct. The door was taken back off and the filler work was done. The picture makes it look like the whole door was one big mass of filler, but that is not really the case. Most of it is a very thin coat which was applied to make the door as flat as possible. I could have done the same job using high build primer, but I like to get my panels as flat as I can before the highbuild.
The door was then hung and epoxy primered. It turned out really nice.

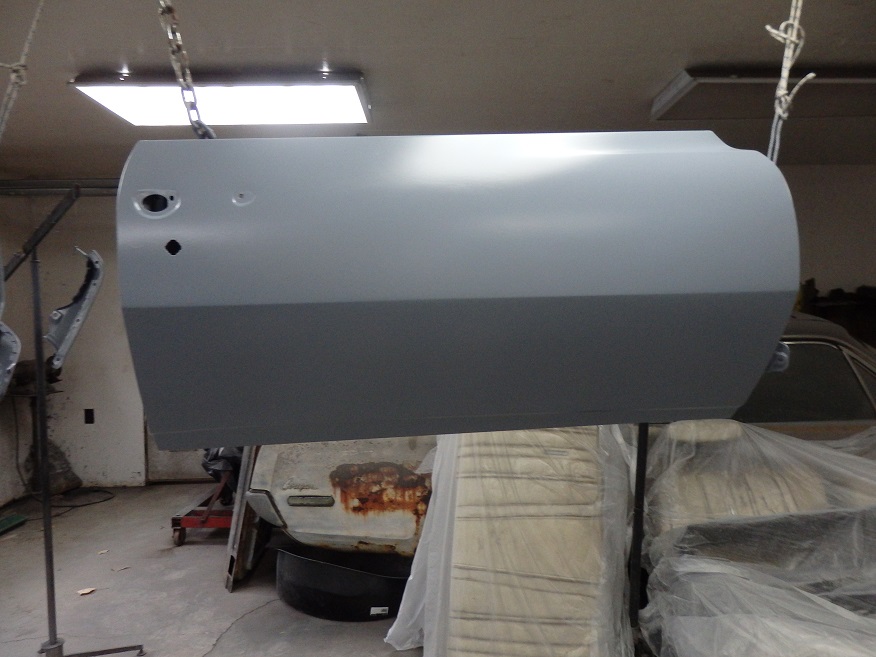
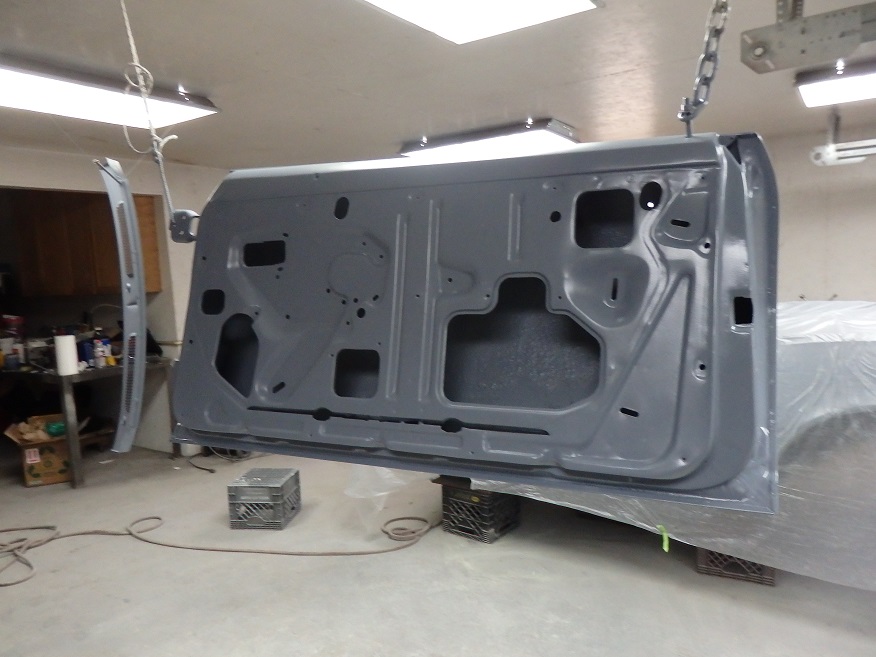
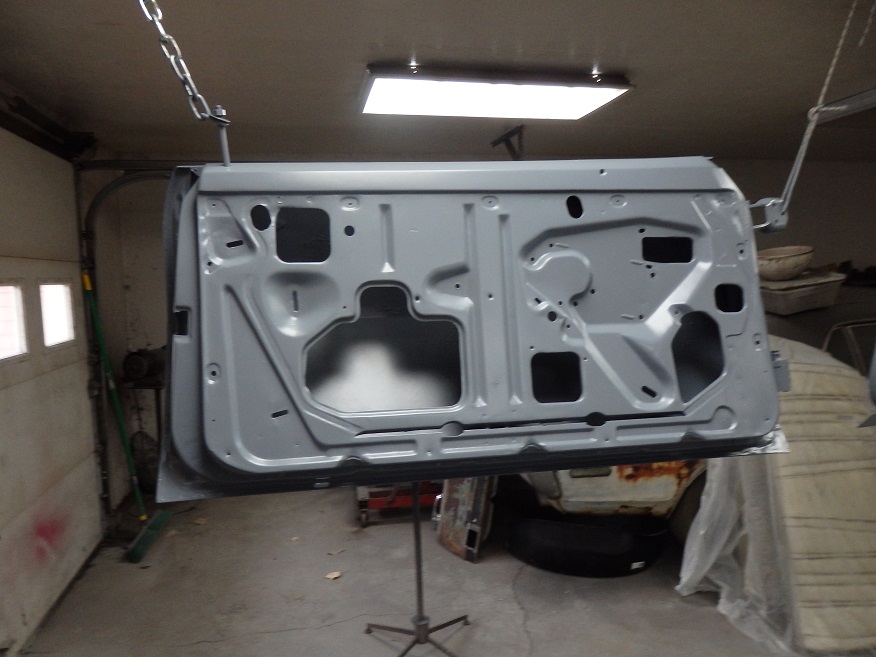
The passenger's door was a really nice used door. No holes to fix on this one. As with the other door the filler was there to make it as flat as possible before the highbuild primer.
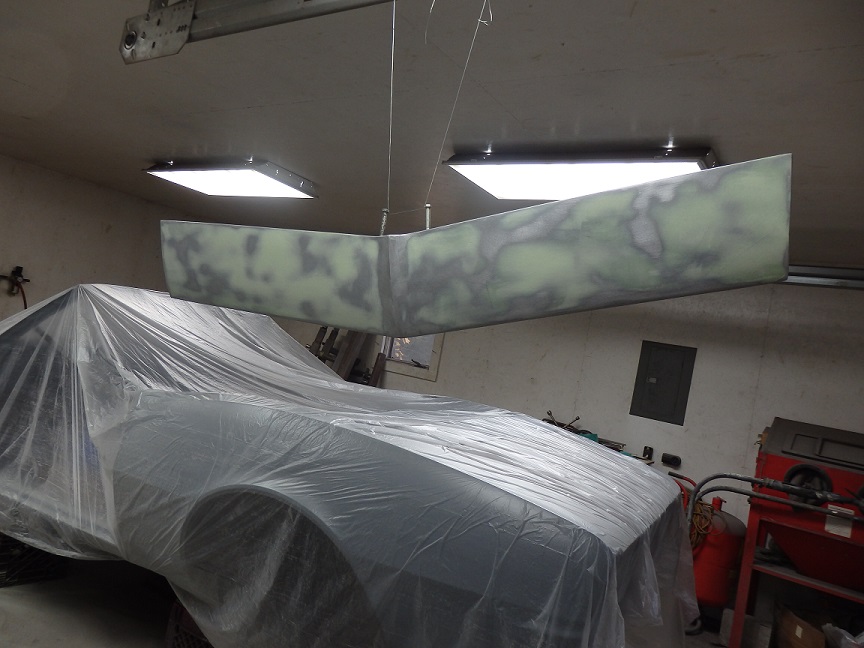
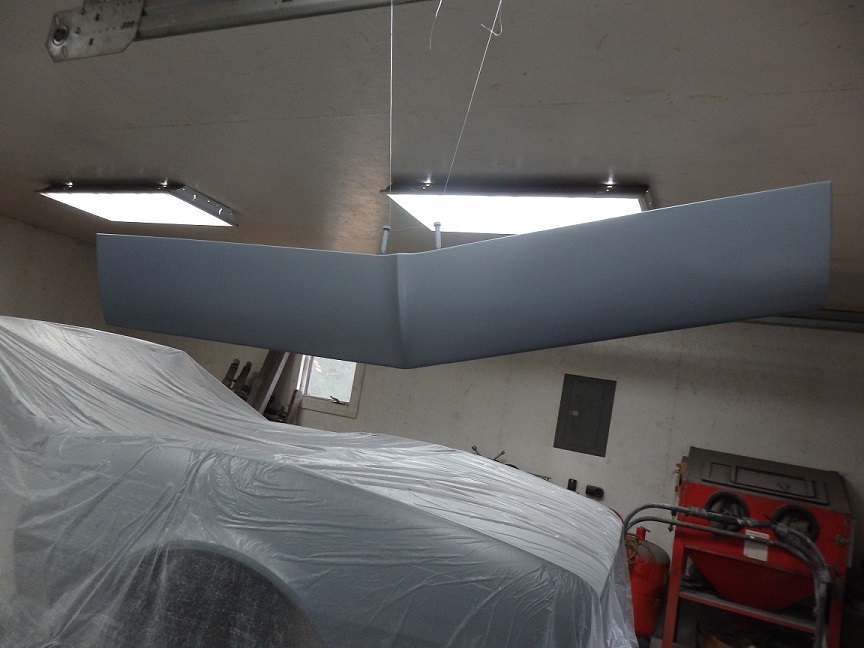
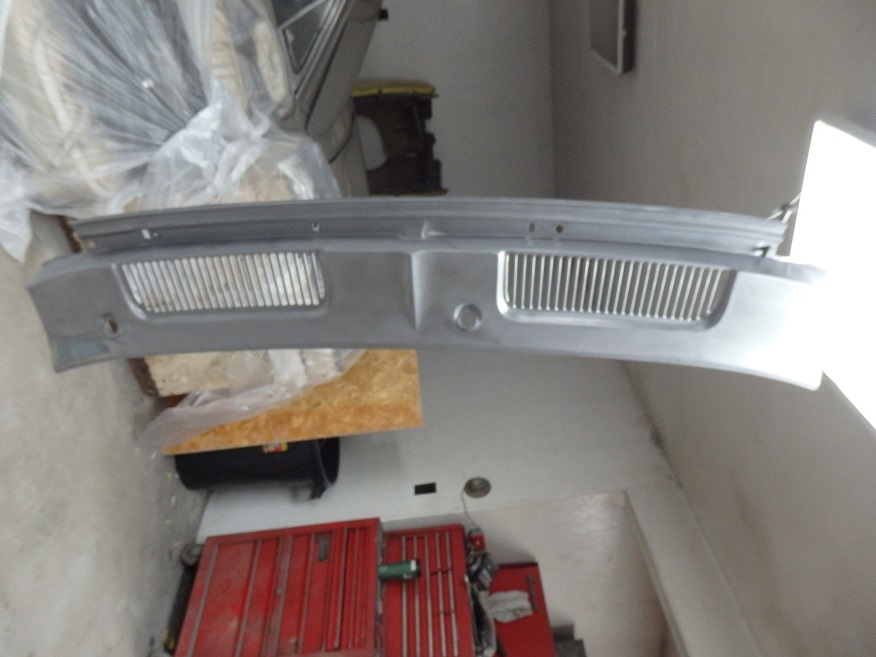
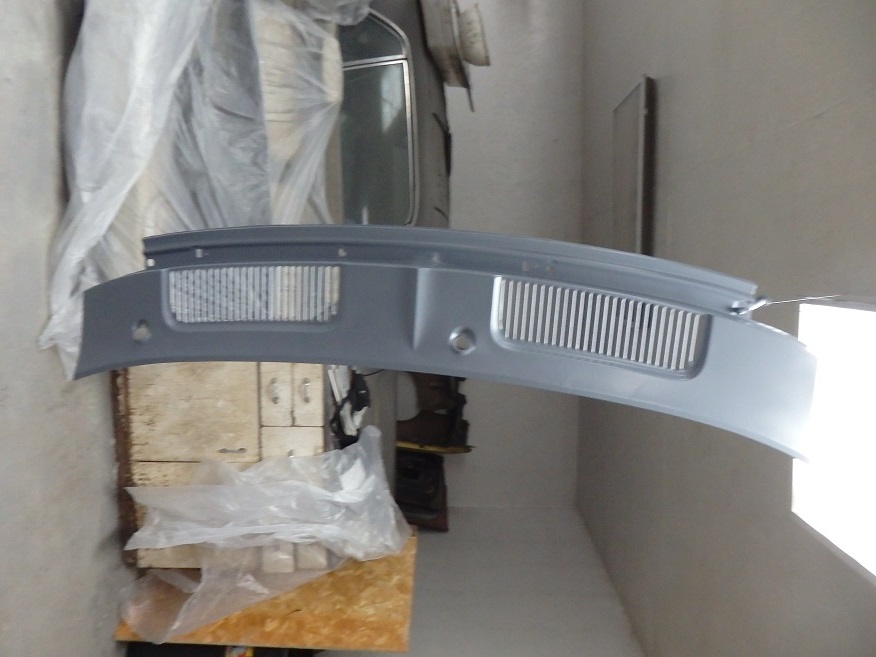
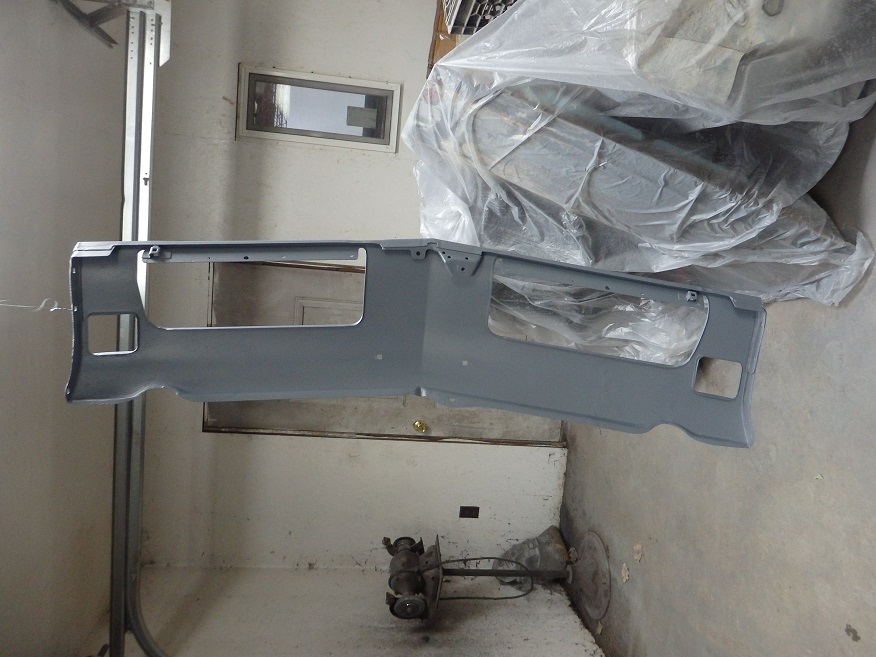
The header panel appears to have been a used replacement part. I only say this because of the lack of emblem mounting holes. The header is definitly not a repo part. The sharp details on the edges and the big fat spot welds gives it way. The header justed need a little filler to take out the surface imperfections and it was all set for primer.
The wiper grill panel had one small dent in one corner and some pitting that would be covered with the windshield molding. The pitting will be filled with highbuild primer after the panel has been epoxy primered.
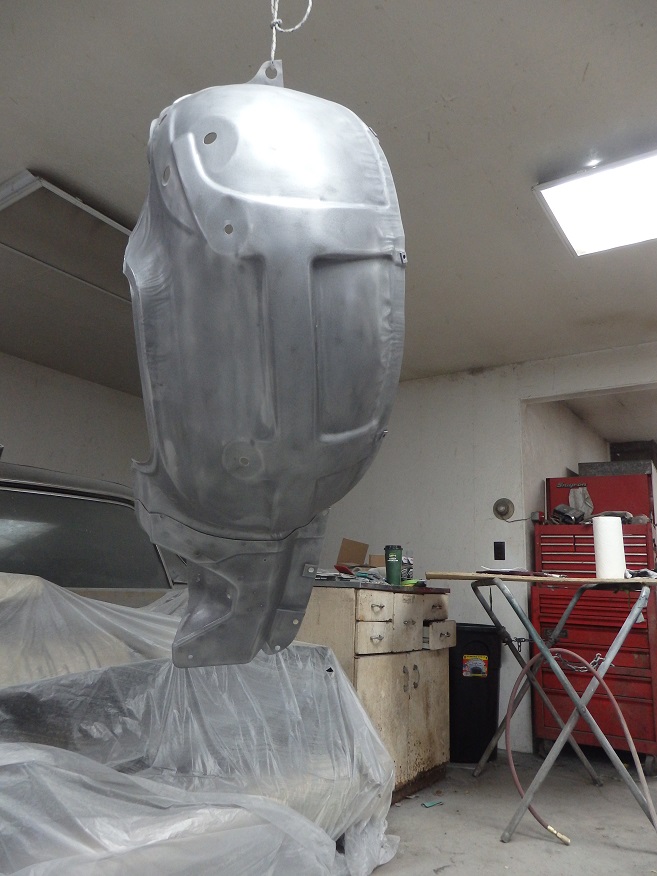
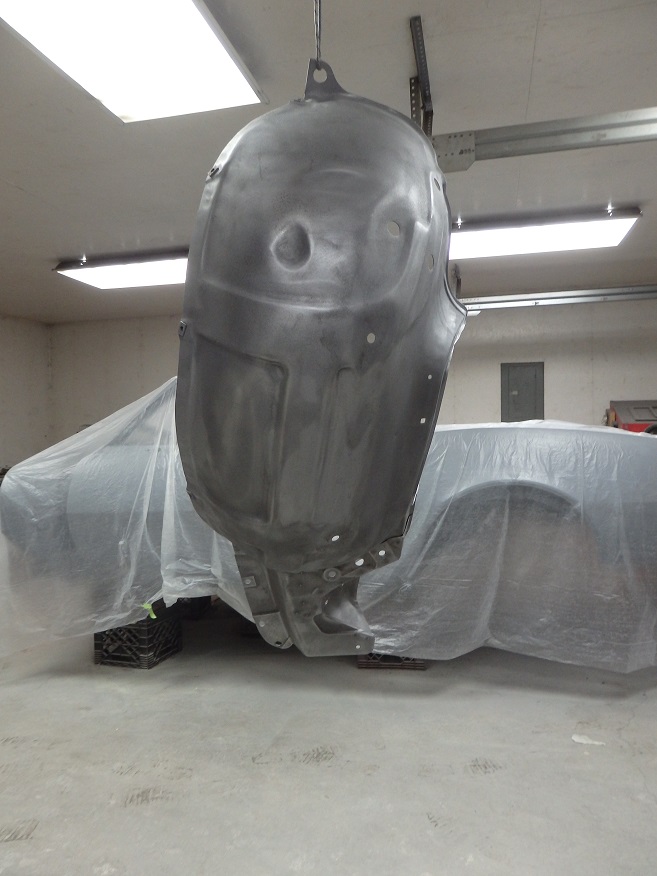
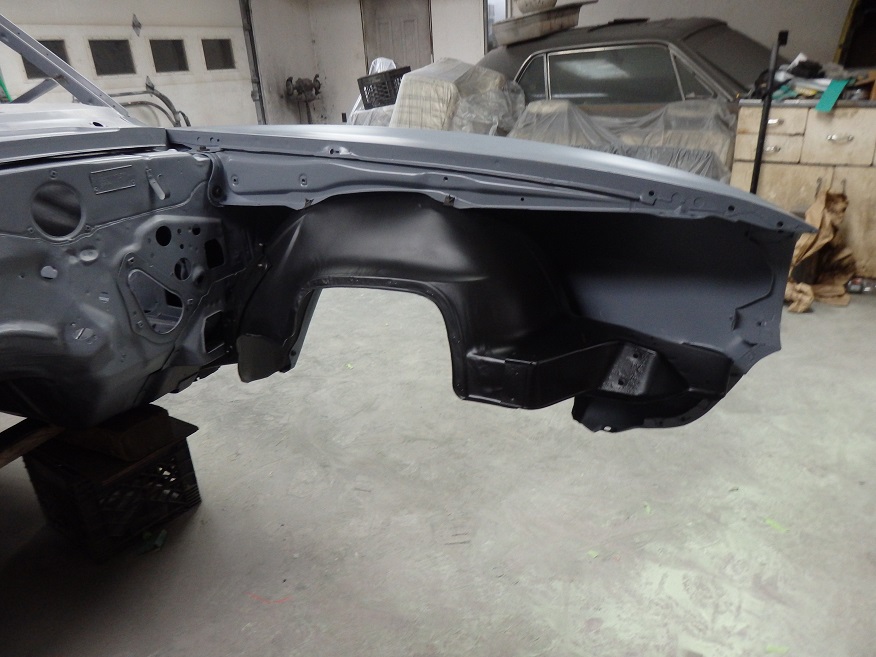
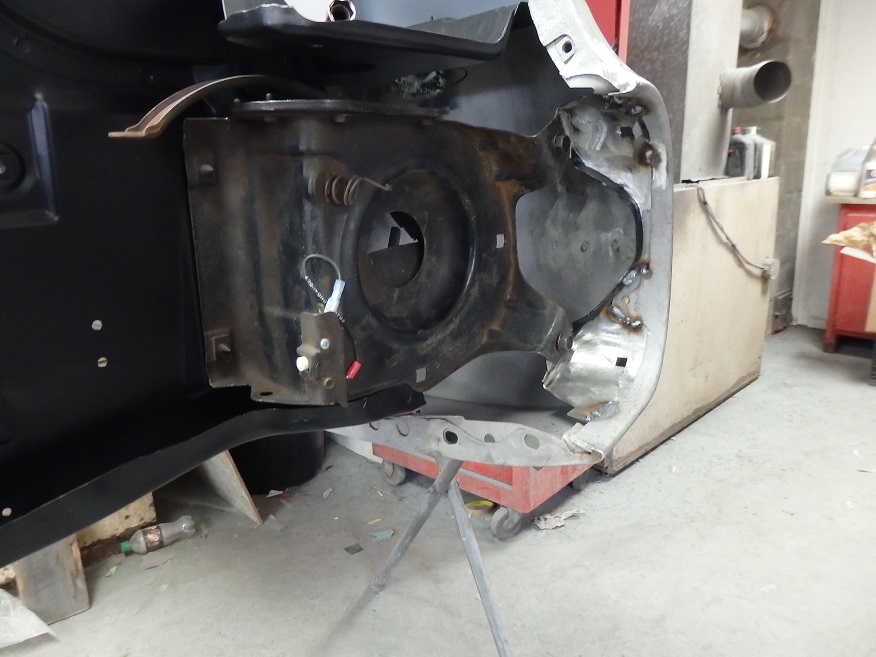
I had to do some digging in a big pile of inner wheel wells to get a good pair of rust free 1967 wheel wells. Usually they rust out at the front where they meet the radiator support. Also the right side ones tend to be chewed up by battery acid. All I had to do with these after sandblasting was to prime them. Atsome point I will need to drill the holes for the RS parking lights.
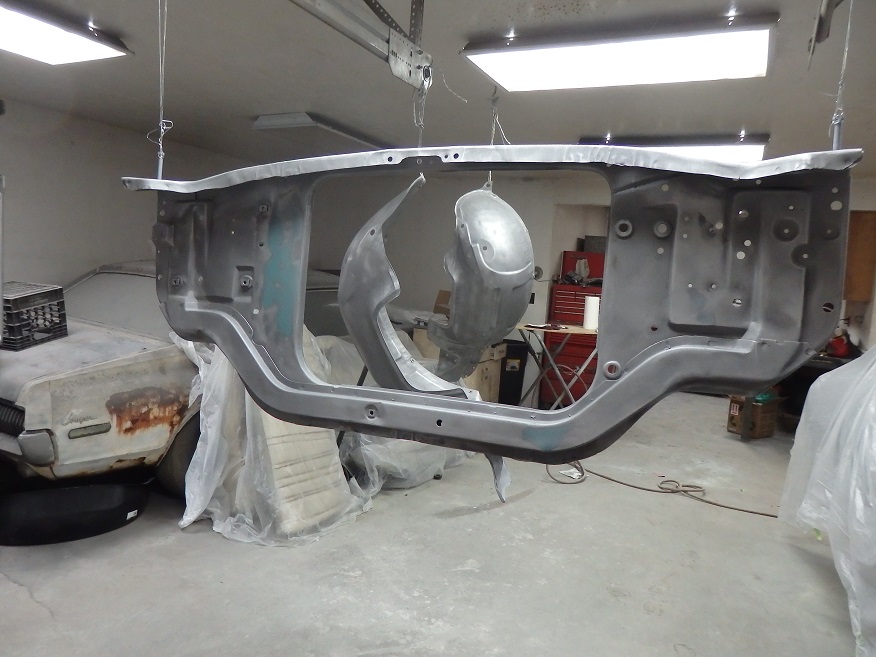
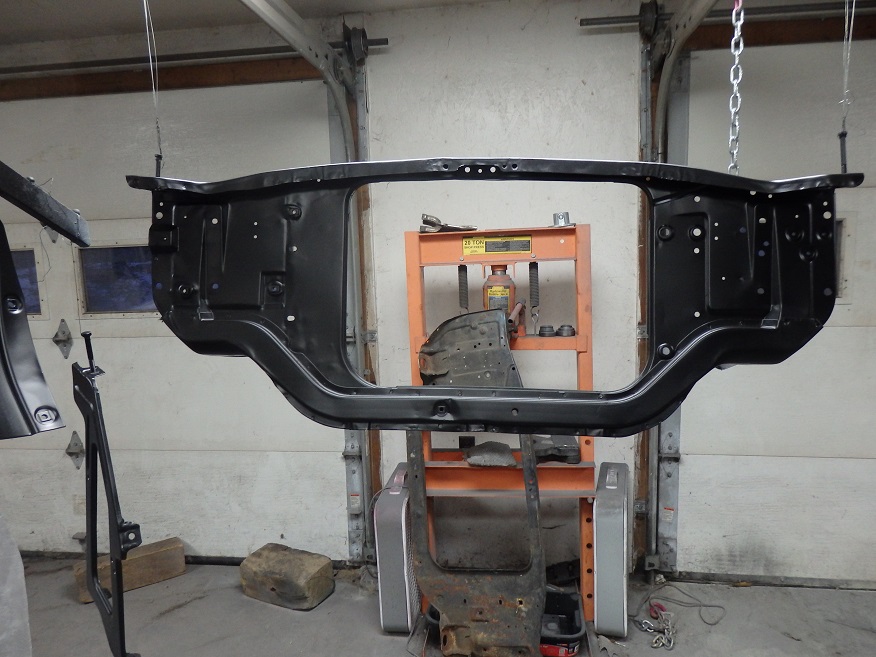
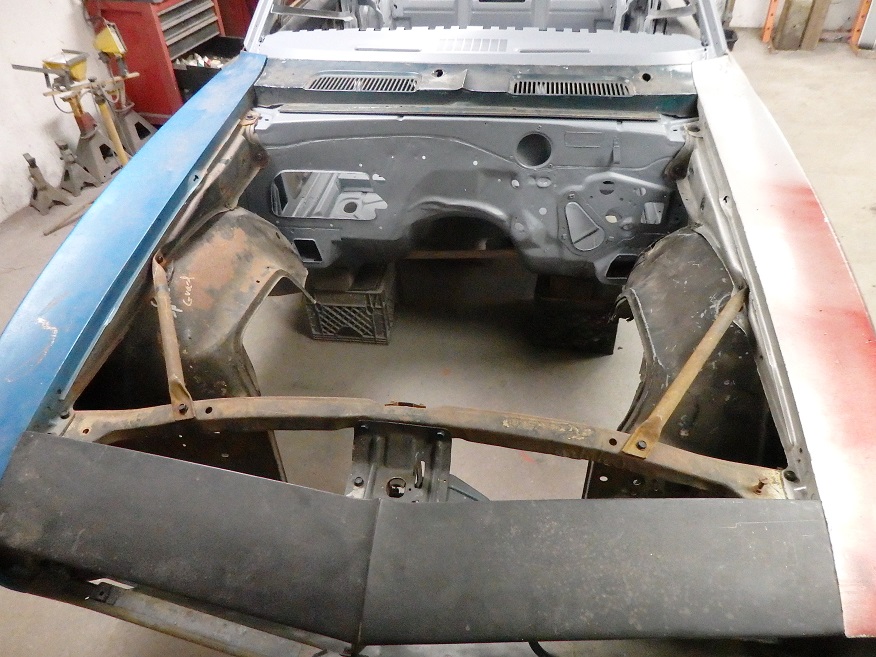
The radiator support had a few jambs that needed fixing. Even the best repos are not identical to the original parts. The easiest way to tell is that the nuts for the battery tray attachment were originally rectangular while the repos are square. Also it should be noted the 67 & 68 supports are the same while 69 has extra holes for the AC setup. This one was off a 67, so I know it was correct.
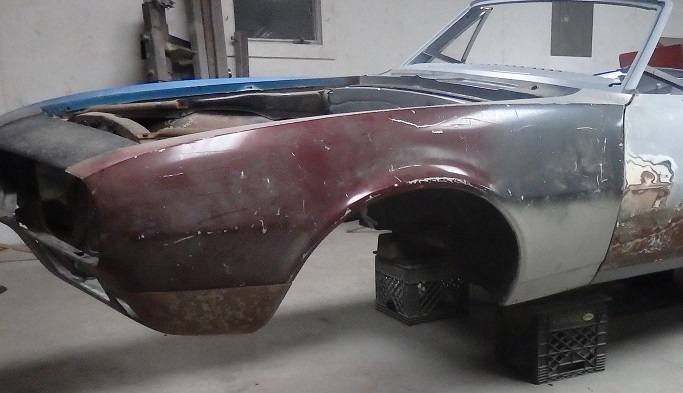

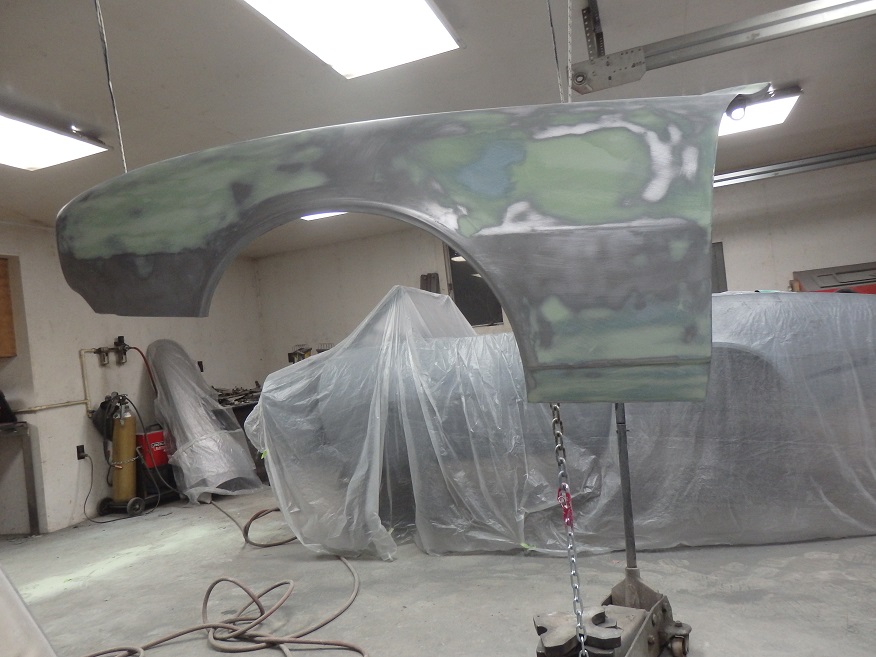
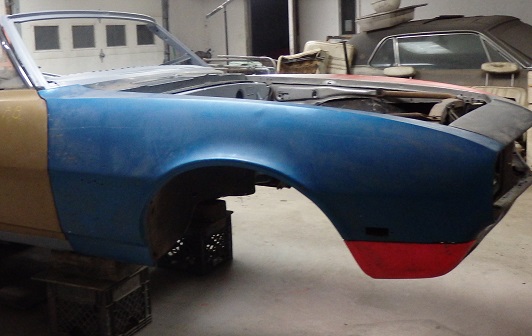
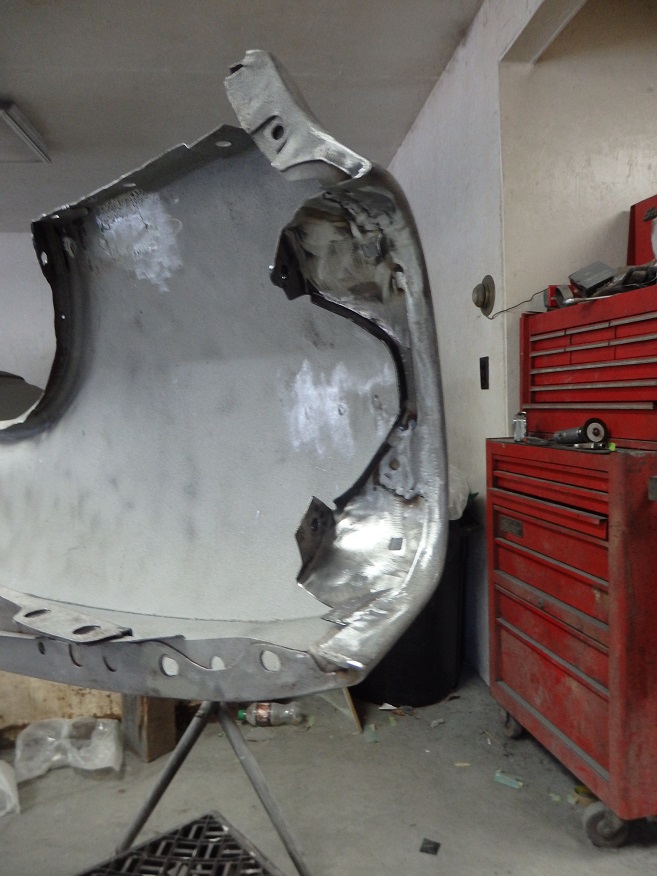
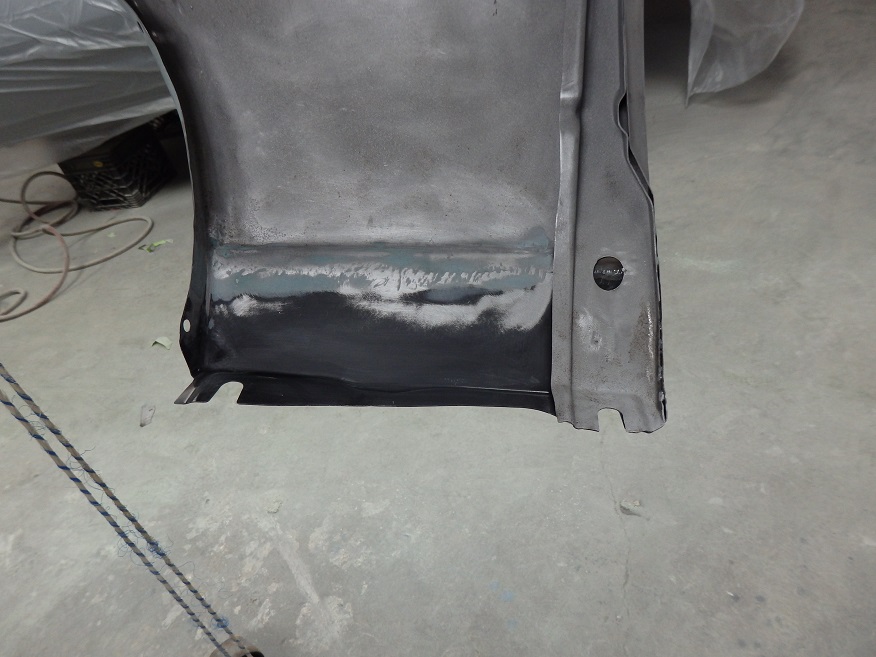
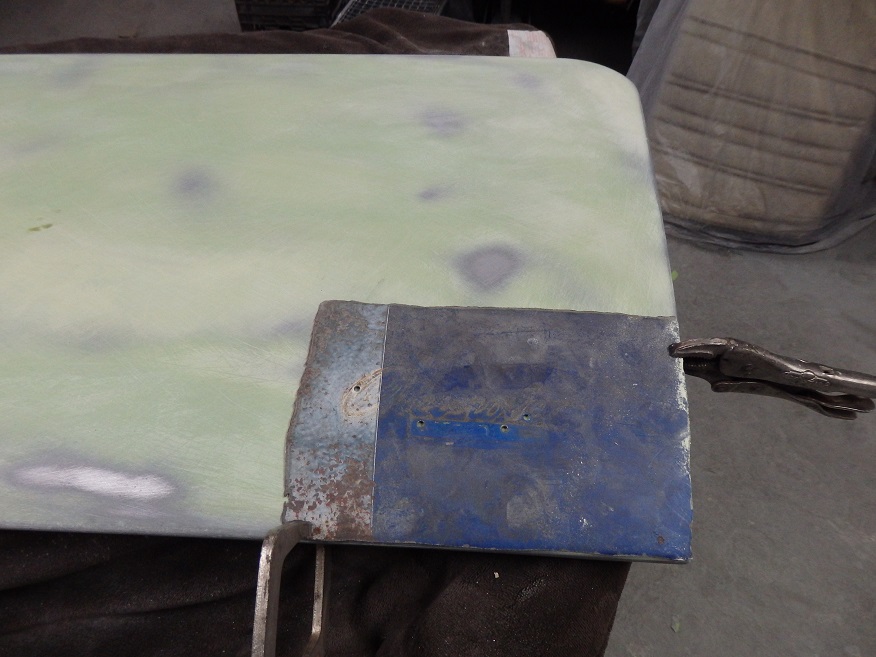
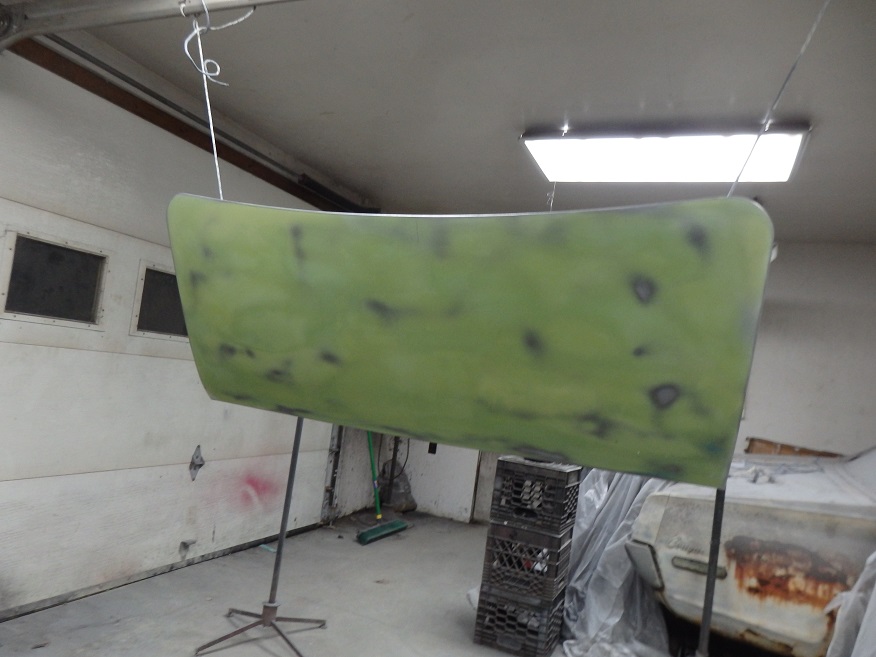
I started with the best used 1967 fender I could find at Camaro Specialties. As one would expect by all those colors, it had been previously worked on. The second pictures shows the worst of, which was uncovered after sandblasting. To fix it , I purchased an AMD lower fender repair panel and butt-welded in only the section I needed. The repair panel had the correct contours. There was no way I was going to fabricate a patch that looked as nice as the one I made from the repair panel.
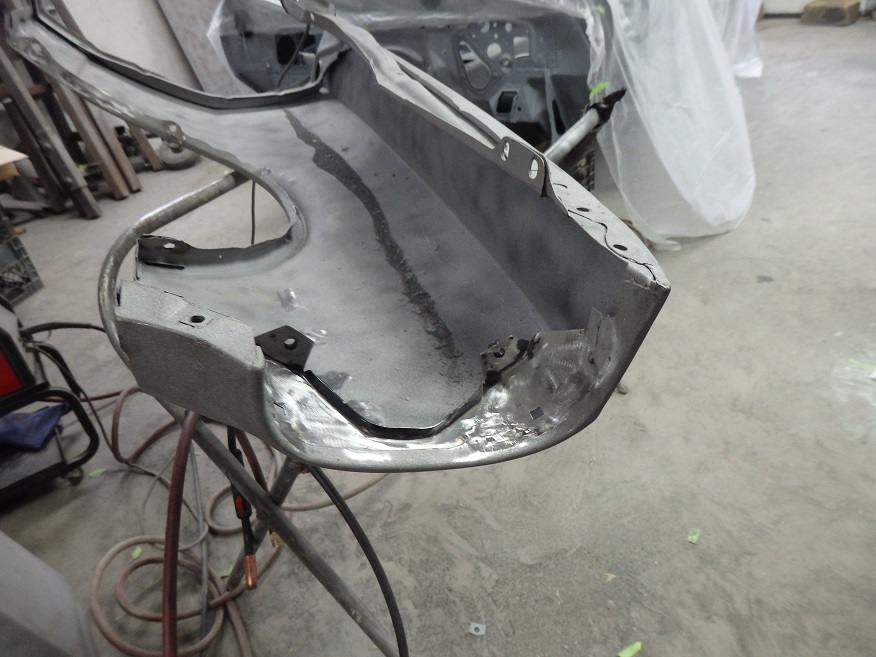

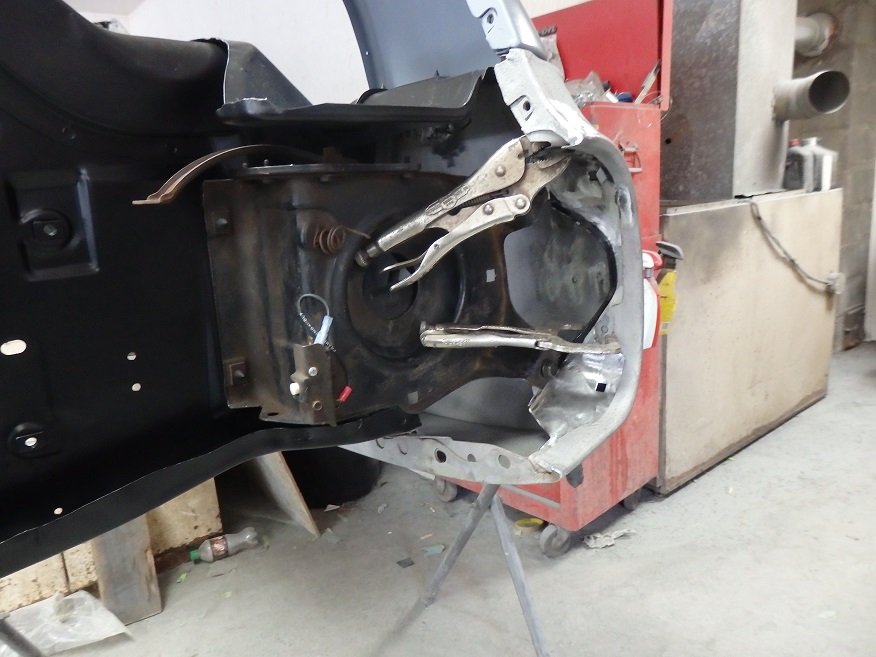
The next challenge prior to filler work was to convert the fender to RS style. The 67/68 style setup requires special brackets to be welded to the front fender opening. To install the bracket correctly I had to bolt the inner fender and radiatior support to the fender and then bolt in the RS headlight assembly. Then using the headlight bezel I was able to correctly position the RS brackets to weld them in place.
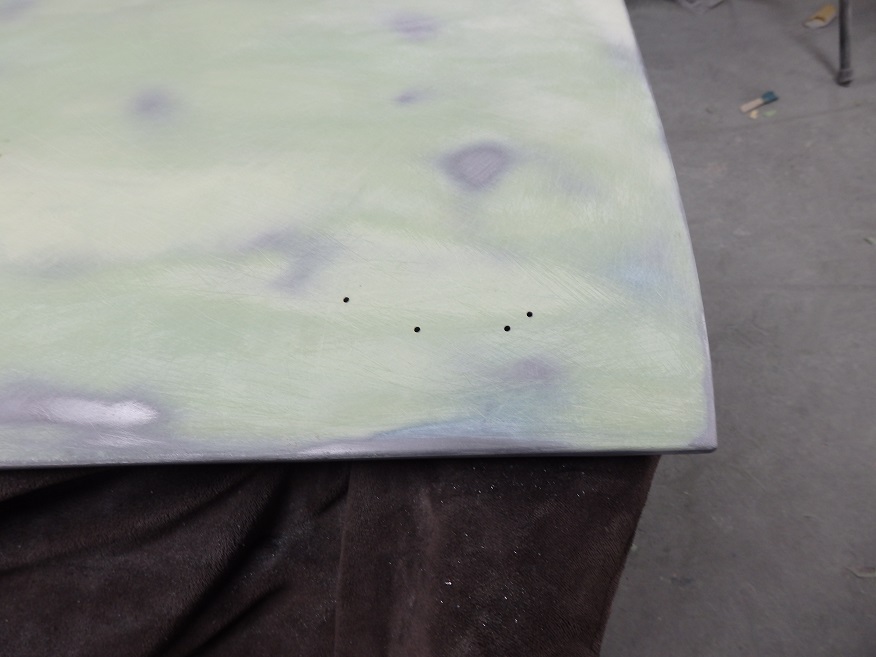
After that, I was able to complete the filler work. After all, you can't expect a 50 year old fender to not have some small dents in it... The filler shown on the picture above is actually pretty thin. I probably might have gotten way with using high-build primer, but it's good to get the panel pretty flat earilier to ensure there are no surprises.
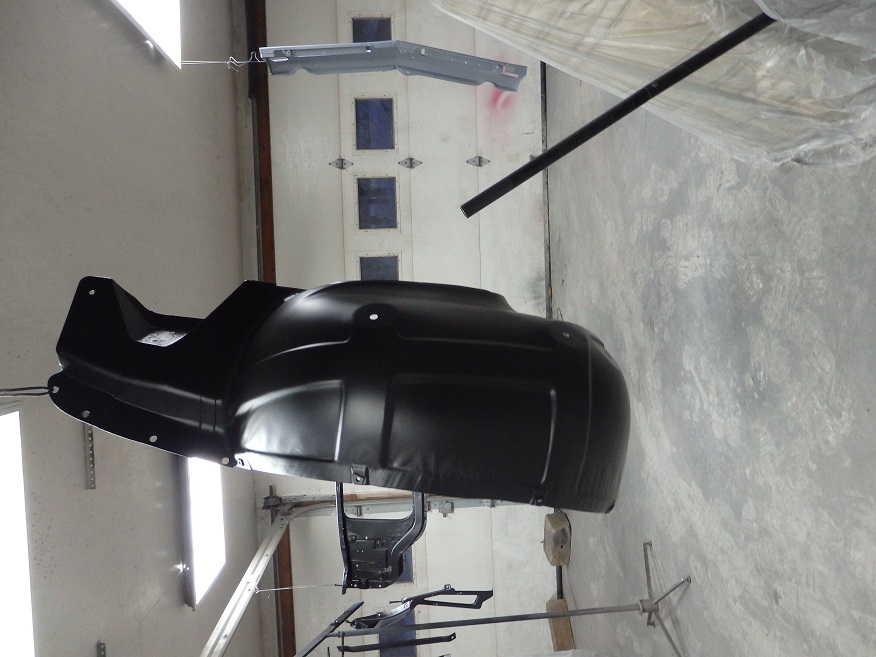
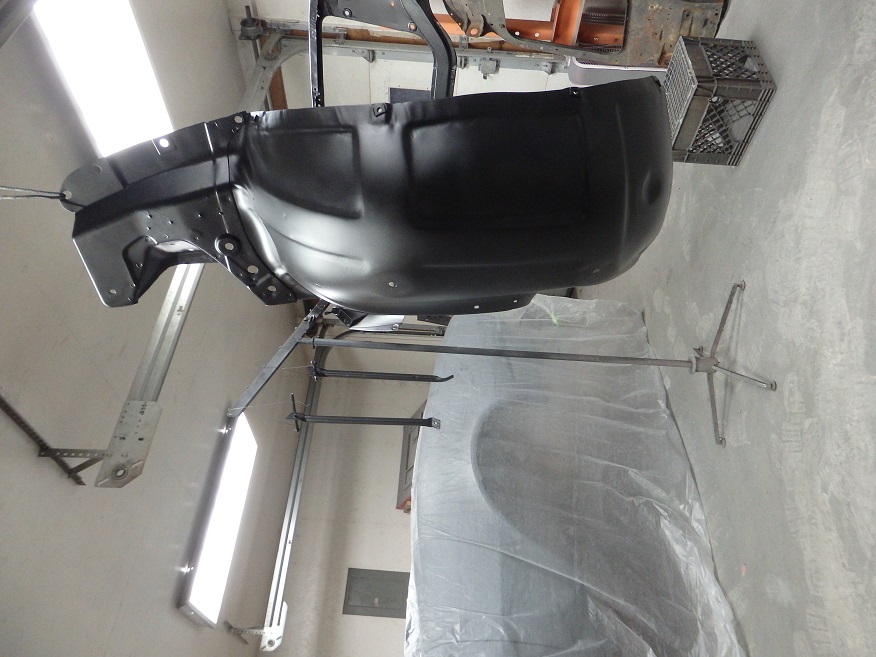
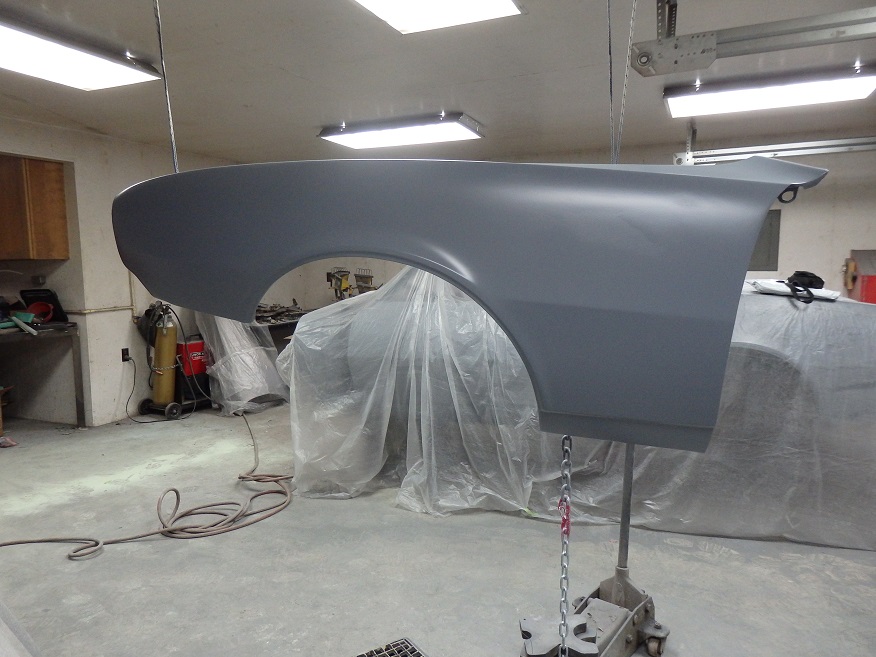
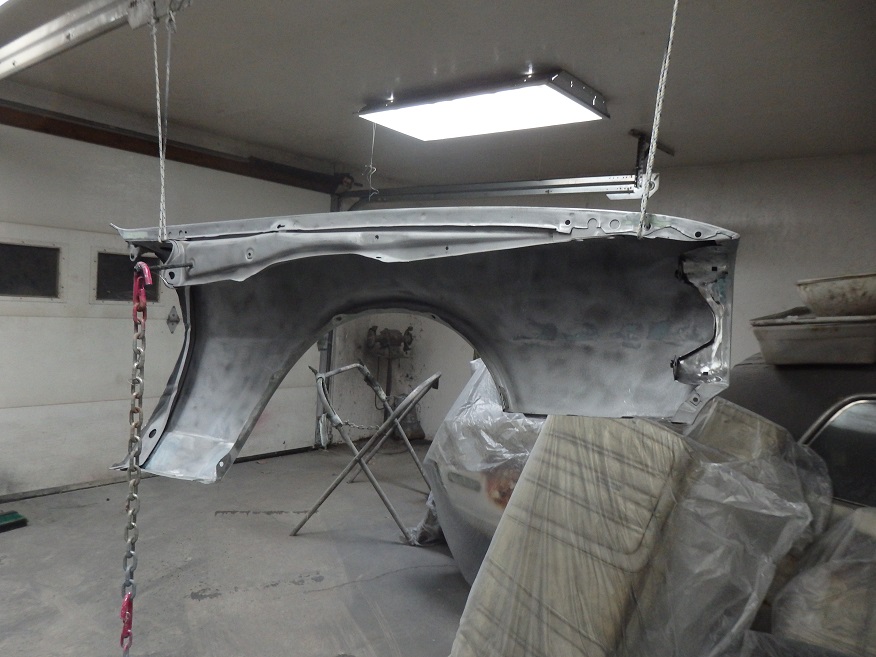
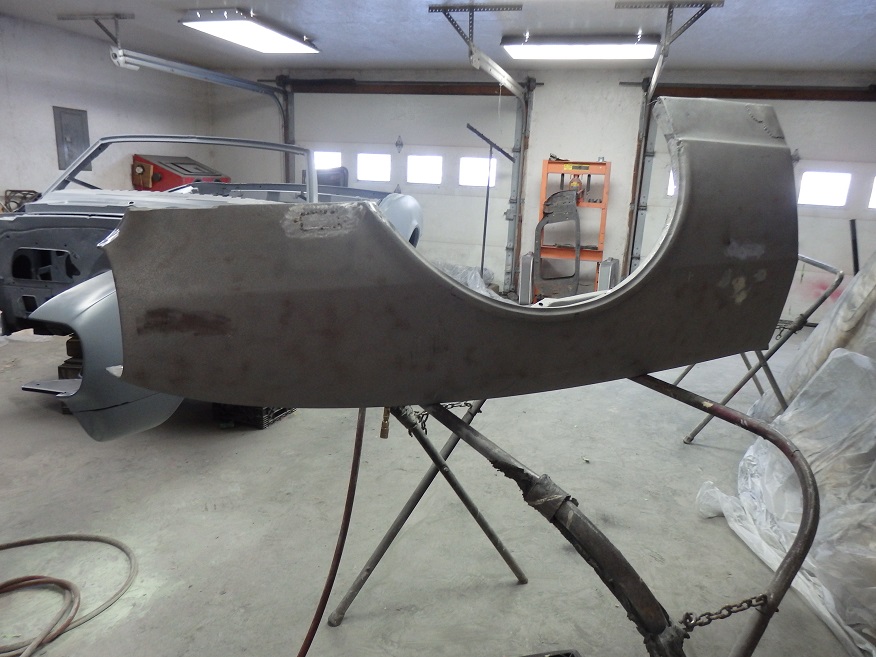
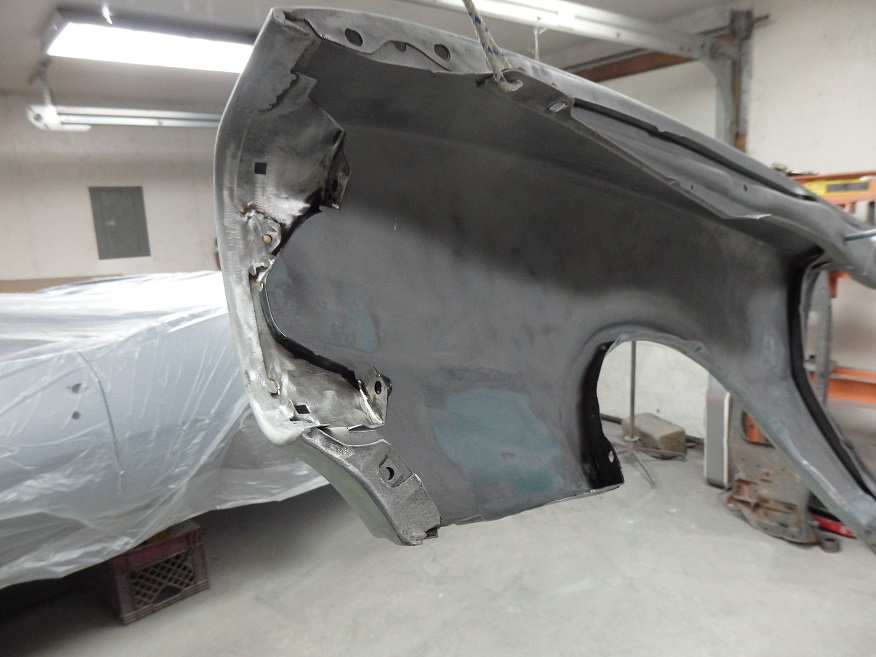
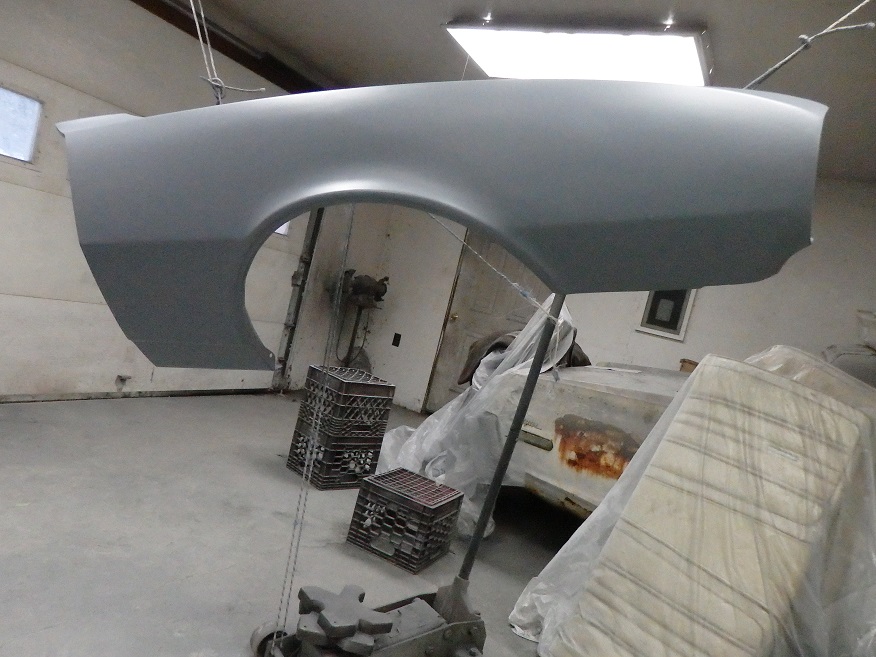
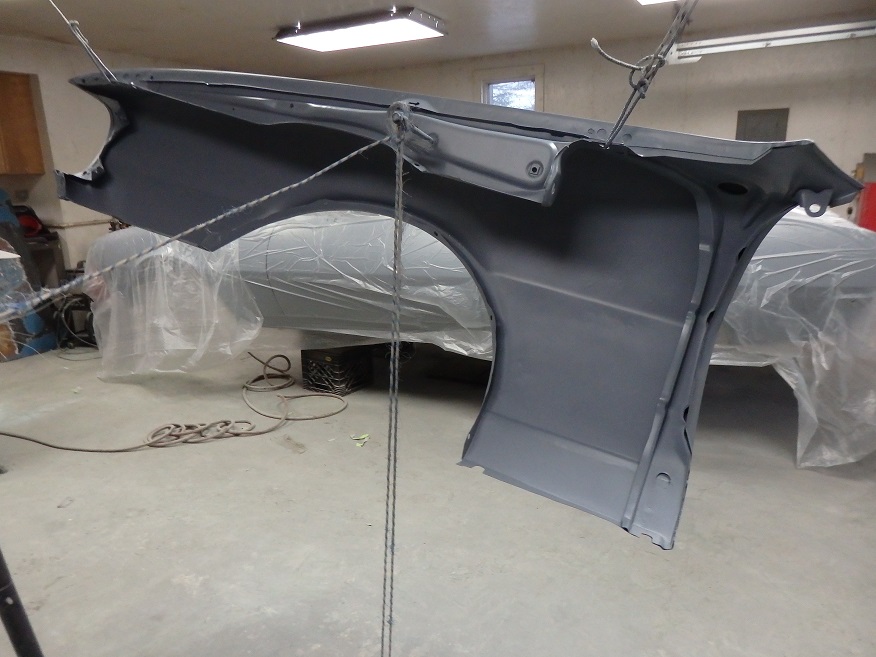
With the filler work completed, I hung the fender from the ceiling and epoxy primed the whole thing.
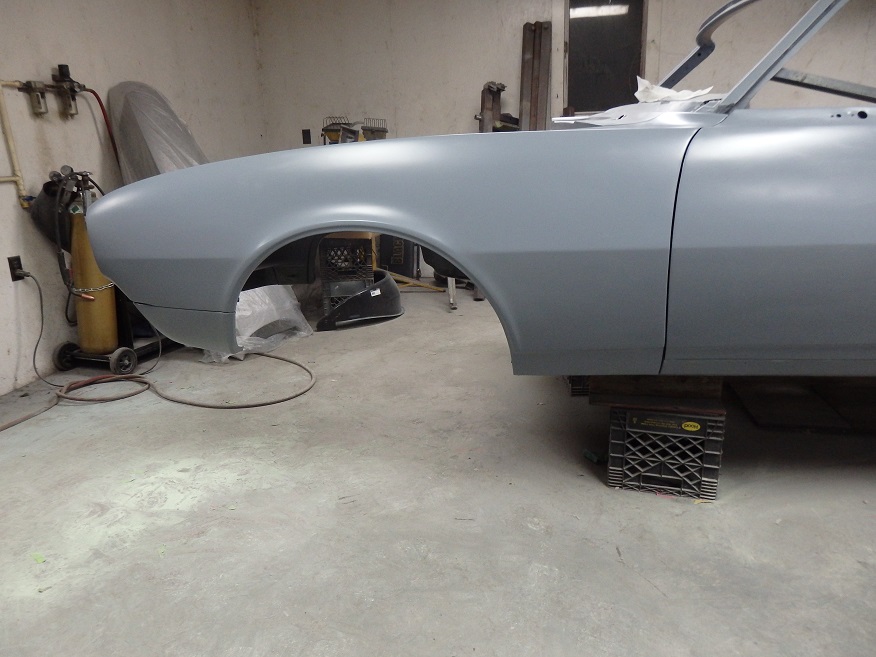
Since I was planning on putting the whole car in slicksand and blocking it, I attached the fender to the shell. The inner fender had to be installed as well since the radiator support needed to be installed to hold everything in proper alignment.
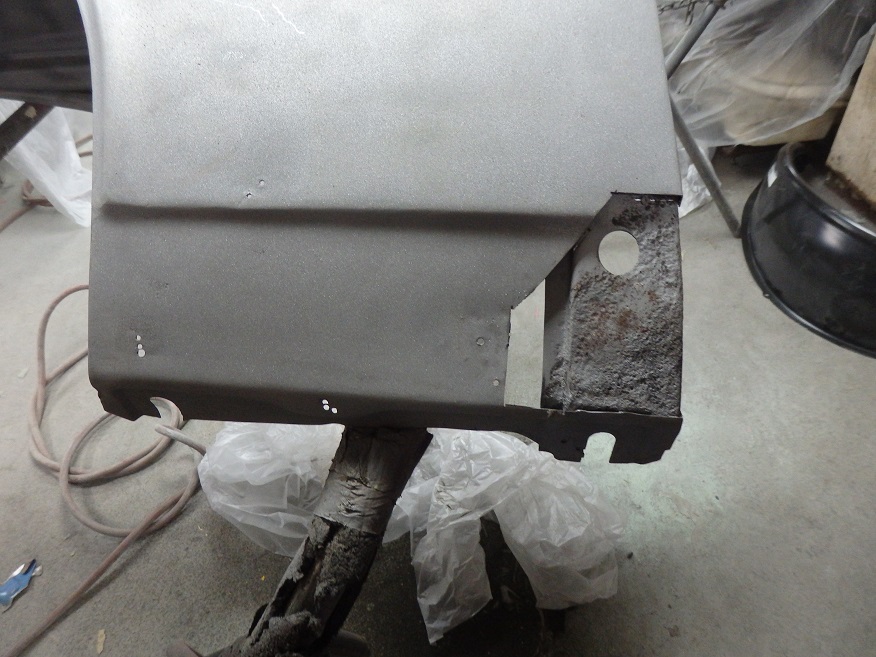
For the right fender I ended up buying what I thought was a very good used 1968 fender. The only difference between the 67 and 68 was the hole for the 68 side marker light. Once I got it home and had it sandblasted, I found that there were lots of little pin holes at the very bottom where it bolts to the rocker panel. There was also a small patch, but I knew about that before I bought it.
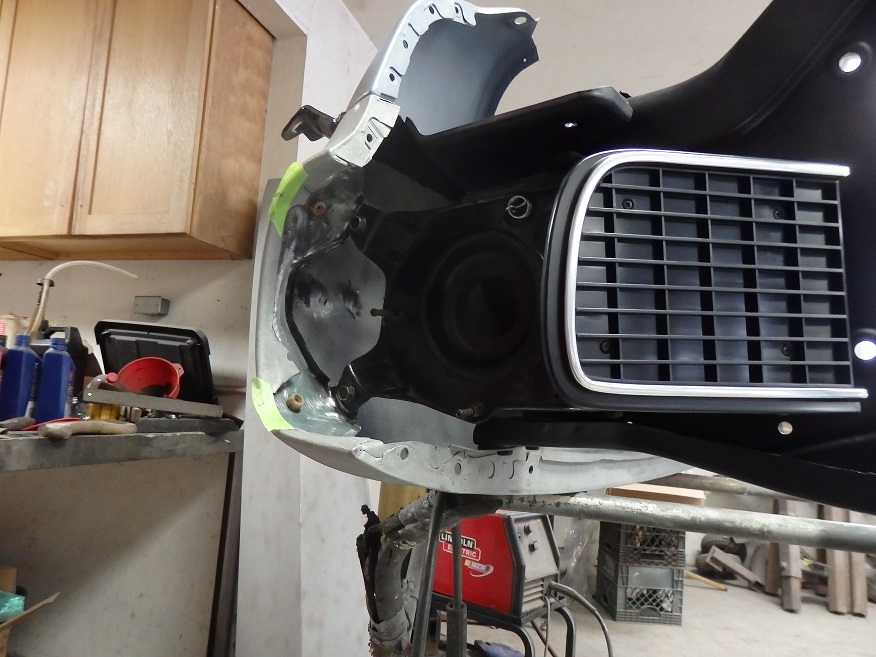
I started with welding the RS headlight bracket to the fender. As with the other side, I attached the inner fender, radiator support and hide-away headlight door to help position the bracket before welding it in.
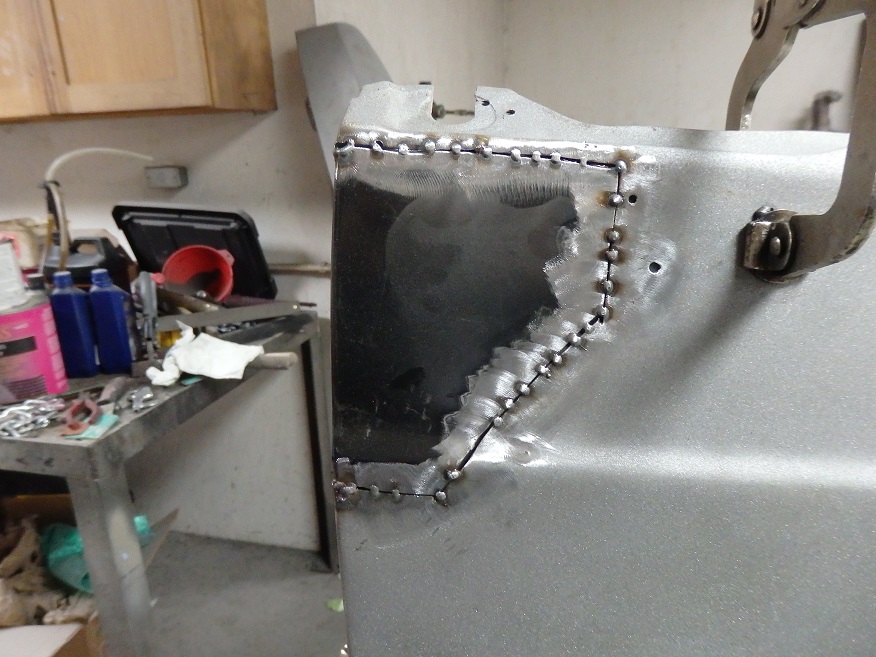
Then I moved on to butt-welding a patch to the marker light hole.
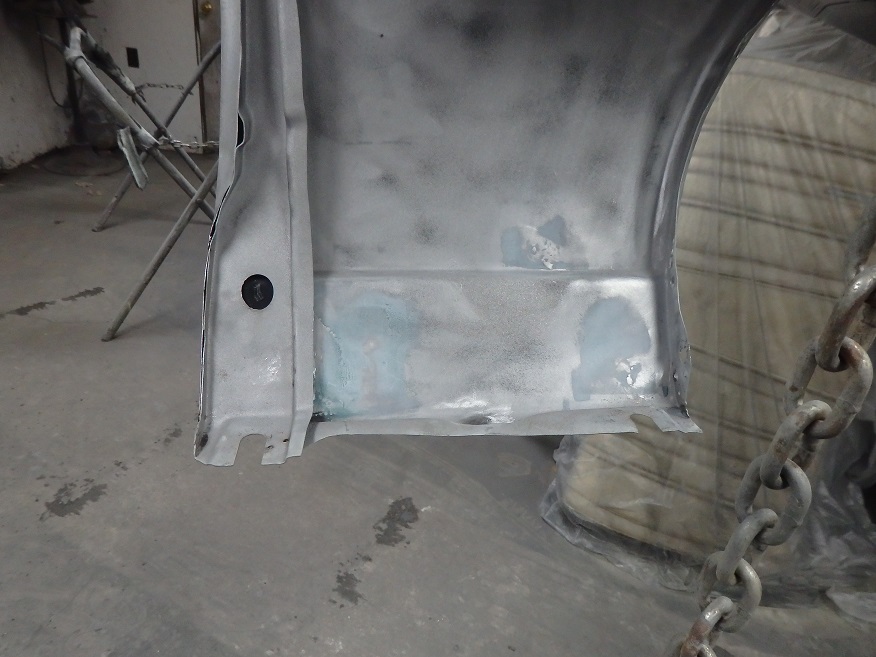
Due to the amount of holes at the bottom of the fender, I resorted to using a fender repair panel from AMD. I was careful enough to trial fit the fender to the car to get the patch properly aligned before welding. I did not have much filler work to add to the fender to smooth out the fender on both sides after the welds were ground down.

As with the left hand fender some light filler work was needed to shape the fender prior to priming.
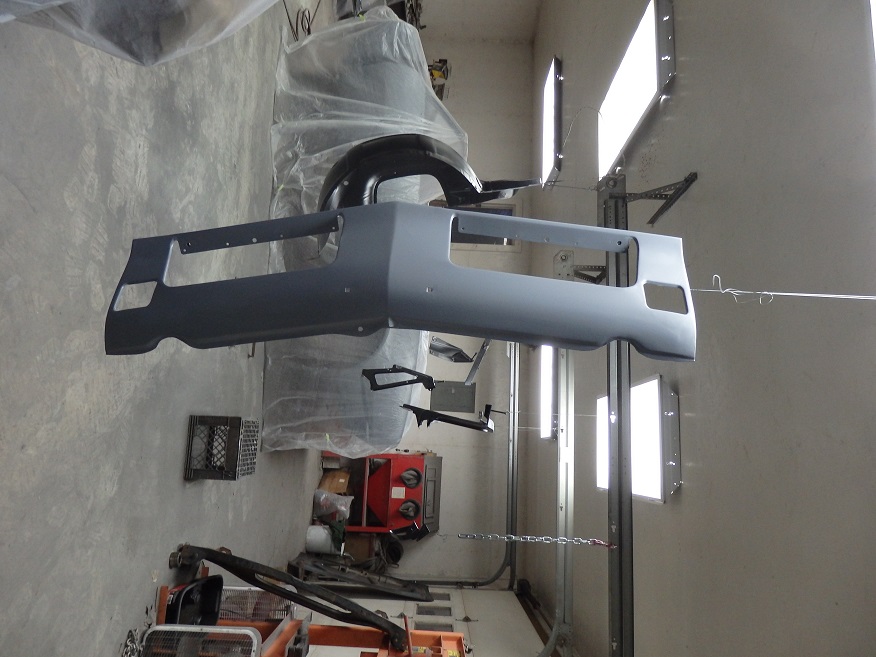
Luckily I was able to find a good used 1967 RS Lower Valance. The RS parking lights for 1967 are different than the 68/69 ones. The 67 version has flange around the light and is held in place with a bracket from the rear. While the 68/69 version is inset into the valance panel, which as extra material to bolt it to. The 68/69 version can be converted to a 67 version simply by cutting the extension off.
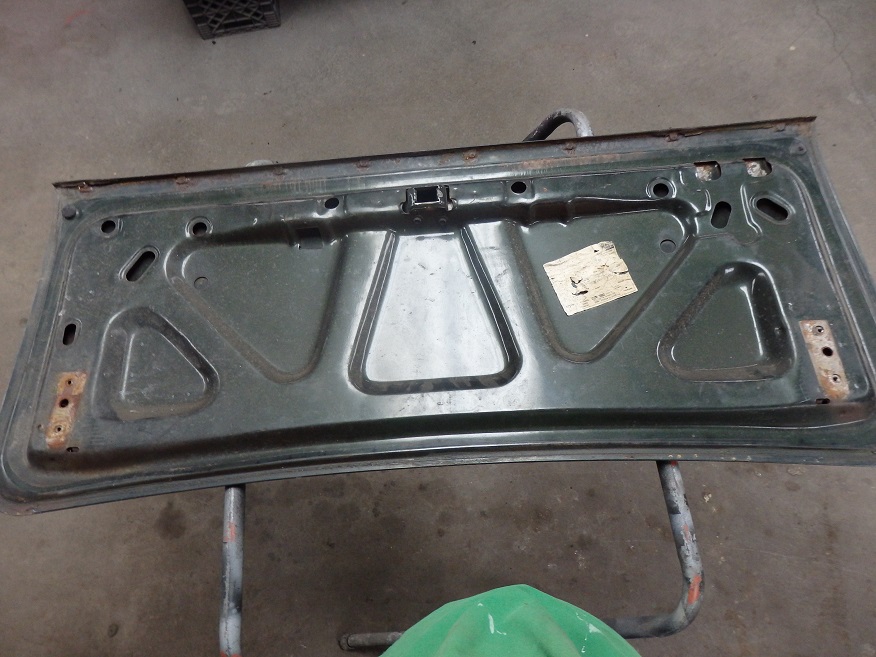

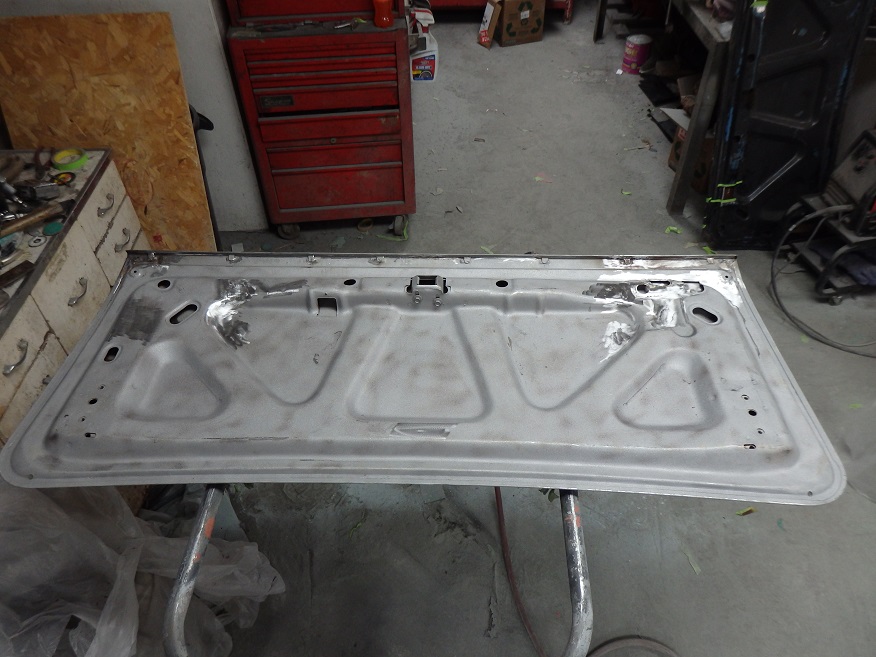
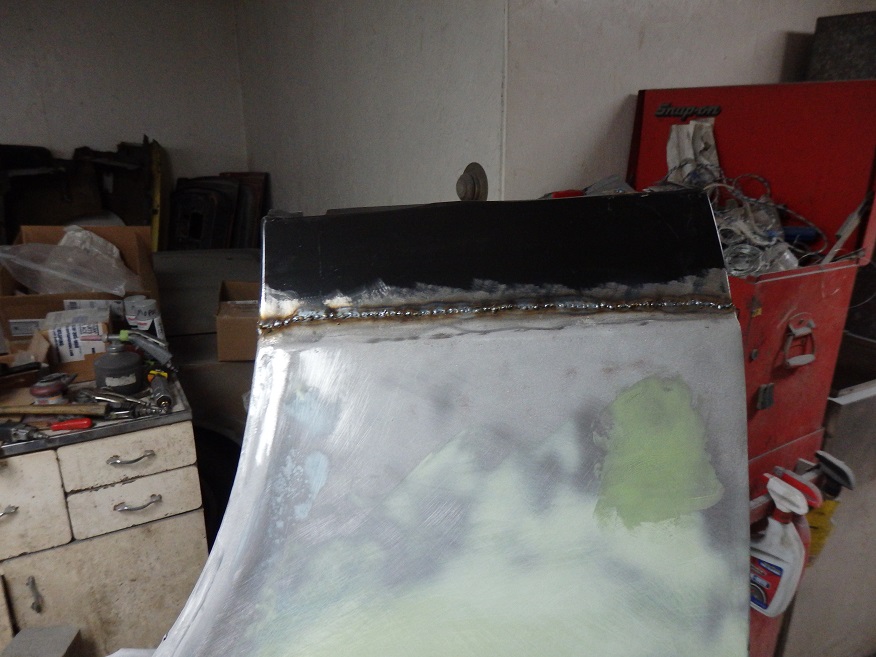
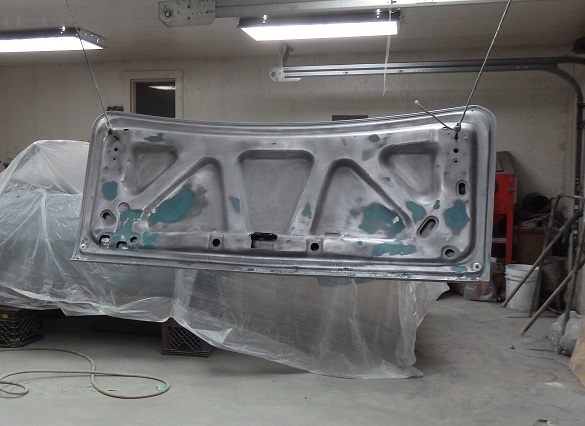
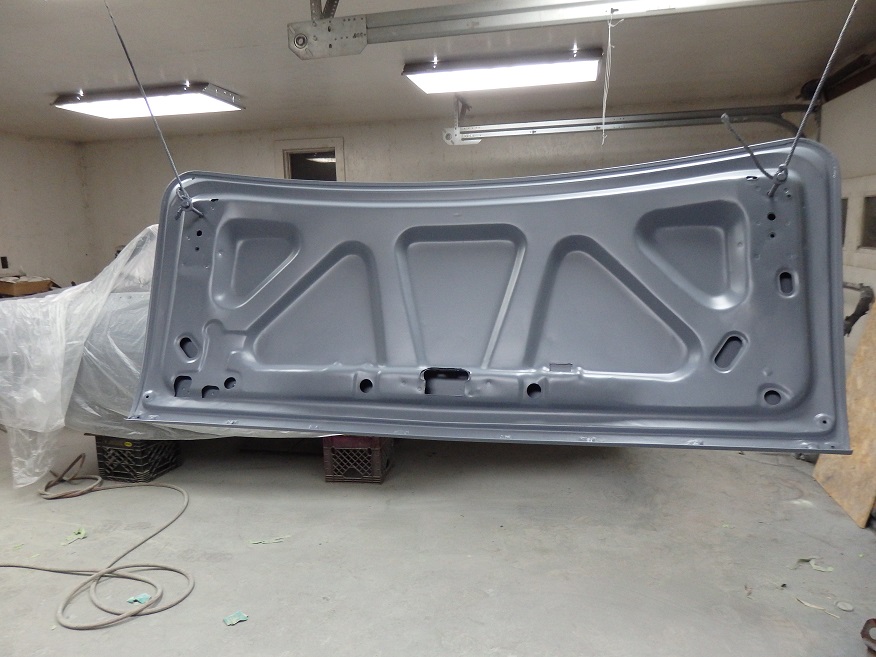
The only good trunklid I could find that wasn't rusted on the inside bottom lip was a mid-1969 style. There many diffent versions on the trunklid from 1967-1969. The changes were all on the underside and were related to changes in the emblems (67-only vs 68/69) and additional holes needed for the different types of rear spoilers on Firebirds and Camaros. In the second picture you can see the completed work for the emblem access holes (top right corner). I had also started welding up the spoiler holes. In the third picture I had completed all of the welding. Now it looks like the late-67 trunklid style (introduced Feb/March 1967).
Luckily the car came with a piece of an original 67 trunklid with the emblems on it. I used it as a template to drill the emblem holes.
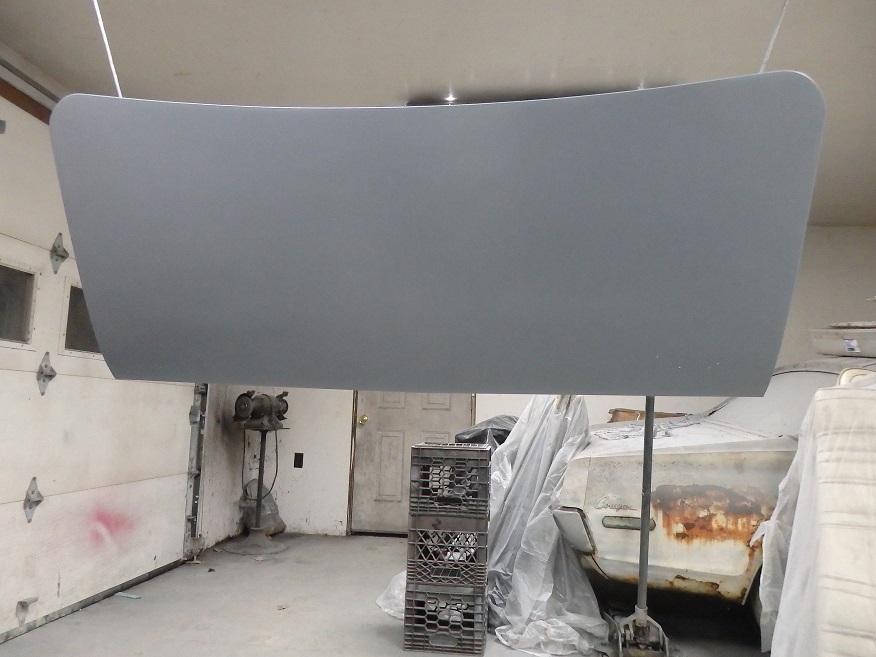
With the filler work completed, I hung it from the ceiling and primed it with epoxy primer.
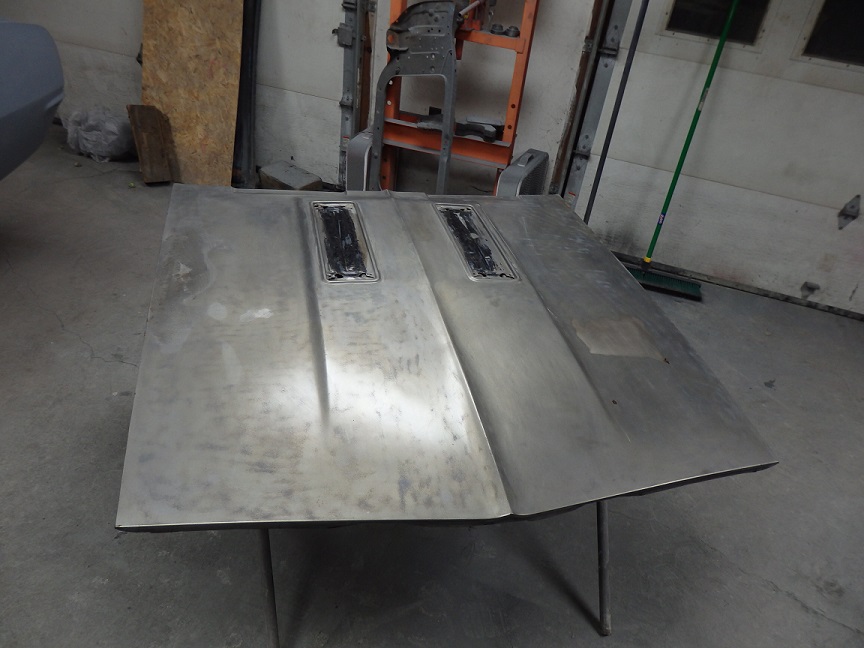

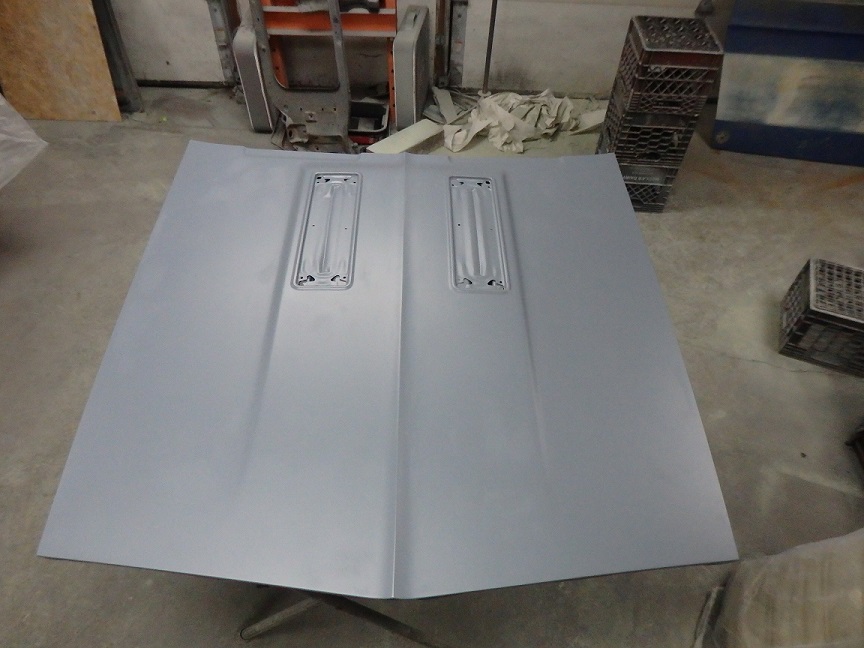
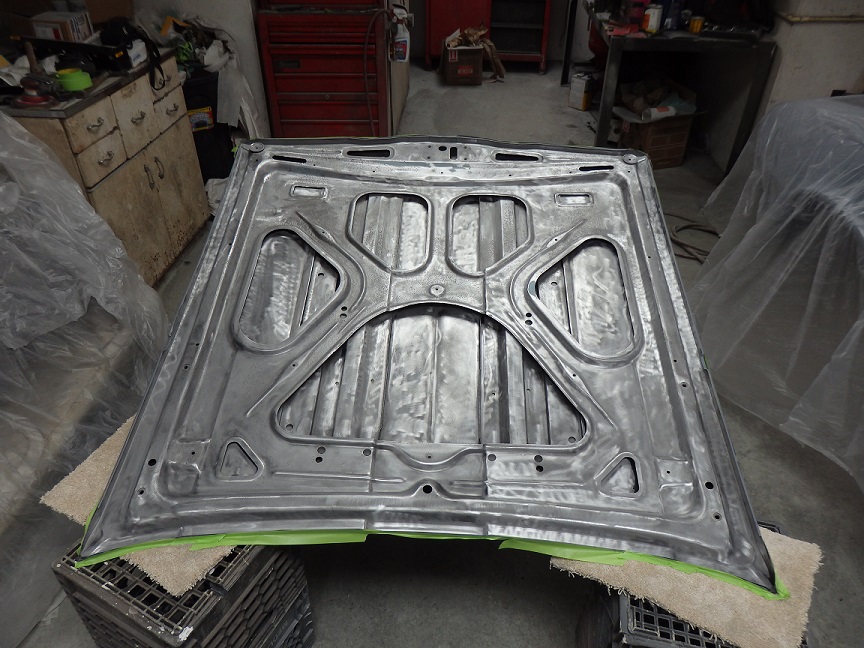
I was lucky enough to locate an original 67 SS hood. Later versions had a drain spout on the underside amongst other slight differences. I was also lucky in that there wasn't any battery acid damage to the underside, which is common. However, there were some waves in the hood, which were probably due to people either sitting or standing on the hood. To strip the hood my blaster actually used corn.
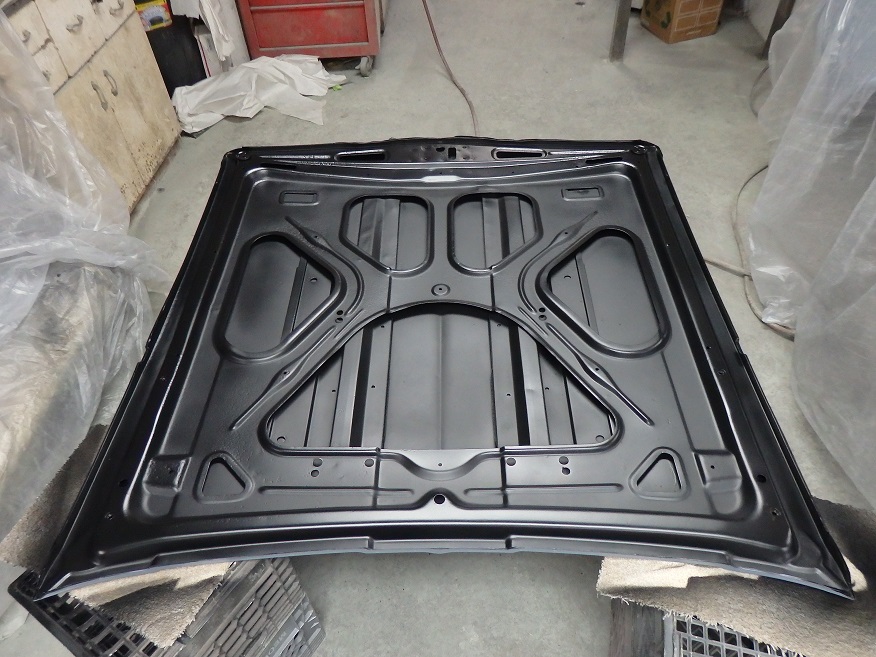
It took me an afternoon to get the jambs fixed on the hood. For the top side I used DL50LF gray epoxy primer, but for the underside I used black DP90LF since the underside was supposed to be black. I like to use black primer on black parts simply because chips in the paint will not stick out as they would with gray primered parts.
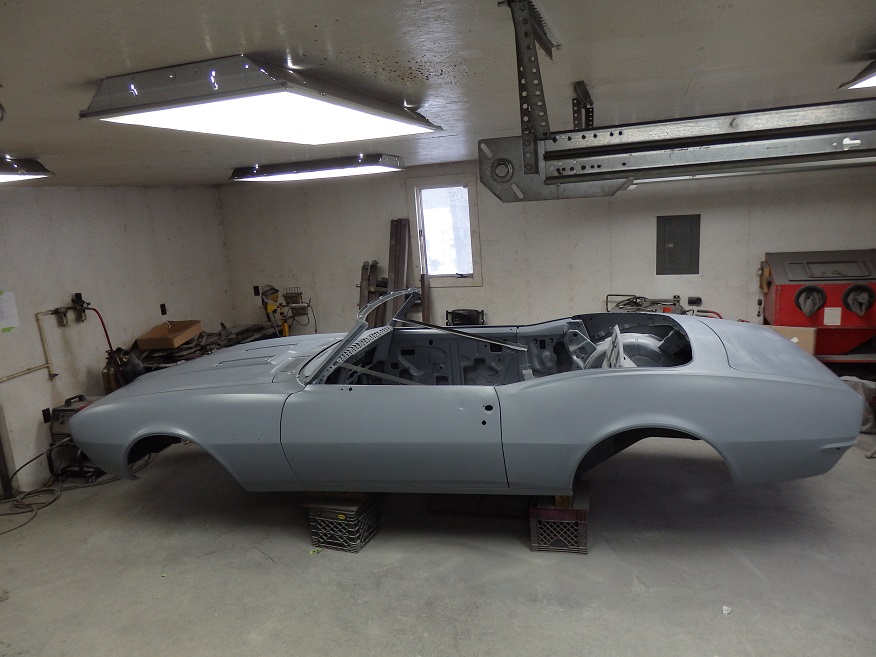
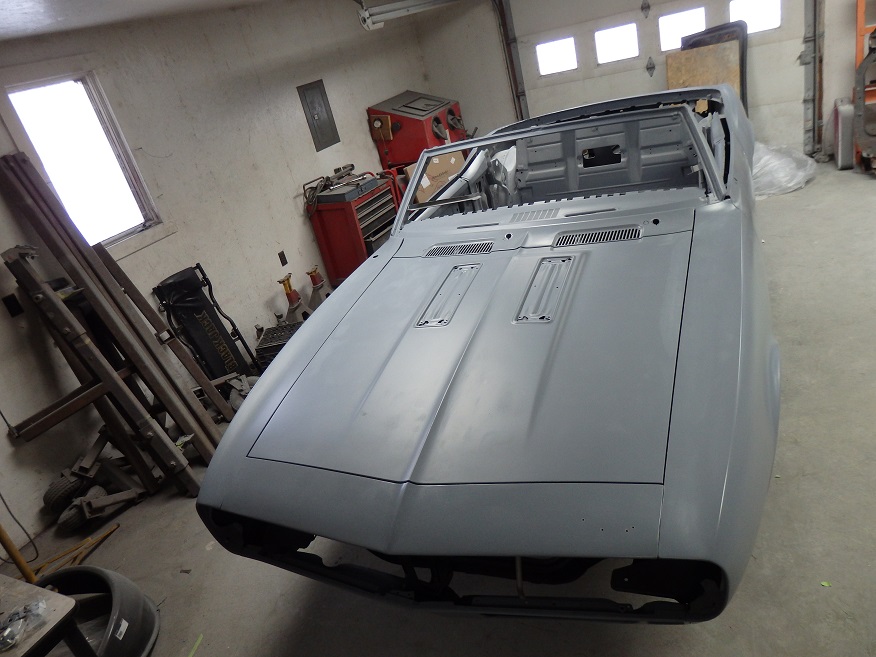
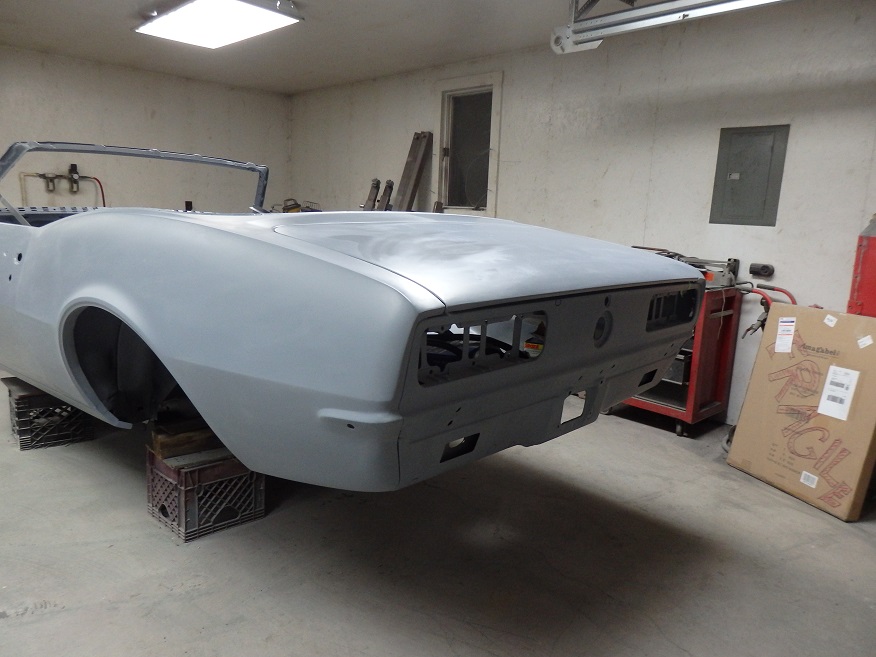
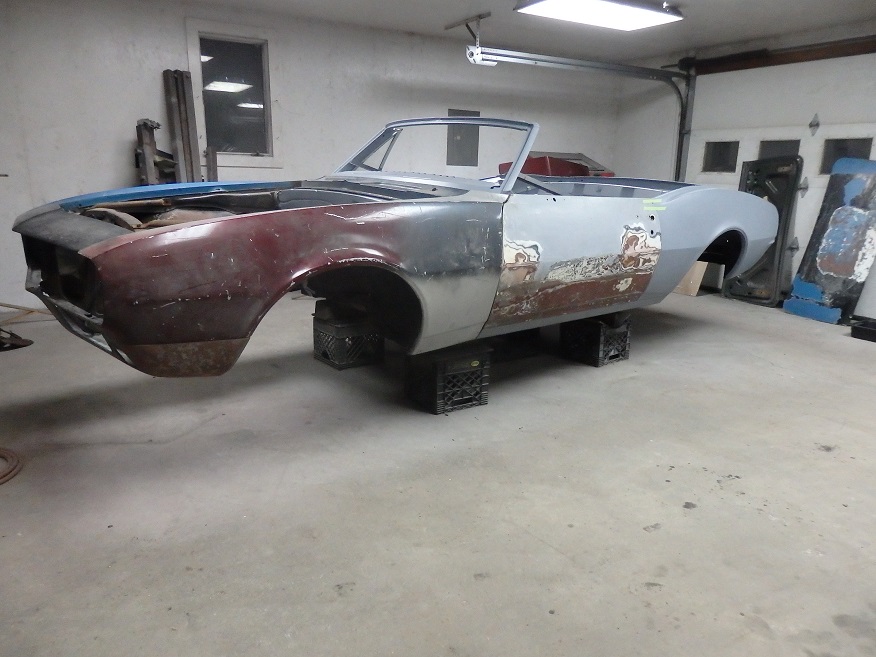
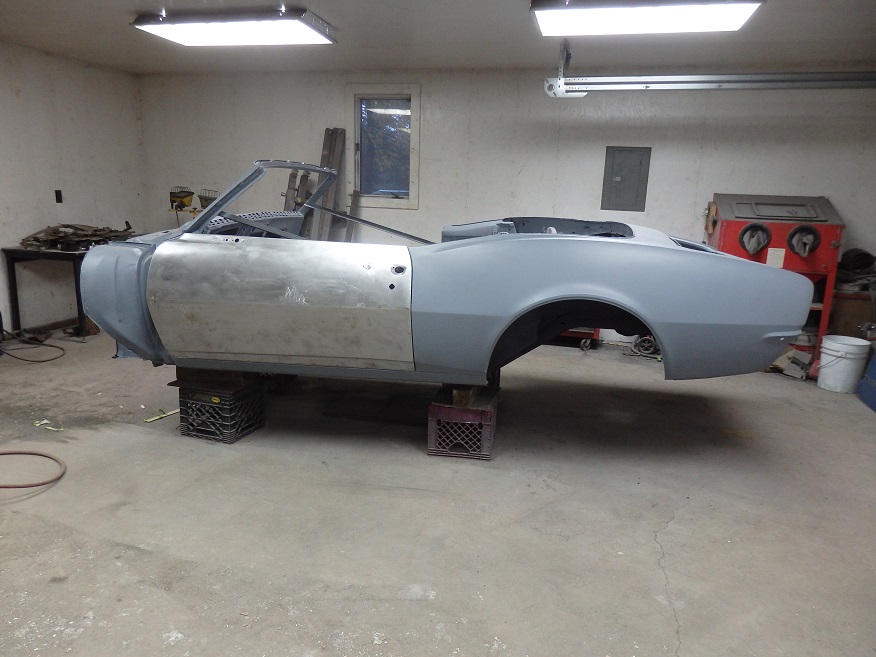
And here it is with all of the panels bolted on. It's the first time that it has looked like a car in many years. It has taken me 100 hours of labor to get from the primed shell to this point for a total of 290 hours. To have a restoration shop that charges $50 per hour do this would be a $14,500 labor bill. Not counting parts and materials.