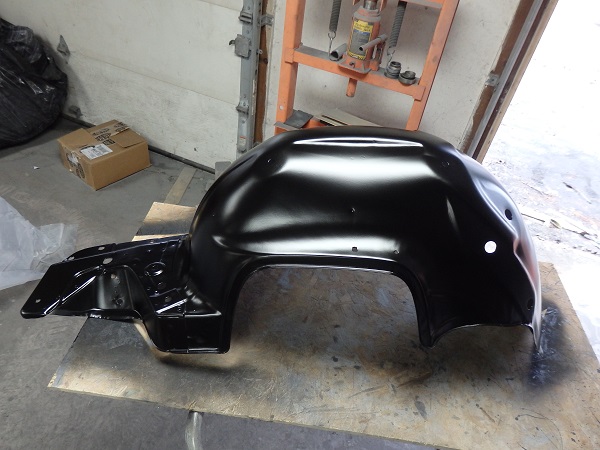
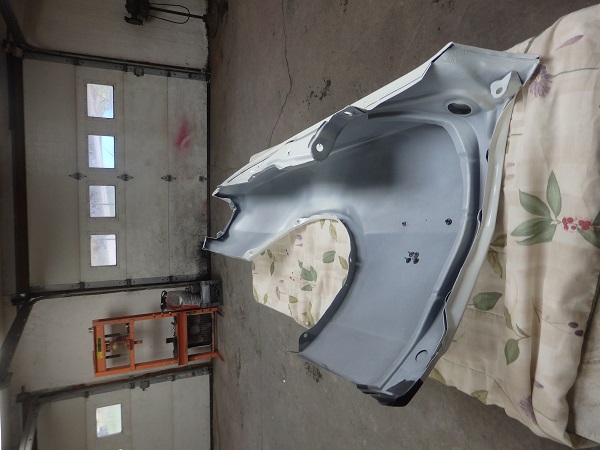
I got an excellent pair of front inner fenders from my trip to Camaro Specialties, though it took a lot of digging through the bad ones to find ones that weren't rusted with holes. Once I got them home I had them sandblasted and then I primed them with DP90LF black epoxy primer.
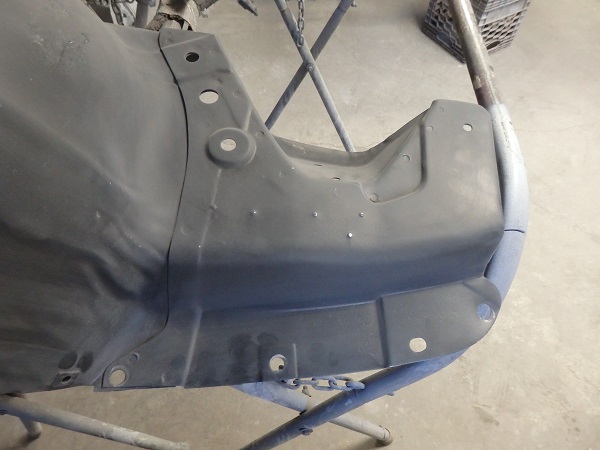
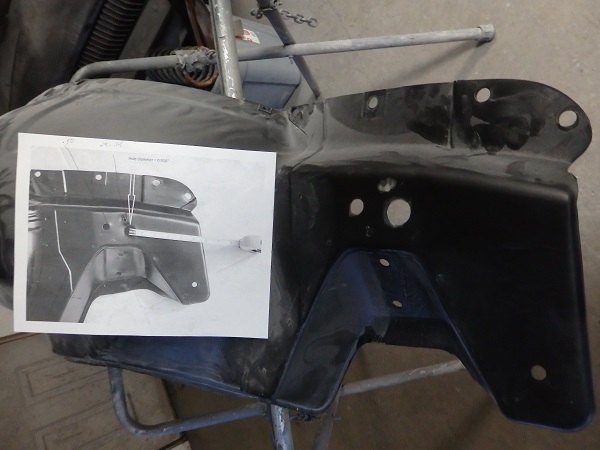
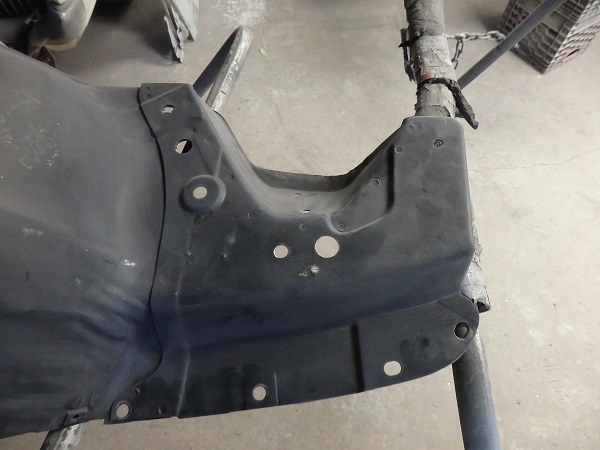
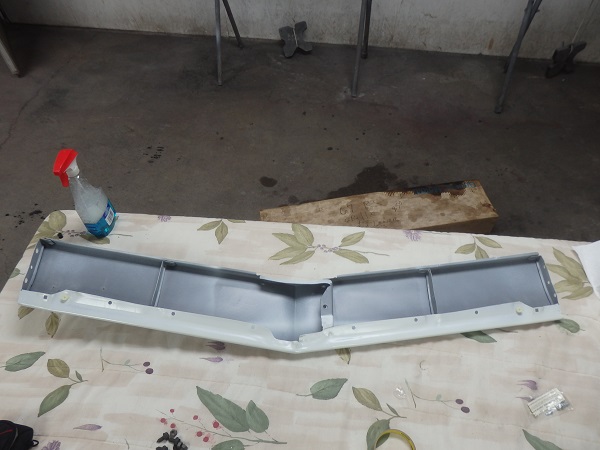
In 1967, inner fenders were the same for standard headlight cars and hideaway headlight RS cars. The factory drilled out holes in the standard ones for the front parking light plug and ground wires that are used on hideaway headlight cars. There are 3 dimples in the inner fenders to locate the holes and the factory assembly manual shows you what size to drill them. In my case, I found some good pictures on the web, printed them out and marked them with the proper dimensions. With the holes drilled, I painted the inner fenders Hot Rod Black.


I bought NOS emblems for the car. The only one I couldn't get NOS was the grill "SS" emblem.
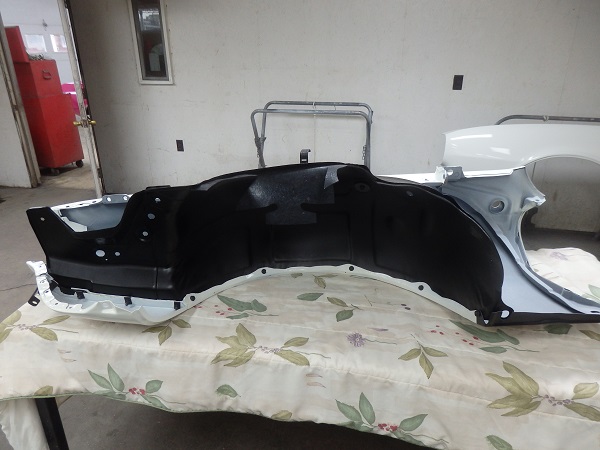
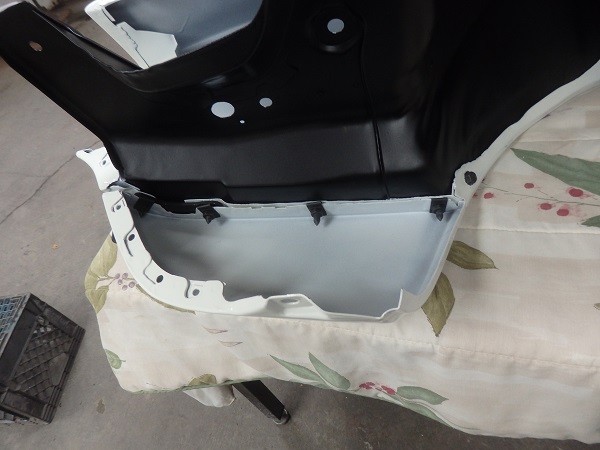
The inner fenders and lower fender extensions were installed on a table with a blanket to protect the paint. I protected the inside face of the inner fenders from scratches with masking tape when I slid the inner fenders in place. Everything was bolted together using the correct hardware purchased from AMK.
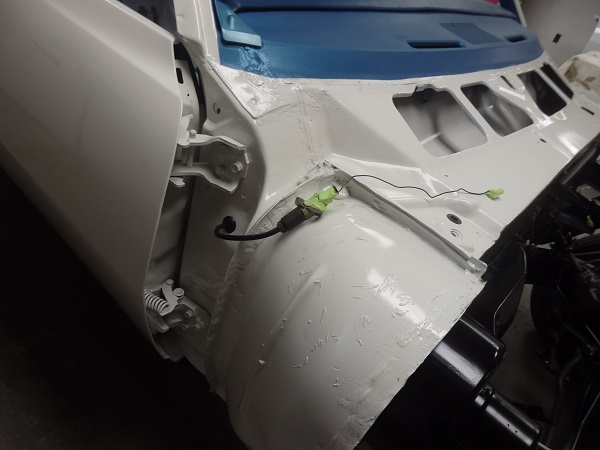
It's a good idea to install a chase wire to the antenna base and run it through the hole in the fender when installing the fender as it is much more difficult later.
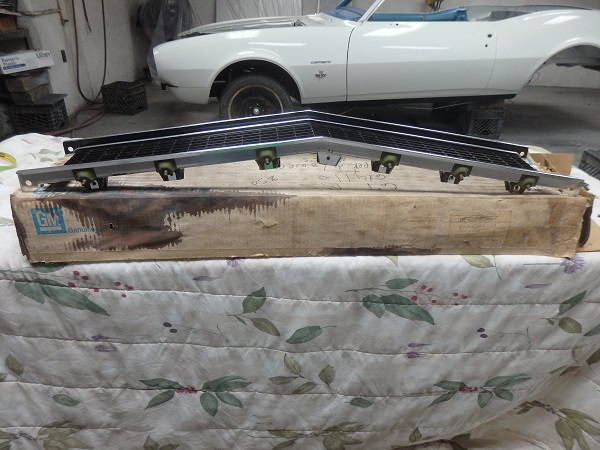
I was very lucky to find a correct NOS 1967 SS Camaro. It was even shipped in 1967 according to the shipping label. 1968 grills a slightly different, so chasing the correct grill is normally difficult.
I was really suprised to find that GM originally riveted the grill to the lower valance using special tubular rivets. I had previously purchased the rather pricey handtool from Hanson Rivet to actually clinch rivets a few projects back. So I just needed to get the rivets from AMK and buy the correct dies from Hanson. Now every time I look at a 67 Camaro at a show I look to see if the grill is riveted to the lower valance. Not many........
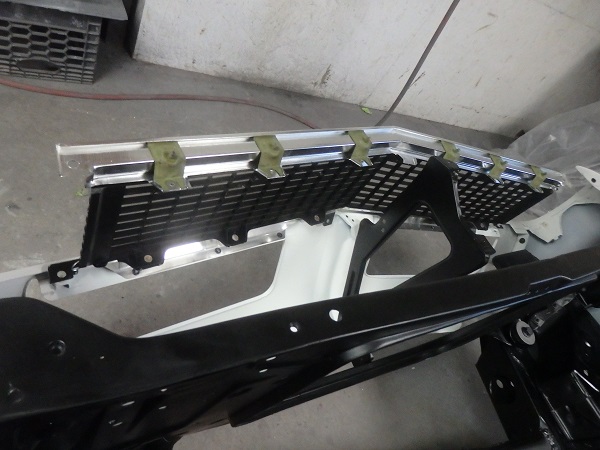
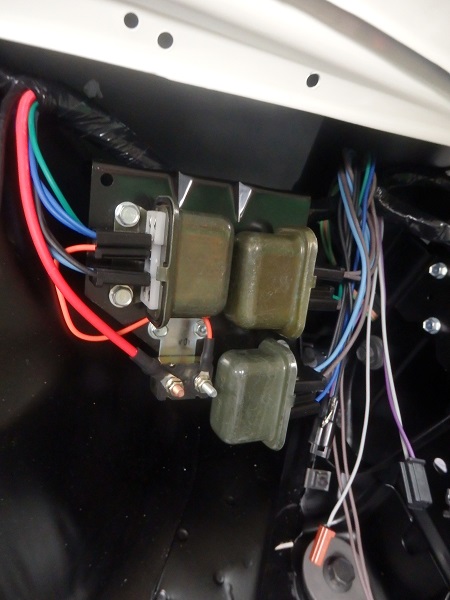
The grill is bolted to the upper panel. Clips (green) that are a part of the grill assembly mate to holes in the upper panel. Once the grill is installed, you set the upper panel in place and use nuts from the inside to attach it too the grill.
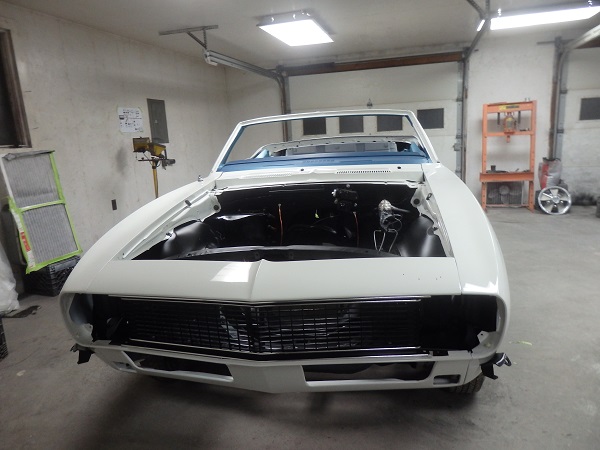
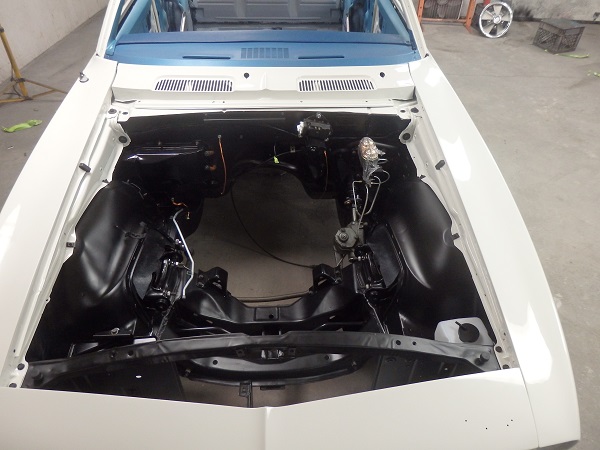

The nose (less the hood) actually assembled pretty fast, even though I did it without any help. This is because I had the car pre-assembled when I blocked it and I kept the shims separate and marked them with their locations, so everything went back together with the same alignment without much fuss. Though I did use masking tape to protect the edges of the panels from hitting during alignment. Note: Original shims were phosphate coated, so those bright zinc repos stick out....
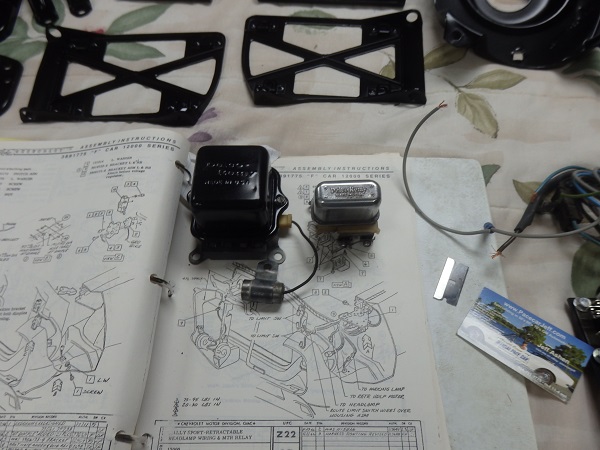
I was able to locate a good used horn relay and a good used voltage regulator, both with the proper date codes for the car. For the hideaway headlights, I just bought a new relay set as they are tucked up into the fenders where they are not seen and because I didn't want to have to deal with bad relays caused damage to the headlight motors.
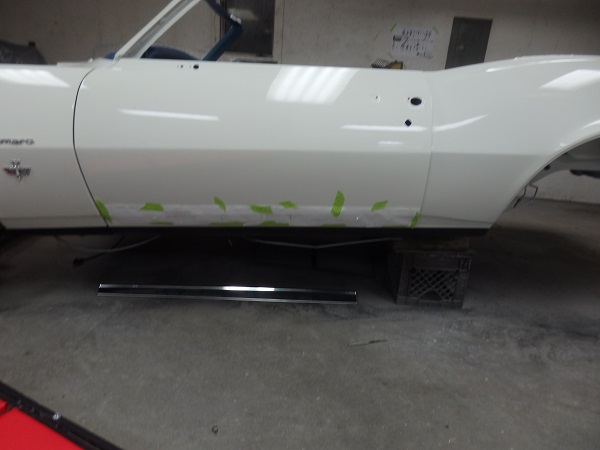
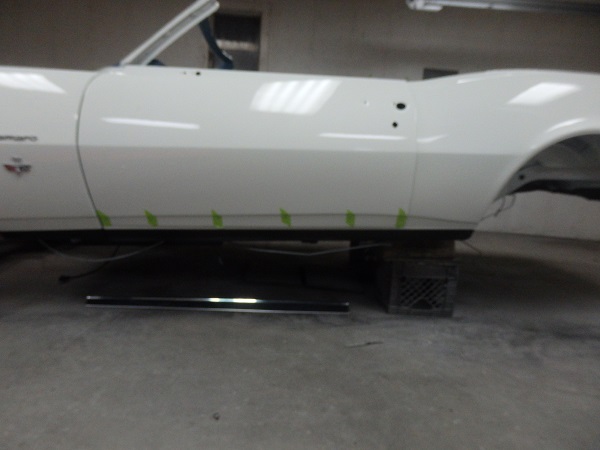
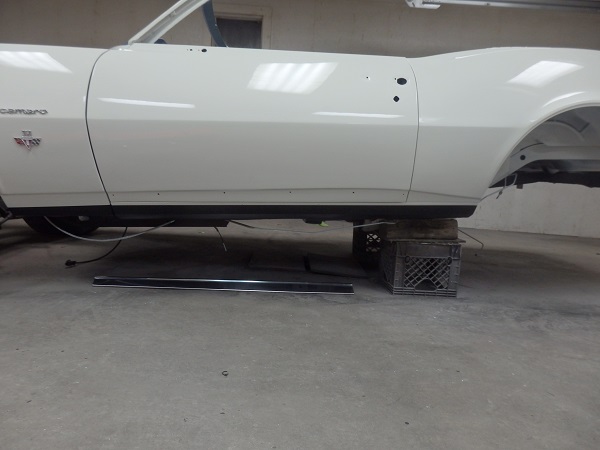
Here I am drilling out the holes and installing the side moldings that go on RS cars. I bought templates and placed tape in the locations where the holes go before marking and drilling the holes.
The repo moldings for the doors were a real pain to install. The clips kept rotating and coming off. The moldings are great, but the clips are just horrible.