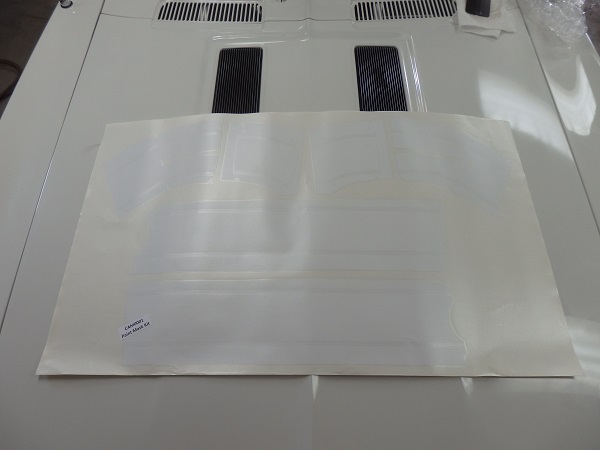
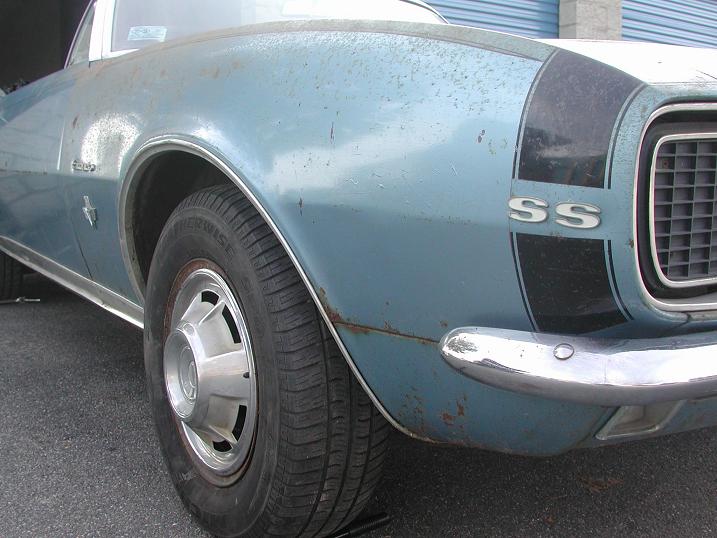
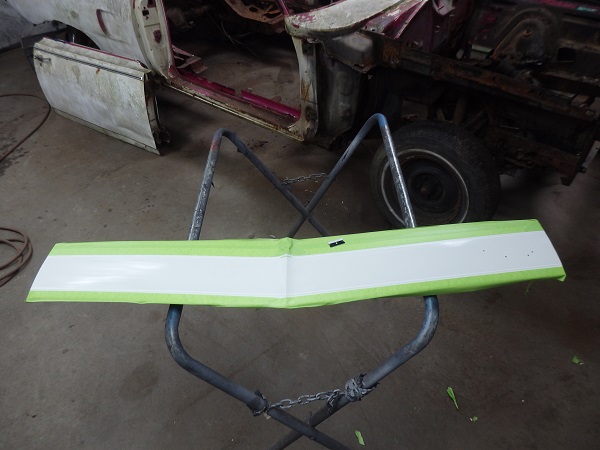
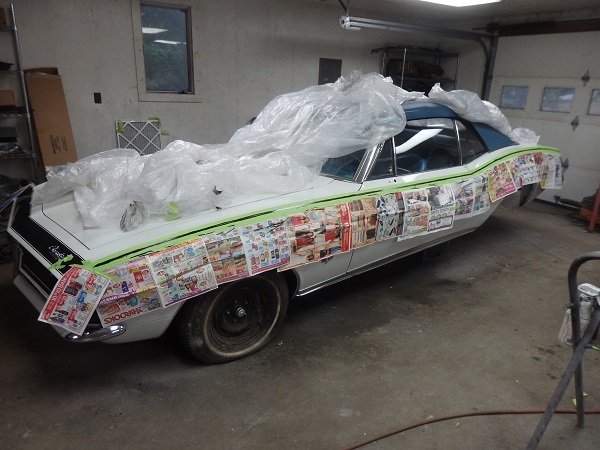
Part of the SS package was the nose stripe. You can either use fineline tape to tapeout the stripe of use a template decal like I did. The decal shown in the first picture is actaully not correct, though it is stated that it is. Here are pictures of original SS cars showing that the original stripes go down to the bumper line. The decals on the market go way down further then that. What I did was use these pictures as a reference and cut the decals to the correct length.
The decals go on like most decals, just wet the surface down with soapy water and wet the back side of the decal before applying. It's important to wipe the surface down with at tack rag prior to this as dust will leave lumps in the decal.
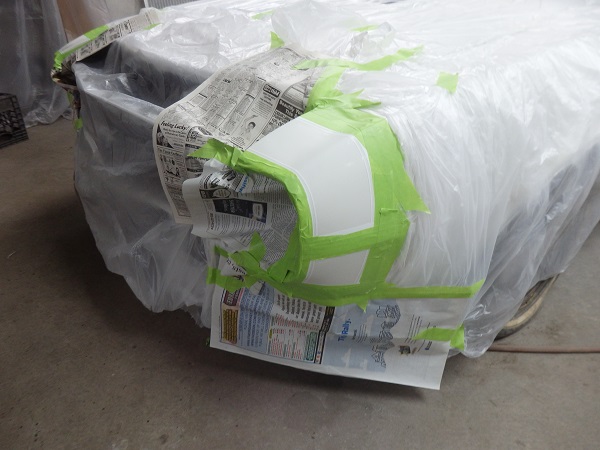
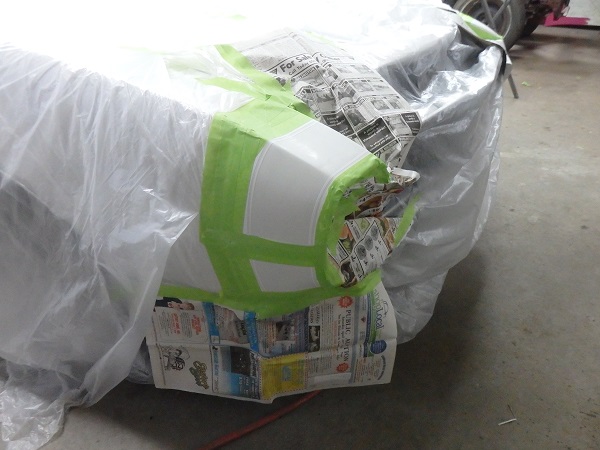
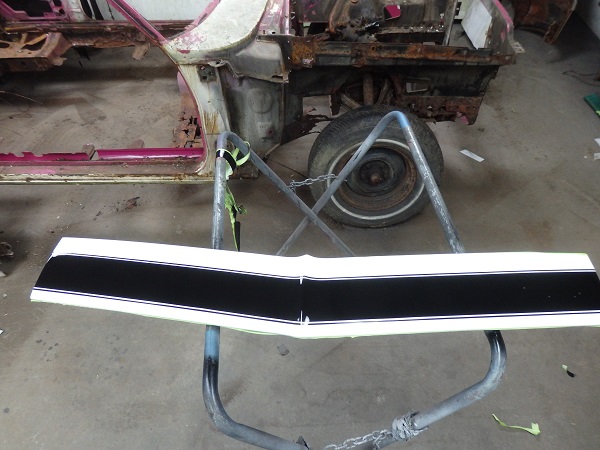
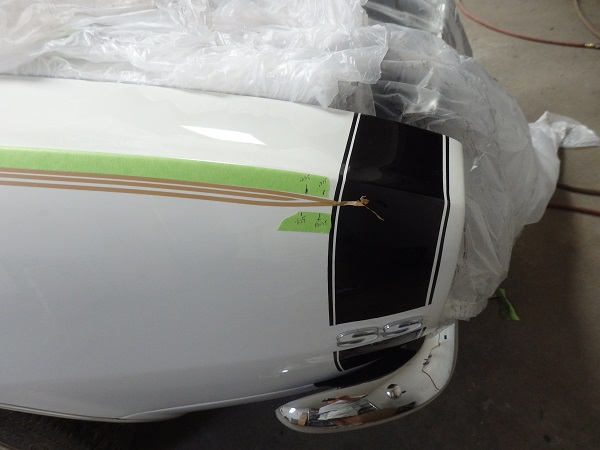
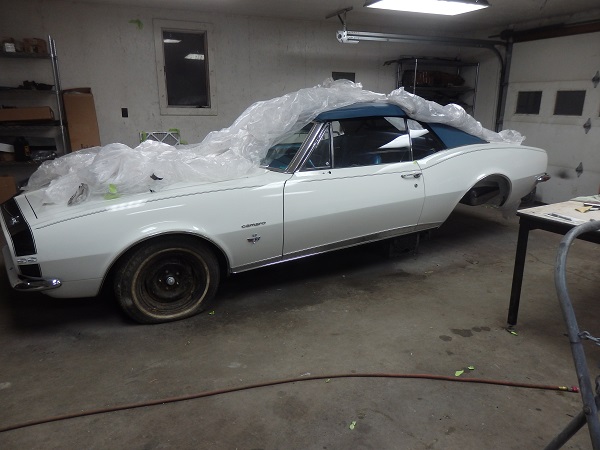
Once the decals are properly placed, you squeegee the water out and let everything dry off. Then you mask off the car as shown in the first two pictures. The paint is just a single stage black urethane. If this car was a real pace car replica from the Indianapolis 500 event, the paint would be 1967 Camaro Marina Blue.
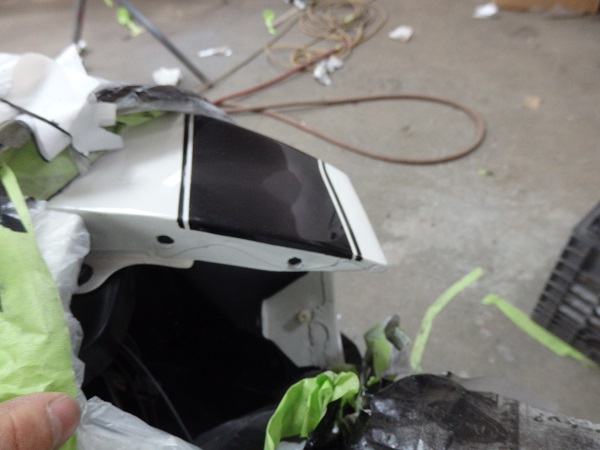
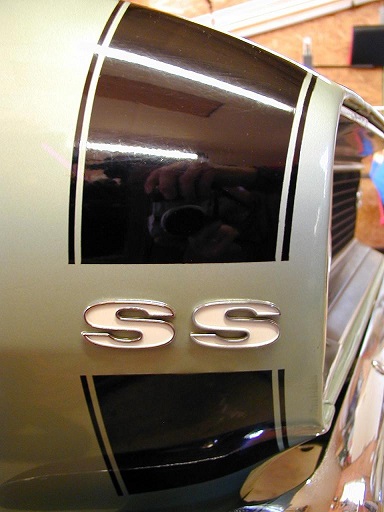
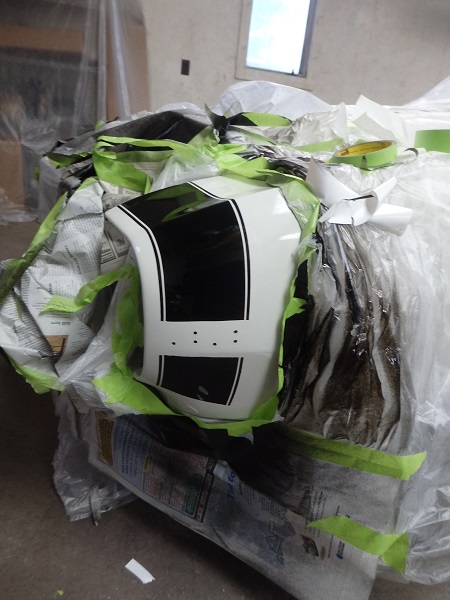
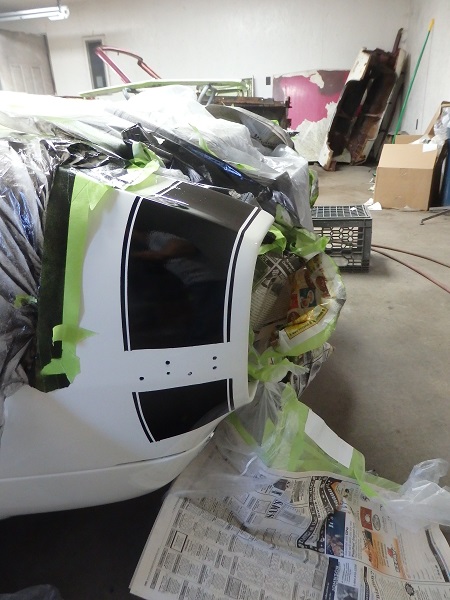
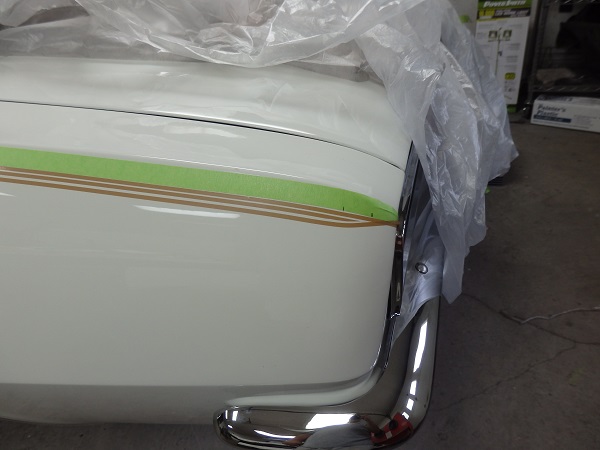
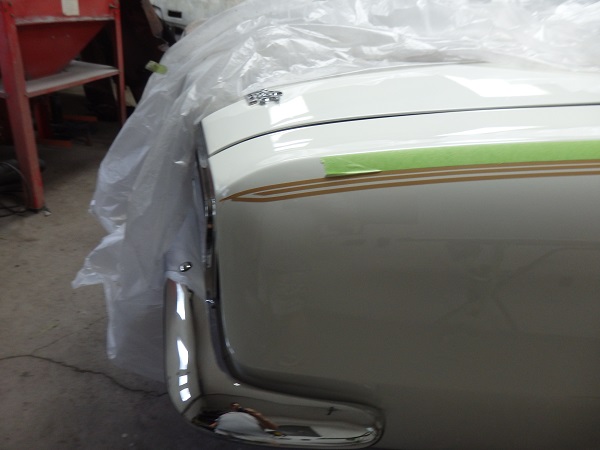
I painted the center panel removed from the car as this is how the factory did it. The paint actaully wrapped around the sides on the panel and the inside edges of the fenders like the third picture. I think this is a better way to do it as the seam when the panels are bolted together look a lot cleaner instead of black paint forming a bridge in the seam.
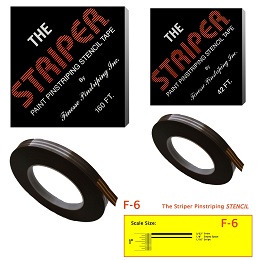
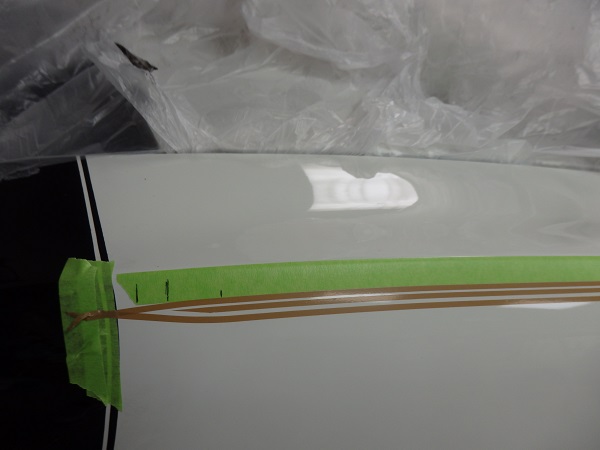
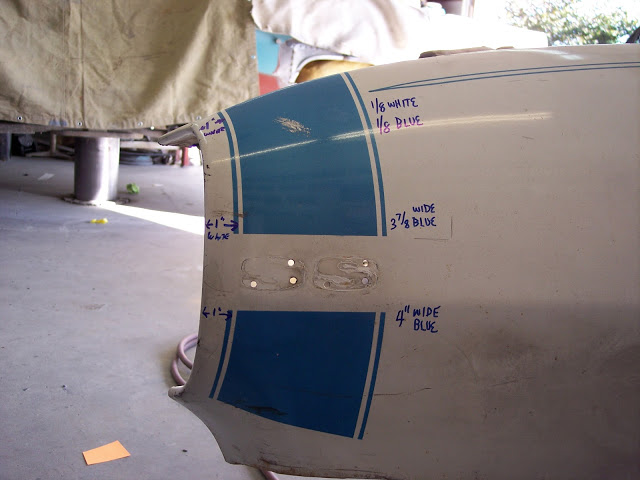
The pinstripes are painted on these cars. The Striper F-6 pinstripe template has the correct spacing for 67 Camaros. I bought mine off Amazon.
The dimensions for the for where the stripes are located on the car are well detailed in the 67 Camaro AIM. I used masking tape to mark the lines and then layed the pinstripe templates down.

I masked the car off and hand painted the stripes using a pinstripe paint brush to give it the authentic hand painted on look. I u sed the same single stage black paint that I used to paint the nose stripe. The newspapers were there to keep the drips from landing on the white paint.
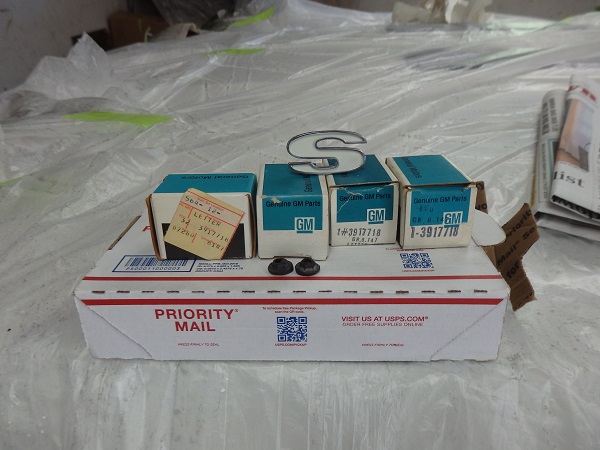
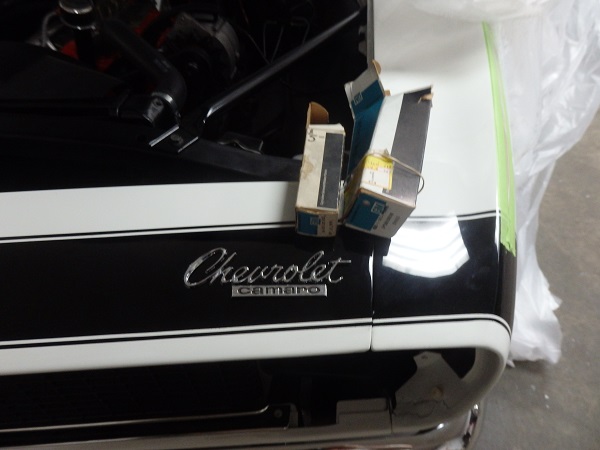
Once the stripes were done, I installed the emblems. All were NOS.
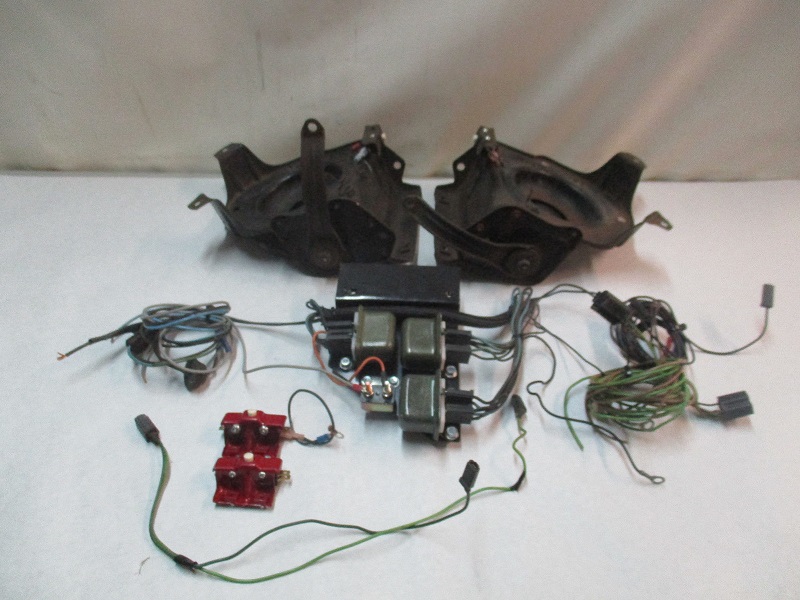
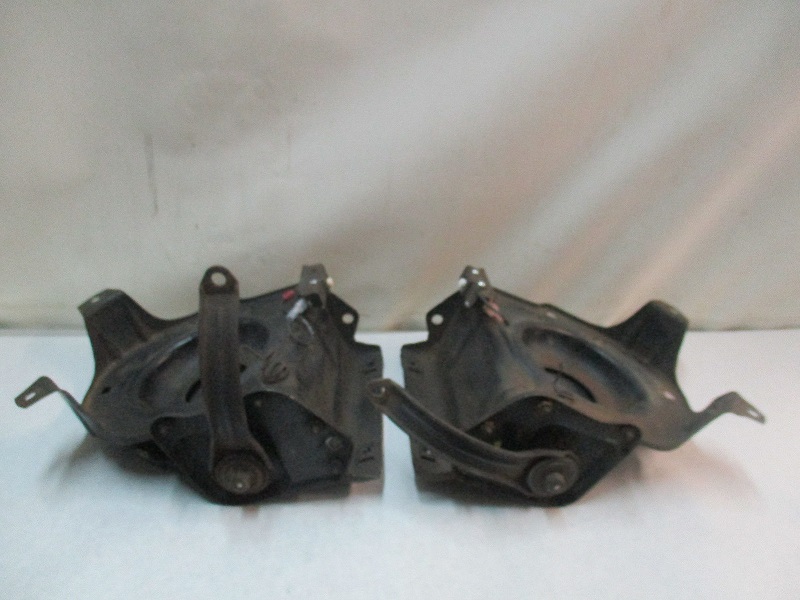
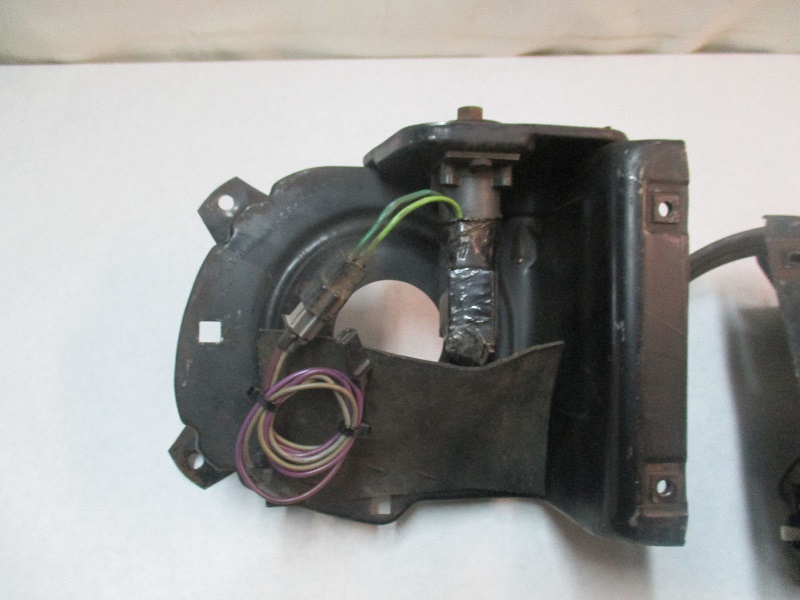
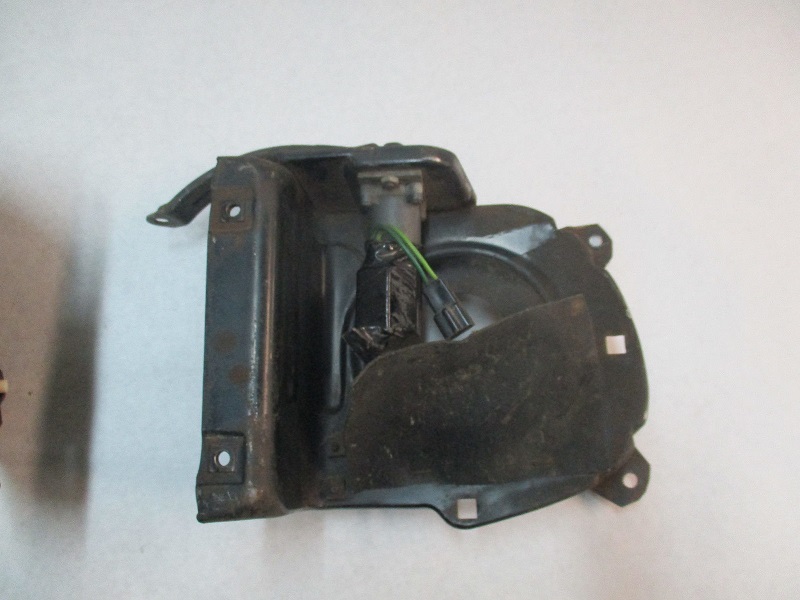
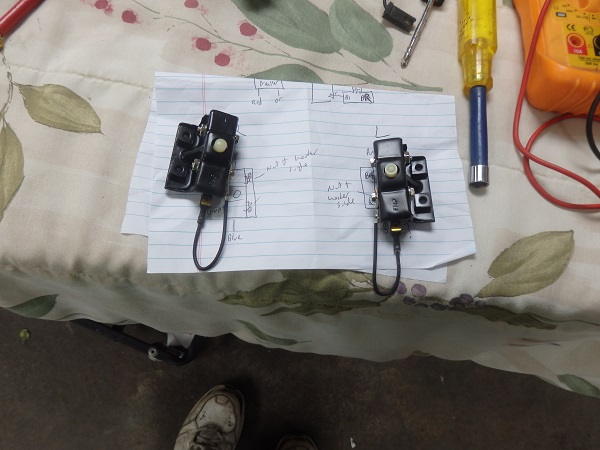
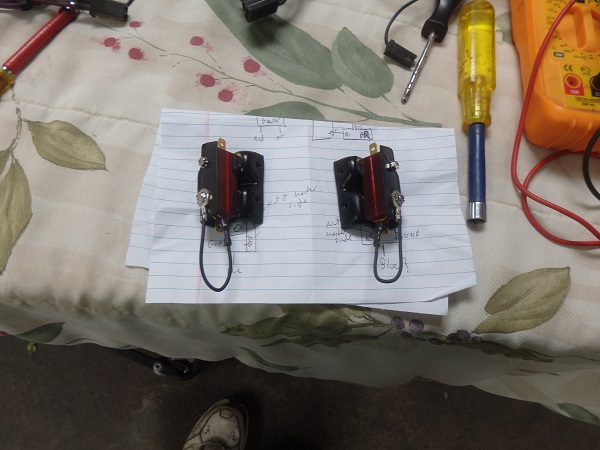
The car originally came with hideaway headlights as part of the RS package. Rather than go with repo, I locate some used originals on ebay. It took me two sets to have enough good parts to make one good set except for the motors. In 67/68 the doors were actuated using DC motors. The motors commonly failed, as they either bound up or burned up if a limit switch failed. They do not reproduce the motors and NOS ones cost a fortune if you can find them. I had two motors with all of the parts I bought, both were for the right side, though someone used a right one on the left side, and probably that was why it was burned up. Left ones have a pair of gray and purple wires. The right motors have light green and dark green wires. You can use a right motor on the left side, but you have to change the wires in the connector so that the motor turns in the correct direction.
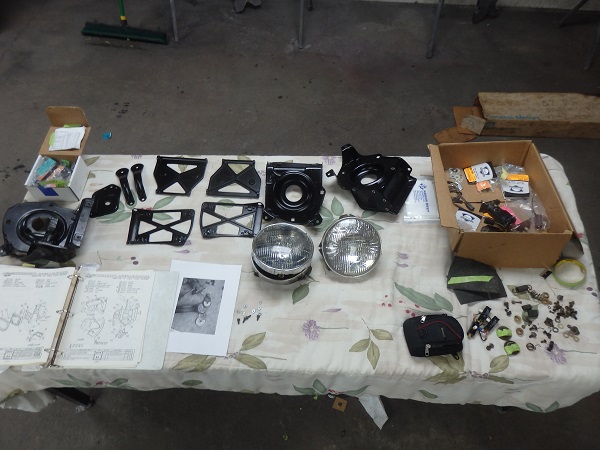
It is pretty easey to restore the parts are they are all semigloss black. The hardware can be purchased with the correct finish and head markings.
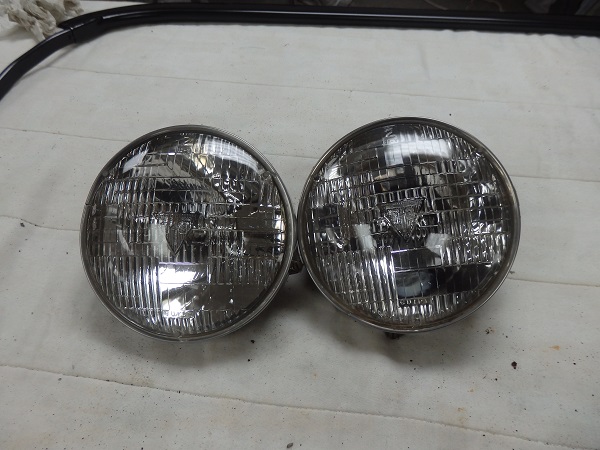
I was able to locate a good pair of NOS 1967 T-3 headlights. They reproduce the limit switches for the doors. The correct ones are brown. The cheeper ones are jsut black.
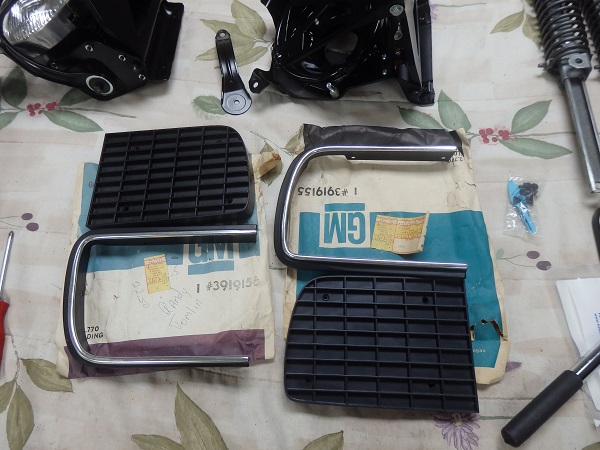
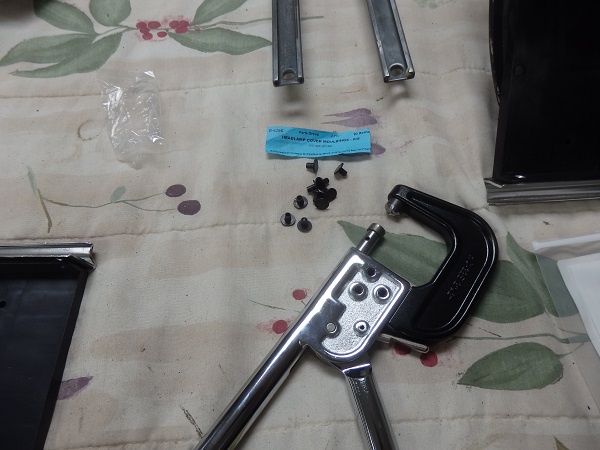
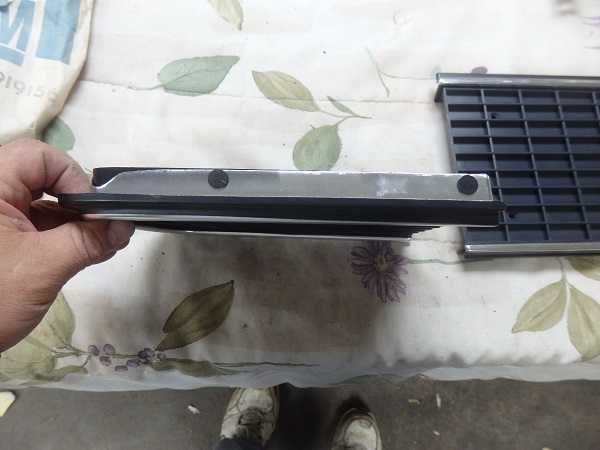
I was able to locate some NOS headlight doors and inner trim, though the had to be rivetted together. You can get the correct rivets from AMK. The tool to clinch them is about $250 from Hanson Rivet. I've used this tool so many times since I bought it, that I don't regret the price I paid. On this car alone I used it on the grill, ashtray, wiper motor and headlight doors. On my 70 Challenger I used it on the ash tray and to rebuild the grill.
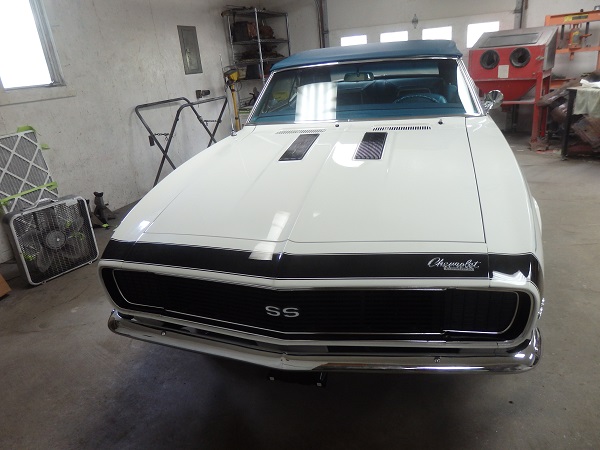
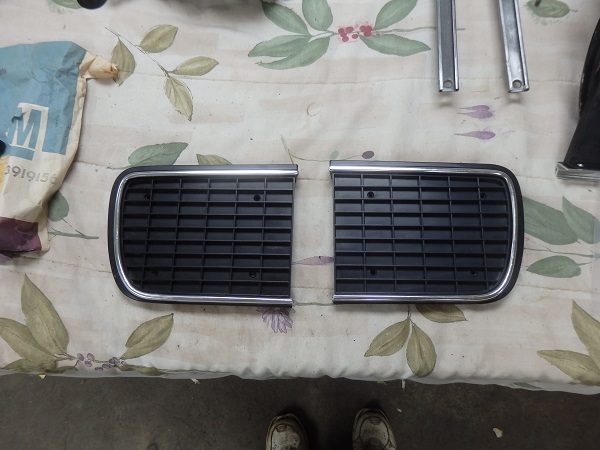
The only parts not NOS on the grill you see here is the SS emblem and the outer headlight door bezels. The bumper is repo too, but it's hard to tell in person.