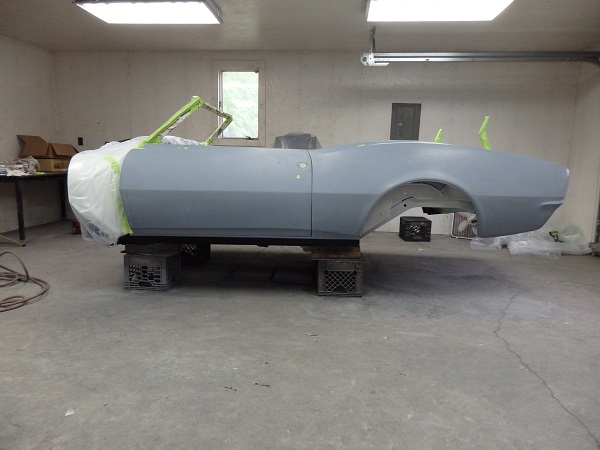
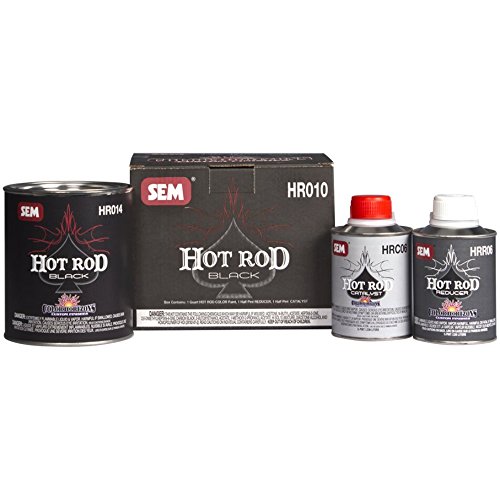
The rockers and bottom of the front fenders are blacked out on RS models (unless the car is a dark color). If the car had a 396, the tail panel would have been blacked out as well. The black out would have happened after the car was painted, but in my case it made the masking a lot simpler to get it out of the way first. As with the firewall and undercarriage I used SEMS Hot Rod Black. It is what you need to get the factory correct look on most of the 30% gloss parts.
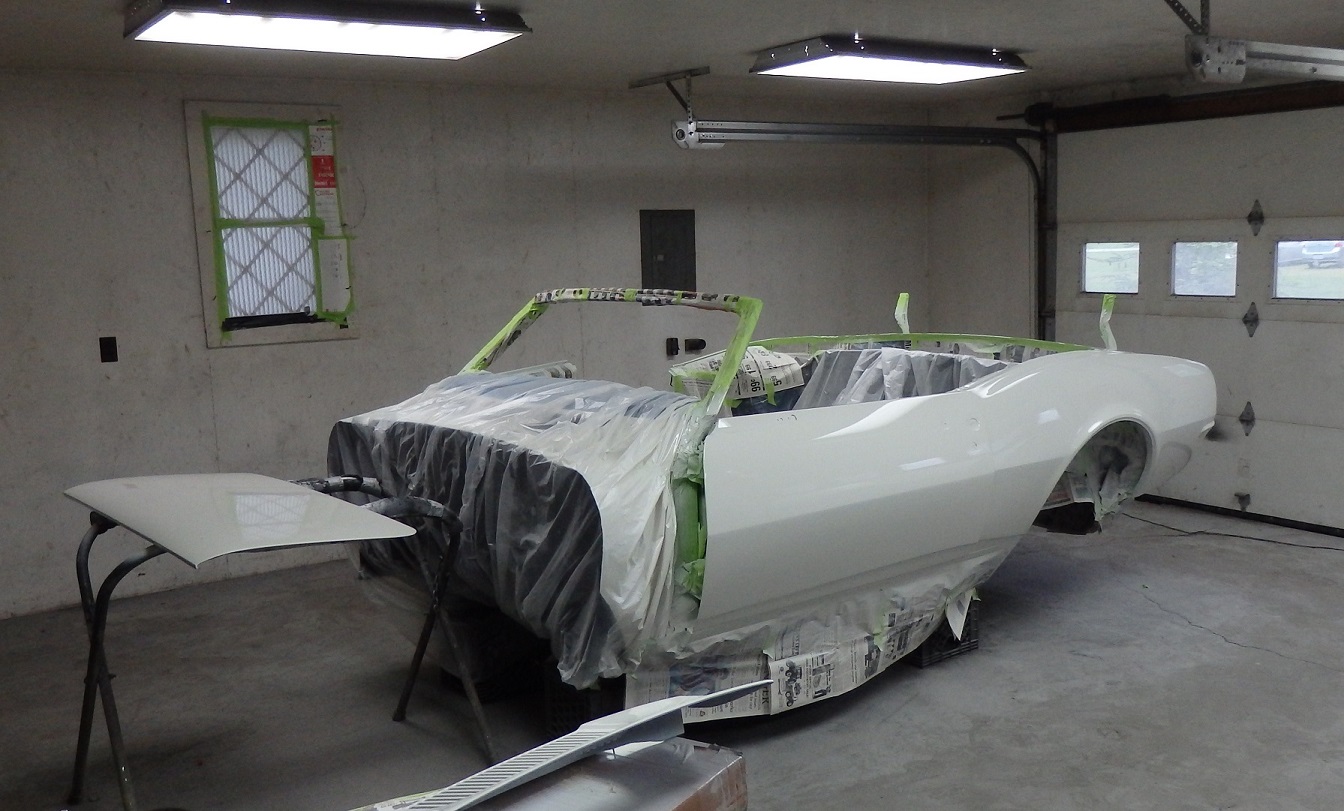
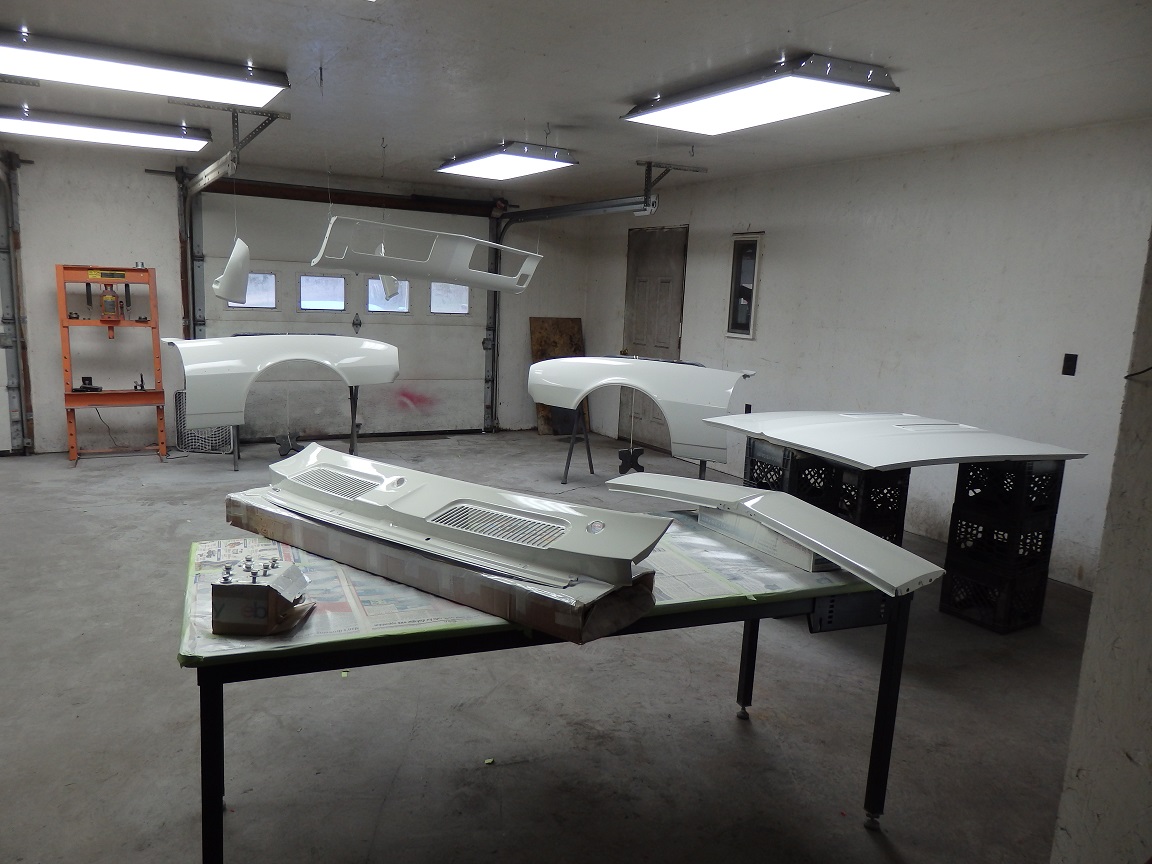
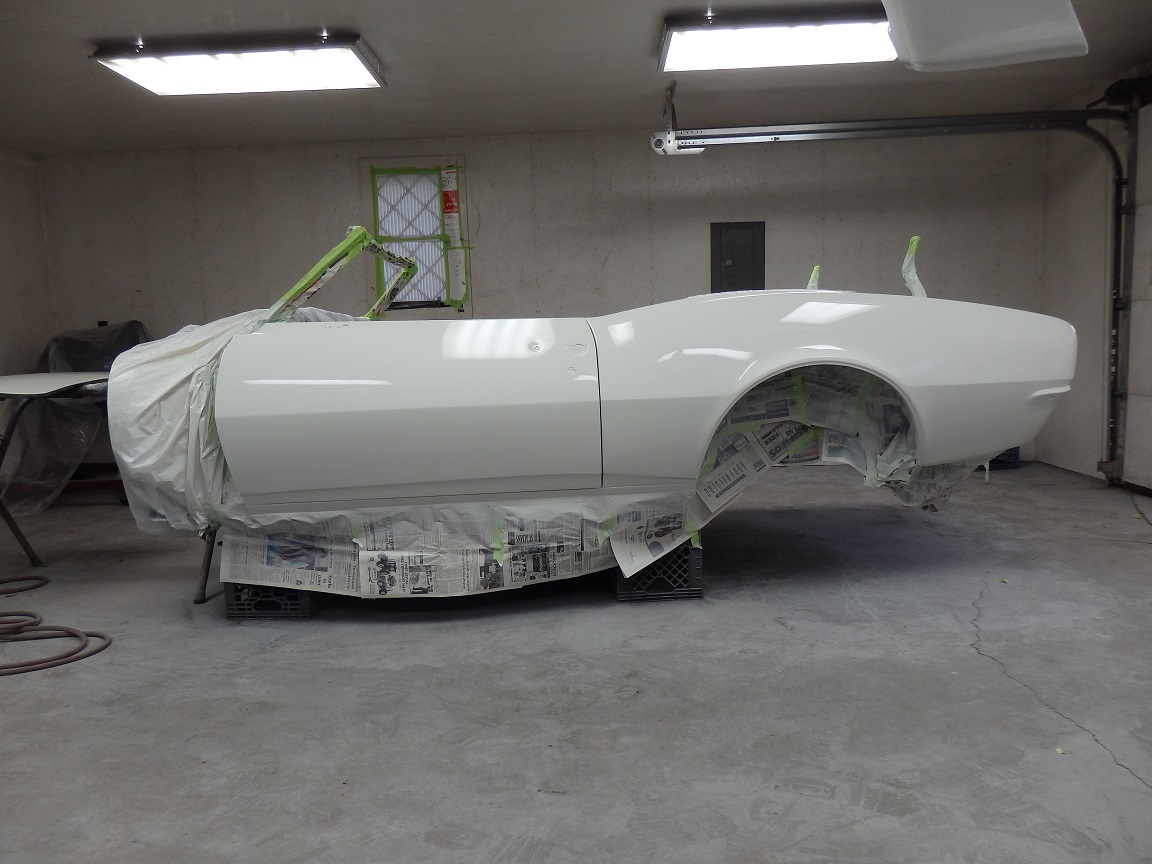
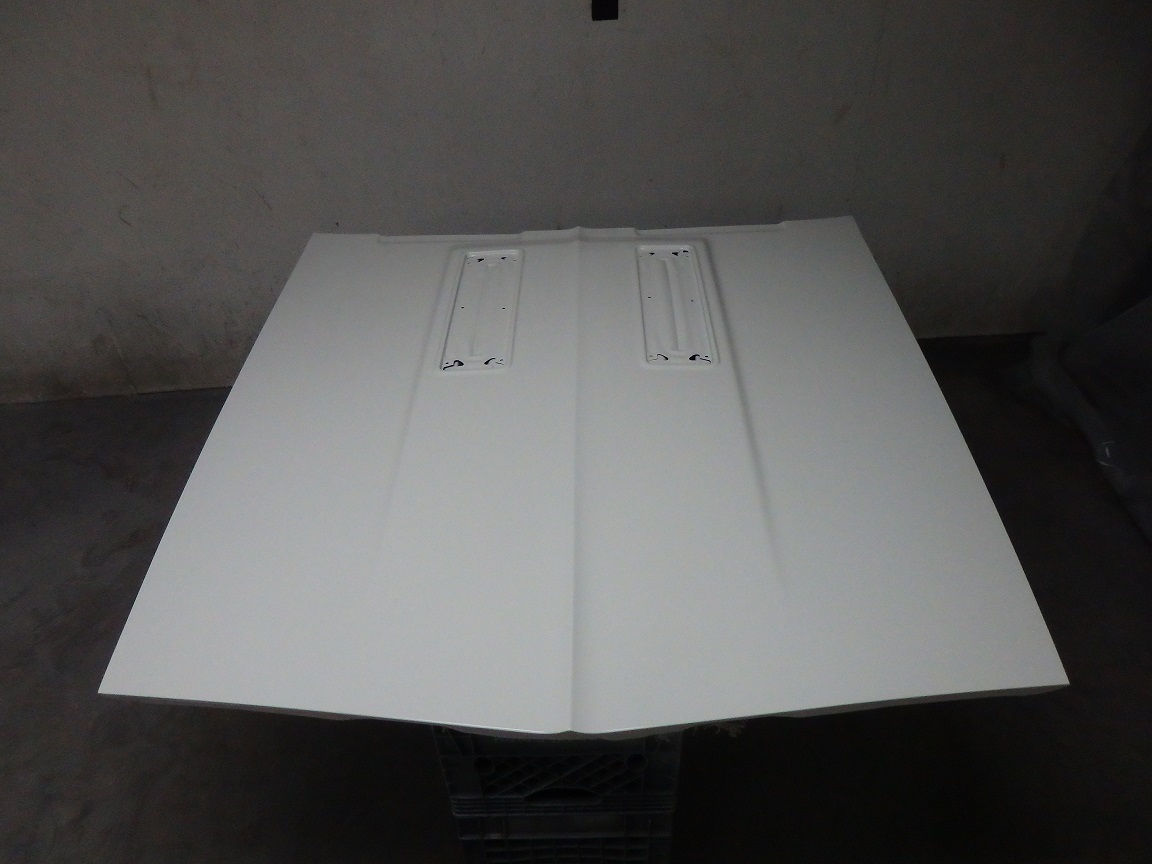
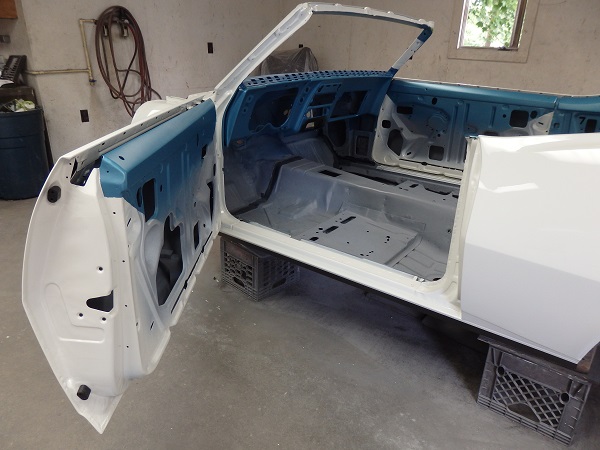
I painted the car Ermine White BC/CC with the car dismantled except for the doors. As previously mentioned, I painted the inside face of the doors and the A-pillar & hinges with the doors installed. The rest of the inside door jambs were painted at the same time as the car. I let the car set for a full week before attempting to sand and buff the paint.
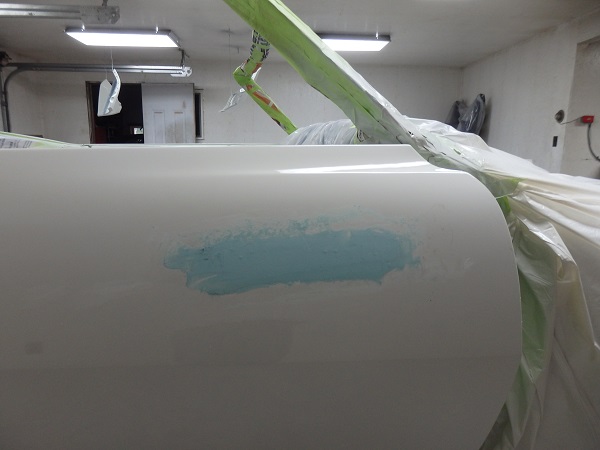
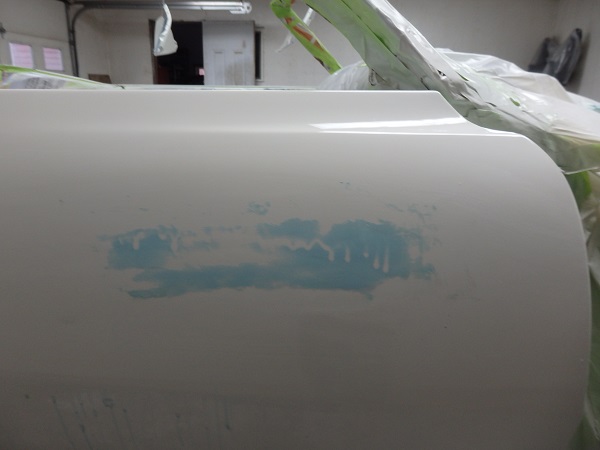
I will confess, I am not perfect at painting cars. After all, I only paint a car every 3 years or so. On this car I only had a bad run along the passenger's door. I found a pretty could trick online on how to fix runs in clear coat. First you scrape the heads down with the a new sharp razor blade. You do not need to take the whole run out. Just the bumps at the ends. Then you spread scratch puddy (I used Icing Glazing & Finishing Filler Puddy) over the the run feathering it way out along the perimeter of the run. Then using a double thick paint paddle and 600 grit paper wet, you block sand the run out. Once the run us gone, just hit it with 800 and then 1200 and you are ready to continue on with the 3000 grit Trizact disks mentioned below.
This seems to be the best process that lets you take the run out without digging into the surrounding clear.

Here are the latest tools of the trade, which I used for buffing the clear coat. 3M created special sanding materials to be used on orbital sanders (Trizact disks) to simplify the blocksanding and buffing process. I will go through the steps here for those who wish to try it themselves. Please keep in mind that you still have to have some skill in this area and you are still at risk of burning through the clear coat if you are not careful.

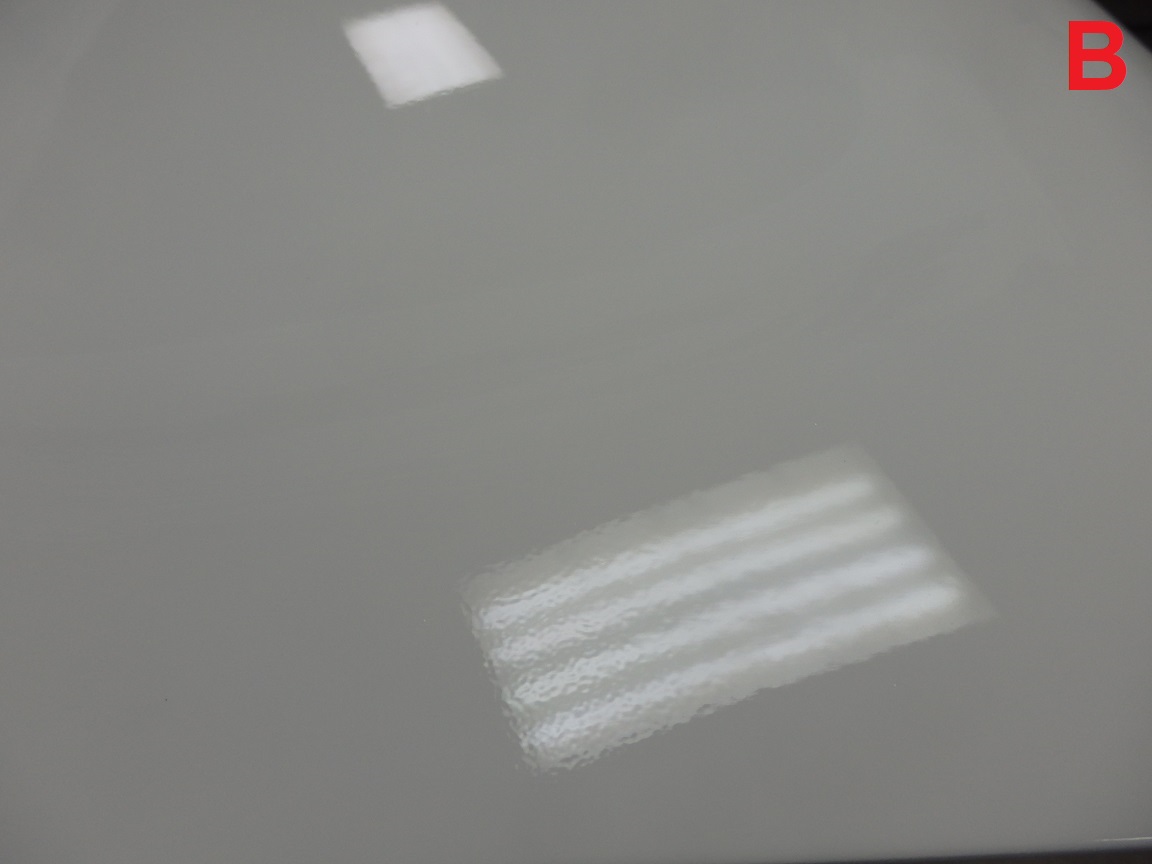
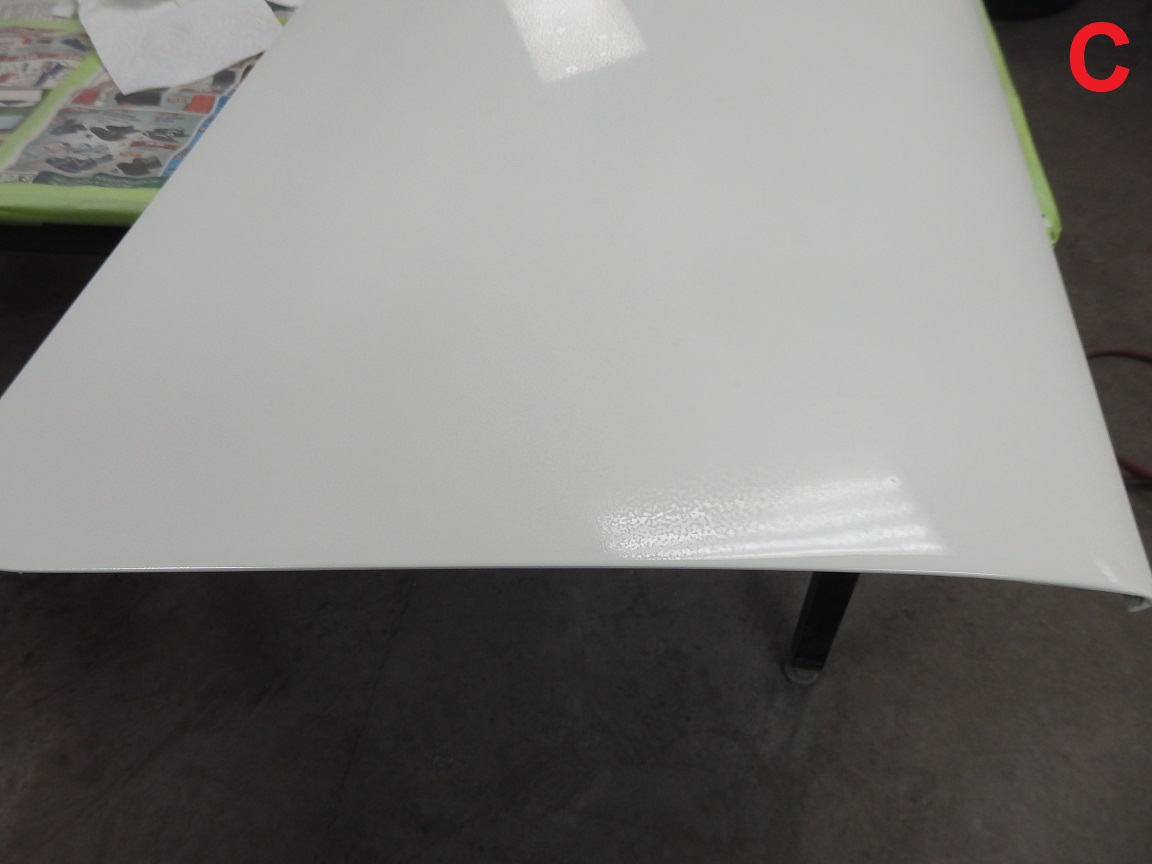
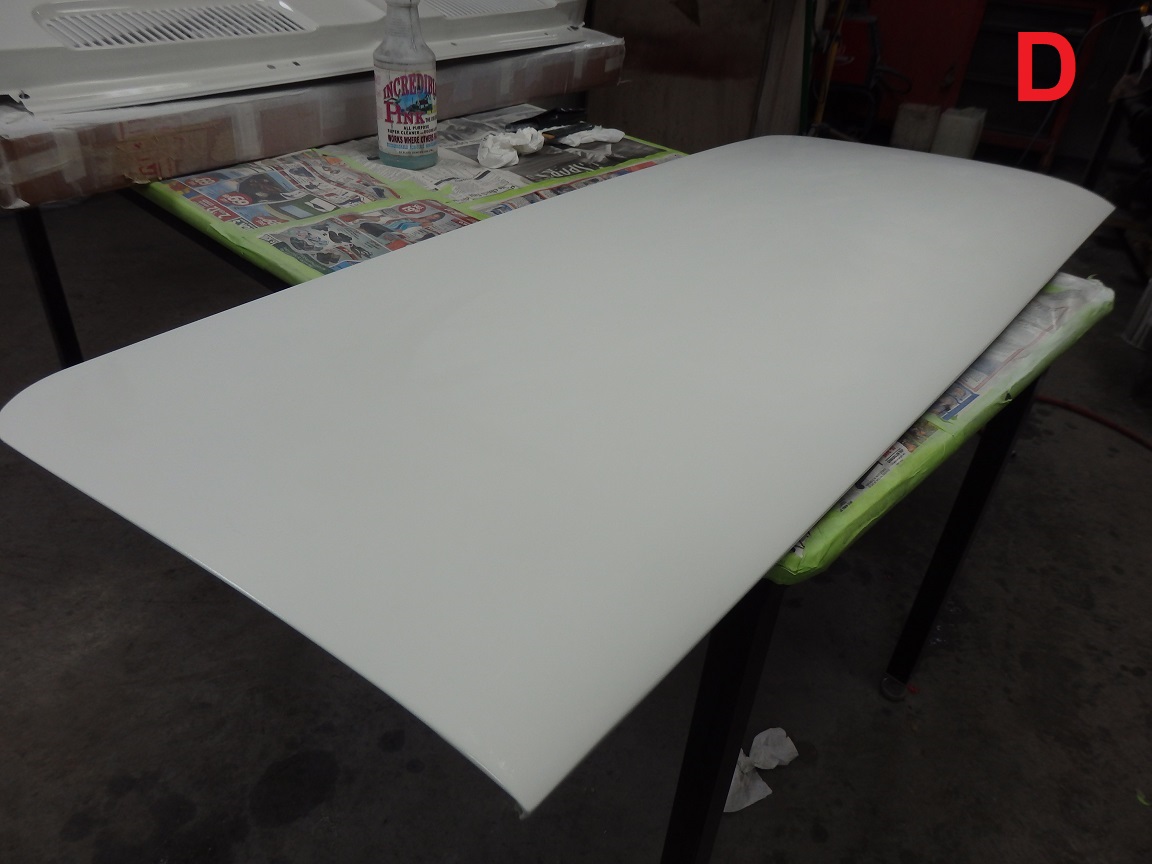
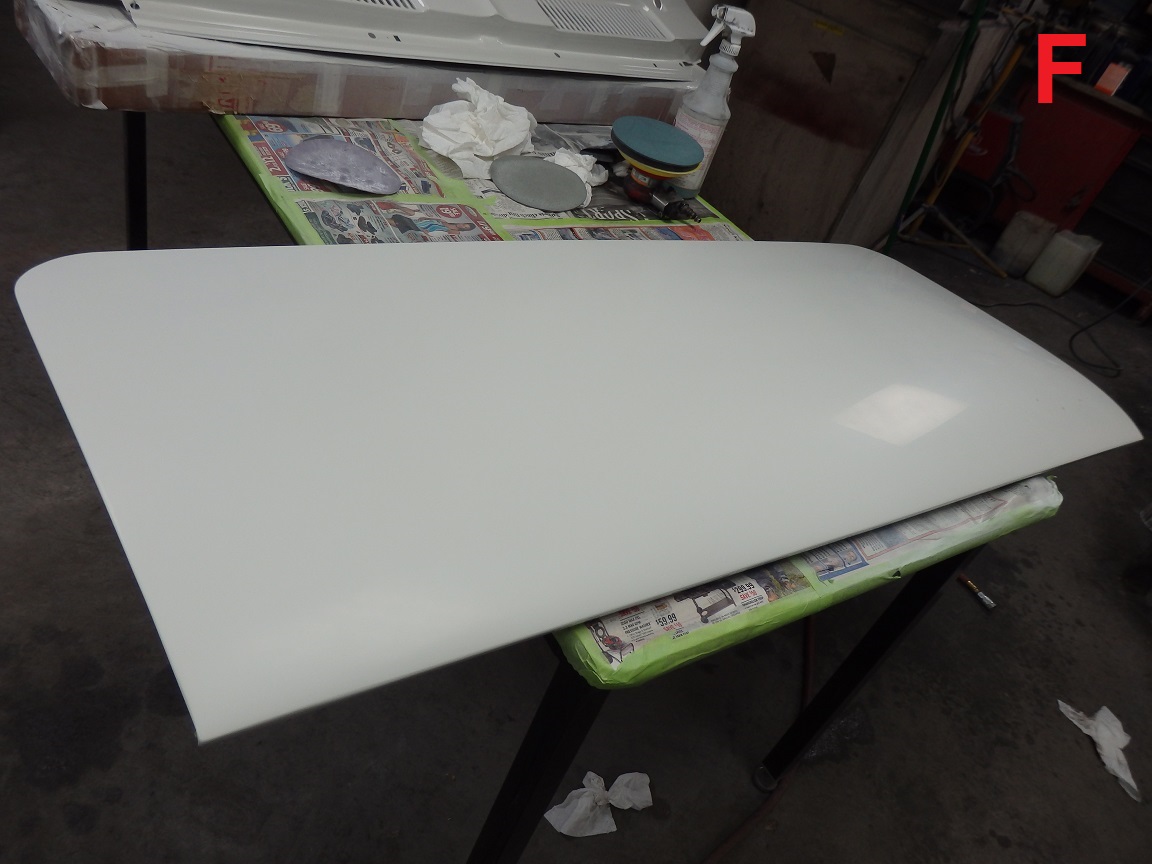
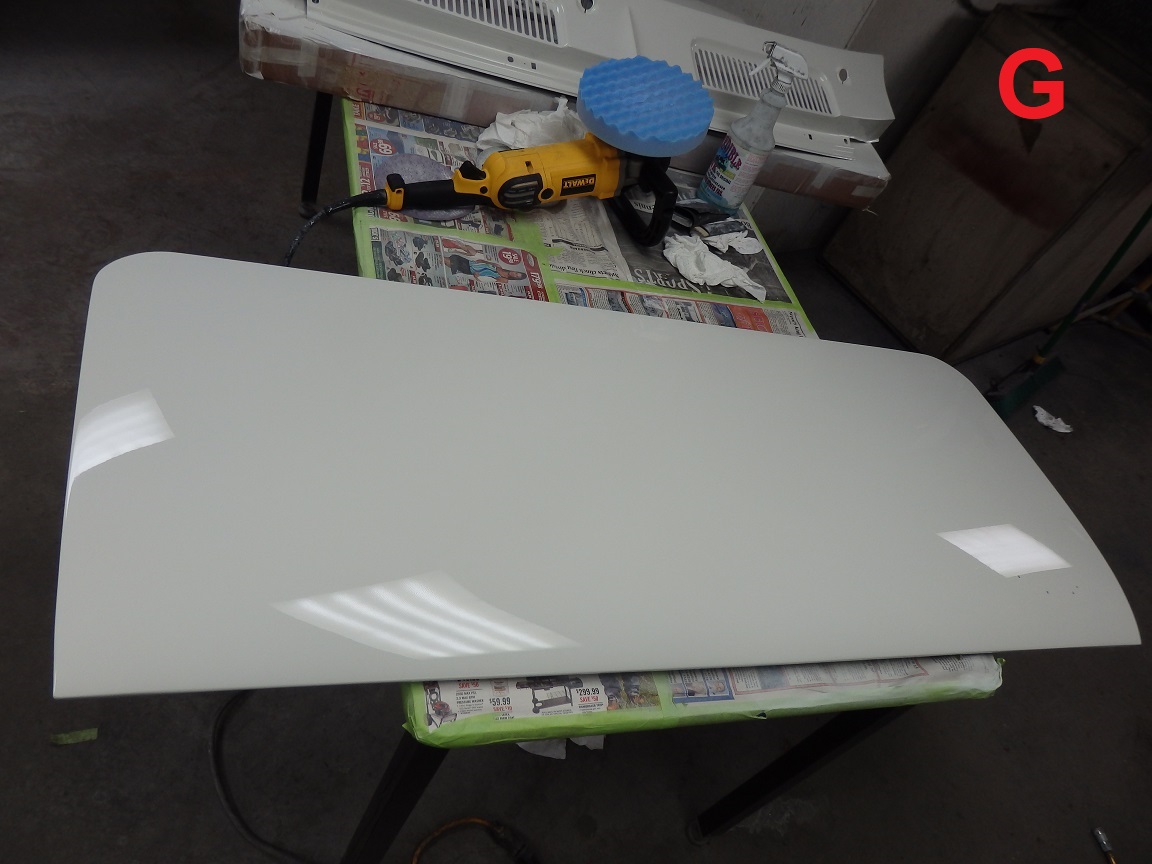
NOTE: When viewing the pictures (A-G), the best way to look at them is to observe the areas where the ceiling lights are reflecting off from the panel.
Unless you have a real nice gun to spray the clear coat and you are using a good clear (along with having a decent spraying ability) the finished clear will have a slight orange peel / textured look to it. Even new cars have a slight amount of it. Refer to pictures A & B. The sanding and buffing process is used to flatten the clear coat.
The process begins with hitting the panel with 1500 3M Trizact disks on an orbital sander with a foam pad (dry). This takes down some of the orange peel and shows where all the knubs (specs of dust) in the clear are. Refer to picture C. The high spots are dull and the low spots are still shiney. The knibs appear as shiney circles with dull centers (top of picture C). The knibs can be taken down using a paint paddle and 800 grit paper.
The panel is then wet sanded with 1200 grit soaked in warm soapy water. Refer to picture D. There should be not shine in the clear at this point. Note: It is important to stay away from the edges and major body lines with this process, as the clear is thinner in those areas.
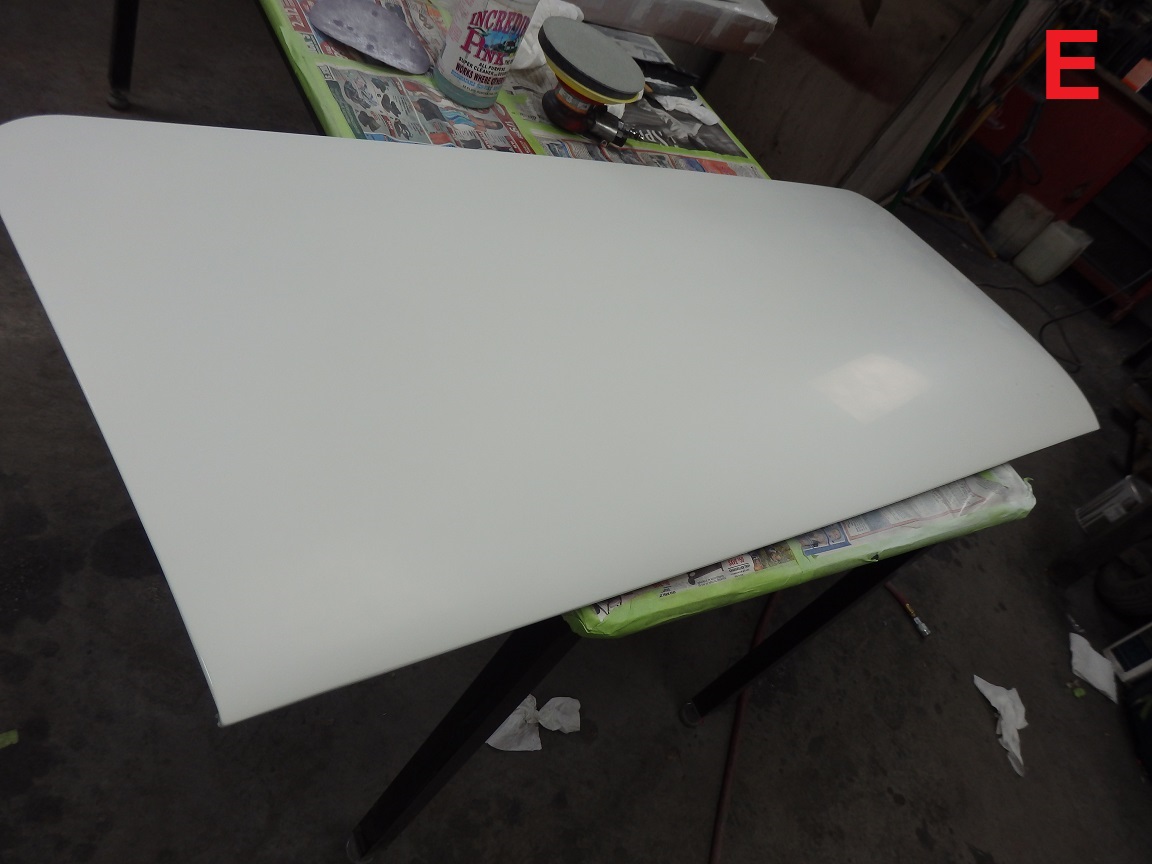
After the panel is sanded with 1200 it is washed down to removed the sanding particles. In the old days, this is where you would break out the 2000 grit paper and sand it again. Then you would wash it down and sand with 3000 grit. Today you can skip all that. The process continues with 3000 grit 3M Trizact disks installed on an orbital sander with a foam pad. You wet the disk and surface with spray bottle with soapy water and go over the panel evenly a few times until there is a light uniform reflection. Refer to picture E.
The panel is then washed off and the process repeats itself with 5000 grit 3M Trizact disks on an orbital sander with a foam pad (wet again). The reflection improves with this step, but it's nowheres near the final level of relfection (refer to picutre F).
The process concludes with a 3 stage polishing process using 3M Perfect-It II polishing compounds. You polish with compound #1 using a white pad, followed by compound #2 with a gray pad and finish with compound #3 on a blue pad. This process goes pretty fast. Refer to picture G. Note: You can buy the compounds in a set of 3 as well as the color coded buffing pads.
Following this process I was able to do the whole car in 15 hours.

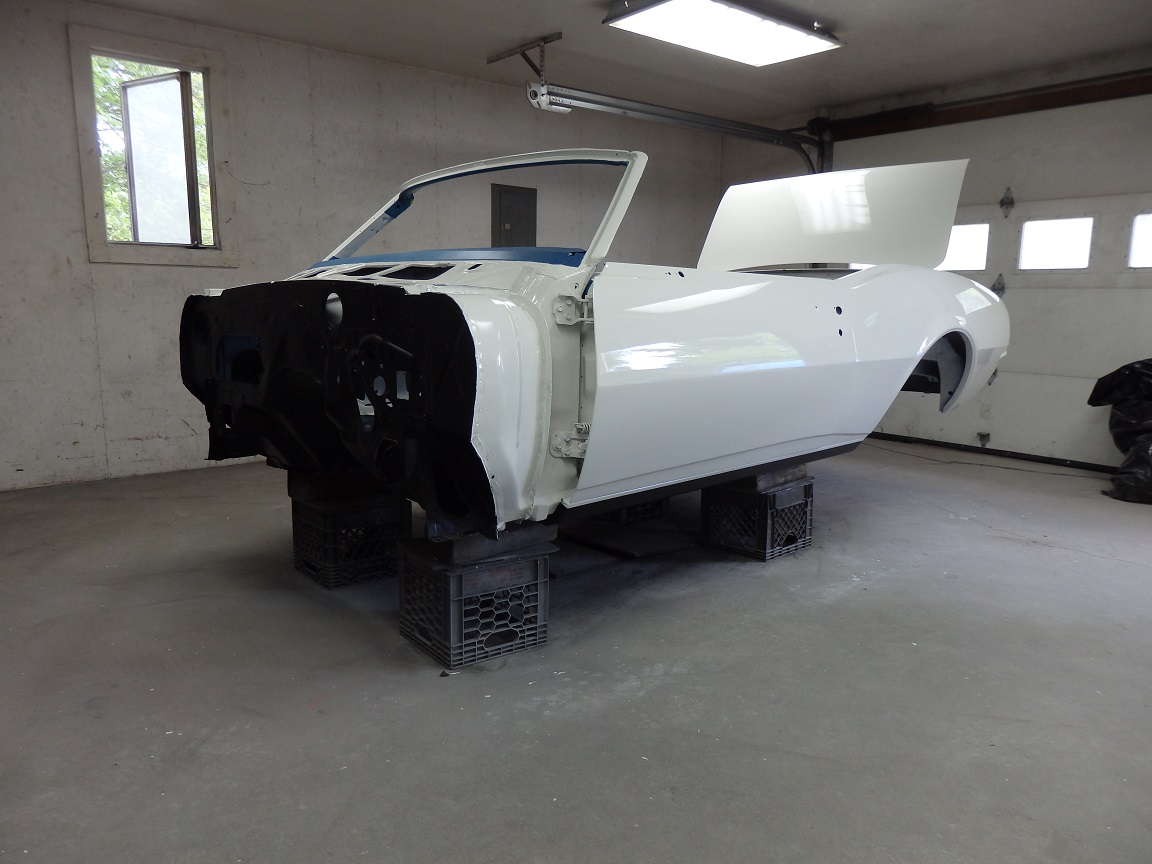
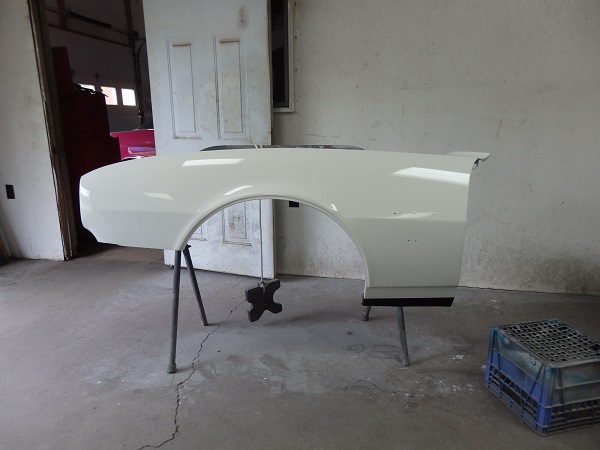
Here it is after buffing. Finally the assembly work could begin. At this point I had spend 504 hours on the project. This includes restoring the subframe components, but not assembling them.