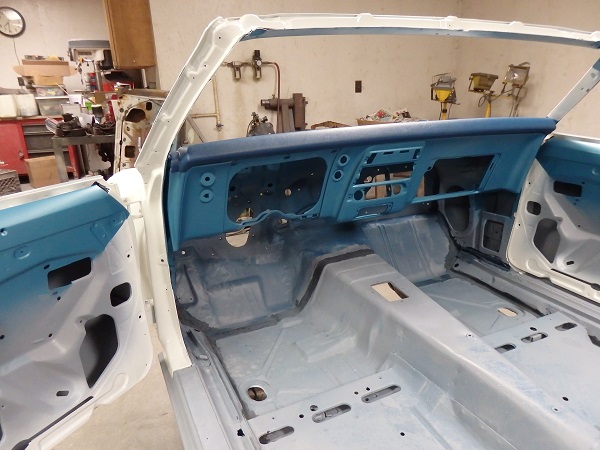
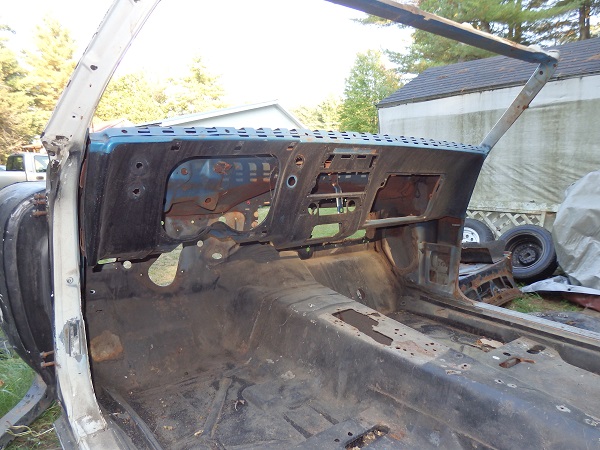
With the painting of the body complete, it was time to turn to the interior. First up, the dash.
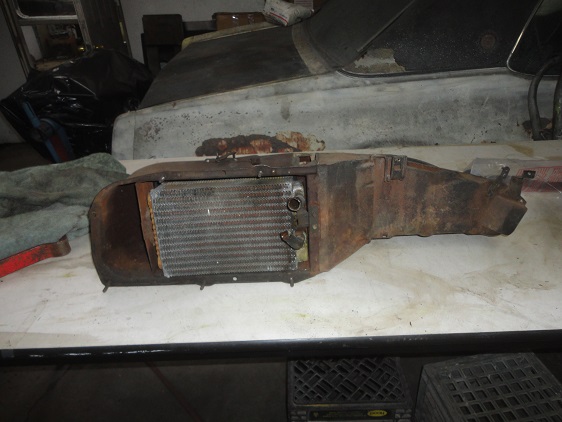
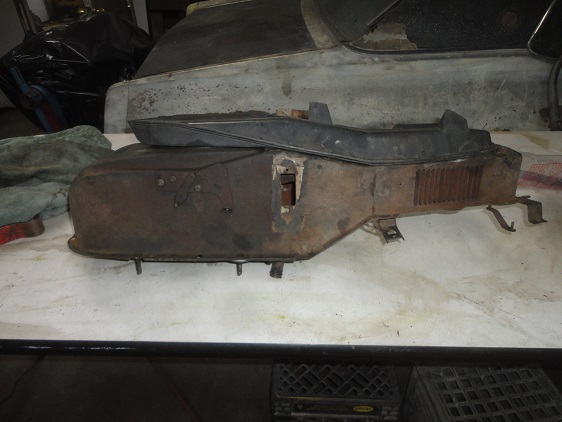
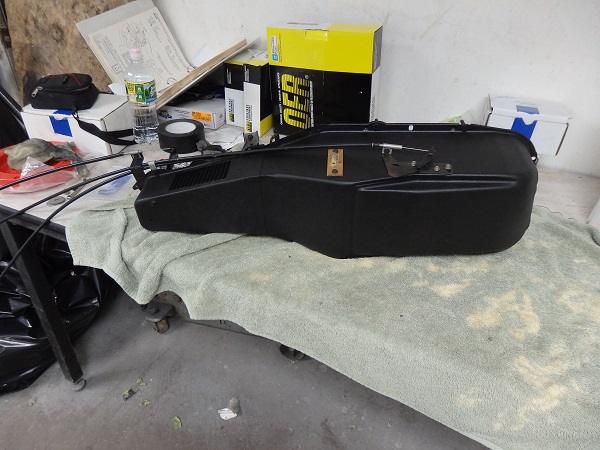
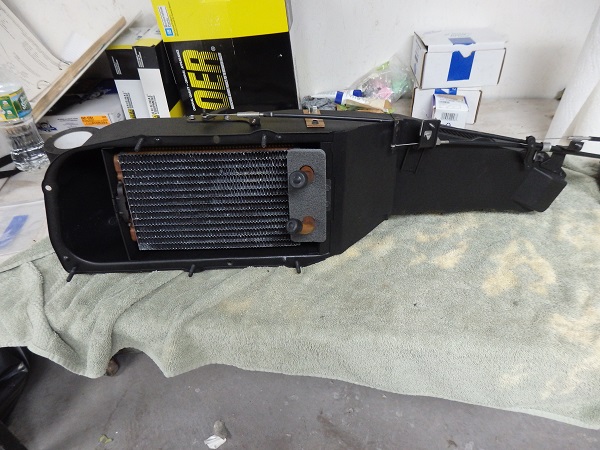
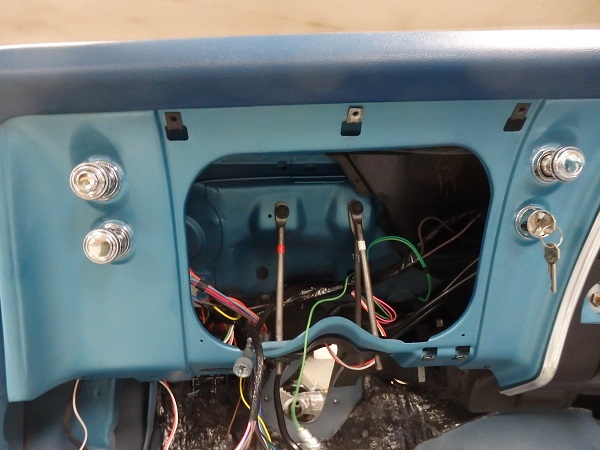
All of the items that go inside the dash were restored prior to any assembly work. The heater box was one of the first items to go in. Heater boxes for GM cars are spotwelded together, unlike Ford and Chrysler. Which means, they are harder to restore. Unless you want to drill out the spotwelds, you are limited to how well you can detail the insides. In this case I just sandblasted as much as I could and then painted it adn glued in new foam on the door flappers. The heater boxes are painted with a textured black paint, which is not available any more. I had some left over from my FM3 1970 Challenger project. If you need to get some, you can order it from Instrument Specialties, but you will pay a lot for it. If you have a black interior car, you will need some for the top of your dash, so it's worth the price.
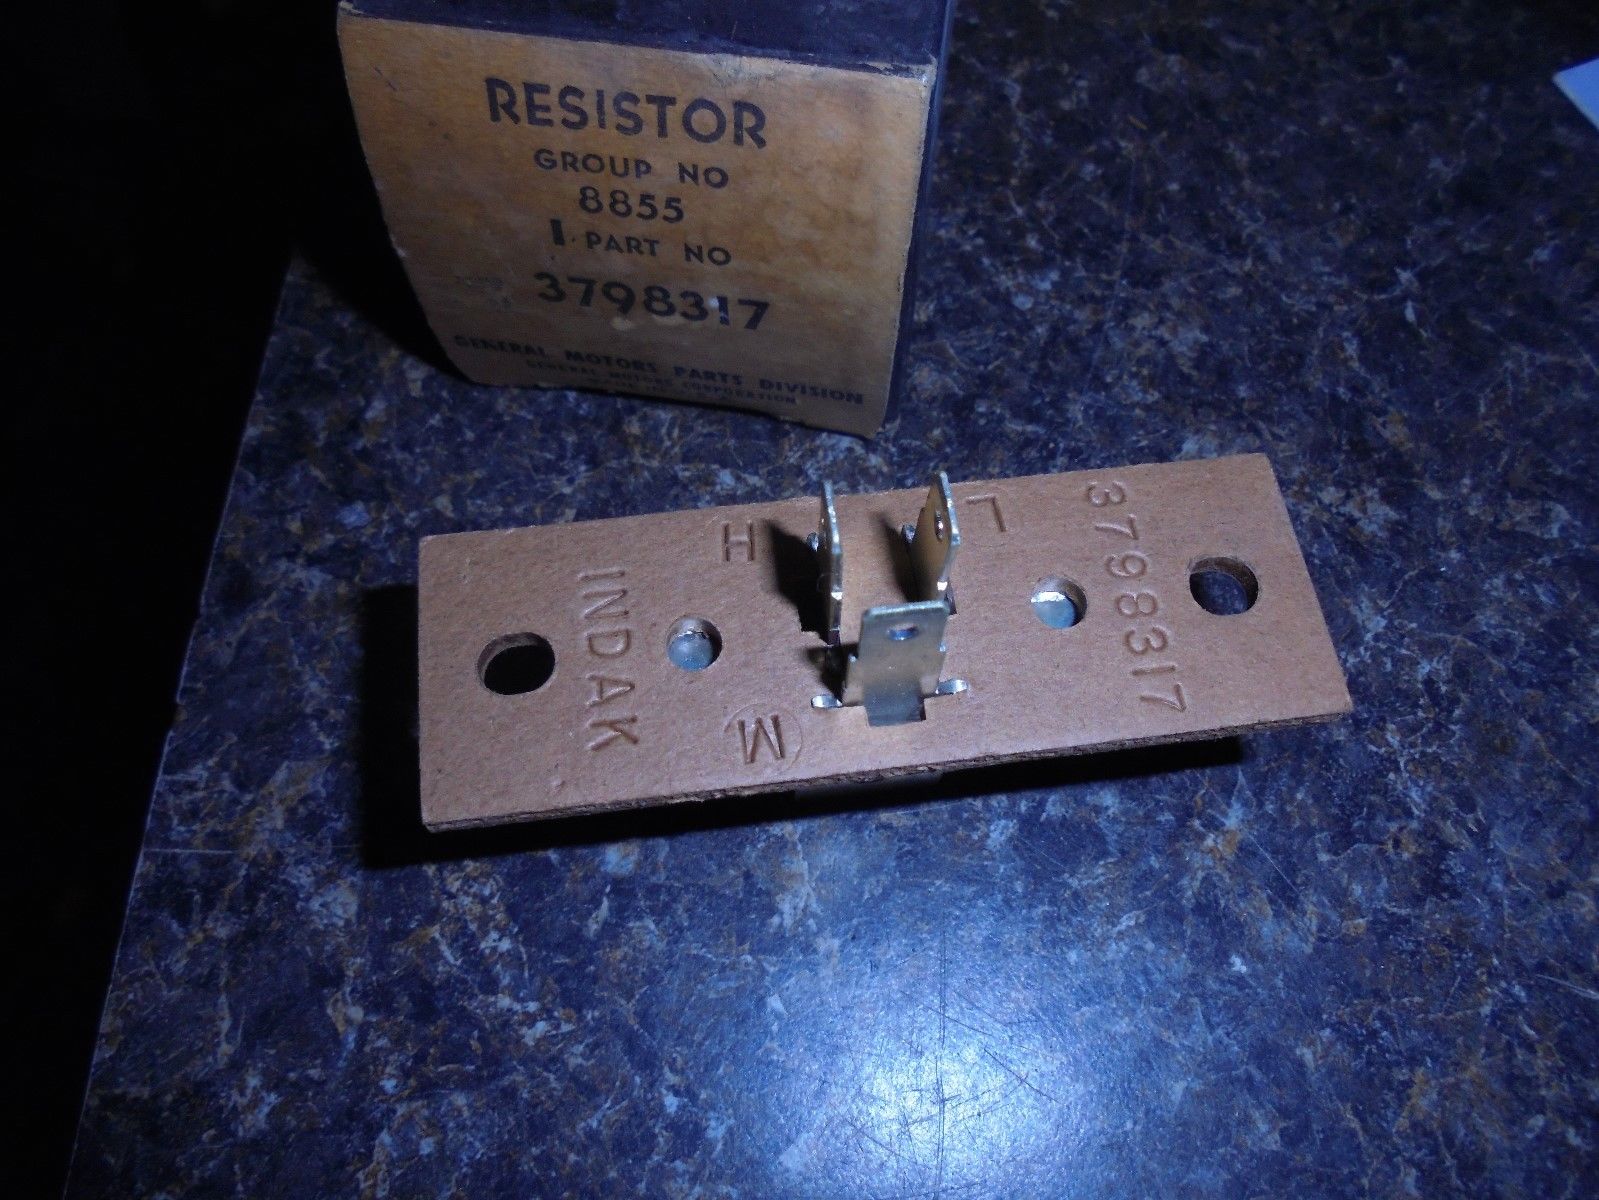
My car was gutted when I bought it, so I bought a used heater box off ebay. I bought an NOS resistor a new repo heater core and a gasket set. The cables you see are originals that I also bought off ebay that were on a corroded set of heater controls. No body wanted the bid on it because the controls were useless. The repo heater controls are actually pretty nice, so I bought a set instead of trying to locate original ones.
The original steering wheel was long gone, so I had no idea as to which of the 4 possible steering wheels the car came with. I liked the looks of the N30, so I ended up locating one (more on that later).
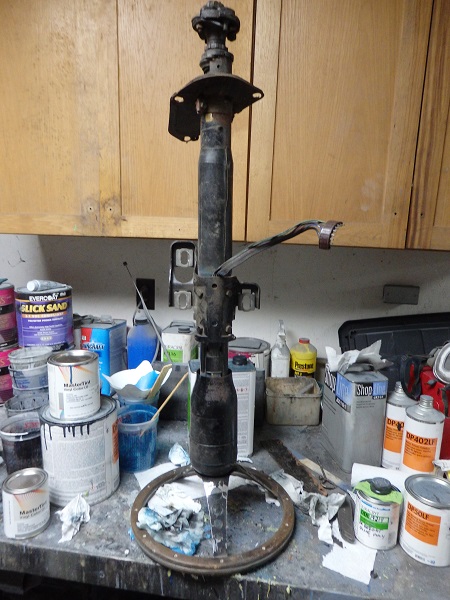
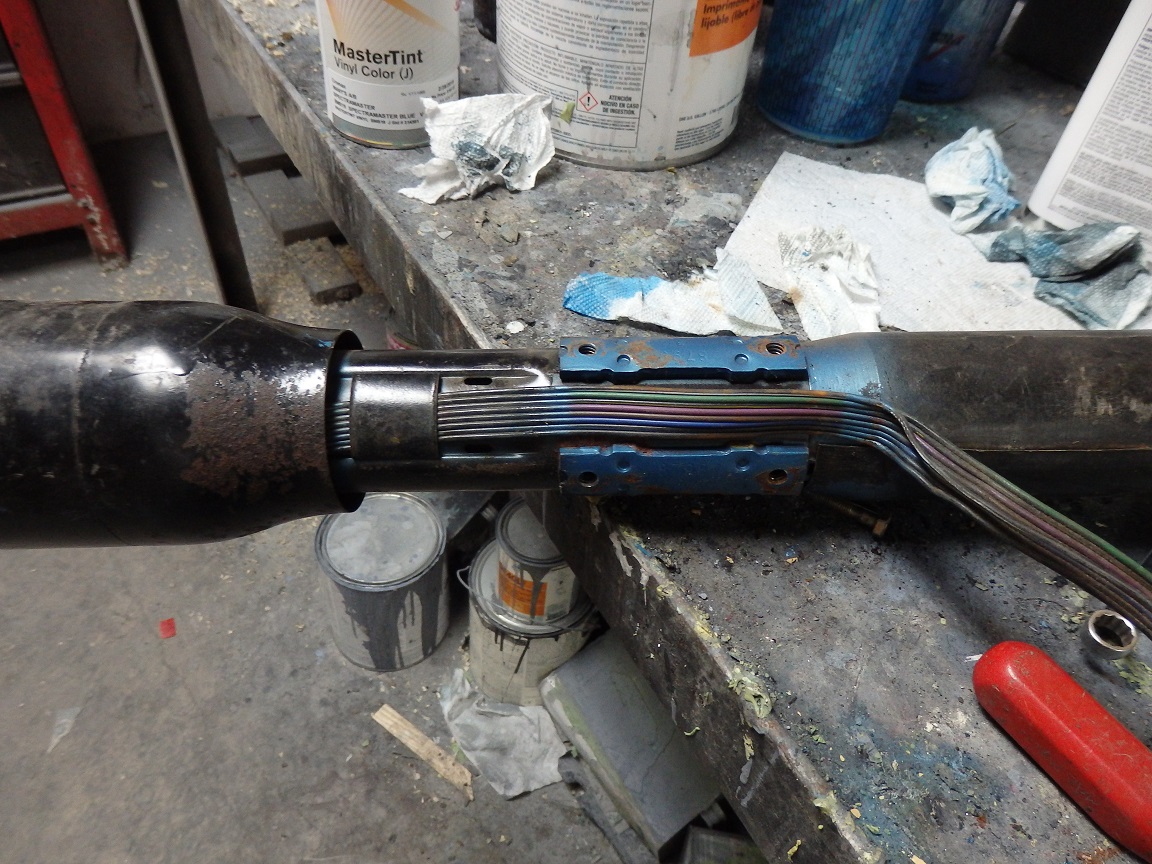
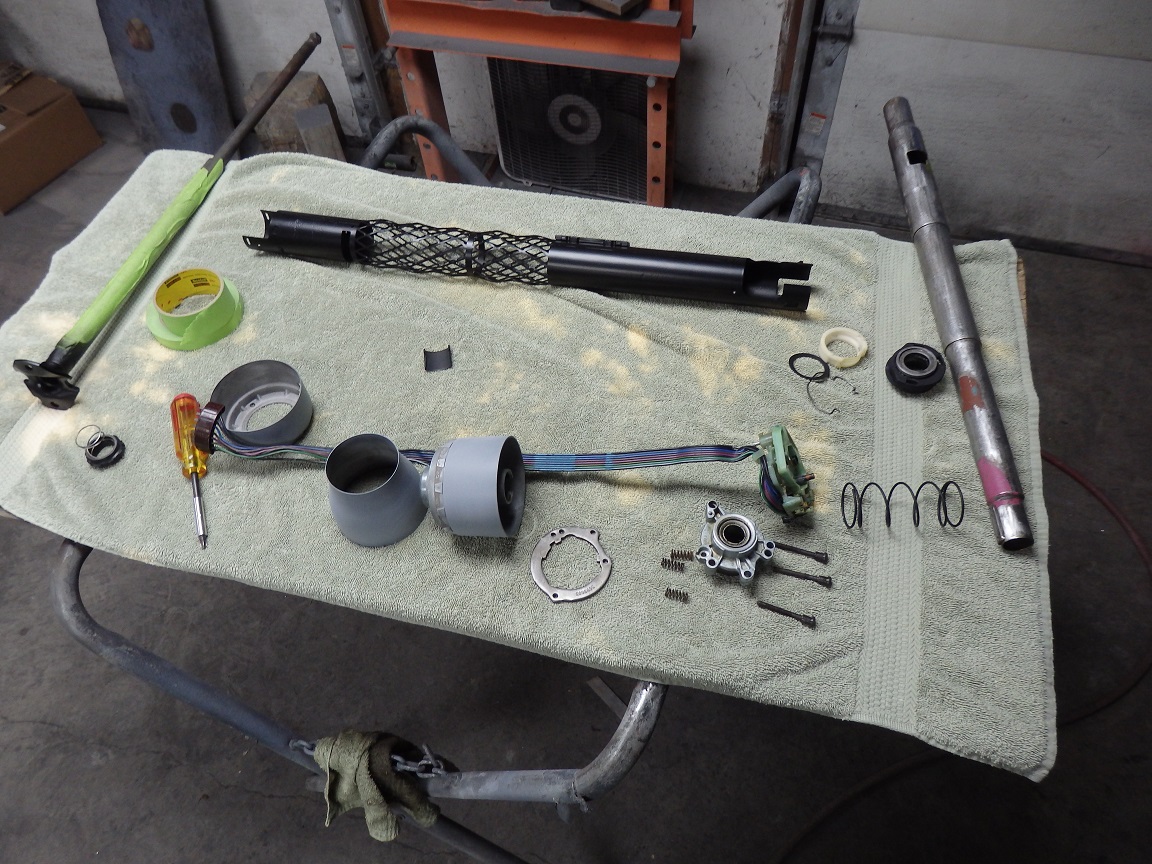
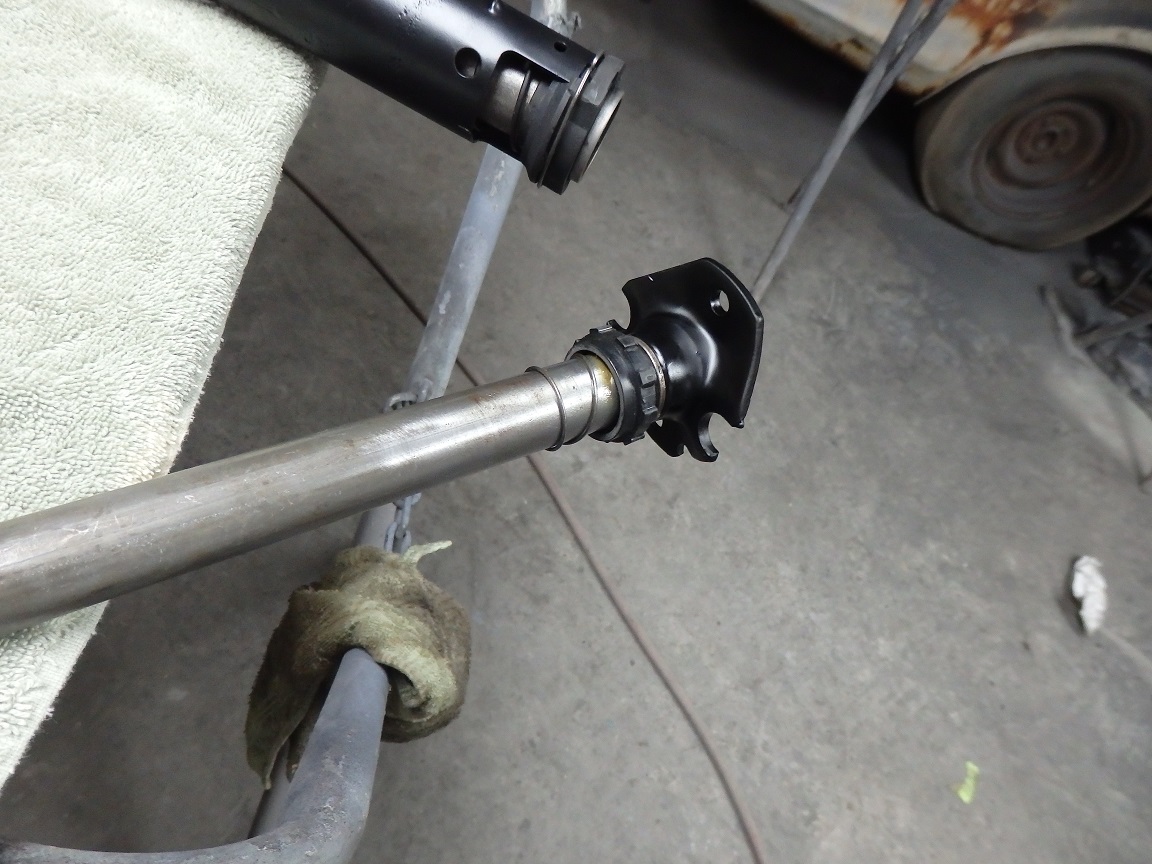
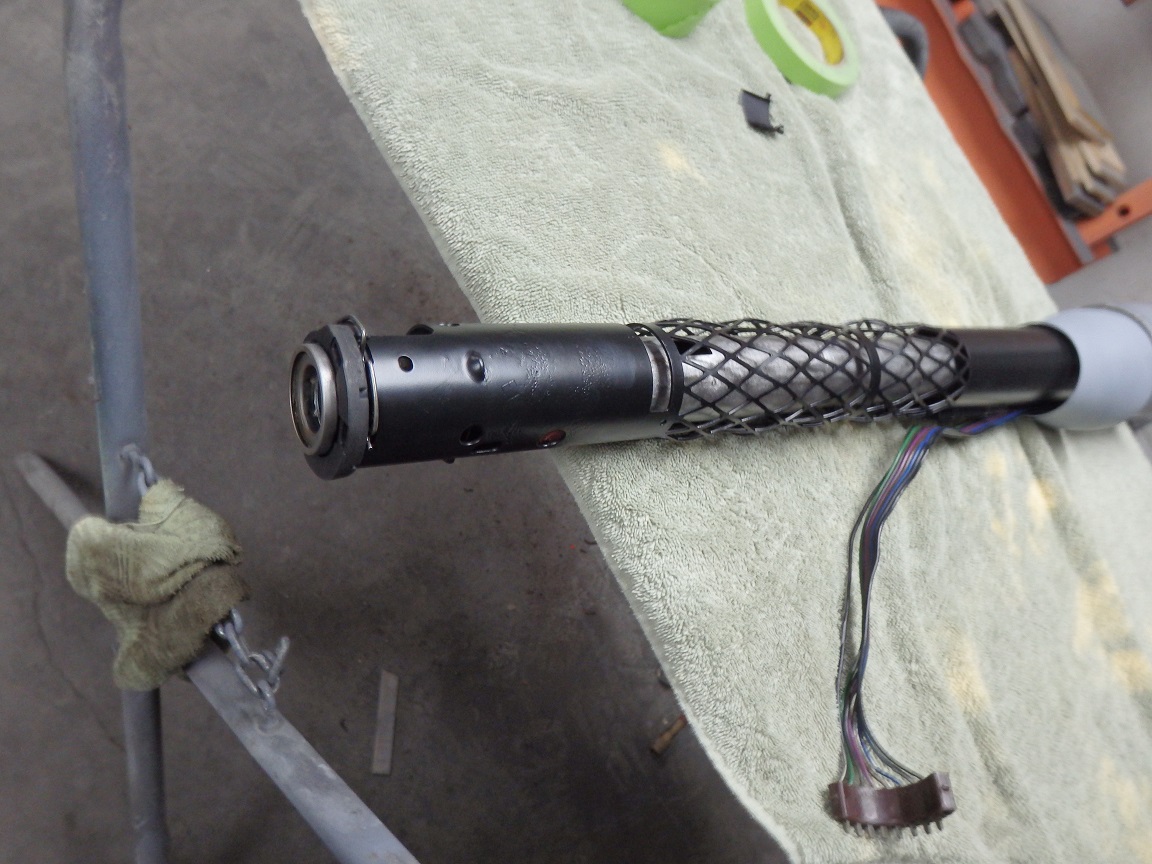
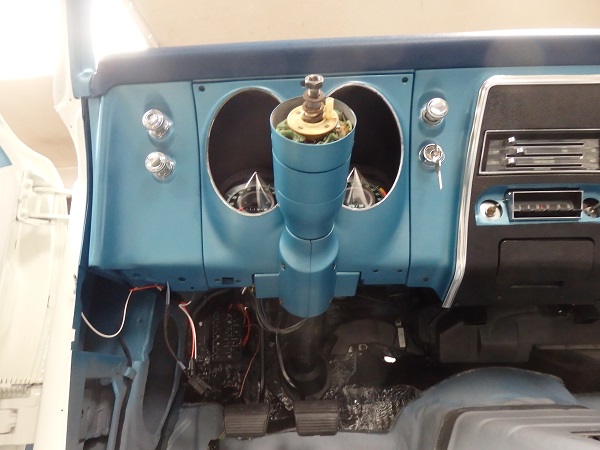
The steering column had seen better days. I tore it down and sandblasted the painted parts and wire-wheeled the steering shaft and inner tube. The inner tube had factory paint marks on them, so I left them intact. One thing that I noticed during the disassembly was that the column was painted with the turn signal switch wiring installed, which was obvious because of the blue paint all over the wires and lack of paint behind them.
The upper and lower steering column bearings were in great shape, so I stuck with the originals. The lower bearing isn't reproduced, they only sell 1969 conversion kits. I was lucky that the bottom bearing was usable. I cleaned it up and repacked the bearings.
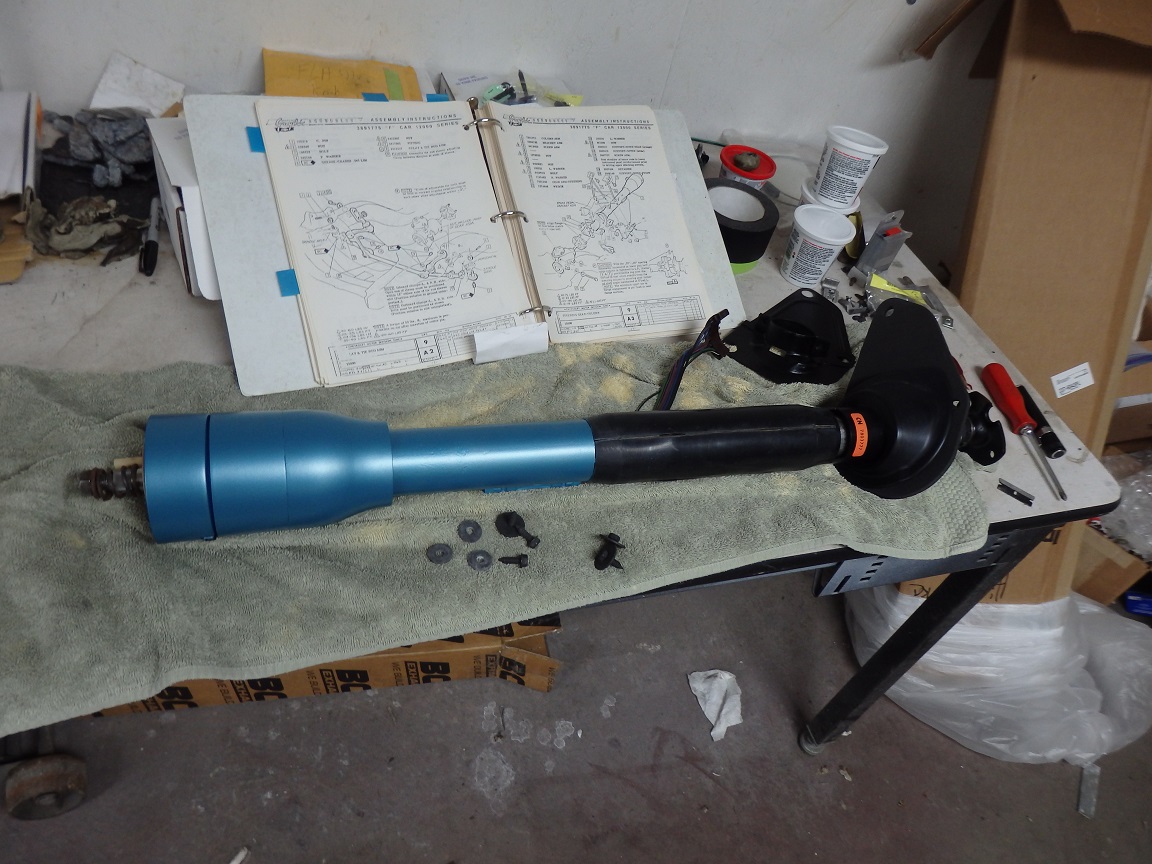
As far as painting, the tube portion of the steering column is a semigloss lacquer black. Once assembled the upper portion is painted lower dash color. As a finishing touch I added detail a repo steering column partnumber decal.
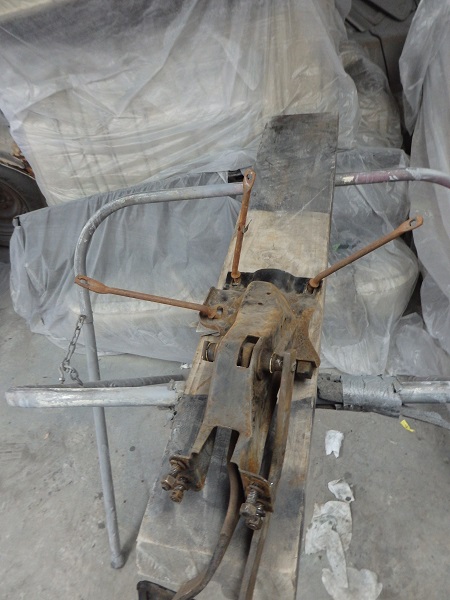

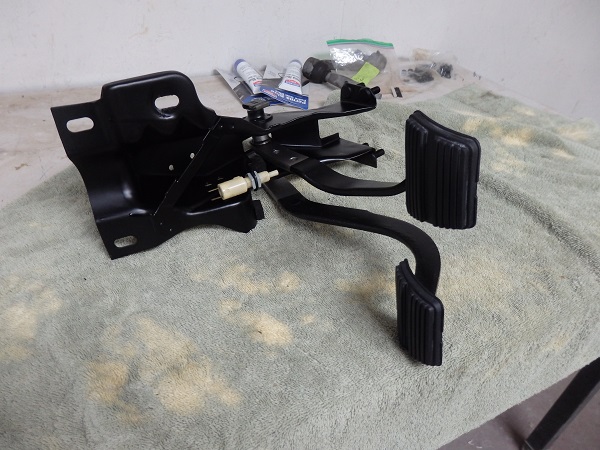
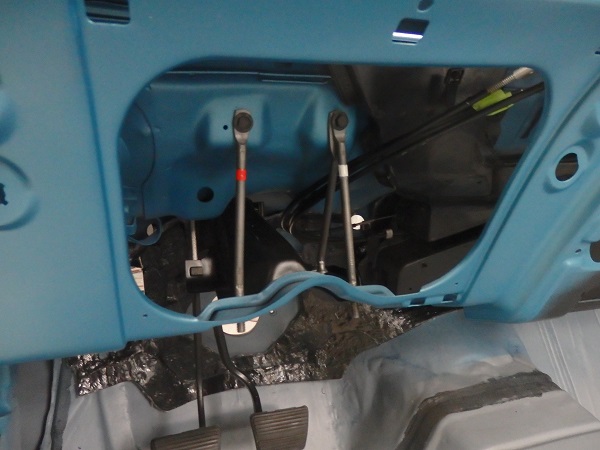
The pedal support is an easy thing to restore. Just take it a part, beadblast it and paint everything semigloss black, except for the top of the pedals, which are left bare metal. Instead of leaving them bare, I painted them with Seymours Stainless Steel paint so they wouldn't corrode in the future.
The bushing were replaced and a new set of pedal pads I was able to use the original brake light switch, but bought new correct hardware to mount it with.
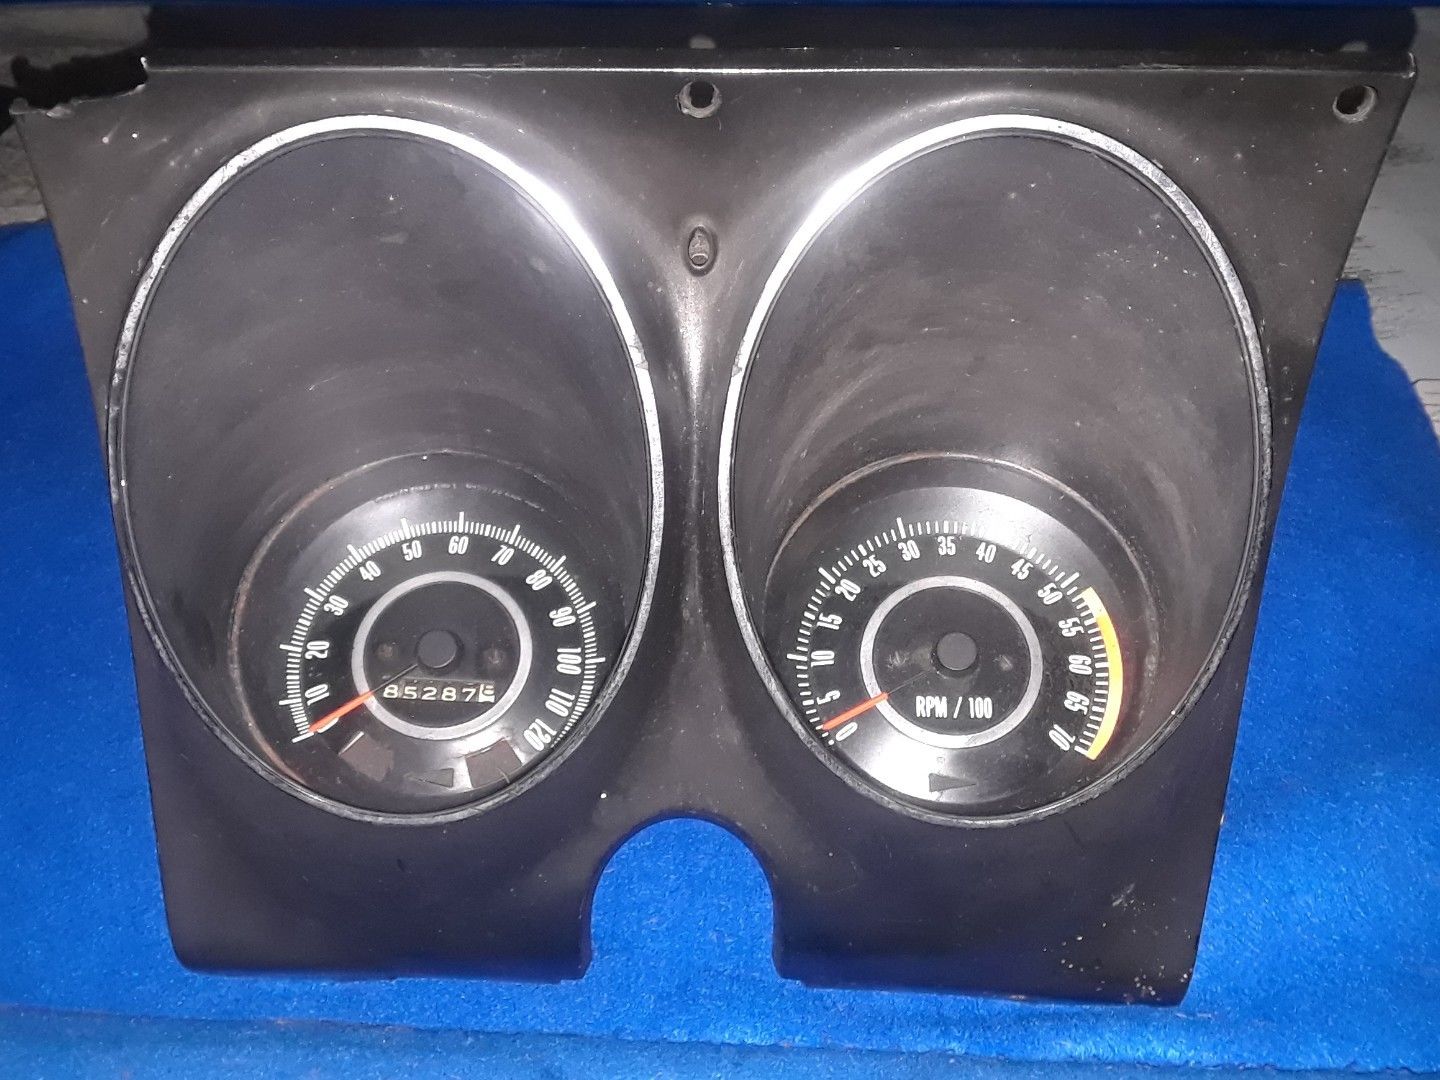
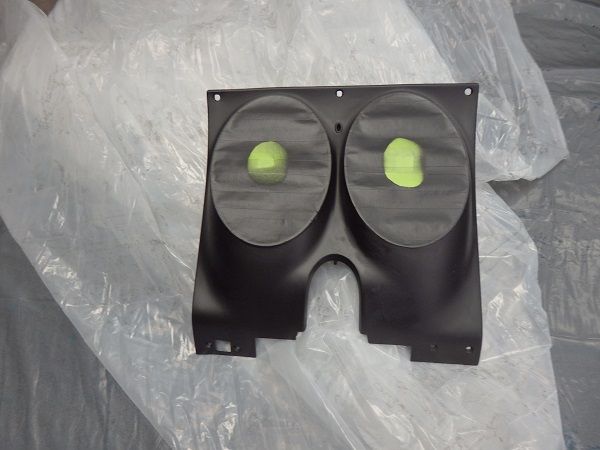
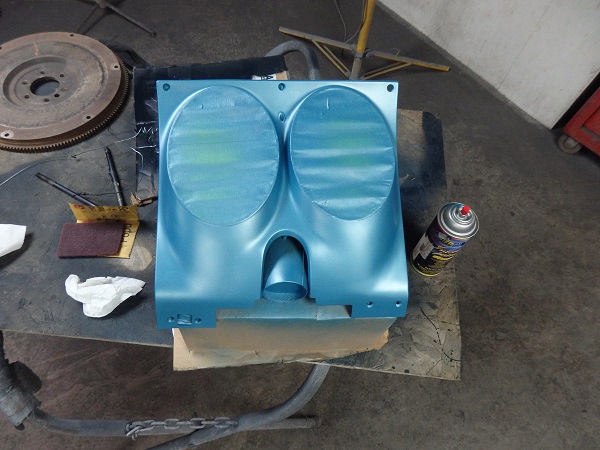
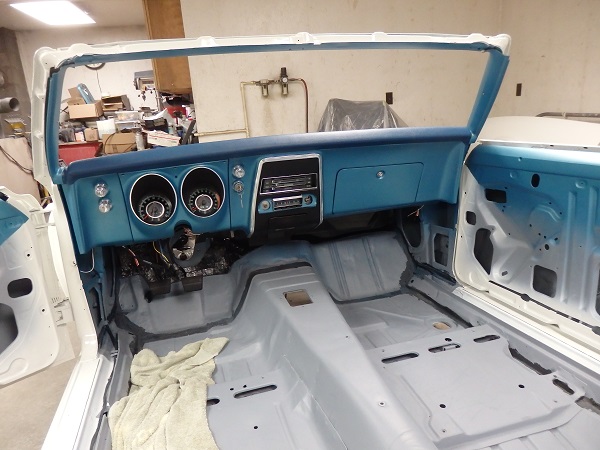
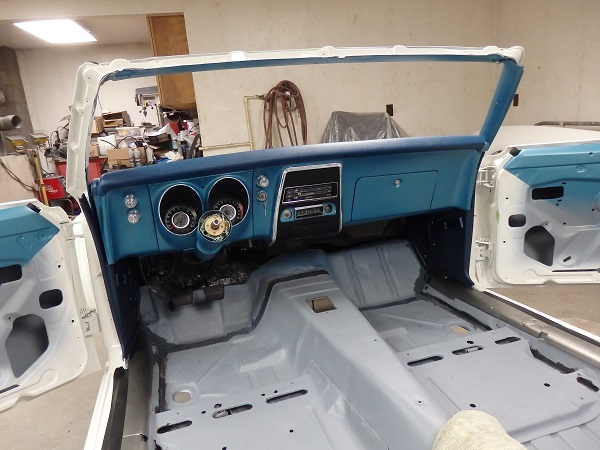
I had to locate a gauge cluster for the car. It came with a set from a 68, which just wasn't correct. I needed a 1967 Only gauge set with 5500RPM tach for a car with console gauges. I bought this set off ebay for $100 and paid almost that much for an orignal cluster bezel (I didn't like the repo one I had). I primed and painted the bezel dash color and added chrome decals to replace the worn off chrome (not shown). With repo lenses and a little cleaning of the gauges, they turned out looking almost new (see pics further down).
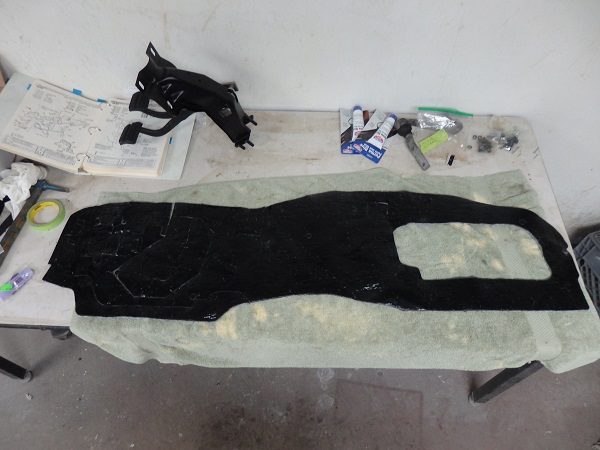
Repo firewall insulation is not very factory correct. Camaro Specialties makes there own, which I think is just the standard repo parts with a coating on them that helps them look correct. I was happy with it though.
I went the quick route and bought all new chrome bezels and switches for the dash.
Convertibles have special underdash lights. The repos aren't quite right. I found some NOS ones on ebay and I installed them with a correct hardware kit from AMK.
I paid a good penny for an NOS glove box light. The bezels are usually pitted on originals. The NOS one came with the correct clips that are used to hold the wire to the upper dash where it is routed to the fuse box.
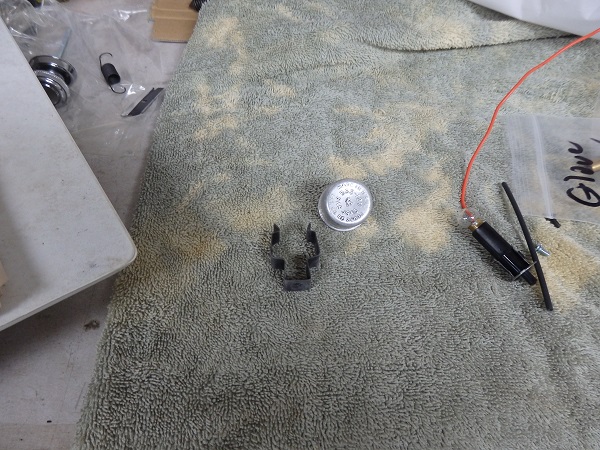
Next to the glove box lamp in the last picture is an original flasher and its underdash mountinge bracket.
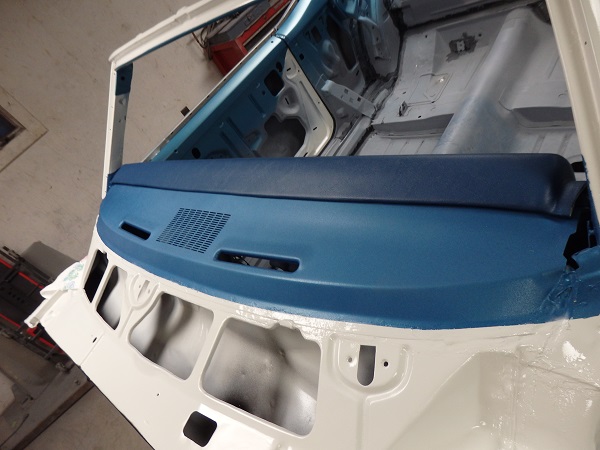

I did not have a dashpad to send out to be restored, so I bought a new repo made by Al Knoch. The color is actually a 1969 Camaro interior color, it is correct for 1967 bright blue interior cars based on the researches of Charlie Maule, whos work led to me easily identifying what to buy for interior. If you ever get to look at an orginal 1967 Camaro, you will see that the dashpad is much darker than the dash (true for Red, Gold and Blue). I think it was meant to match the carpets. The interior was not supposed to be all the same color, which is what a lot of restored cars look like.
One thing to note is that the 2 long pedal support braces are color coded. They are very similar to each other and can be easily installed incorrectly.
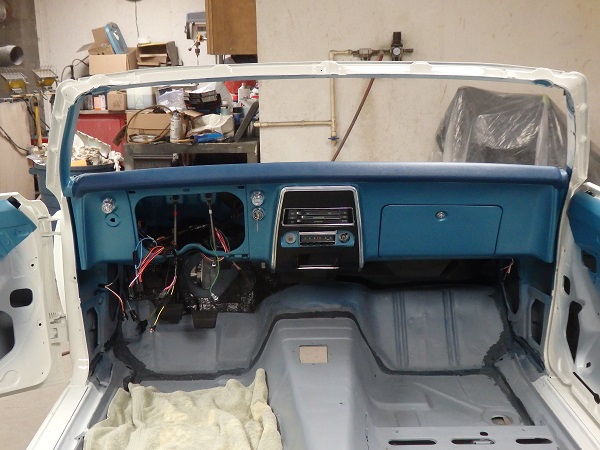

I had to buy new dash harnesses as the originals were long gone. What is very important to note is that RS cars have a special harness with a diode for running the hide-away headlights. When you buy new harnesses, you have to remove a wire from the ignition connector and the headlight switch connector and plug in the RS headlight harness with the diode. The 2nd picture on the left shows the RS headlight wires and instructions. The loose blue lead at the very top of the picture was pulled out of the headlight switch to add the RS harness.
The dash actually goes together pretty fast on these cars. It wasn't many years later that dashes became much more complex.
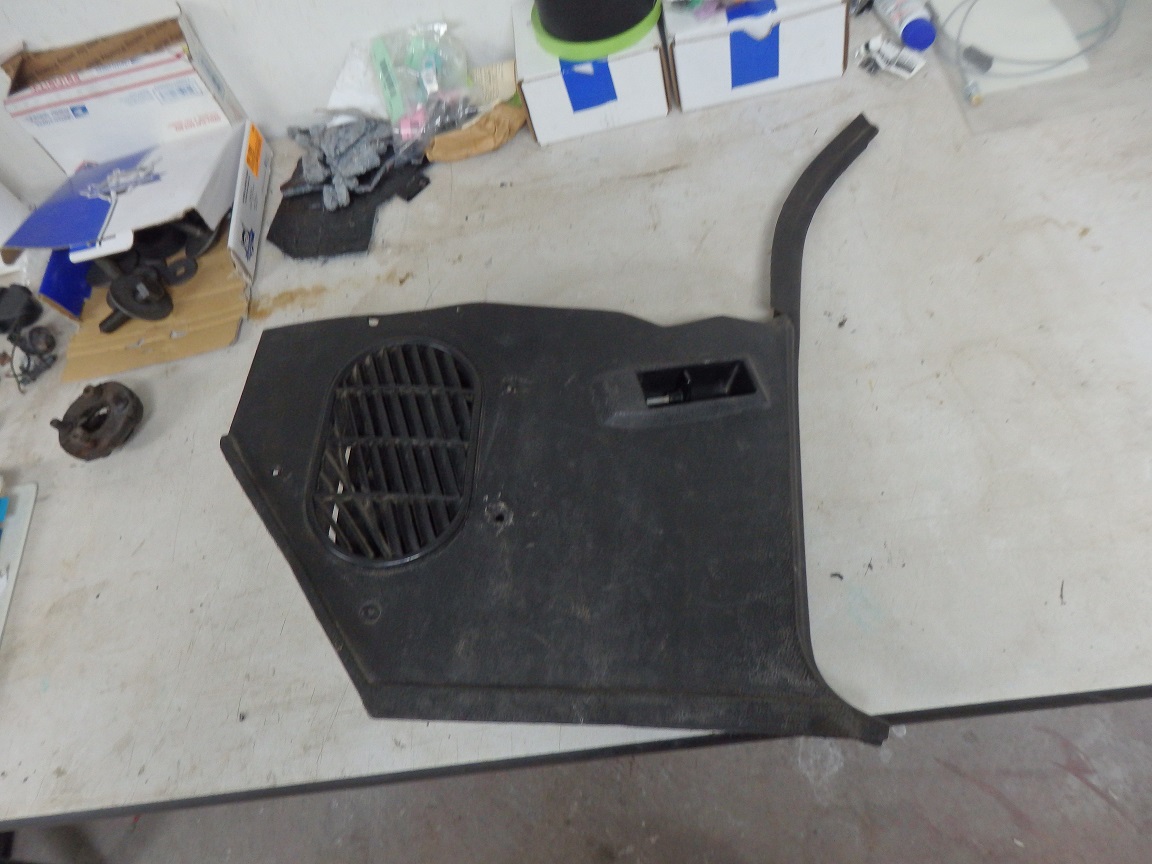

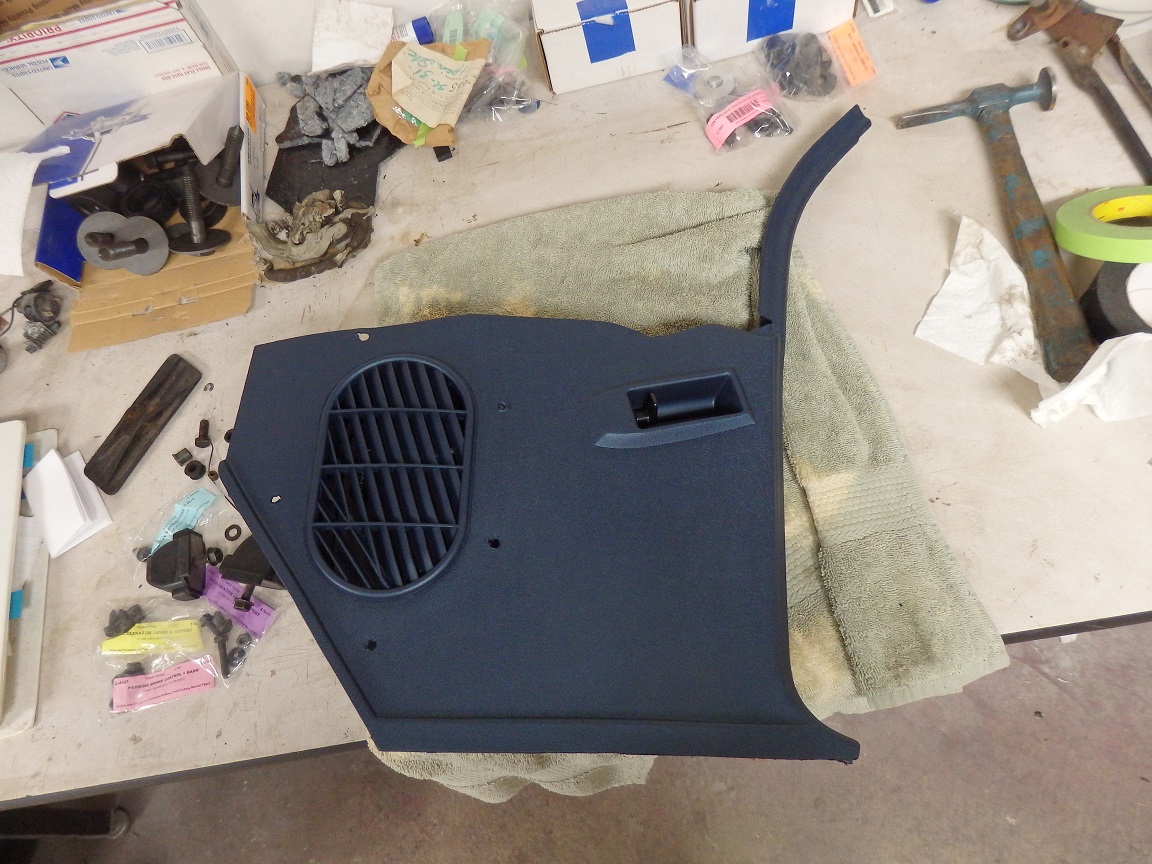
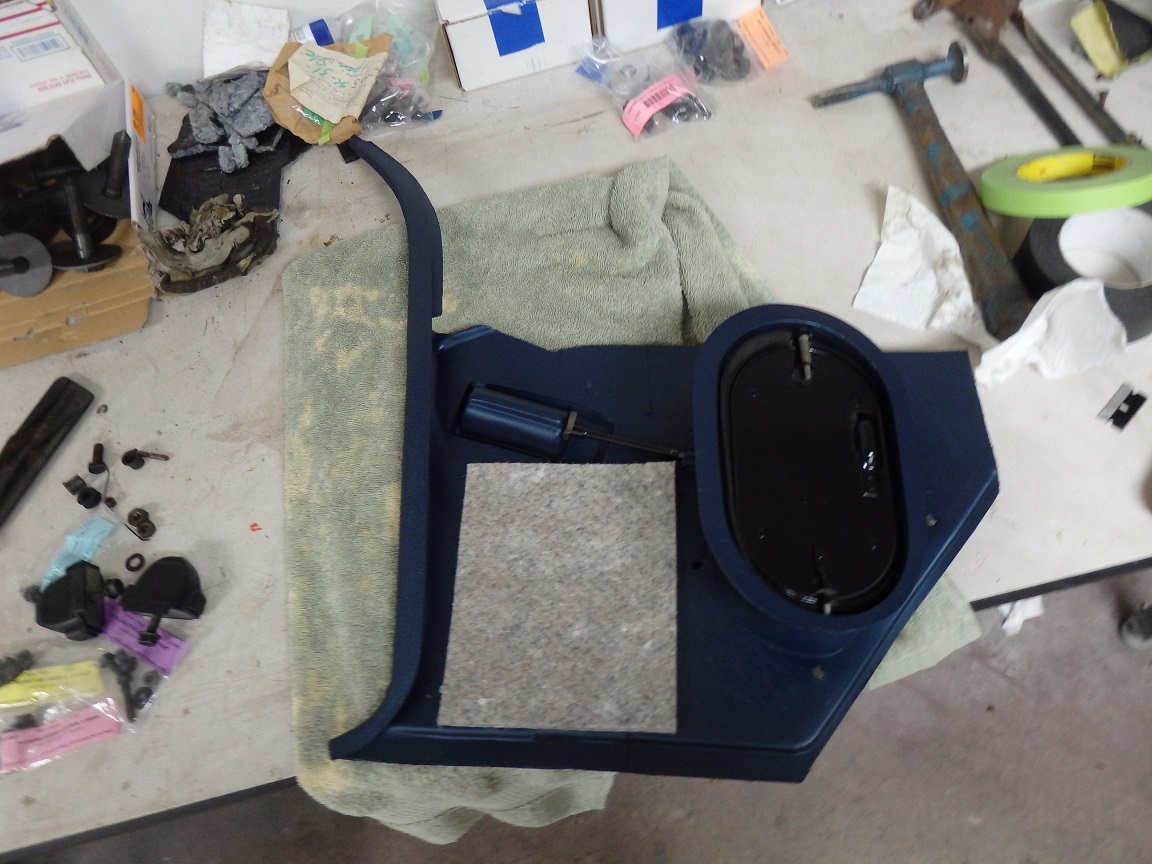
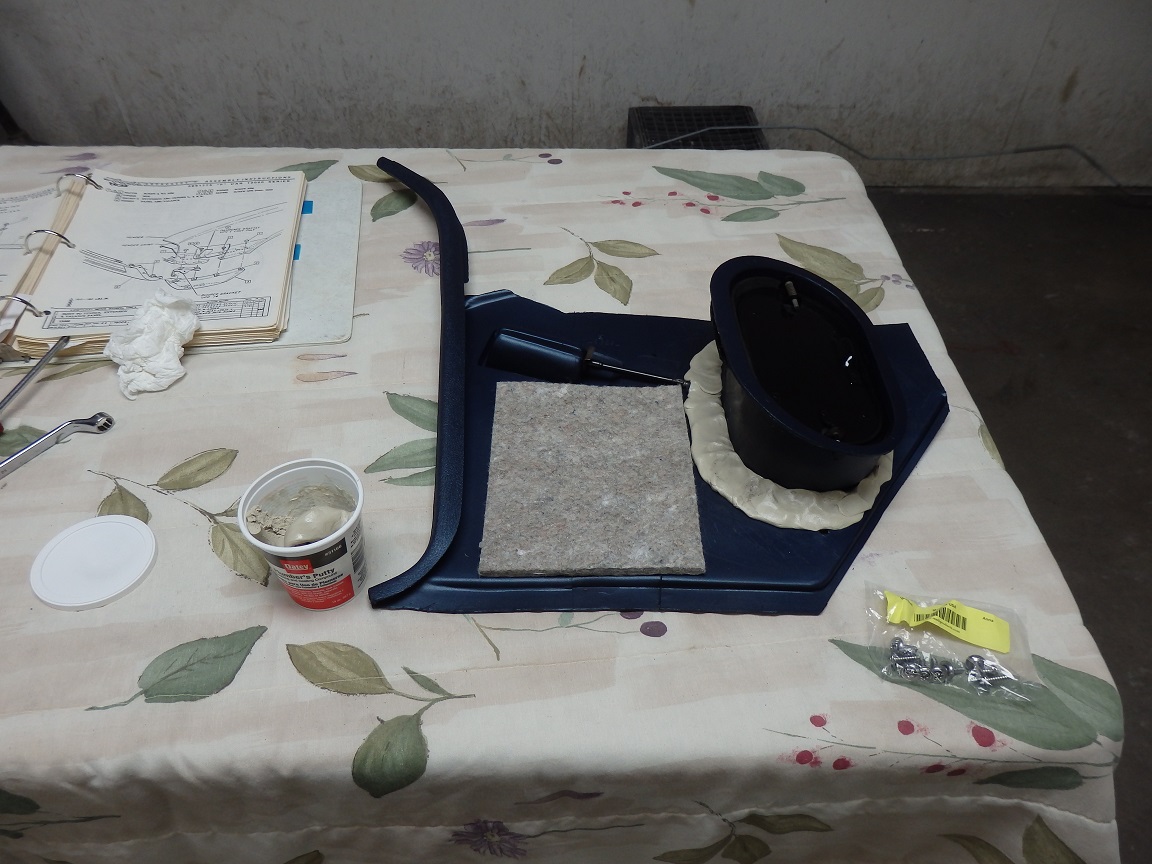
I didn't have much hope finding original dark blue kickpanels, so I ended up locating and painting some black ones. They come all the way a part, so it's pretty easy to restore and paint them.
When it came to installing them, the factory really loaded up the backs of the kickpanels with putty so that they could get a good seal around cowl side panel. If you do not seal that area well, water will make it into the car when it rains or even when you wash the car. I used plumbers putty and loaded up kickpanels with it before installing them. Plumbers putty is pretty soft and makes a great seal since that is what it is designed for. You can also use it on the windshield header moldings.
These two pictures were taken almost 2 years apart; 9/13/17 before and 8/17/19 after. It has come a long ways in 2 years.
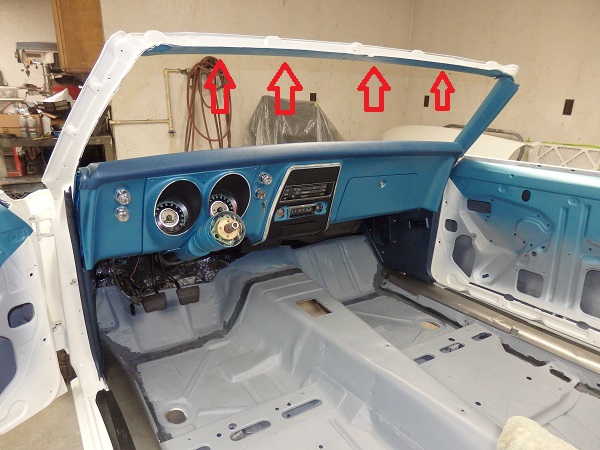

Before the convertible top goes on and the carpets go in is windshield installation time. Before installing the windshield, the windshield opening trim have to go in. A common thing to get missed is that the underside of the upper windshield frame gets painted the lower dash color, shown here with the red arrows. Then the inner windshield pillar trim gets installed (also painted lower dash color).
I sent the stainless trim out to be polished and the top trim out to be rechromed some time before. When the factory installed these pieces they set them in a bed of putty to waterproof things. It is quite a task to remove the moldings and remove the factory putty. When I put the moldings back in I used plumbers putty, like I did to seal the kickpanel vents. The stuff works great.
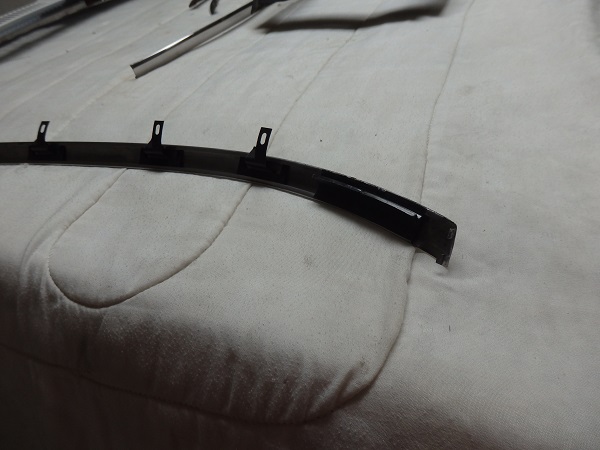
The sunvisor swivels, are reproduction. They are nice looking, but they do not fit the area as perfect as a set of originals.
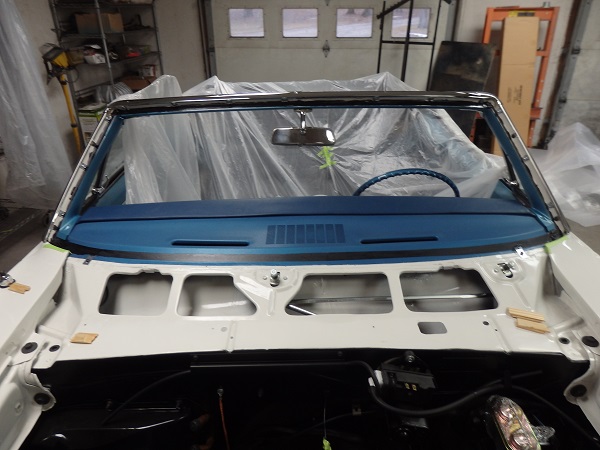
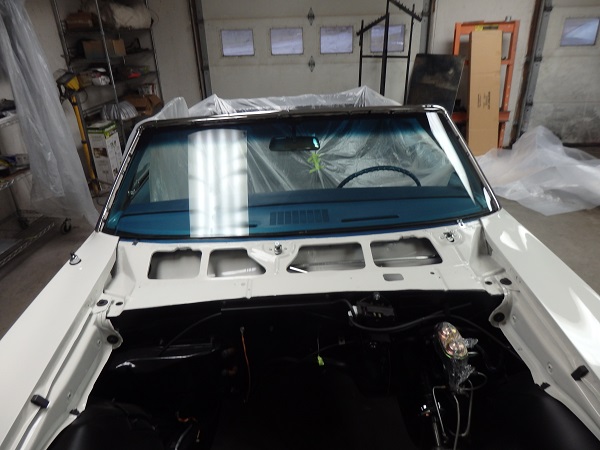
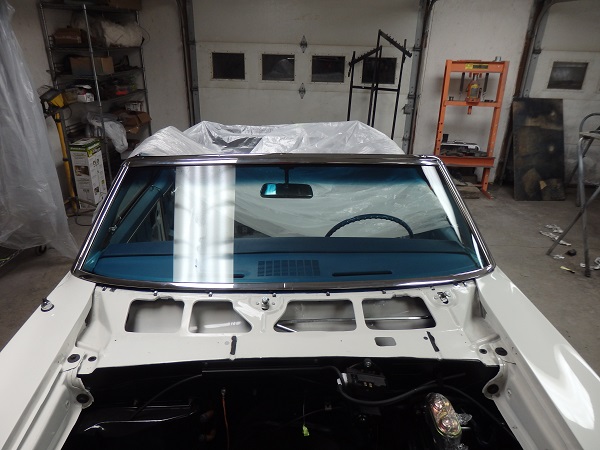
Before setting the glass, the opening gets painted with black primer specifically for bonding to butyl tape. The windshield molding clips should be installed before using it. Since the windshield was new 3/8" butyl tape was used. Original windshields are thicker and only require 5/16" butyl tape. Took me a bit of research to learn that one.
Once the windshield is in, the inner moldings can go on. Coupes and convertibles use different moldings. Also, the lower molding on coupes are screwed down inside the A-pillar. Convertibles use these plastic pieces to hug the upper lip of the fenders.
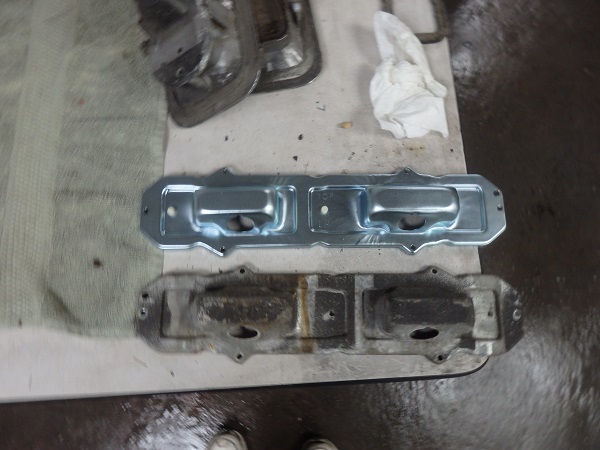
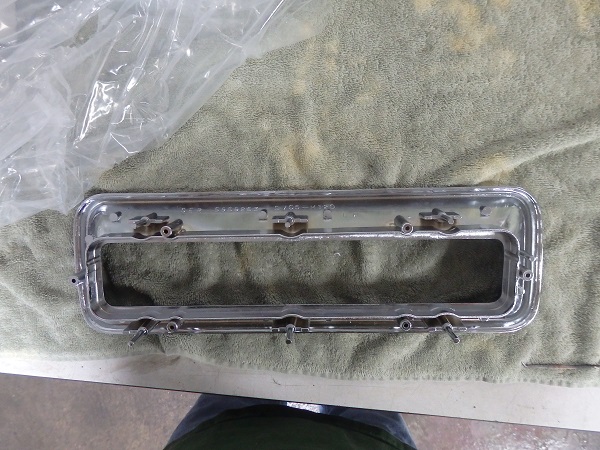
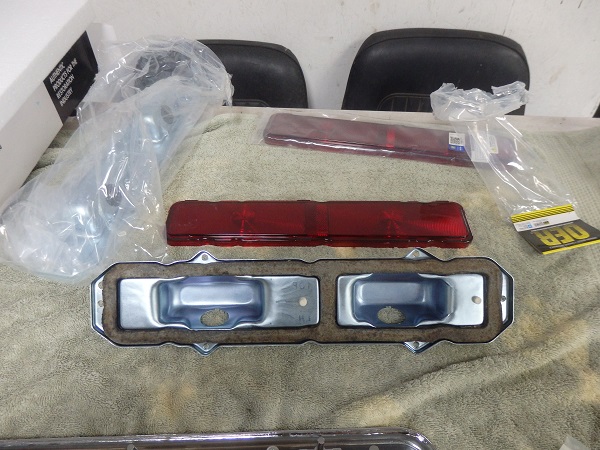

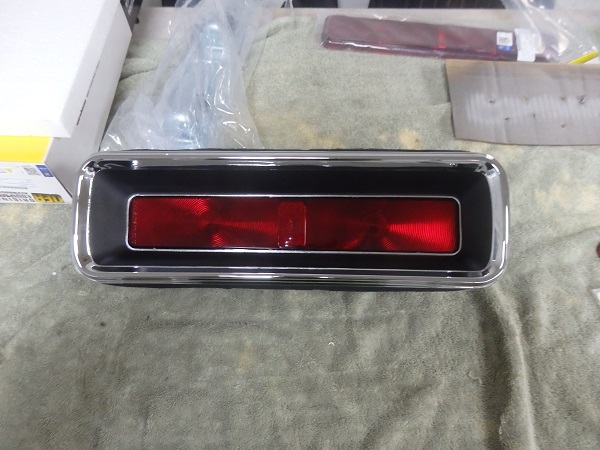
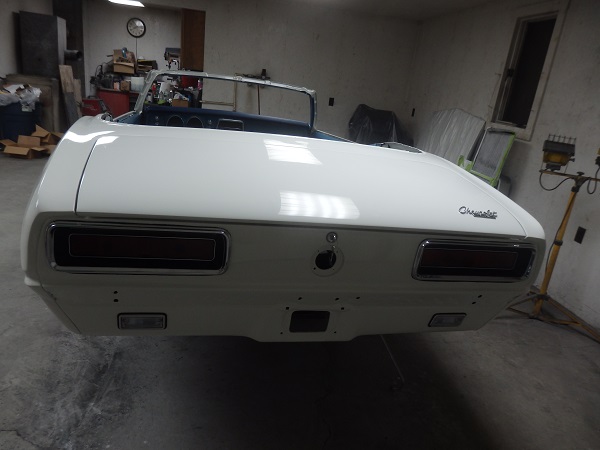
The tail lights that came with the car were not worth saving. Way too pitted and had the wrong lenses for an RS (all red). I chose to buy all the pieces aftermarket. The only issues that I had was that OER repos did a great job reproducing the parts, but they made the posts with too small of a diameter so I could not the correct hardware. I used the next size down hardware that coincidentally was the same ones as my 1970 Challenger. The repo lense gaskets weren't worth using, so I cleaned up some original ones and used them.
One item worth mentioning is that the each tail light housing has 2 moisture wicks in it. I originally didn't know what they were called and couldn't find them in the Camaro catalogs. They kind of look like cigarette filters and GM put them in the housings to soak up moisture so the lenses didn't fog up. I found new ones on a Corvette repo parts site. Paragon I think. It's funny that I keep on buying these small parts from Corvette places. Even my repo inside rearview mirror was repo-ed for Vettes and just happens to be the same as Camaro.