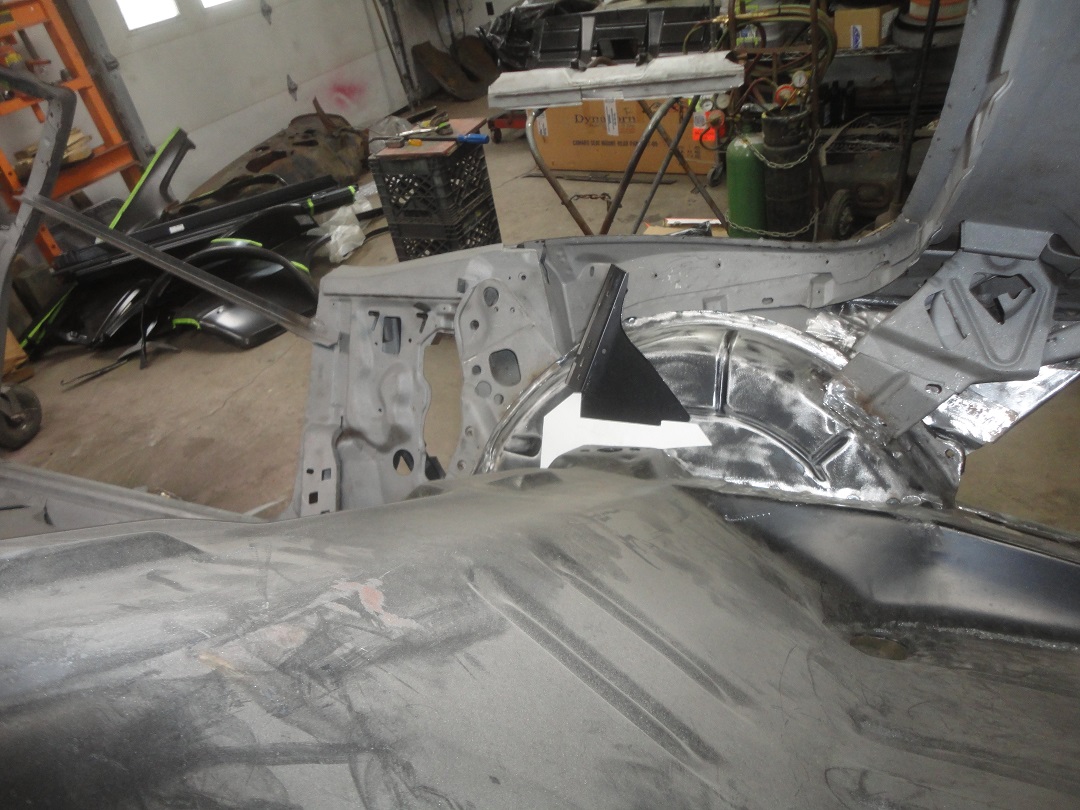
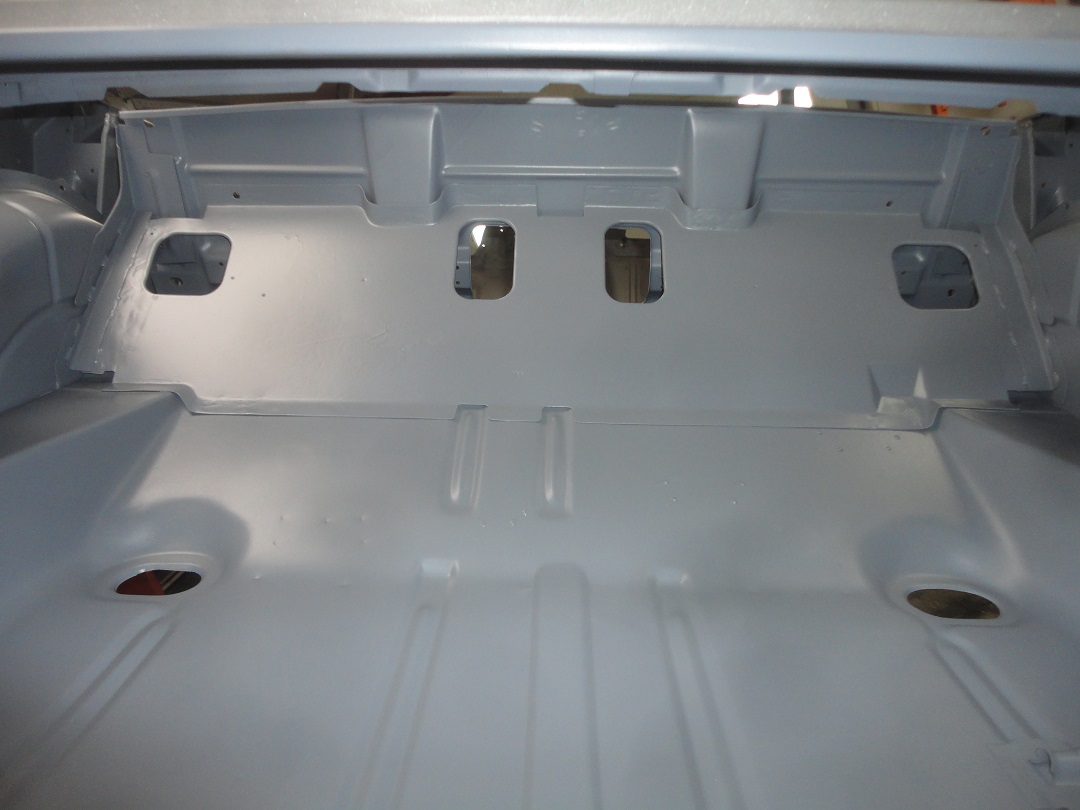
Before the rear quarters could be installed, I needed to get the trunk area finished and in primer. The rear seat brace (back) was all that was left to do before priming.
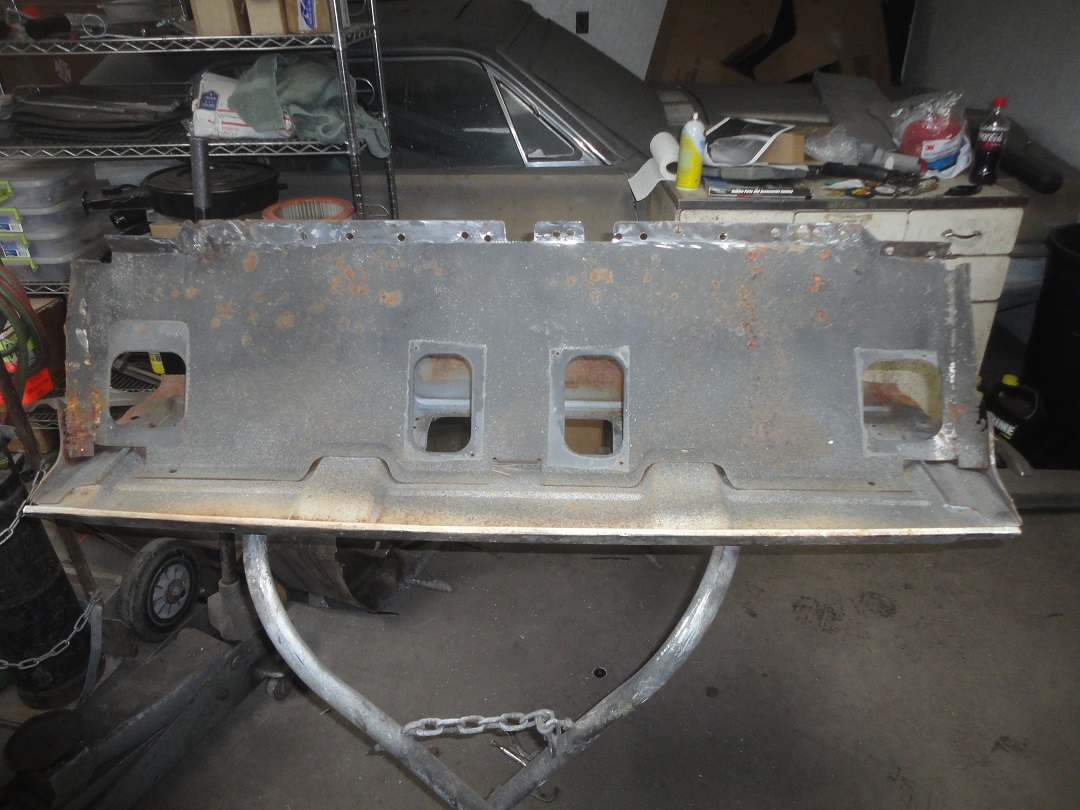
Since the original rear seat brace was cut-up when the car was tubbed, I had to buy a repo one. Here is the original one and the new one. As you can see the rear section is quite different. That is because 1968 & 1969 Camaros/Firebirds use a staggered shock arrangement, while 1967's don't. Also there is a big hump in the middle to clear the differential, which also a 1968 & 1969 Camaros/Firebirds thing. The repos states that it is for 67-69, but that is obviously not the case. So I had to move the original rear brace over to the new one. Luckily it wasn't cut-up when the car was butchered.

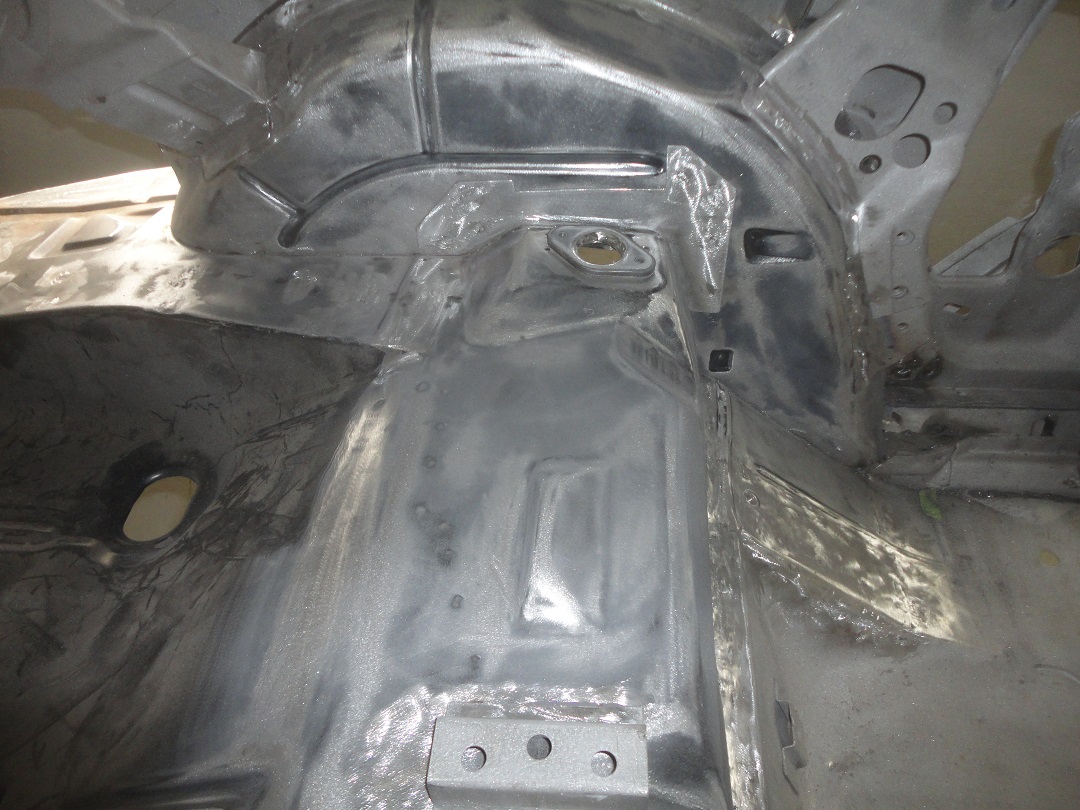
The factory welded metal plates to the inner wheel houses to use as attachment points for the rear seat brace on convertibles. Unfortunately the original ones where cut off the car when it was tubbed. The lower plates did not come with repo seat back brace, so I had to make new ones. I found some pictures of some on the web and was able to make some templates out of cardboard. I made good use of the repo rear section by using it to make the lower plates from it. The rear seat brace did come with the end caps, which fit above the lower plates. The end caps are welded to the seat back brace, but don't fit as nicely to the bottom plate as I have pictured.
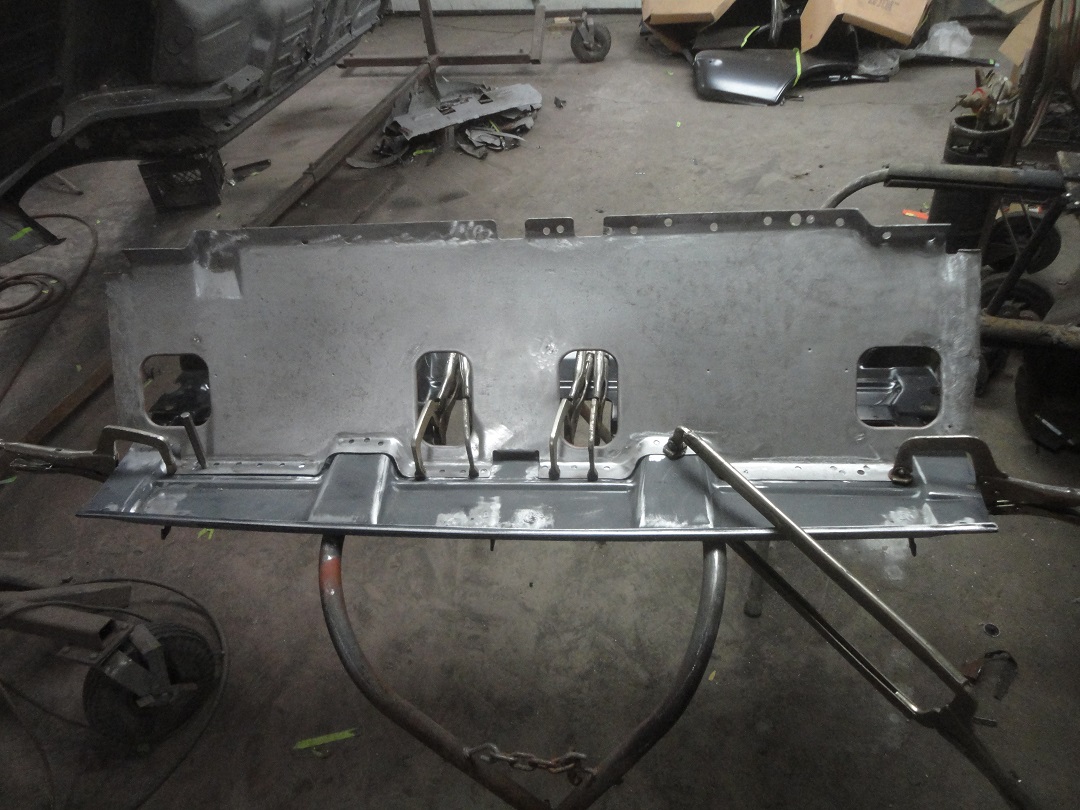
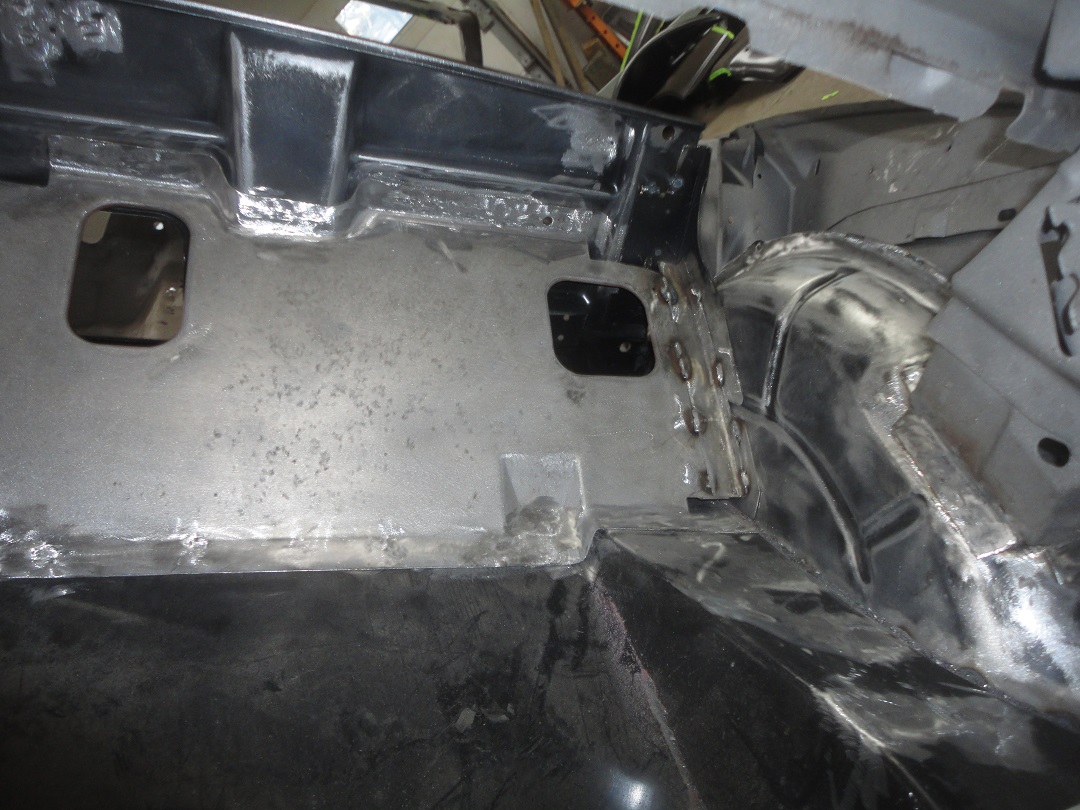
Prior to installing the rear seat back brace the lower plates, shock upper mounts and power top pump mount were welded in place. The upper shock mounts, which were removed from the car when it was tubbed, is available as a repo part. Some are laser cut and some versions are stamped. I spent the extra money to get the correct looking stamped version. Originally they would have been pinchwelded in place. With 3 layers of sheetmetal in the way I had to weld them along the inside perimeter instead.
Installing the rear seat back brace is a little tricky. Before cutting out the old one, I had to take several measurements of how high it was and how far it was from the rear panel. When it came to installing the new one, I positioned it to as close as I could get to the original measurements and then screwed it in place.
Once I reverified that it was still in place after screwing it in, I welded it at the bottom along the front and at the rear.


Then starting in the front, a pair a funny looking L-braces were welded to the lower side plates and the front face of the rear seat brace.
Next came the end caps. Those are welded to the rear seat brace and then plug-welded to the inner wheel house.
Lastly a pair of L-brackets are welded to the rear of the rear seat brace and the lower side plates. I had to make them snce the original ones were chewed up pretty bad with a torch.. The brackets are welded in place with 8 short bead welds. Not really pretty, but that is what they originally looked like from the factory.
With the mig-welder put aside for a while, it was time to dress all of the welds along the top of the frame rails in the trunk and then orbital sand the EDP primer on the repo trunk pan so that the new primer would stick. For filler I like to use Evercoat Chopped Fiberglass filler. It is water proof and is very hard. For a top coat prior to priming I normally use EverCoat Rage Polyester filler to fill light scratches and mild imperfections, but it was not neccessary in the trunk since it will be covered with spatter paint.
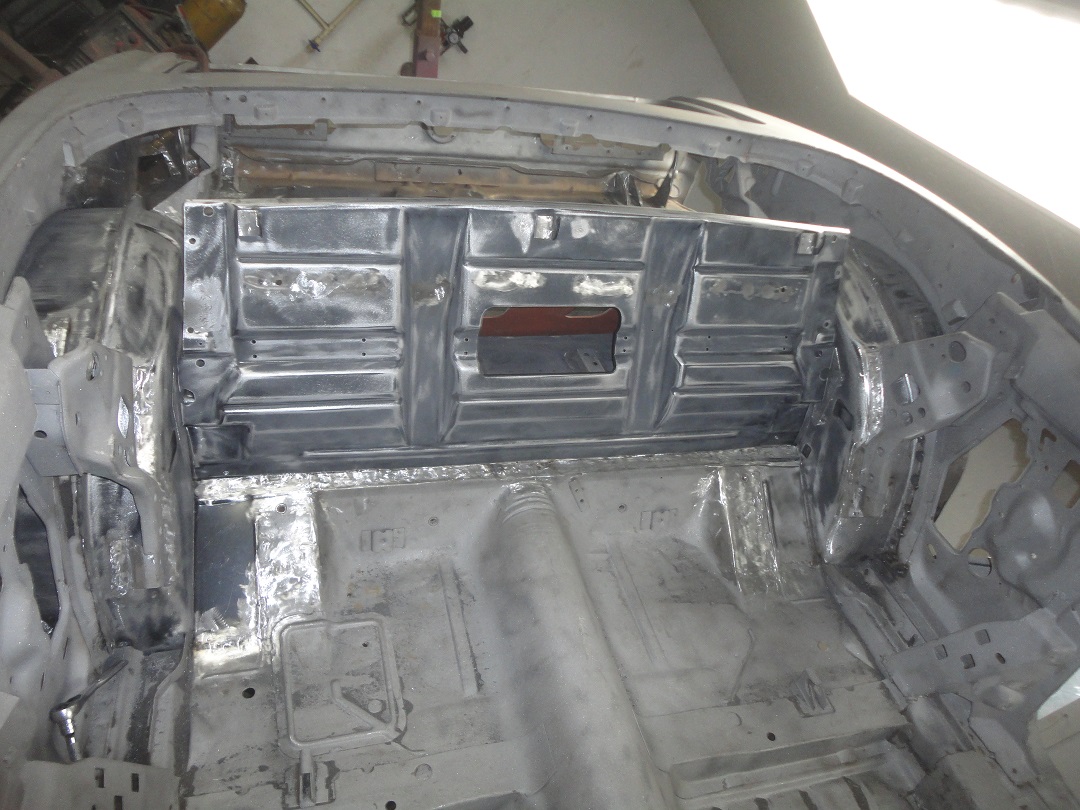
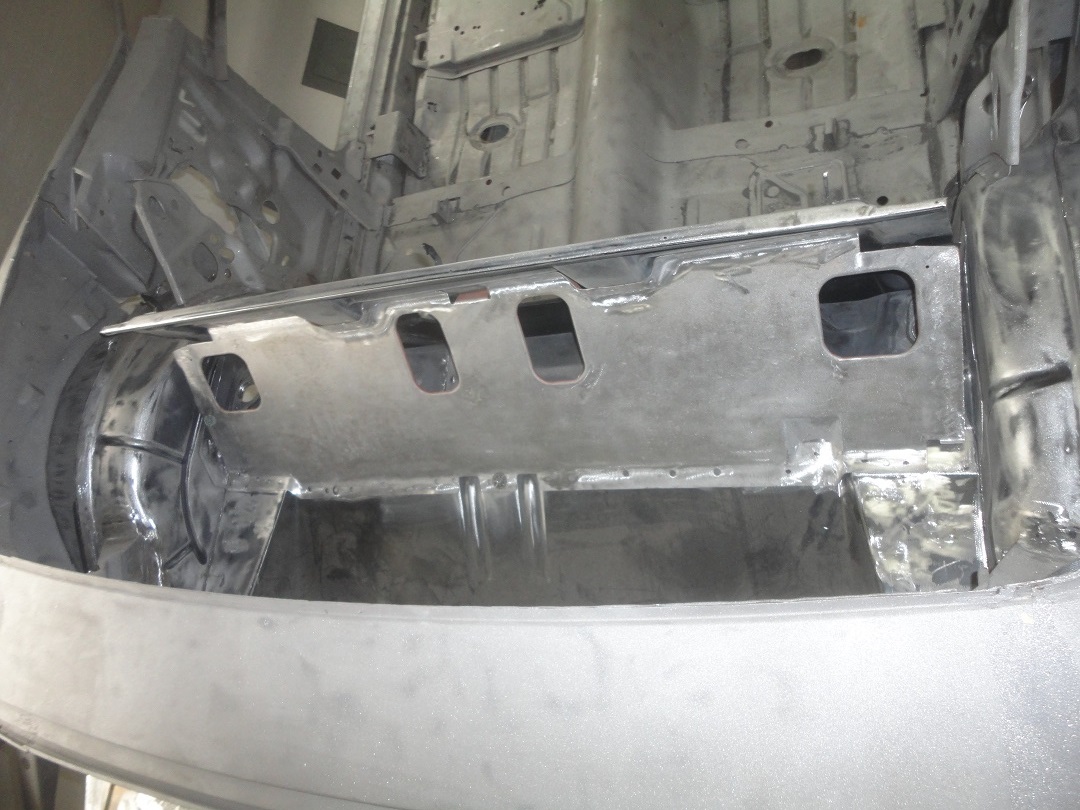
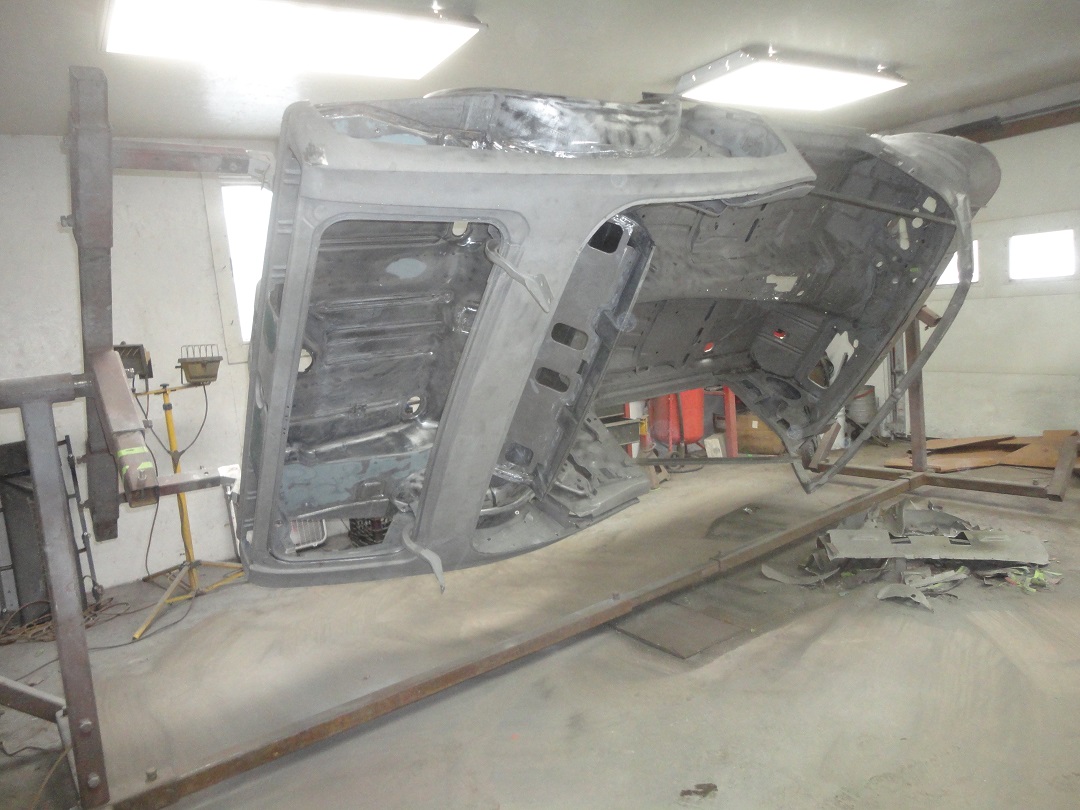
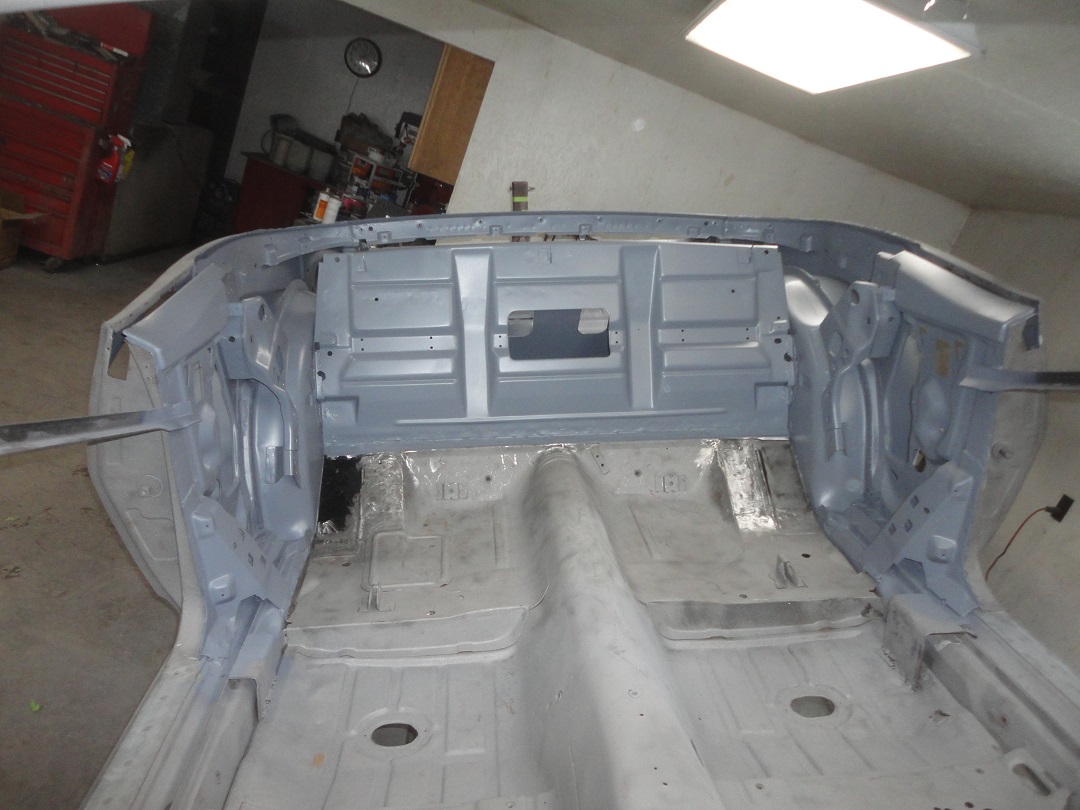
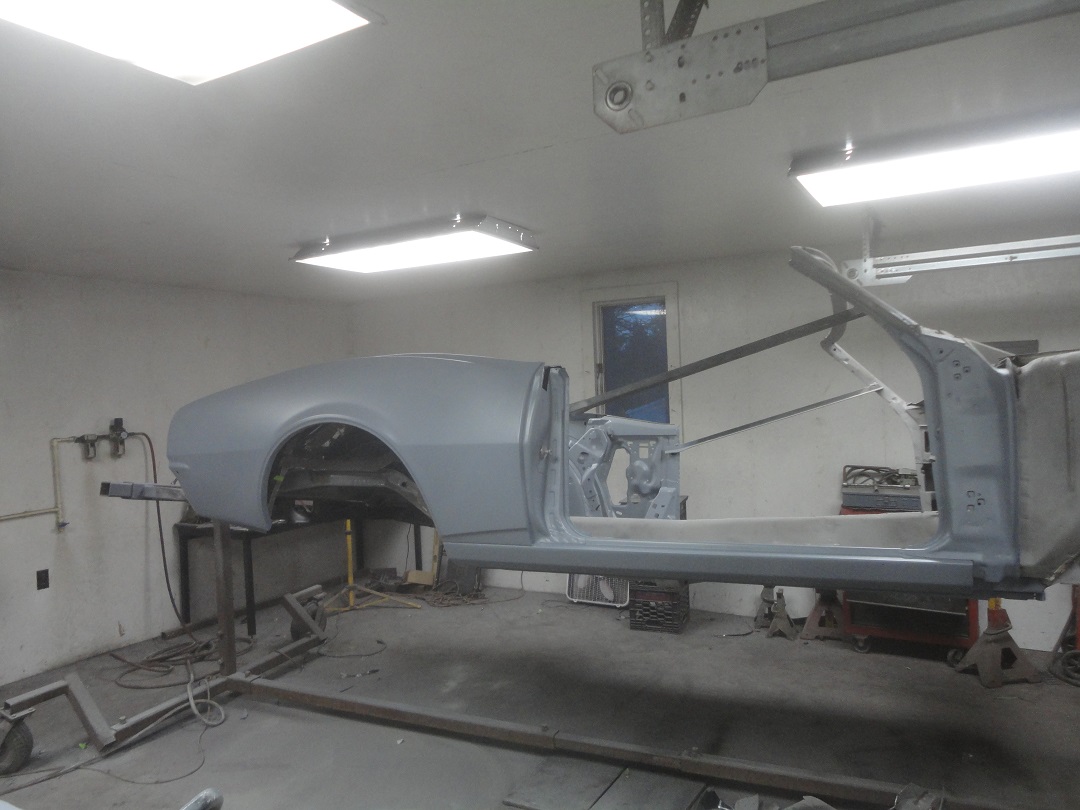
For primer I like to use PPG DP50LF Gray Epoxy primer. It took about a quart to cover what you see in the pictures. It's important to prime the outside of the wheel wells and the trunk drop-offs since the can not be reached after the quarters are welded in.
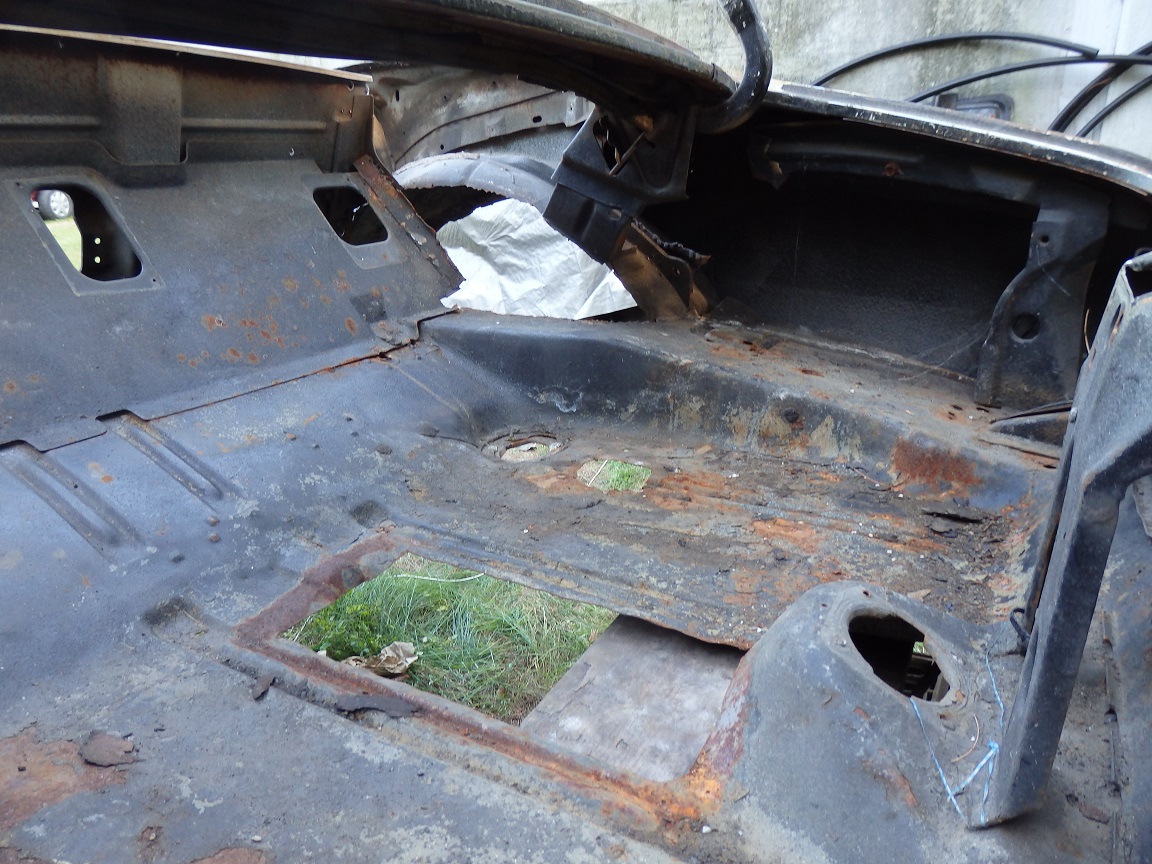
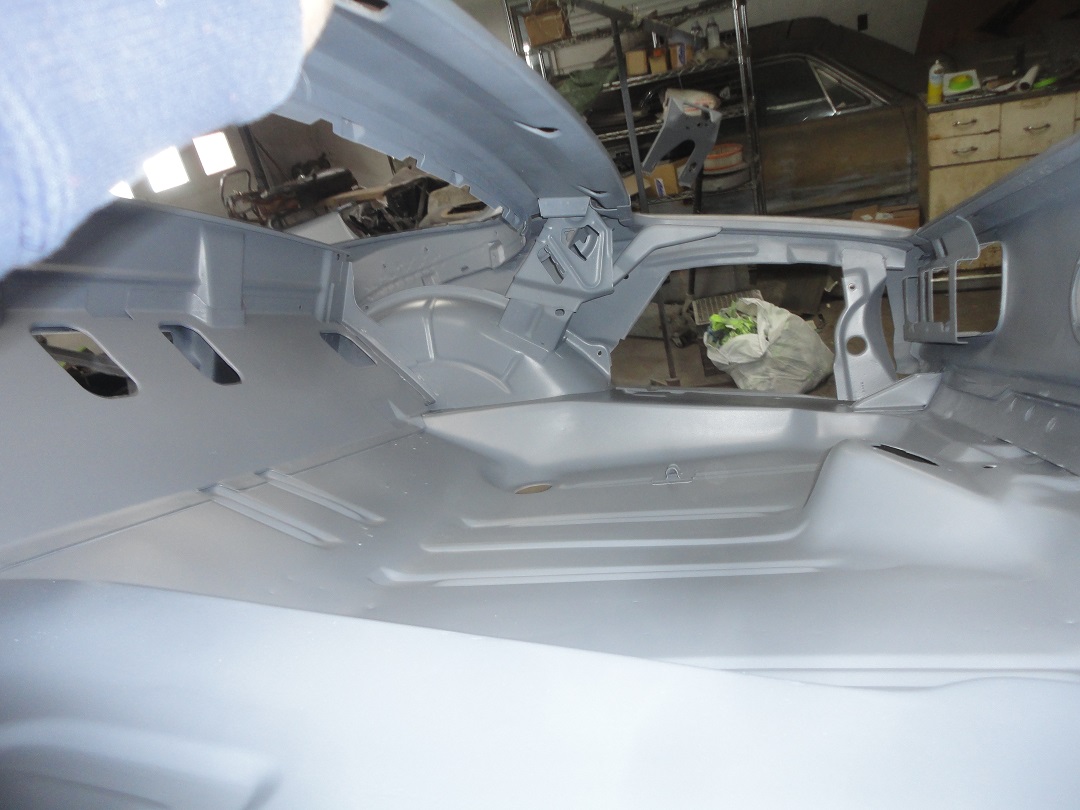
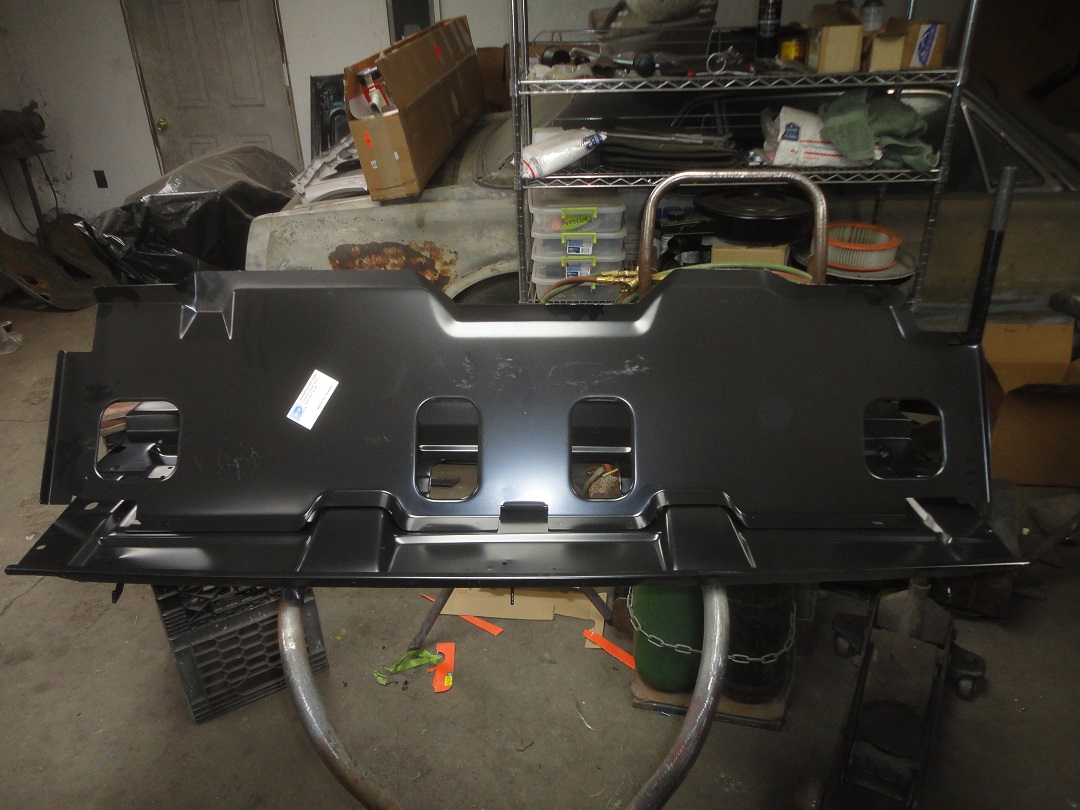
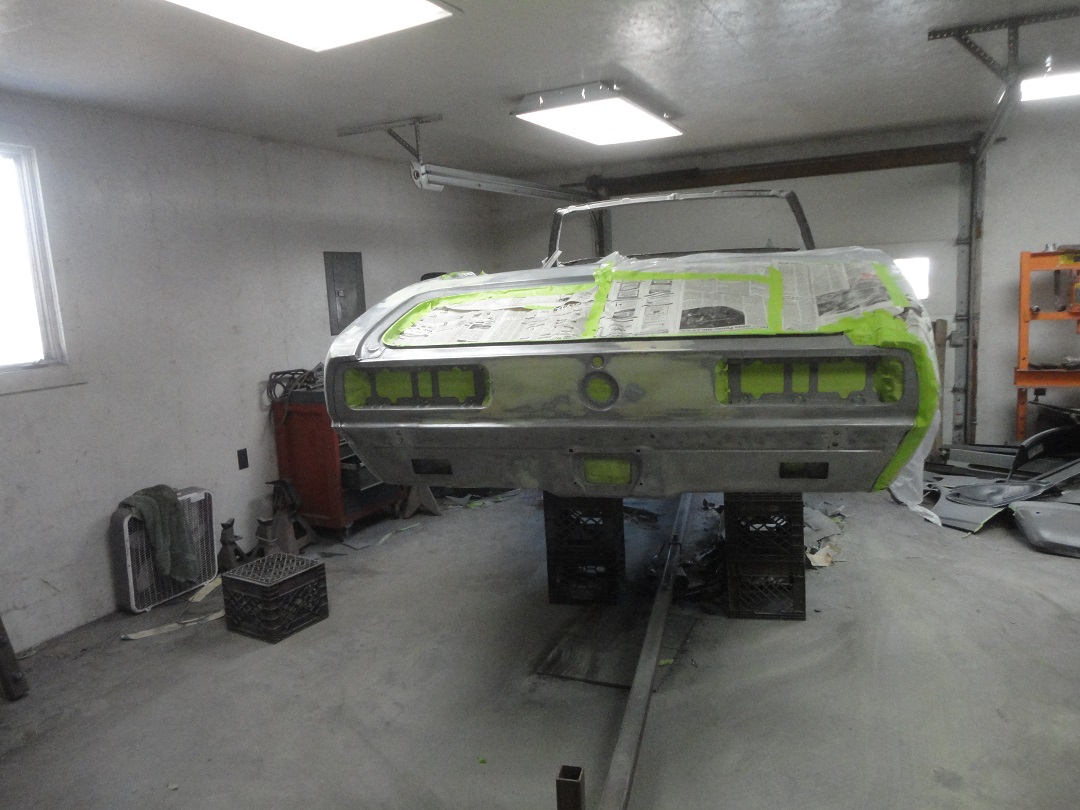
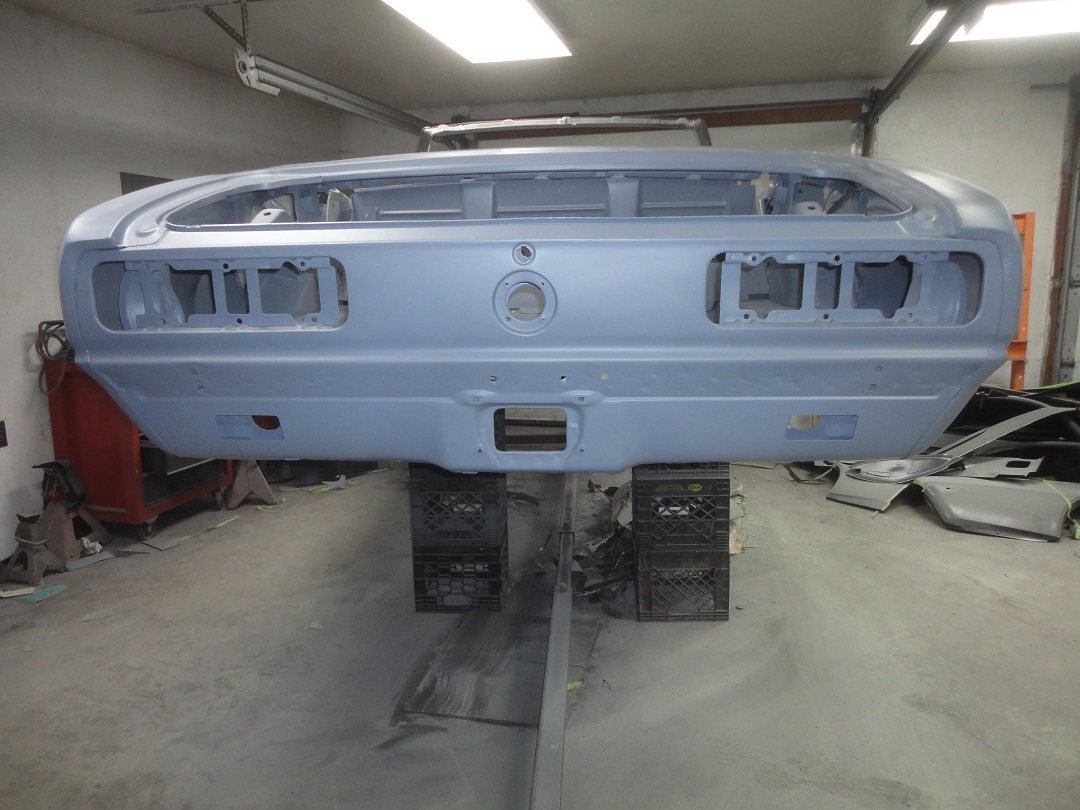
Here are some before and after pictures of the trunk. All of the damage due to tubbing of the car is now repaired. Next comes installing the quarter panels.
Note: I left the trunk latch support off since I wanted good primer coverage on the support and on the inside of the tail panel before installing the support.
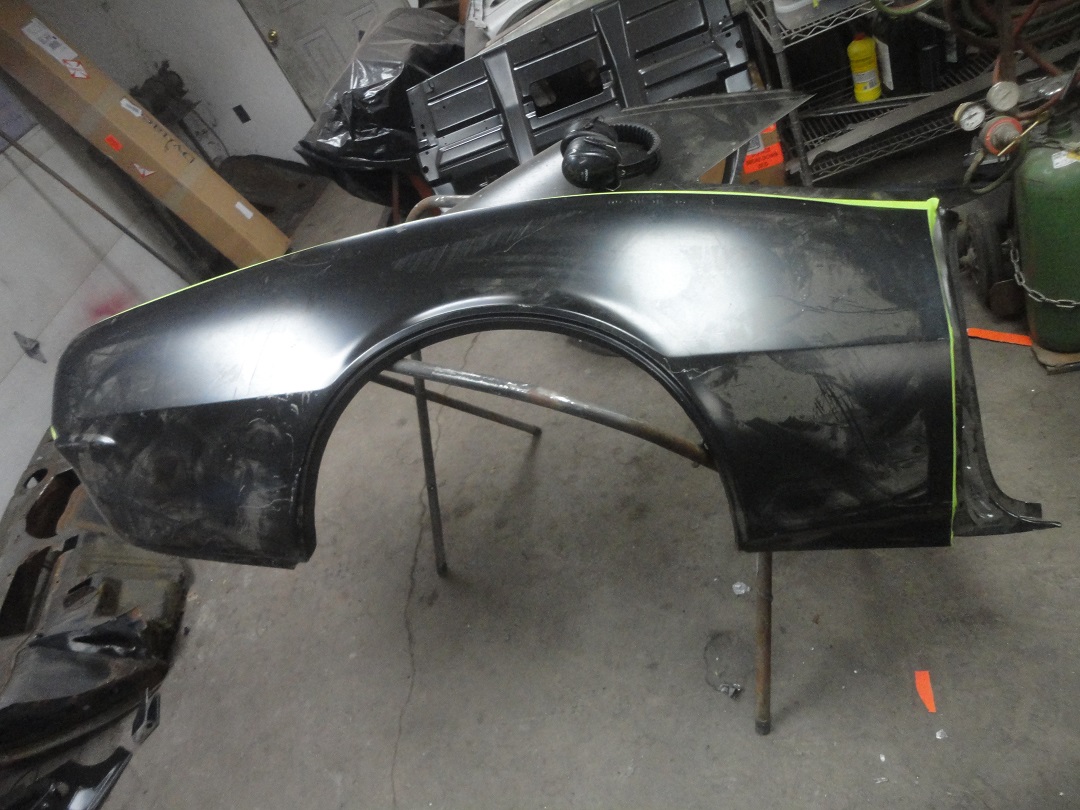

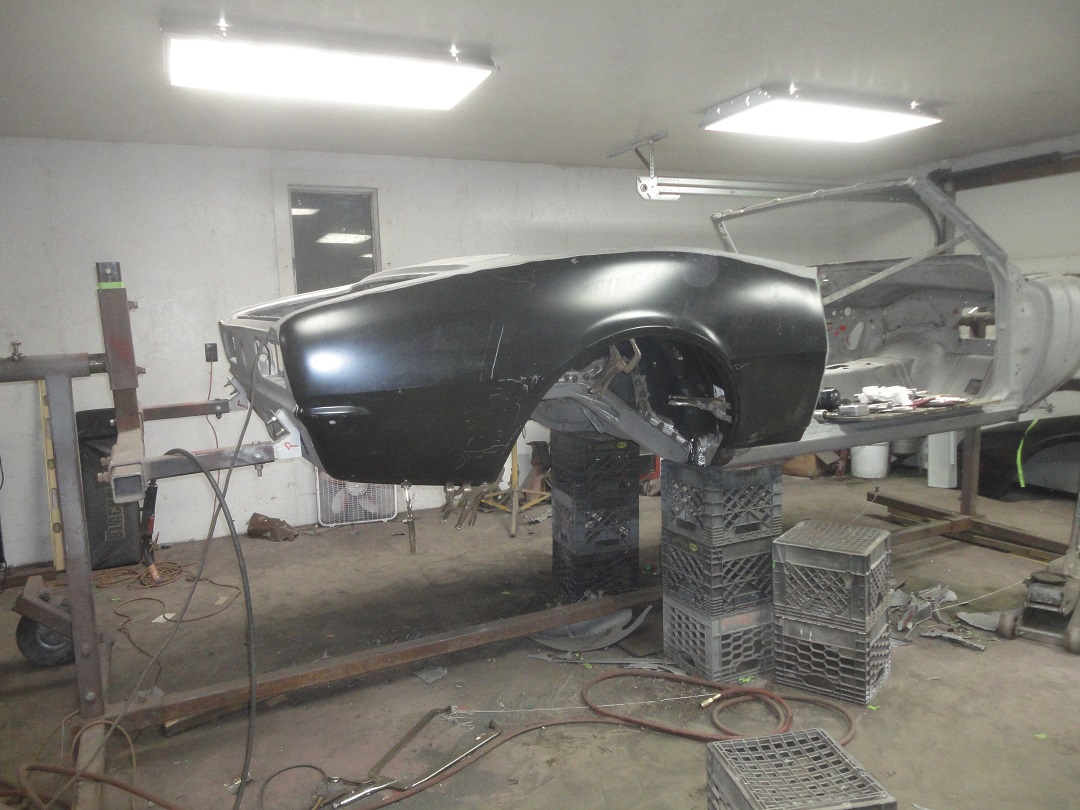

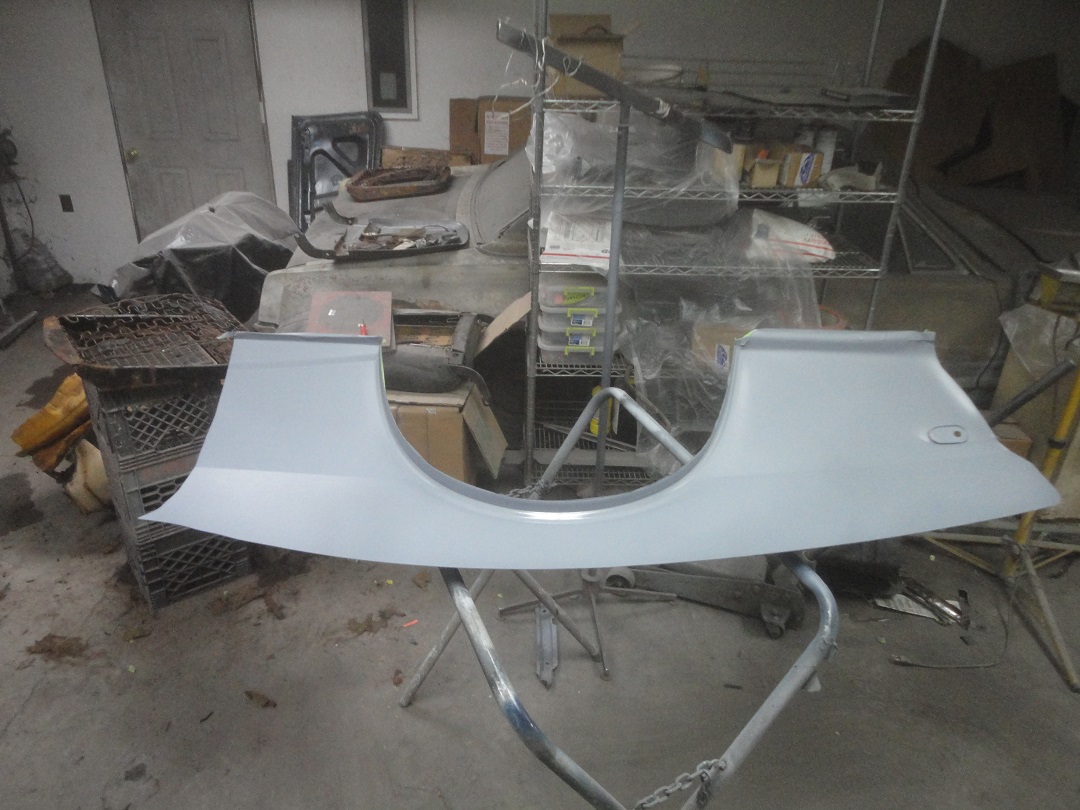
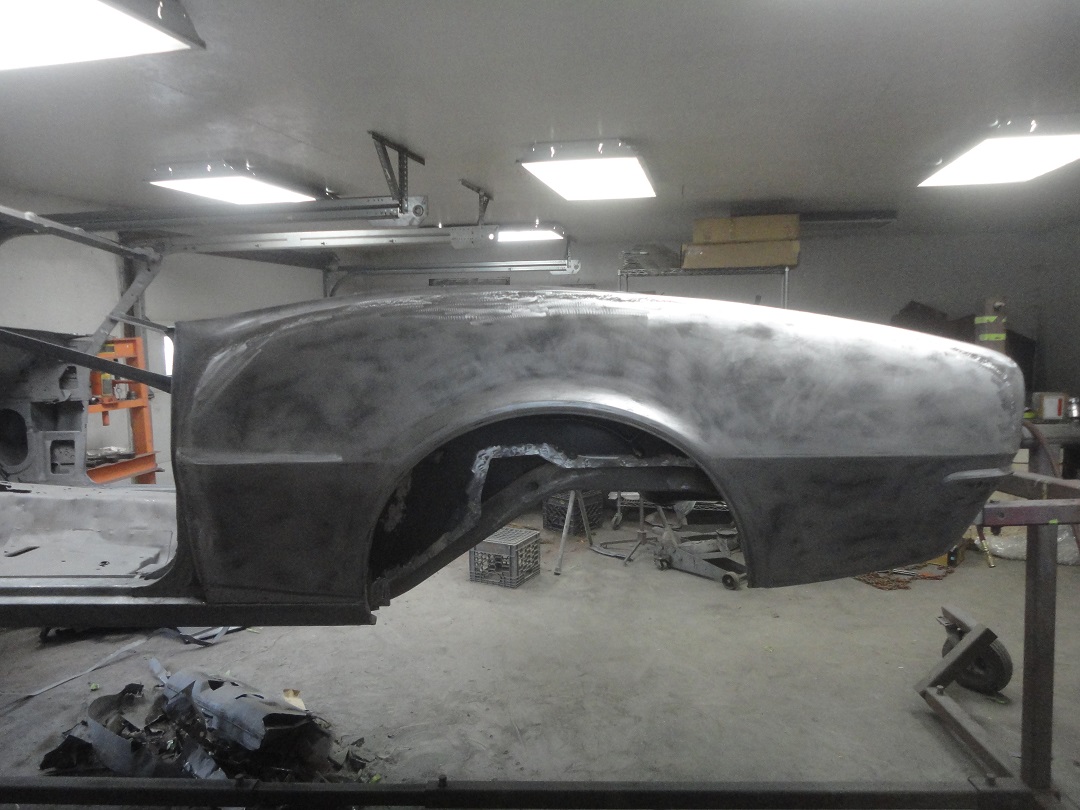
I started with the RH quarter panel. The car came with a pair of quarter skins and a pair of full quarter panels for a coupe. The full quarter panels had the correct detail at the trunk drop-off, but the skins didn't. So I used the full quarters. The first thing I did was mark-off the section of the panel I wanted to keep with tape. I then used my pnuematic reciprocating saw to cut along the tape. I temporarily fit the panel to the car. It aligned very well, except for the section along the bottom of the tail panel. The gap wasn't correct.
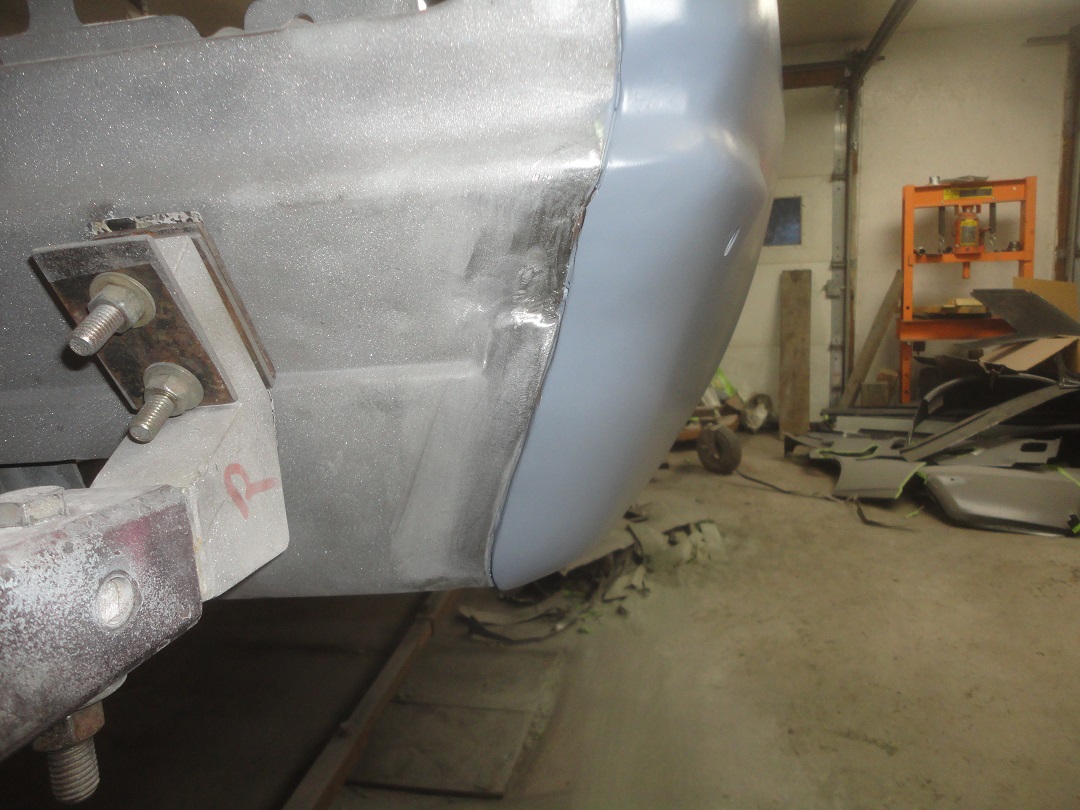
The junction between the quarter panel and the tail panel is not filled with seam sealer. It's just an open gap. To make the gap look factory correct, I had to build up some weld on the quarter panel and grind it down to get the gap and shape right. Once satisfied, I primed the backside of the quarter with epoxy primer.
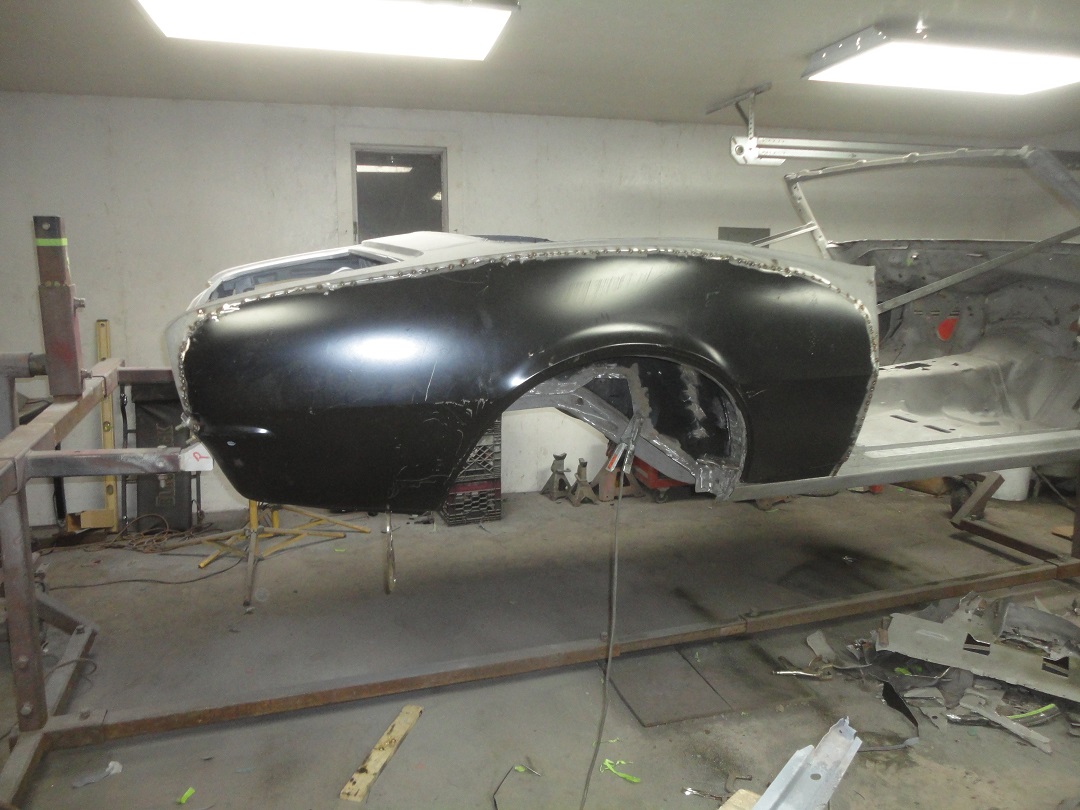
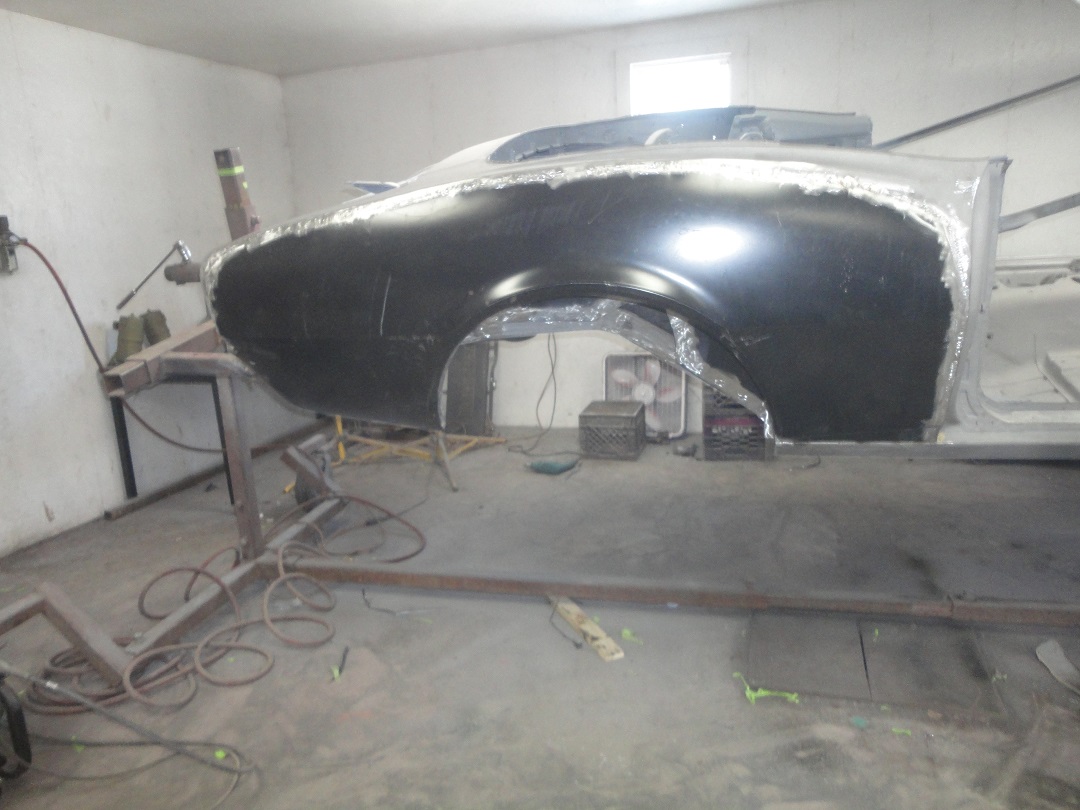
The next adventure was to buttweld the quarter panel in place. If you master this technique you can fix just about anything. I would like to give Muscle Car Restorations full credit for illustraiting how this is done. I learned the technique from examining photos on their website about 17 years ago. I have gone into full detail on how to do this on my 1969 LE600 Mustang pages, so I won't go into much detail here.
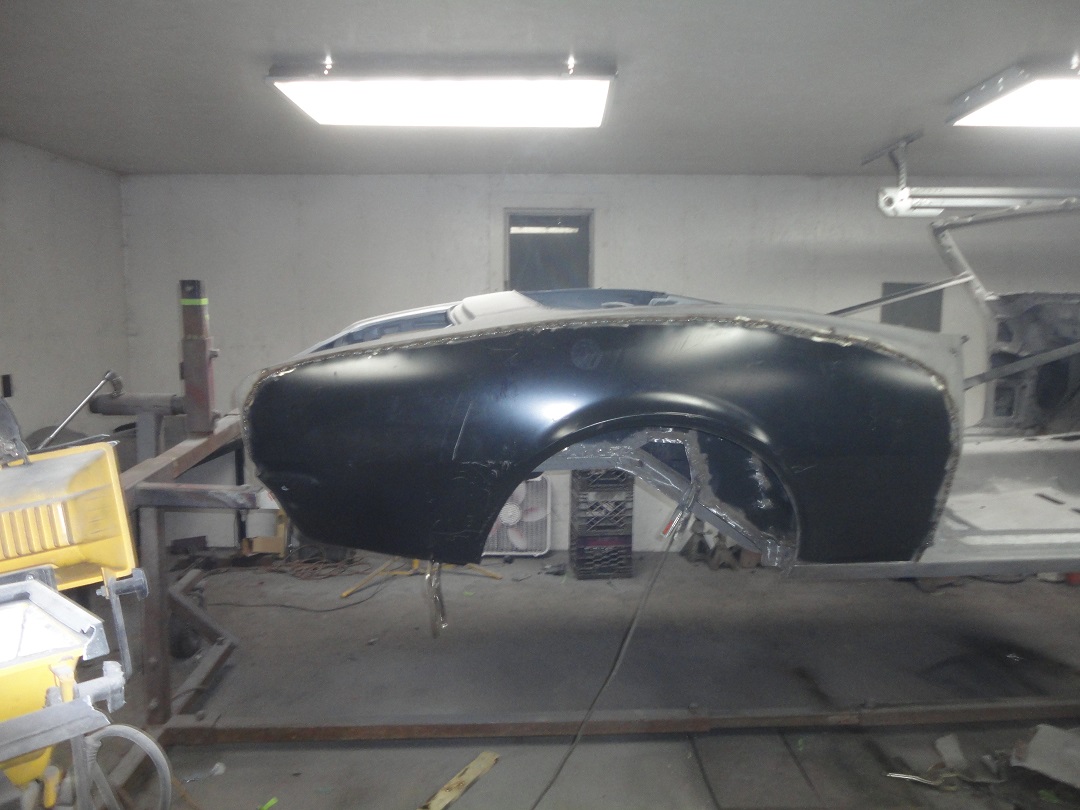
The basic idea is, is that you clamp the new panel over the old one. Using disk cutter with a thin disk and a pnuemnatic reciprocating saw, you cut through both panels simultaneously. As you go, you peel back the scrap material that is being cut away, and you align the new section with the old and you place a tack weld between the two pieces as you go. You then repeat this process tack welding about an inch or so a part as you go around the panel. You must also blow air on the tack welds so that the heat doesn't build up and warp the panels. The first picture aboves shows this process after it was completed.
The next thing you do is fill the gaps with tack welds. Not bead welds, since it will generate too much heat. You tack weld around the panel splitting the gap in between the previous tack welds as you go until there are no gaps left. What I do to ensure it is done properly, is to put a bright light behind the panel and turn off the shop lights. The gaps will let themselves be known.
With that done, you grind the welds down just proud of the panel surface. Usually I use my disk cutter with a fat disk and 3 inch 24-grit quick change disks on my quick disk right angle sander. I then recheck my welds with a bright light behind the panel. Once satisfied I grind the welds on the back side of the panel as well.
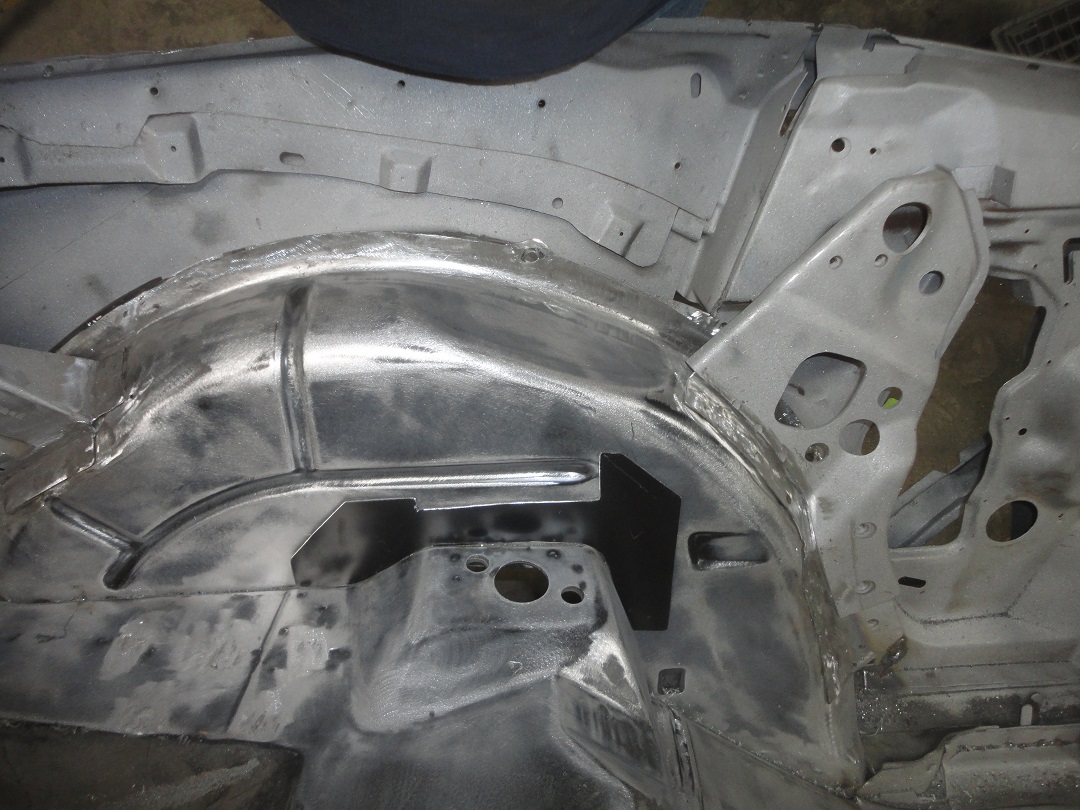
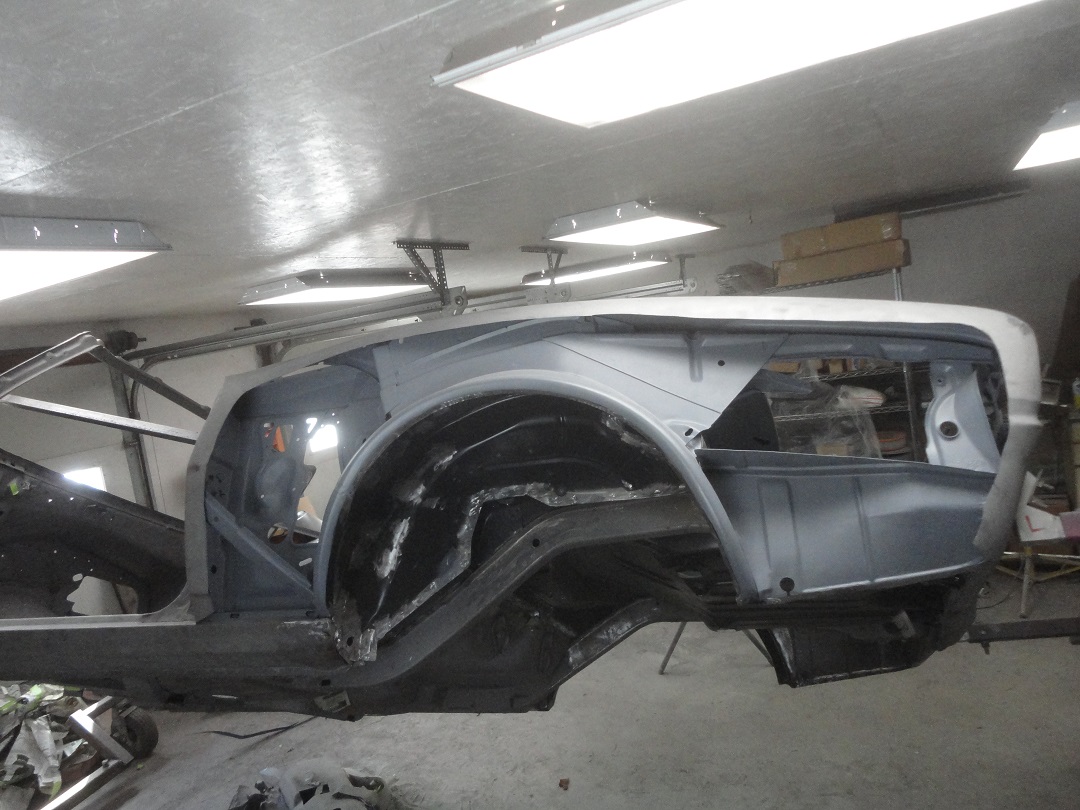
Finally the quarter is then plug-welded to the outer wheel house, trunk drop off and to the rocker from the inside of the quarter window area.
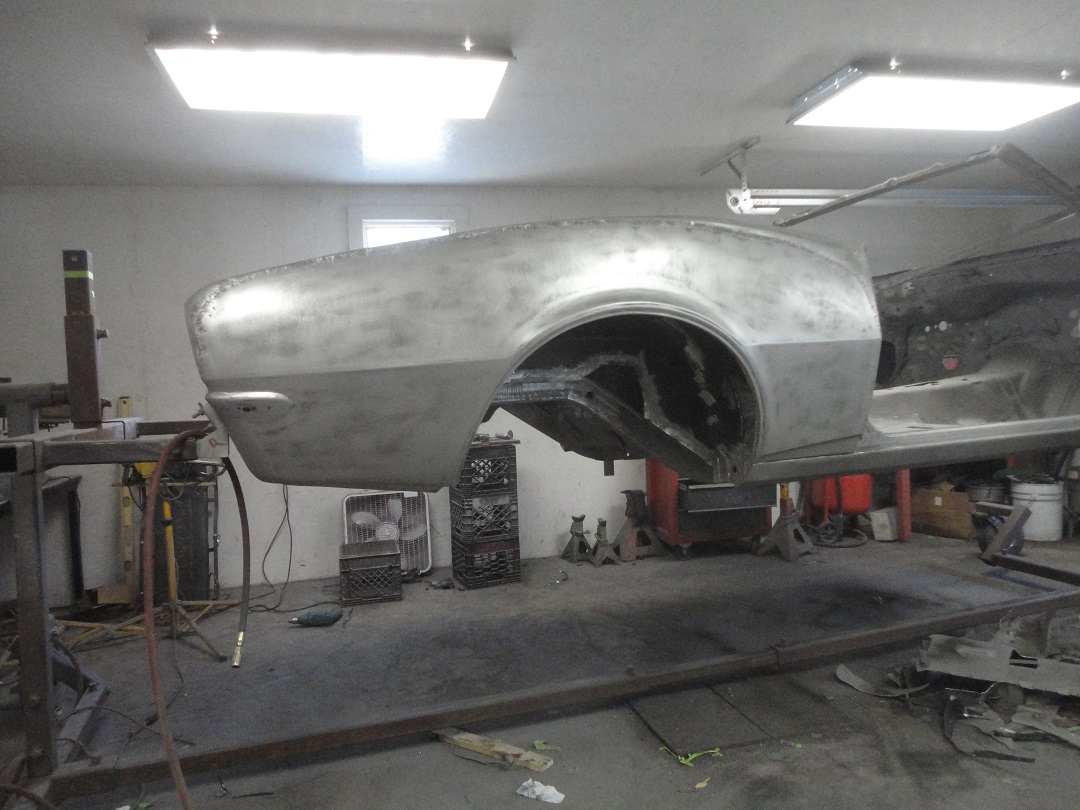
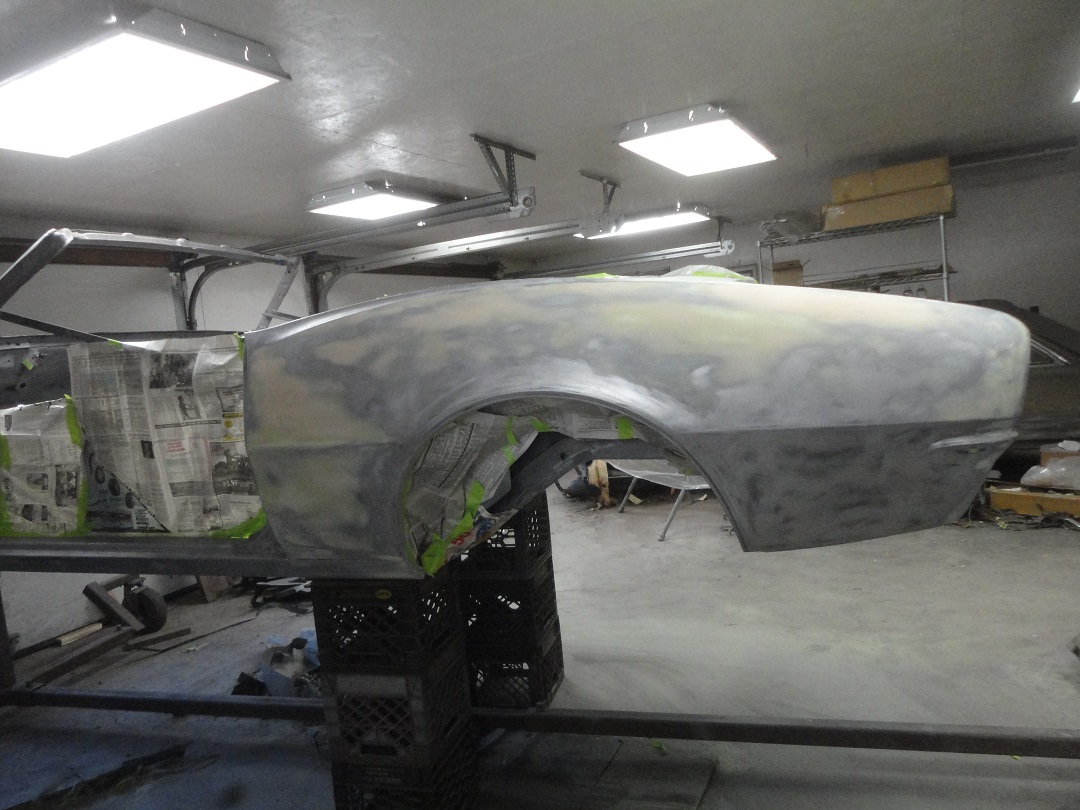
Using 80-grit paper on my oribital sander, I like to remove the factory EDP coating from the panel before starting filler work. This cleans up the inevitable scratches from handling and it gives the filler a rougher surface to grip into.
For filler I always start with Evercoat Chopped Fiberglass Filler. It is waterproof and is very strong. For sanding I use 40-grit paper on my hand board and on curved rigid foam blocks. Once I am satisfied I sand it down with 80-grit paper using the same boards. I then apply a top coat of Evercoat Rage Gold polyester filler sanded down with 180-grit prior to priming. With that done, I like to detail my welds along the wheel house, but only with Evercoat Chopped Fiberglass Filler for better protection against water.
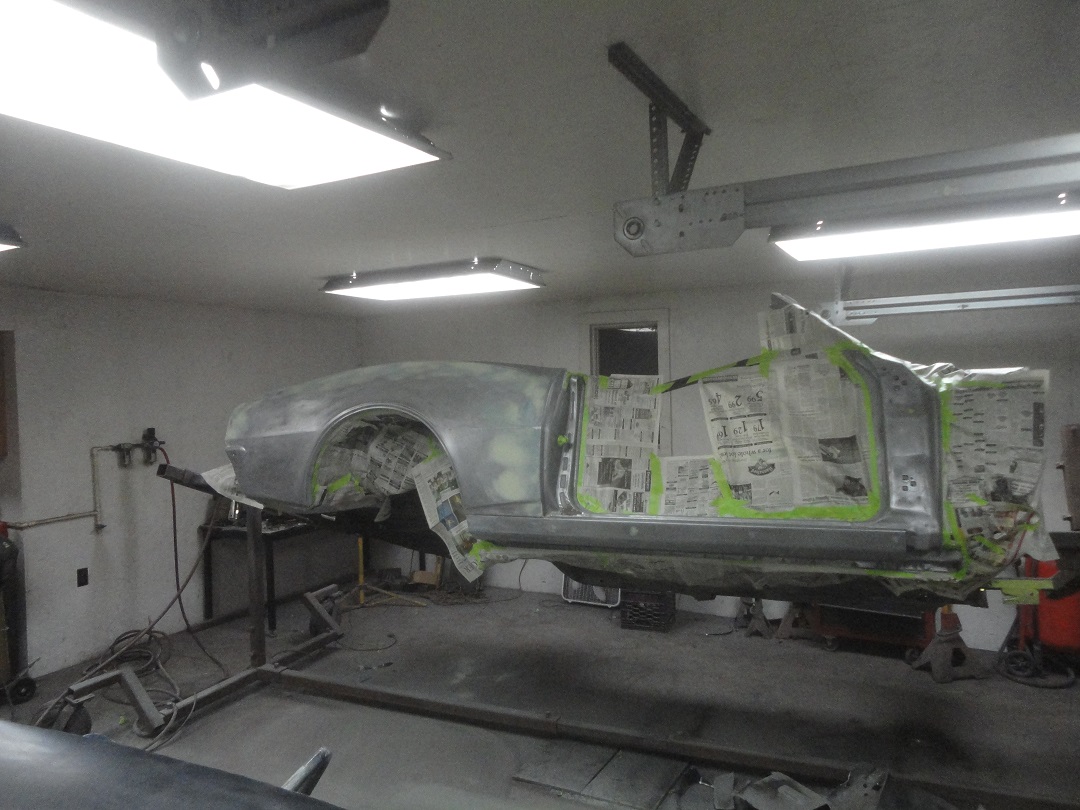
It should be noted that I plan coating the whole car with highbuild primer (slicksand) and will block it assembled once the rest of the panel repairs are done.
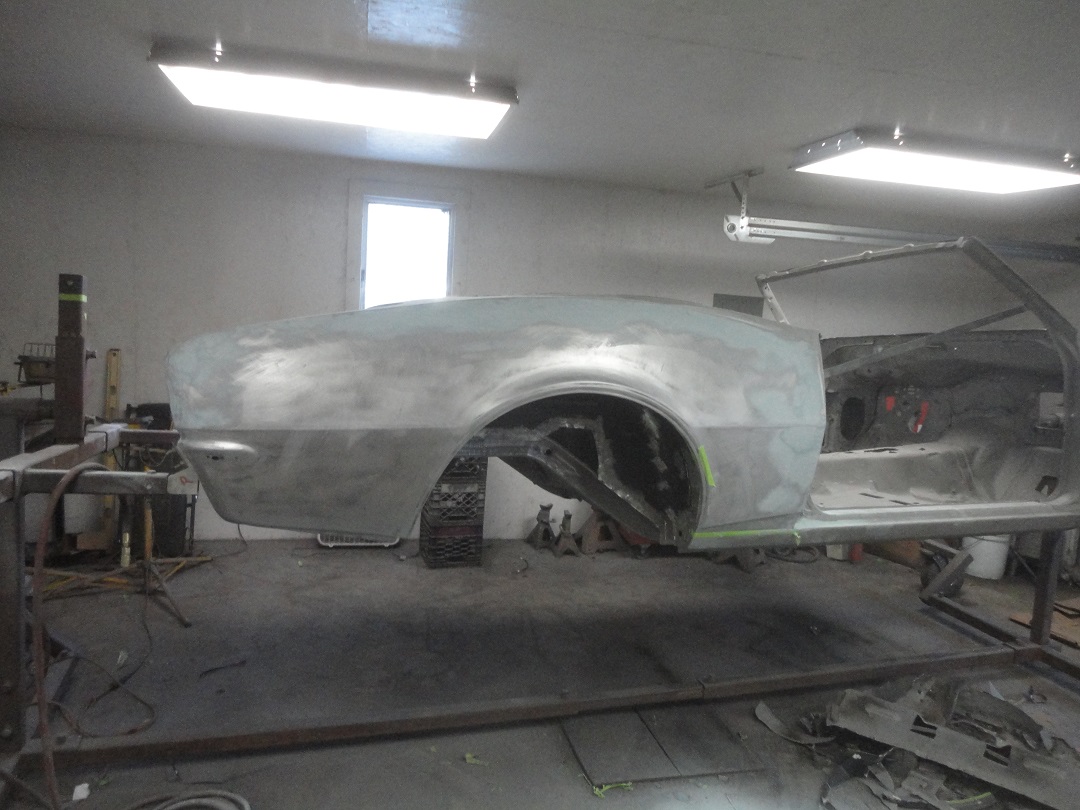
For priming I always use DP50LF or DP40LF epoxy primer. Locally it has become very expensive, $85/qt for the primer and $82/qt for the catalyst. So now I've been buying it online for $220/gal with 2 quarts of catalyst.


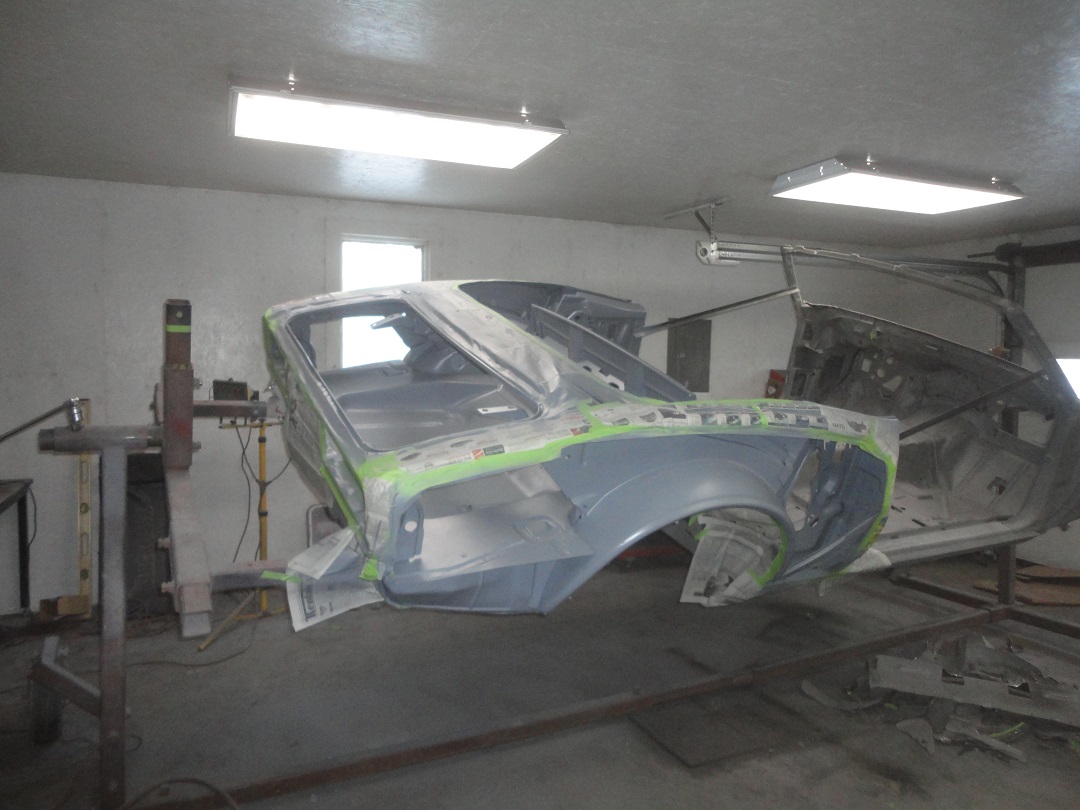
Next up, the left quarter panel. The process is exactly the same as the right side. I did have trouble getting the left quarter panel to fit, since the bottom edge where it meets the rocker was bent in the wrong location. I had to move the bend about a 1/4" at the front. I bought some NOS rocker trim moldings, which helped me confirm the location of the body lines.
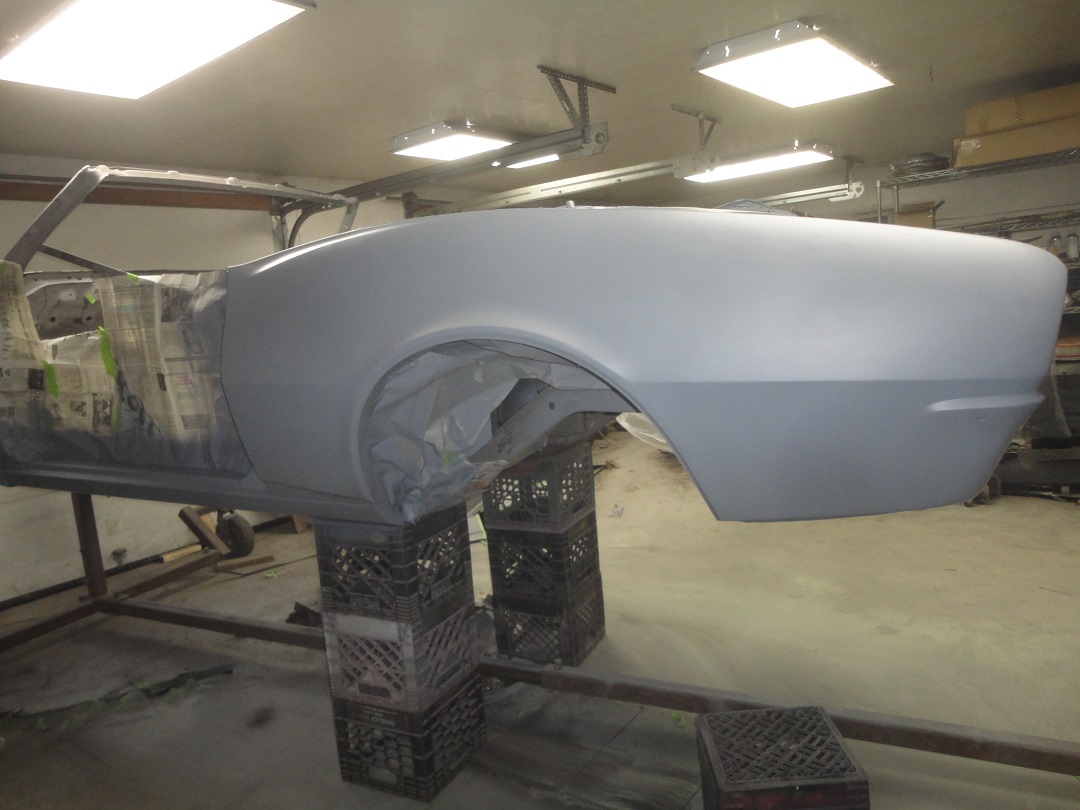
The process to put the left hand quarter panel in primer was exactly the same as the right side. Grind the welds, strip the EDP coating, 2 sanded coats of Evercoat Chopper Fiberglass filler, 1 top coat of Evercoat Rage Polyester filler sanded with 180 grit and primed with DP50LF epoxy primer.
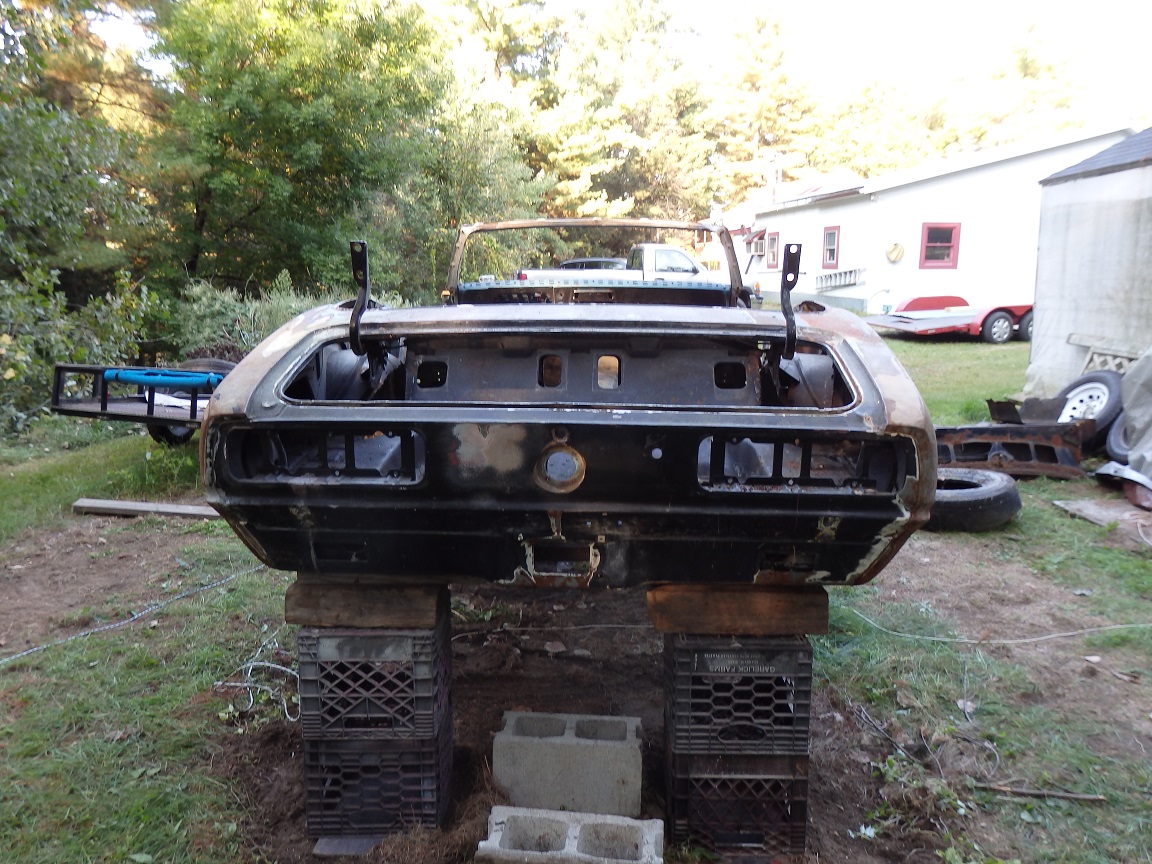
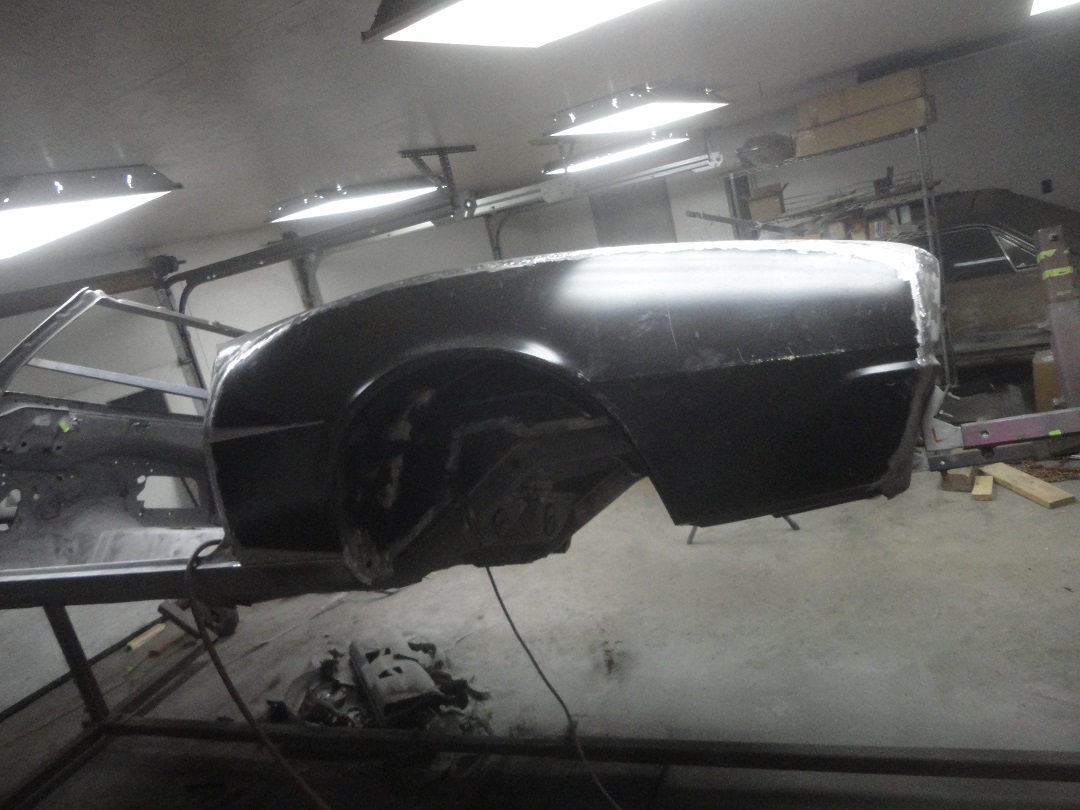
I was able to completely save the original RS tail panel. There was no rust damage at all. There was a 1" hole that was drilled in it for some reason, which I had to fix. There was a jamb in the back that was filled with a pretty thick layer of bondo that just needed to be tapped out correctly and then filled with a much thinner layer.
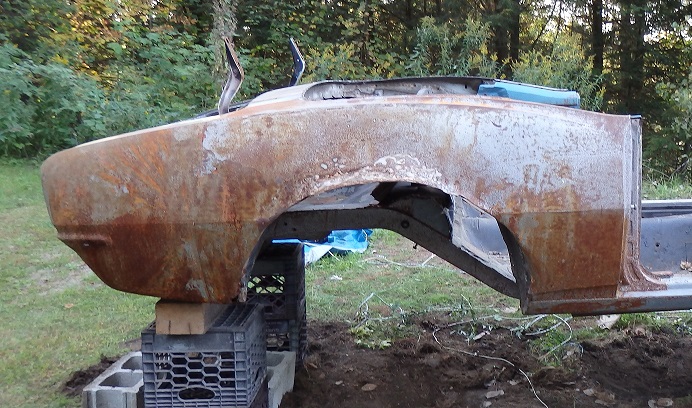
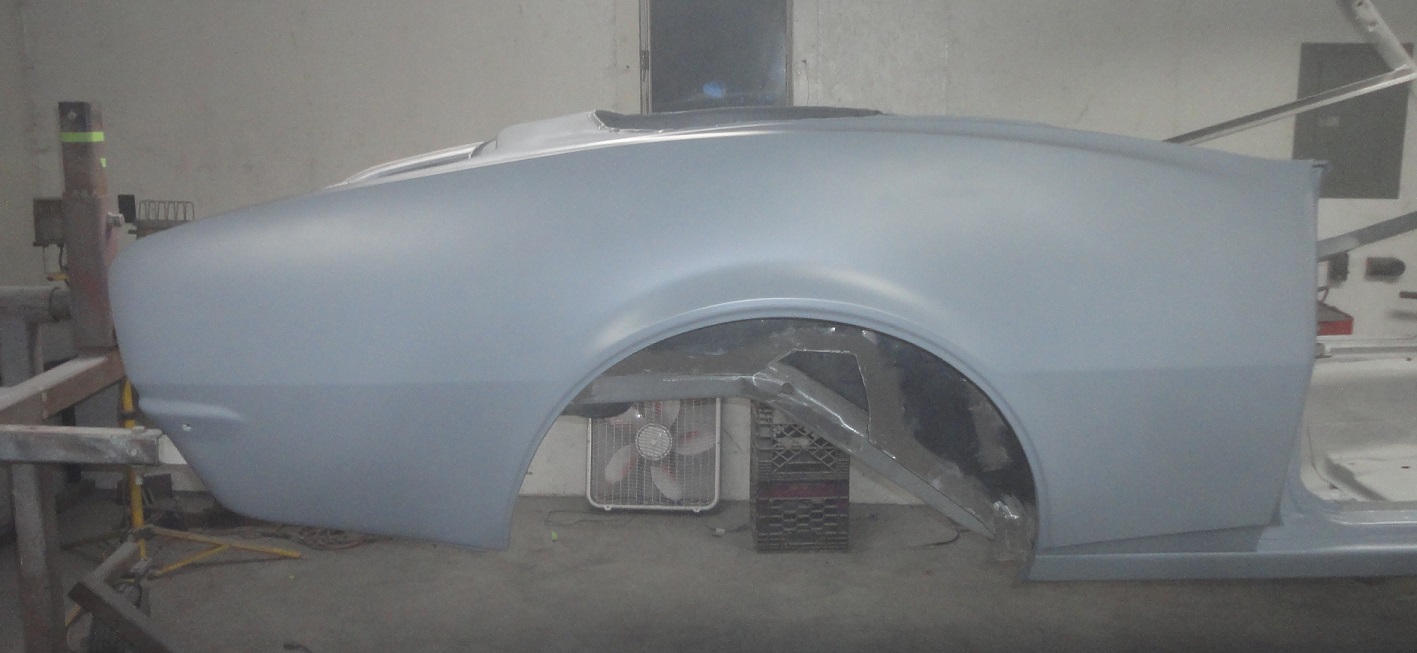
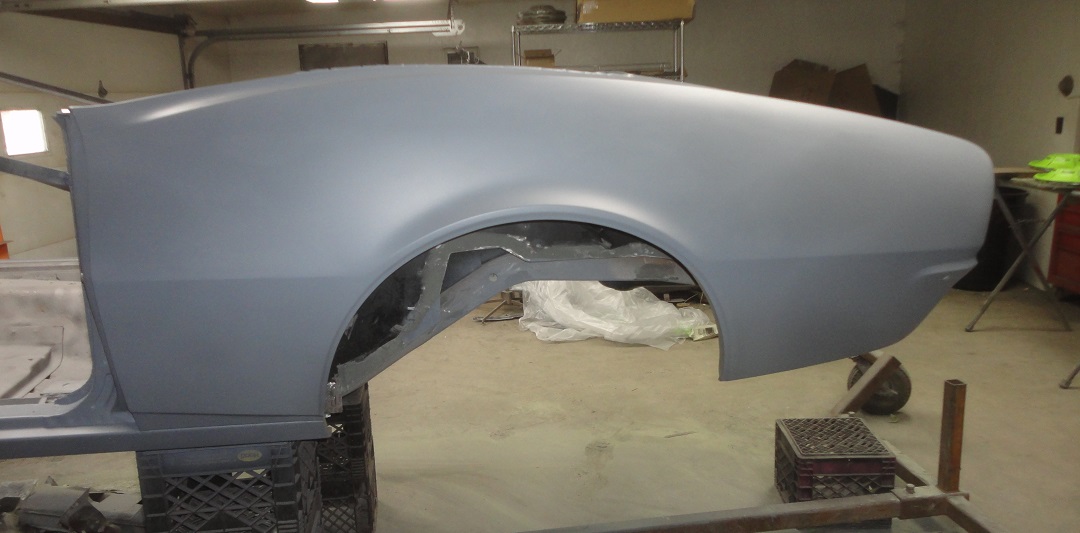
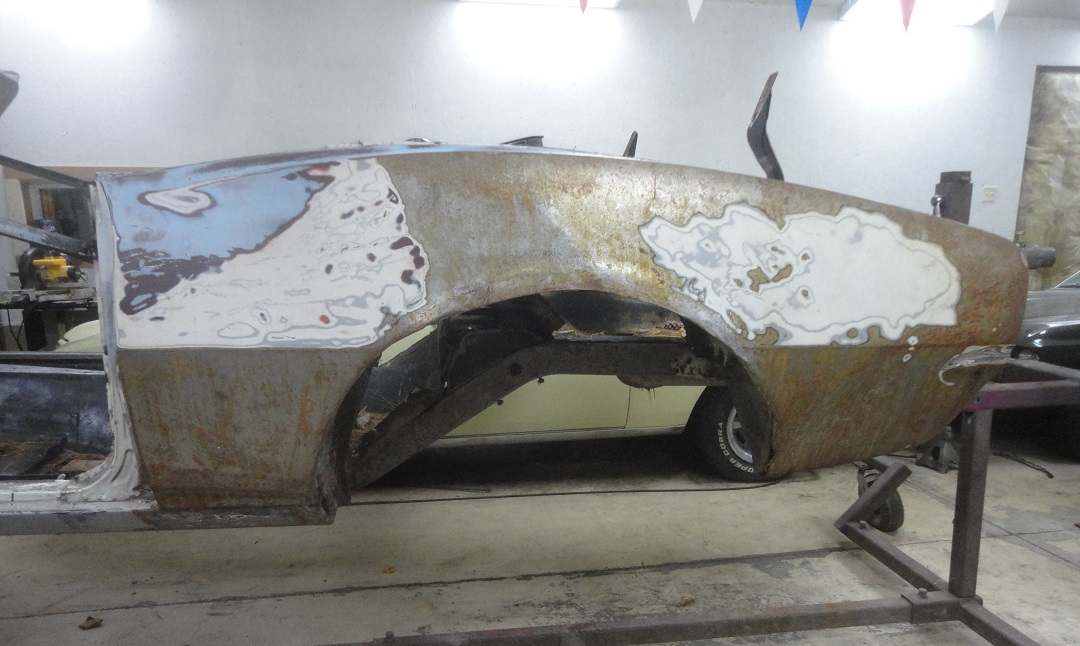
Here are some before and after shots of the quarter panels. It took me approximately 136.5 hours of labor to get from the sandblasted shell to this point.