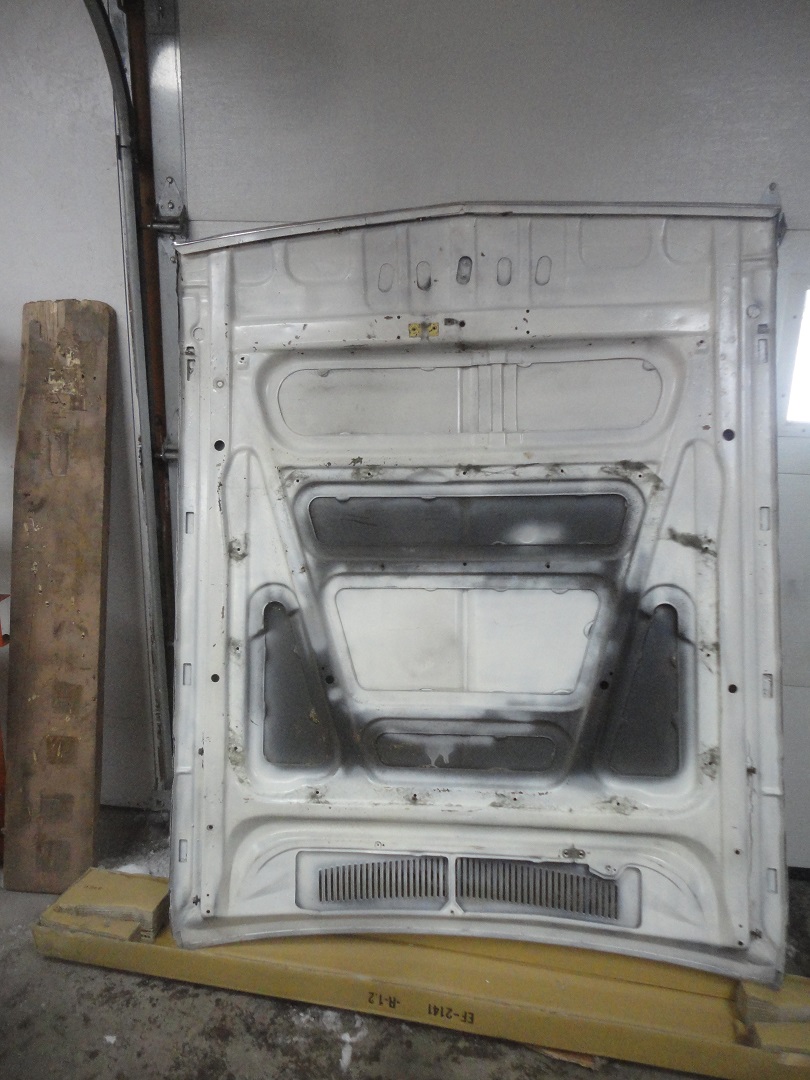
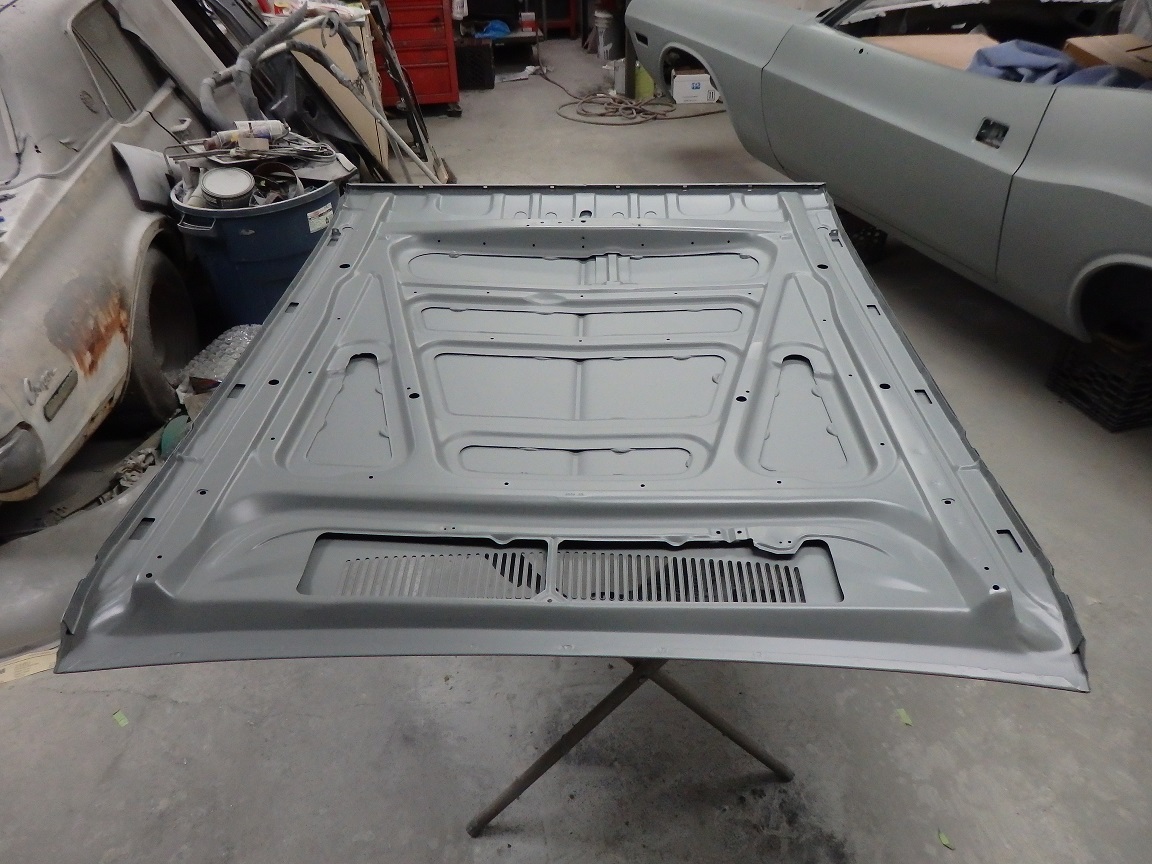
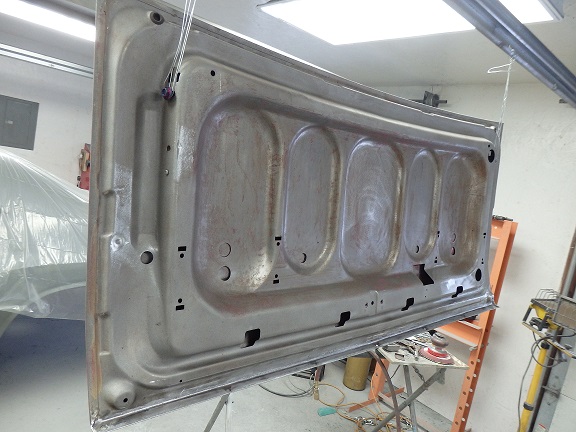
 187) Here's the hood a got off from E-bay. It is a correct early 1970 Hood without crumple zones. I paid $228 for the hood and $162 to have it shipped from Florida to Vermont. The body shop that I got it from converted a 1970 to a performance hood. So they shipped me the old hood in the packaging the performance hood came in. I had it shipped FedEX Freight. I was suprised to find an original set of early 1970 hood hinges in the box when I got it. My original ones where bent. Early hoods not only had no crumple zones, but also used 5/16" bolts to mount them to the hinges.
|
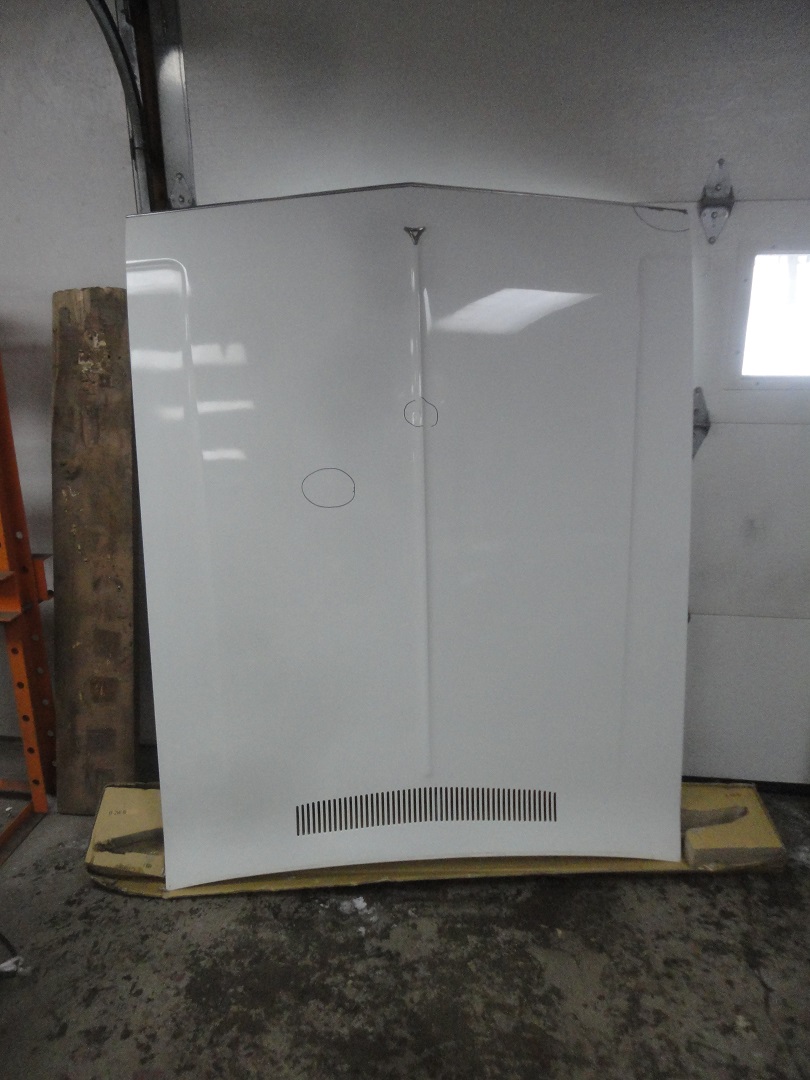 188) One negative was that the hood hinges were loose in the box, which resulted in a couple small dings in the hood which I had to fix. Considering what I paid for the hood, I was not too upset.
|
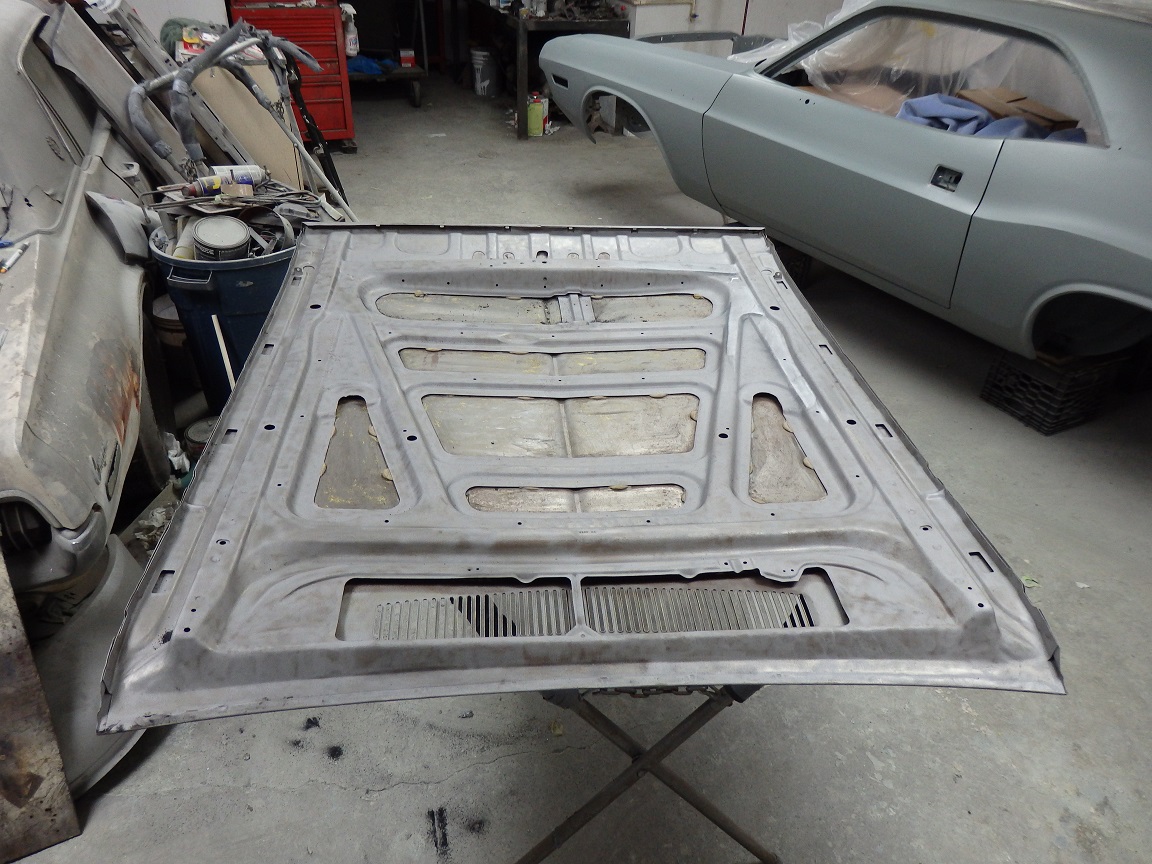 189) On the underside of the hood I masked and sandblasted the inner frame. But for the underside of the outer skin I had to chemically strip to prevent warping due to the sandblaster. I use Aircraft Paint Stripper as my prefered stripper.
|
 190) I then sanded the underside and fixed and dressed the underside of a repair. I had to feather ir out a lot to hide the small buldge.
|
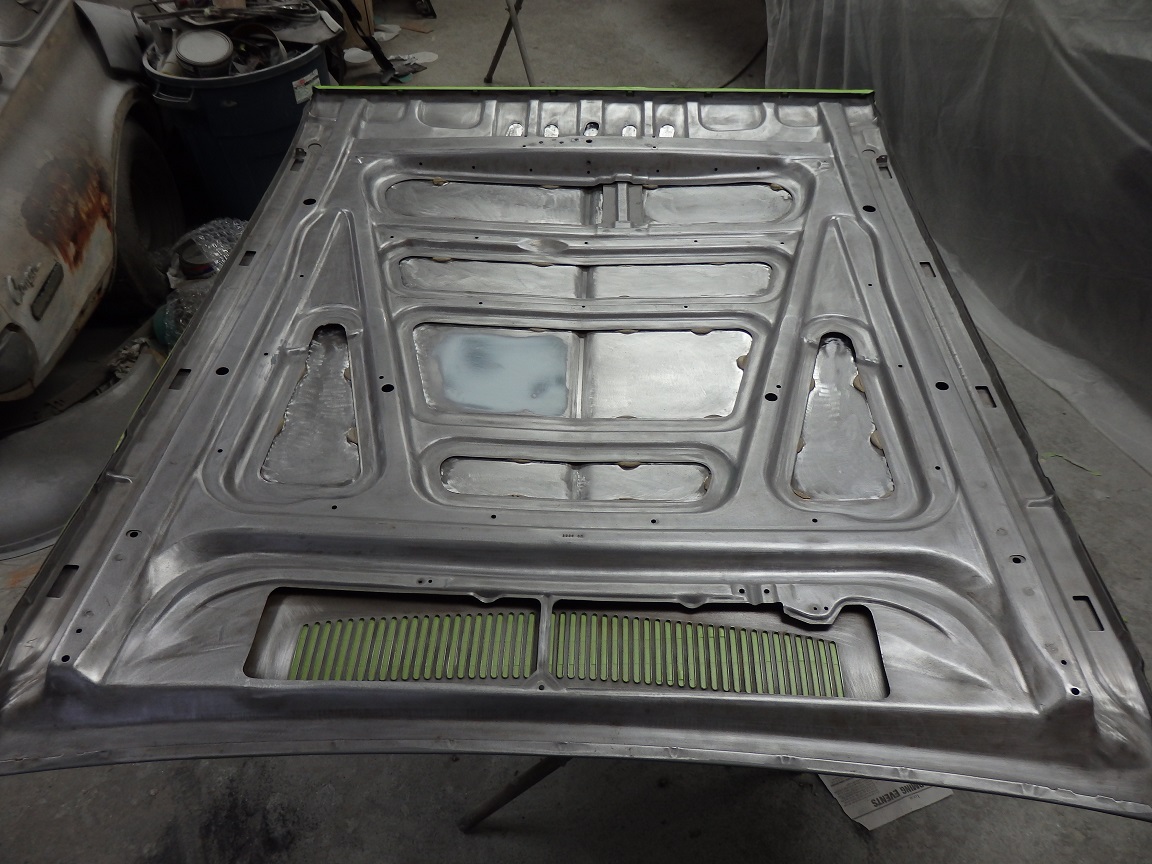
 191) After a lot of vacuuming and blowing out the crevices, I gave it 3 coats of DP40LF Epoxy primer.
|
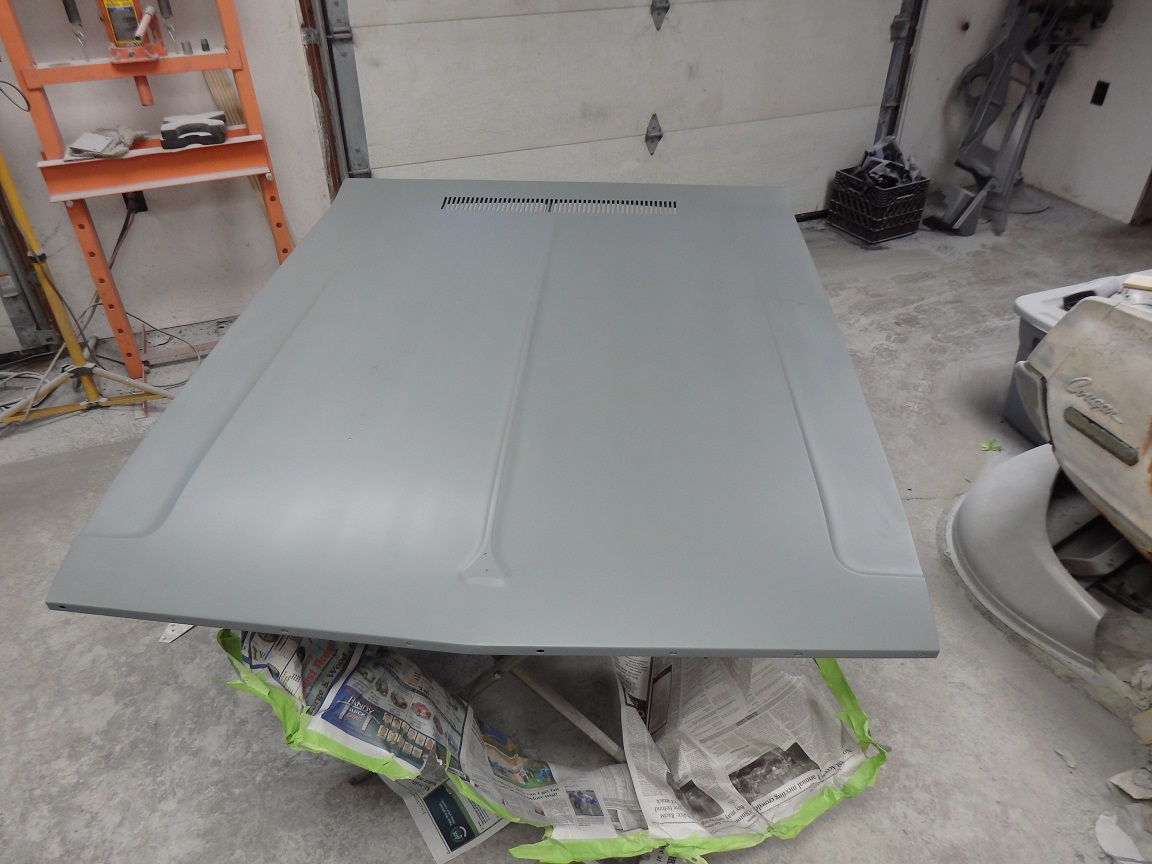
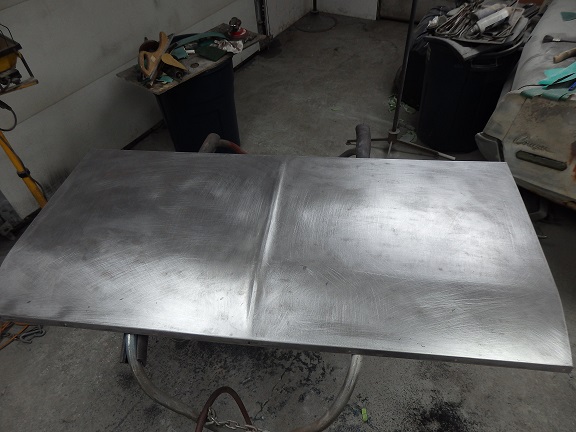
 192) The top side of the hood was chemically stripped with Aircraft Paint Stripper. I have yet to see a perfect hood. People who sit on their hoods create a lot of work for people down the road. Though this picture makes the hood look terrible, most of filler was not very thick. I could have skipped most of it and waited for the highbuild primer step to take out the imperfections.
|
 193) Here it is with 3 coats of DP40LF Epoxy primer and ready to install on the car. The hinges only needed to be sandblasted and primed. I removed the springs from the hinges primer to priming. I gave them 1 coat with the hinges closed and another coat with the hinges opened.
|
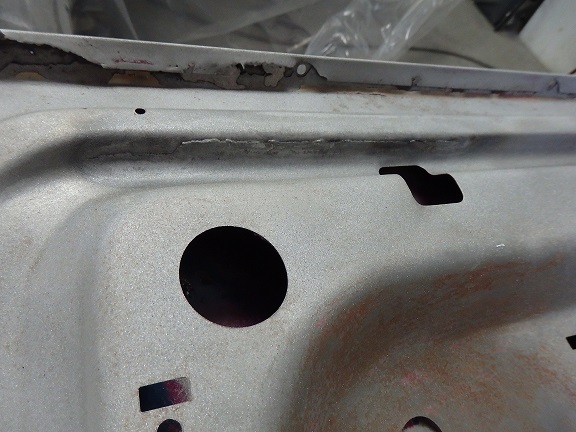 194) The trunklid needed a bit of work. The bottom seam was quite rusted on the underside and there was a factory "correction" that needed fixing. In this picture you can see an area, perhaps a foot long, where the metal was heated and folded. This was found under the original paint, which makes this a factory repair. It appears that there was a defect in the panel that they had to heat up and pound down to close the trunk lid all the way. This was easy for me to clean up. I just mig welded along the lenght of it and ground it down.
|
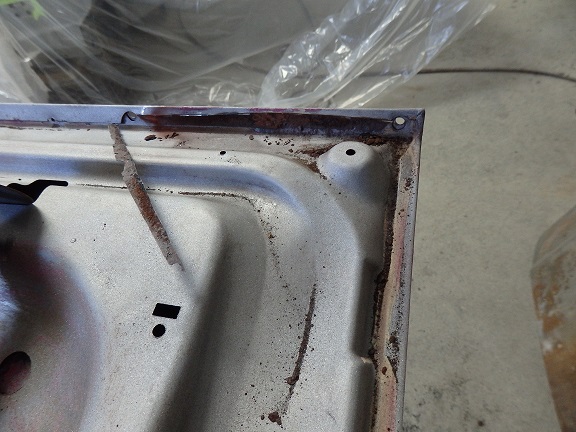 195) The seam repair took a bit of time. I cut the rusted sections out while leaving the original edge in place. In this picture I had cut off one piece. There were six pieces in all that needed repair. I sandlbasted the joint clean and welded in a new pieces that were shaped like the original pieces that were cut out.
|
 196) The new pieces were mig-welded in place and ground down flat. Here is a section all fixed. The seams were originally cover with seam sealer, which obviously failed. The plan here is to prime the trunklid so that the primer will seep into the cracks and then they seams will be retreated with seam sealer.
|
 197) In this picture you can see the trunklid hung from the ceiling. This is how I performed all of the repairs on the underside. It was the best way to manage the seam repairs.
|
 198) Here the top side has been stripped and is ready for repairs. It might look good in this picture, but it appears to have suffered from someone sitting on it. Not a lot of filler was required, but it definetly need to be fixed.
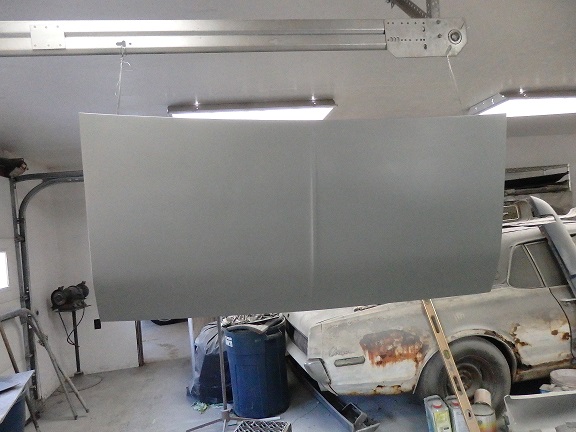 199) Here it is after 3 coats of DP40LF Epoxy primer.
 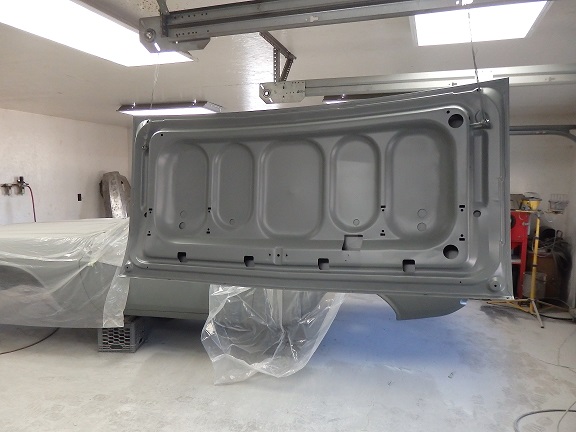 200) Here's a picture of the primed underside. It should be worth mentioning that this original trunklid is the third factory revision of the trunklid for 1970. This version has 4 cut outs for the rear spoiler, which were needed for the T/A rear spoilers introduced in early March 1970. The second rev added the 8 J-clips holes for mounting the reinforcement plates for the go-wings.
 201) I purchased a used 1970 front lower valance off e-bay. I was a little concerned by the appearance of undercoating on the back side, which lead me to be the only bidder on it. It cost me $118 with shipping.
 202) It took a bit of time to chemically remove the under coating, but my gamble paid off. The undercoat hid some light pitting below the parking lamp holes, which I easily filled with highbuild primer.
 203) There were a few small jambs on the front. Most of which I removed with a pick hammer and body file. A little filler was used to ensure the panel came out OK.
 204) The back came out great, with no signs of the original pitting.
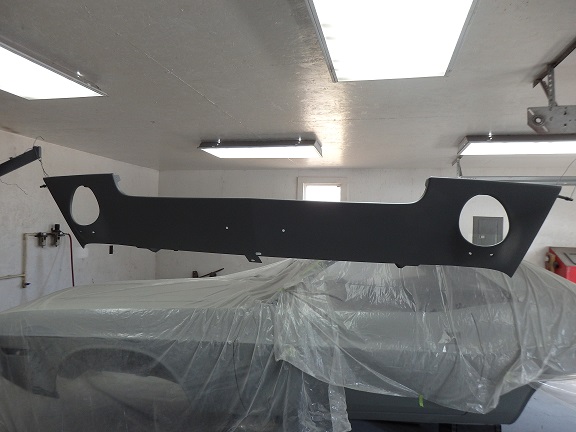 205) The front came out so good that there will be no need to include the panel in the highbuild primer process.
 206) The original rear valance was bent and twisted from many years of moving the car around. So I bought a used one from a www.cuda-challenger.com web forum member. It was also from a 1970. I paid $325 for it including shipping. It was worth the price since all I had to do was sandblast and prime it.
 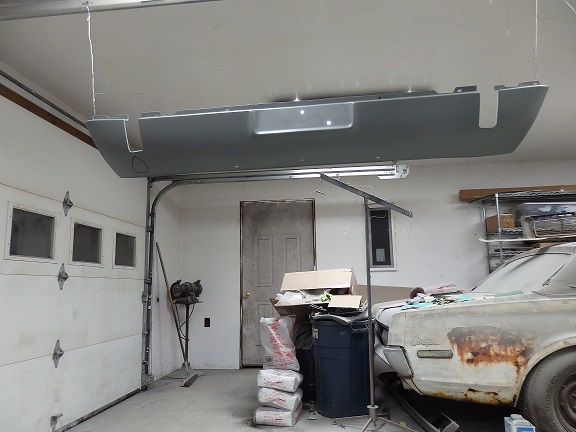 206) Here it is in primer. I suppose I could have bought a repo panel, but nothing fits as good as the original panel and the date code is stamped right on the face of it.
 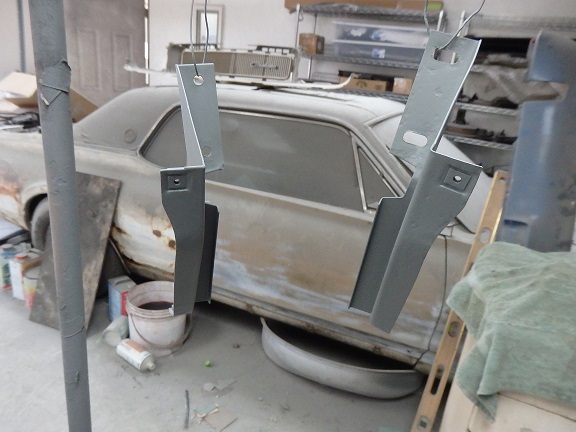 206) Here are the original rear valance brackets. They were only used on 1970 cars. These would be fitted to the car at the factory prior to paint.