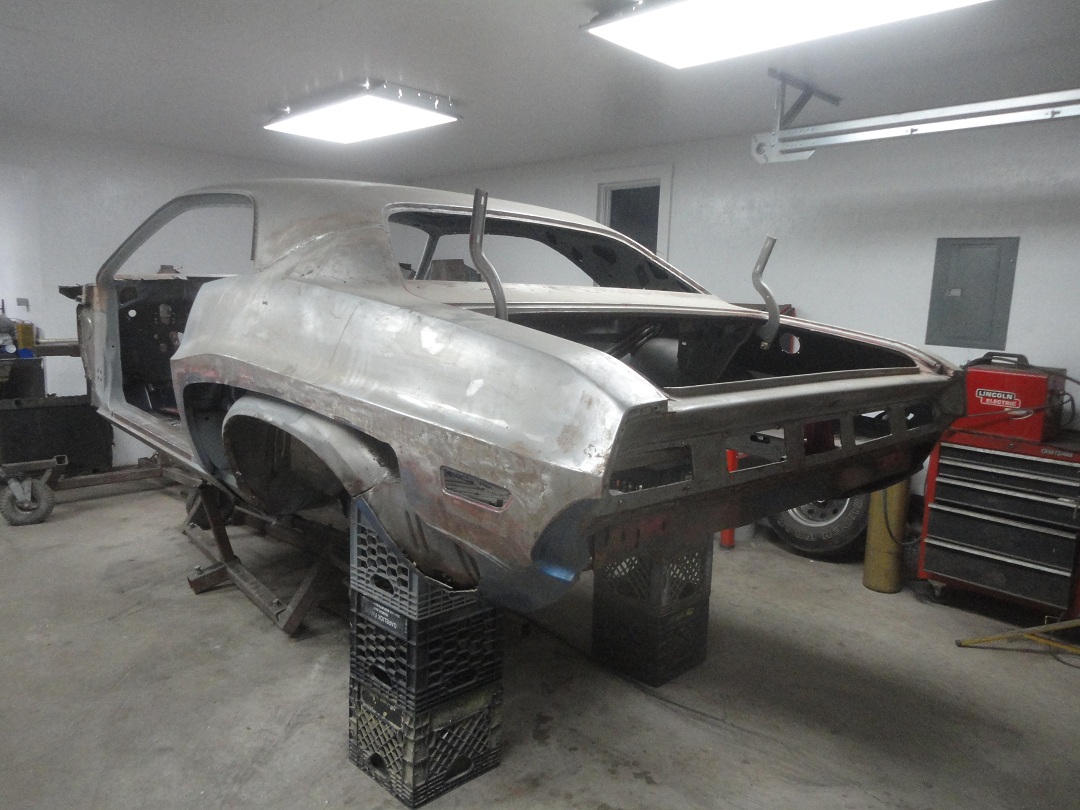
 52) Work turned to the rear end and trunk pan repair. I needed to replace the rear crossmember and repair the left
rear frame, so the first task was to remove the rear section of the rotisserie. The rear is supported with milk
crates and a 5 foot 2x12.
52) Work turned to the rear end and trunk pan repair. I needed to replace the rear crossmember and repair the left
rear frame, so the first task was to remove the rear section of the rotisserie. The rear is supported with milk
crates and a 5 foot 2x12. |
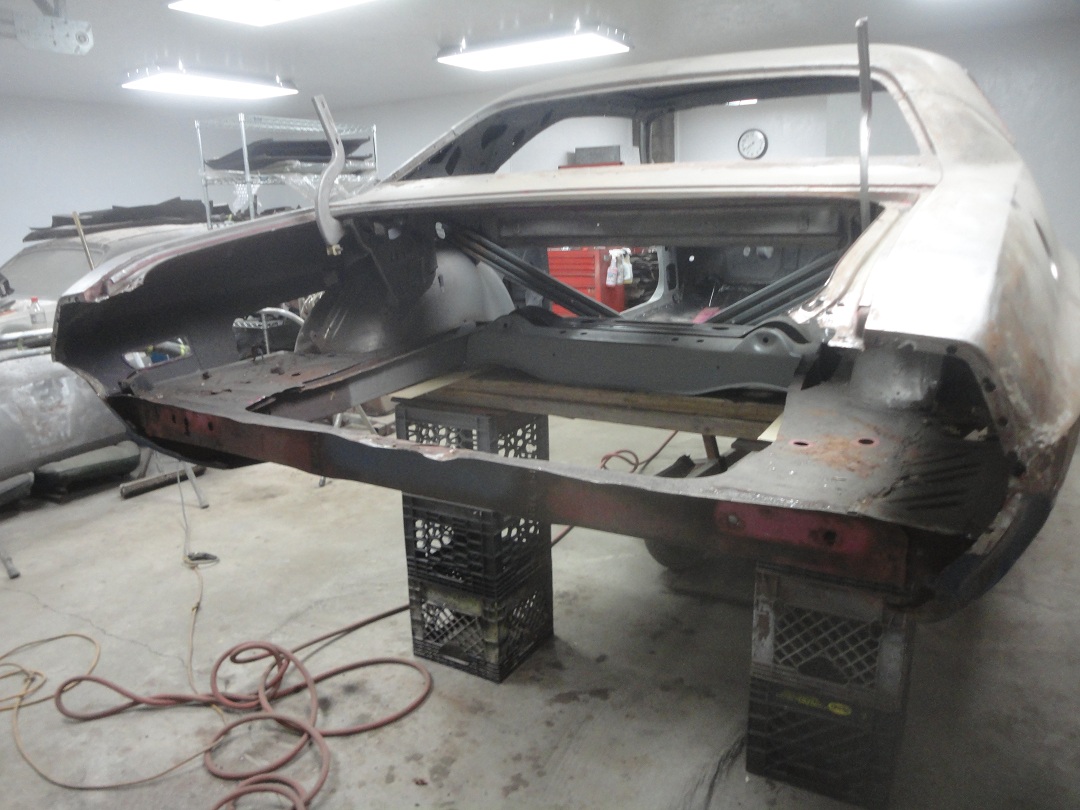 53) The tail panel needed to be removed for the repairs. The new trunk pan will not fit unless the tail panel was
removed anyways.
53) The tail panel needed to be removed for the repairs. The new trunk pan will not fit unless the tail panel was
removed anyways. |
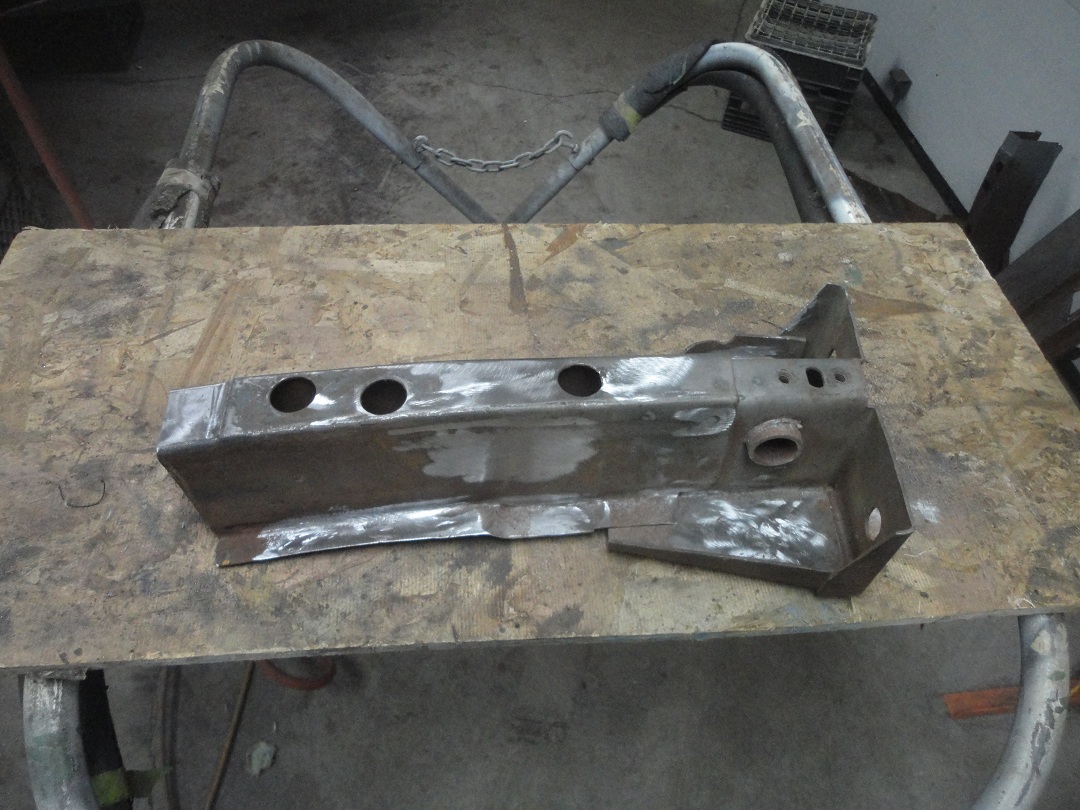
 54) I was lucky enough to get a good frame rail section on ebay from a 1970 Baracuda for $150. There were a few minor
differences which are easy to change. In this picture the original frame rail section from the car is shown
next to the new one. As you can see there is a nasty rust bulge on the original part and a few bolts are broke off
as well. I assure you, it is even worse on the the other side.
54) I was lucky enough to get a good frame rail section on ebay from a 1970 Baracuda for $150. There were a few minor
differences which are easy to change. In this picture the original frame rail section from the car is shown
next to the new one. As you can see there is a nasty rust bulge on the original part and a few bolts are broke off
as well. I assure you, it is even worse on the the other side. |
 55) Here the new frame rail section has been cut to size and the unwanted holes have been filled and ground down.
 |
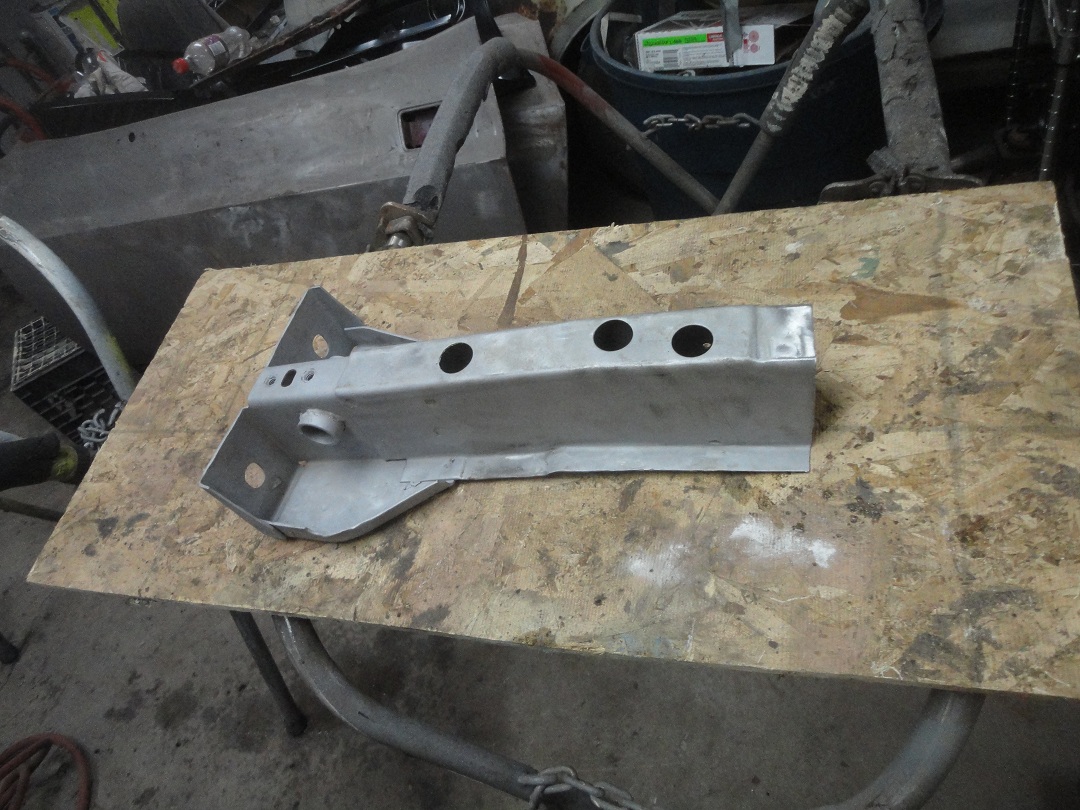 56) After sandblasting the frame section looks new.
 |
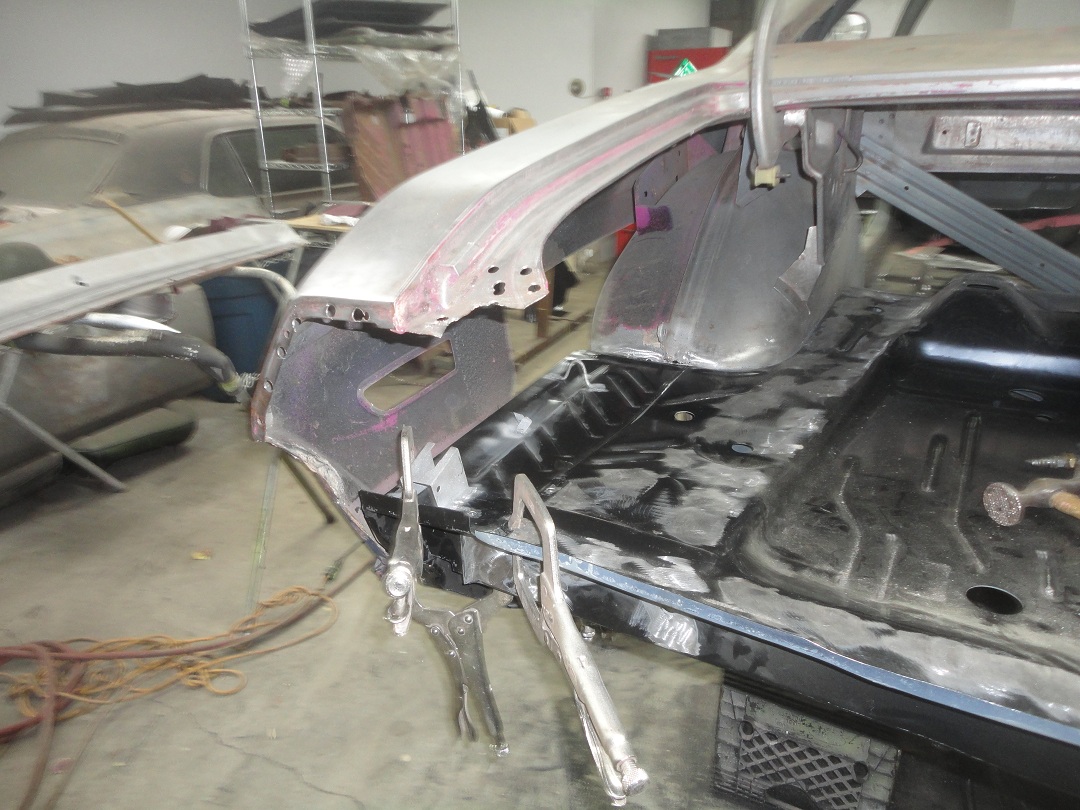
 57) Here it is welded in place. The seam was welded on the outside and the inside to make the union as strong as
possible. The rear crossmember was left in place to use as a reference prior to welding. I was quite suprised at
how well this repair turned out.
57) Here it is welded in place. The seam was welded on the outside and the inside to make the union as strong as
possible. The rear crossmember was left in place to use as a reference prior to welding. I was quite suprised at
how well this repair turned out. |
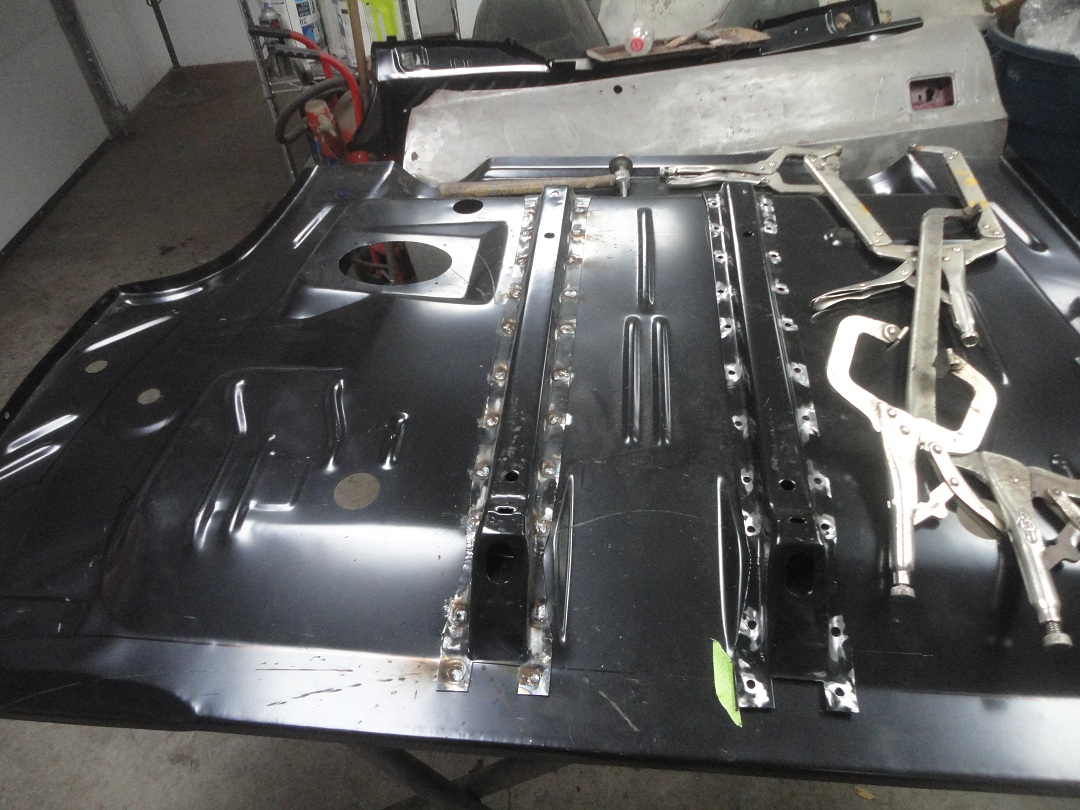
 58) The residual pieces of the trunk pan were cleaned away and the rear crossmember and trunk pan were test fitted in place.
|
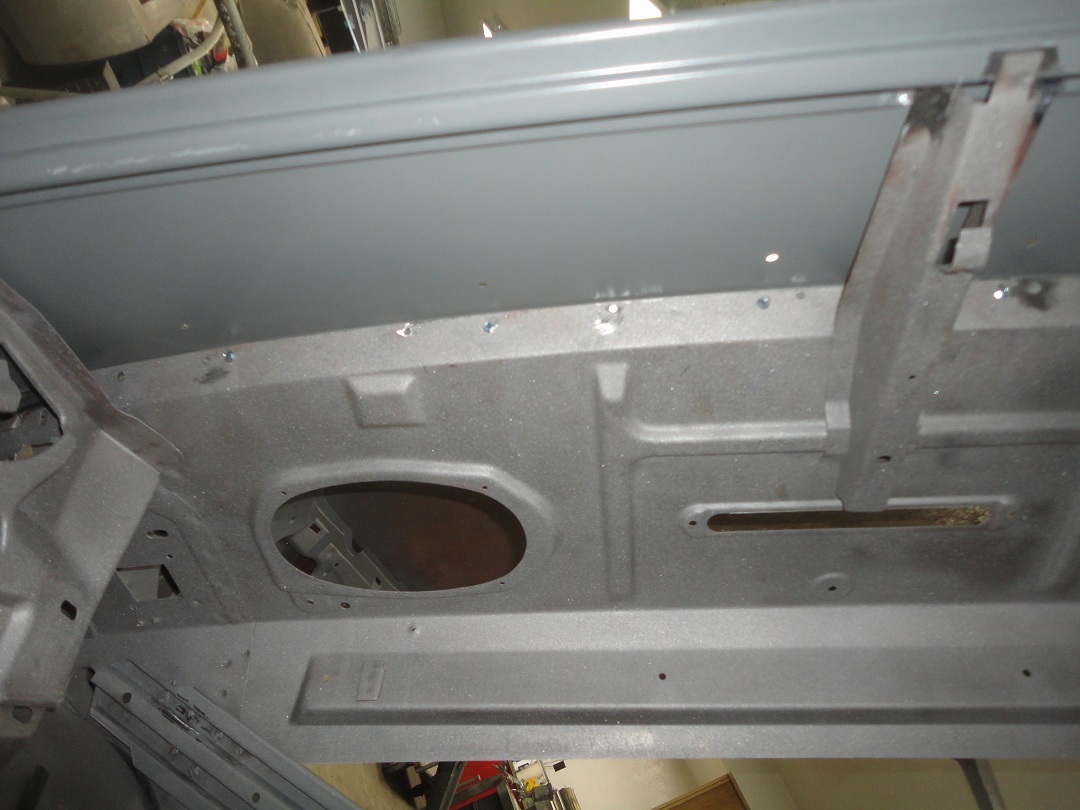
 59) Since everything fit well, the rear frame rails were sandblasted and primed. This picture was taken after the trunk pan
was test fitted. You can see the black dots in the primer were the plug-holes were marked through the trunk pan. The
dots were ground down to bare metal at these locations. As you can guess, I do not like using weld-thru primers.
59) Since everything fit well, the rear frame rails were sandblasted and primed. This picture was taken after the trunk pan
was test fitted. You can see the black dots in the primer were the plug-holes were marked through the trunk pan. The
dots were ground down to bare metal at these locations. As you can guess, I do not like using weld-thru primers.
|
 60) The new trunk pan did not need any changes/corrections at all. To save myself the hastle I welded in new gas tank
braces. There was a slight difference in the new braces versus the originals. The repos have an hourglass shape on
the flanges are the rear. This might be a correct detail for a Baracuda I think.
60) The new trunk pan did not need any changes/corrections at all. To save myself the hastle I welded in new gas tank
braces. There was a slight difference in the new braces versus the originals. The repos have an hourglass shape on
the flanges are the rear. This might be a correct detail for a Baracuda I think. |
 61) I took the original spare tire bracket off the old pan and sandblasted it. The welds that hold it to the trunk pan are
visible (with the spare removed), so I was very carefull in reproducing the factory style bead-welds.
61) I took the original spare tire bracket off the old pan and sandblasted it. The welds that hold it to the trunk pan are
visible (with the spare removed), so I was very carefull in reproducing the factory style bead-welds. |
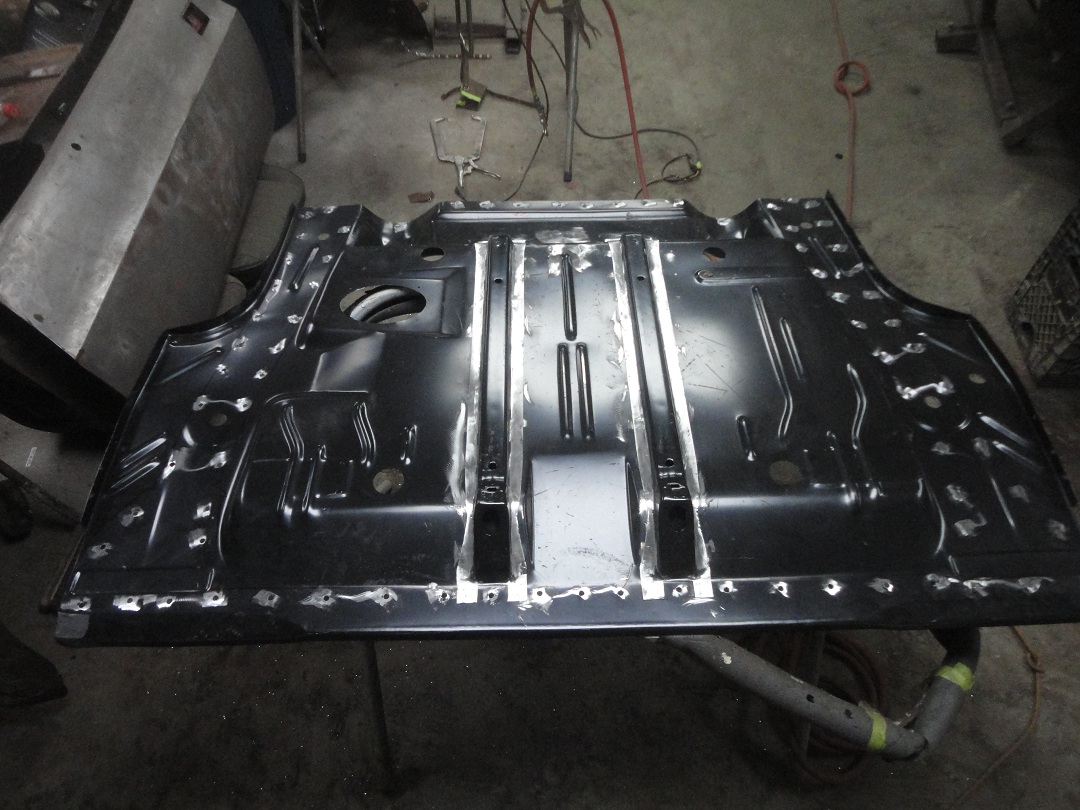 62) I test fit the trunk pan again. This time a clamped and screwed it down so that I could accurately trace the frame
frame rails and mark the locations for the plug-weld holes. Here is the pan after the plug-weld holes were drilled
and all the welds were ground down.
62) I test fit the trunk pan again. This time a clamped and screwed it down so that I could accurately trace the frame
frame rails and mark the locations for the plug-weld holes. Here is the pan after the plug-weld holes were drilled
and all the welds were ground down.I primed the underside of the pan after this picture was taken. The area towards the front cannot be accessed after the trunk pan is welded in. The rear center crossmember gets in the way. So the pan should be primed at this point. |
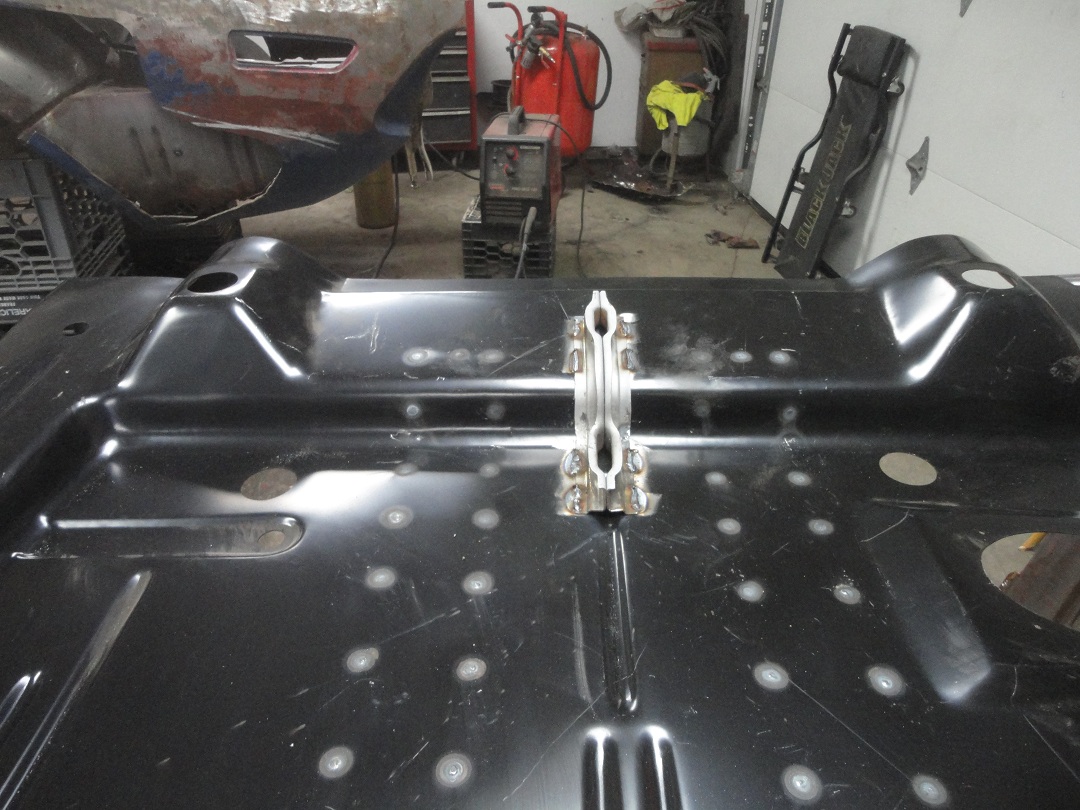
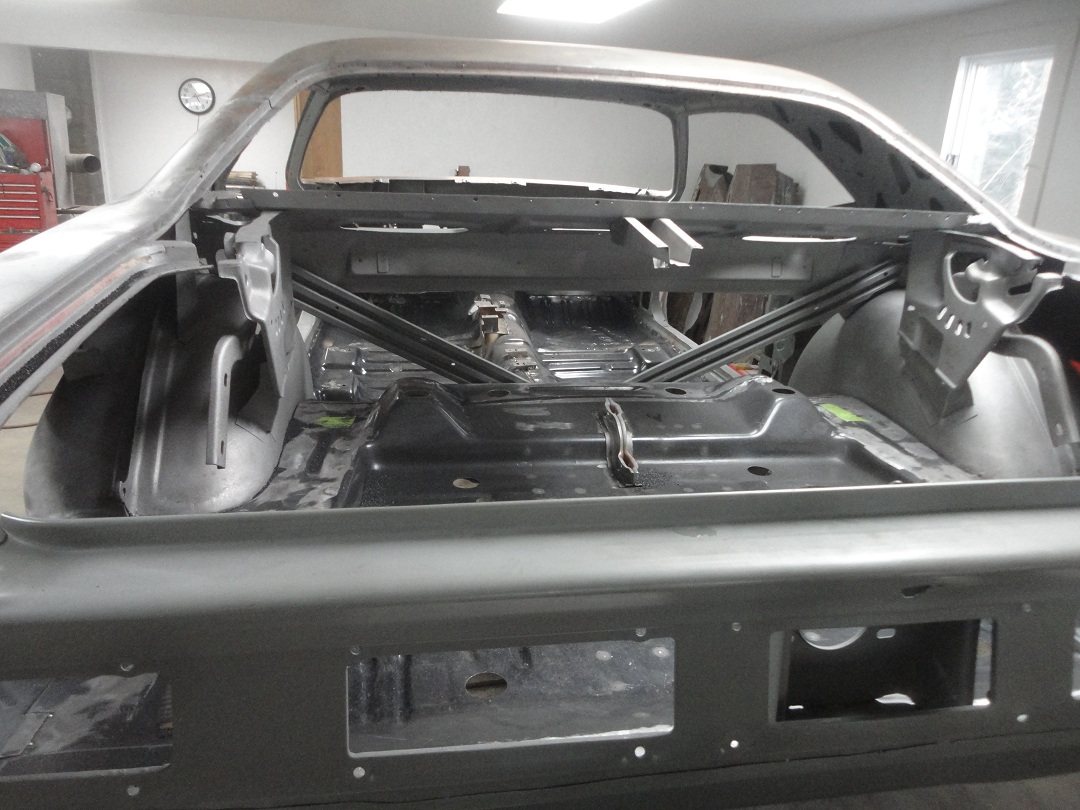
 63) Here is the trunk pan all welded in with the welds ground down. The only real difficulty was getting the front
of the trunk pan to fit to the rear of the rear seat floor pan. The humps above the shocks were about an 1/4 higher on
the trunk pan, which left a gap that had to be delt with. All I really did was cut a slit near the top of the hump
and screwed it down to the rear seat pan before welding. Otherwise the install was pretty painless.
63) Here is the trunk pan all welded in with the welds ground down. The only real difficulty was getting the front
of the trunk pan to fit to the rear of the rear seat floor pan. The humps above the shocks were about an 1/4 higher on
the trunk pan, which left a gap that had to be delt with. All I really did was cut a slit near the top of the hump
and screwed it down to the rear seat pan before welding. Otherwise the install was pretty painless. |
 64) The next pieces to be fitted were the trunk dropoffs. On the left side, the jack bracket, jack retainer spring
bracket and wiring harness tiedown had to be salvaged from the original dropoff.
64) The next pieces to be fitted were the trunk dropoffs. On the left side, the jack bracket, jack retainer spring
bracket and wiring harness tiedown had to be salvaged from the original dropoff. The dropoffs were pretty easy to install at this point. They are just plug-welded to the rear crossmember and pinch-welded to the trunk pan from underneath. Since the outer wheel wells needed to be repaired, I chose not to weld them to the trunkpan and dropoff yet. |
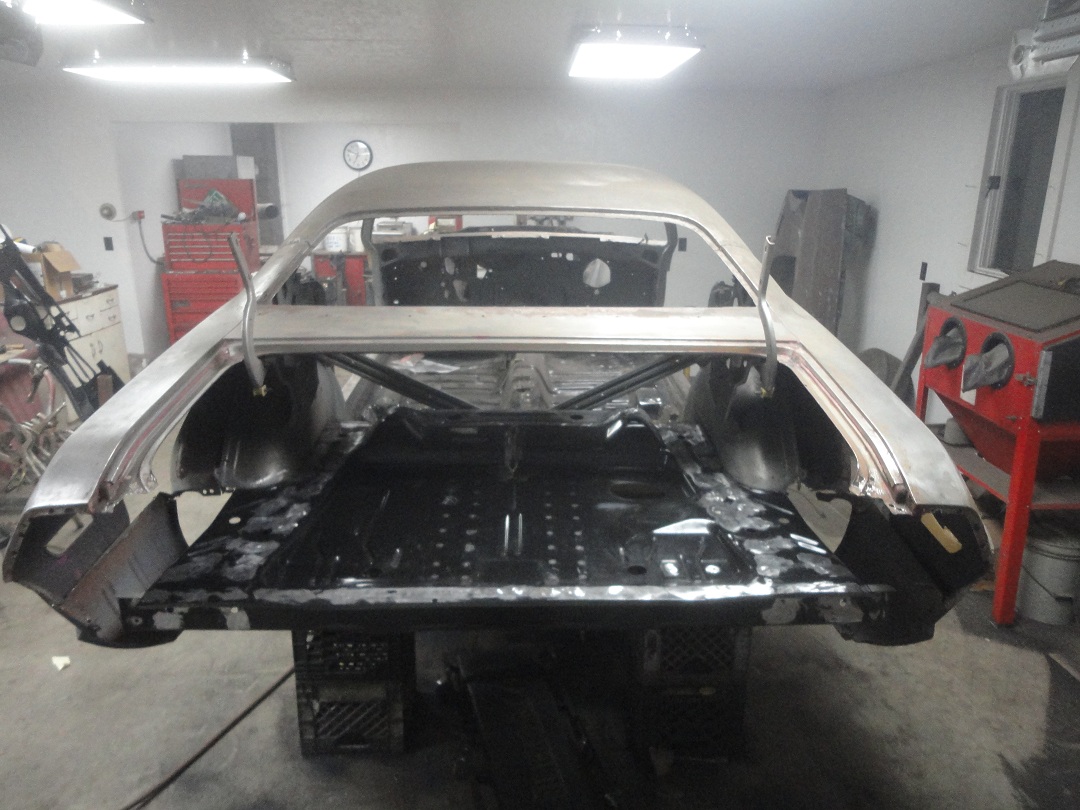
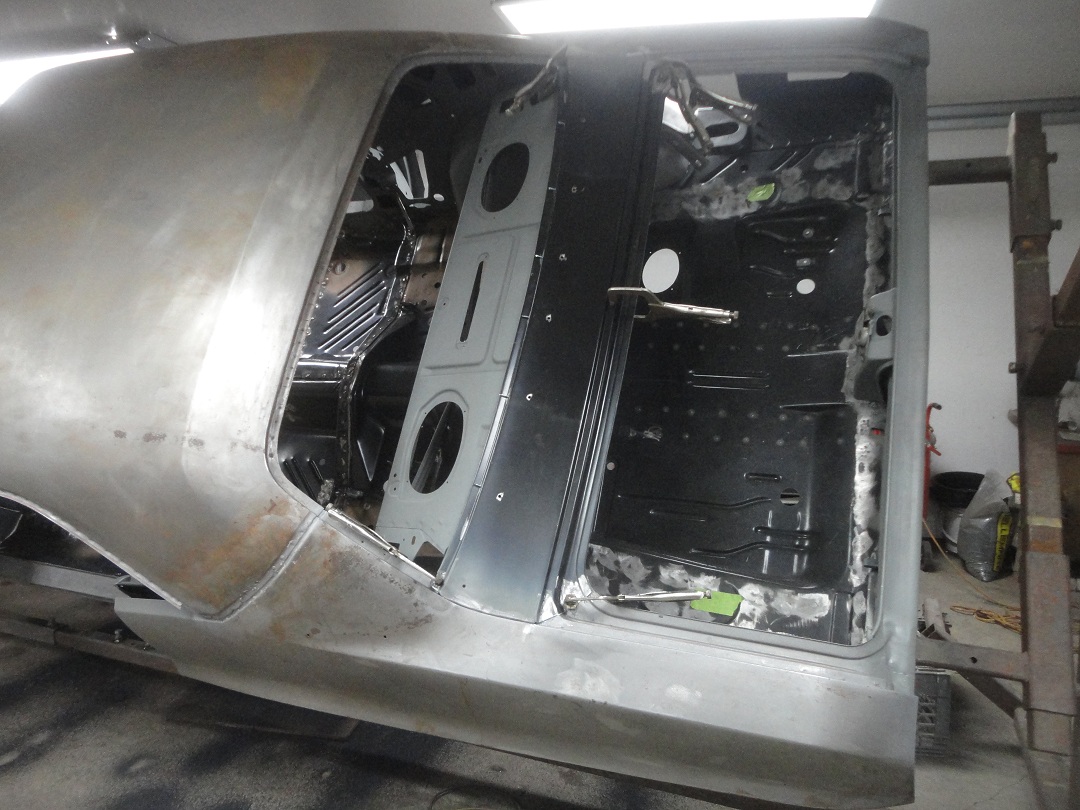
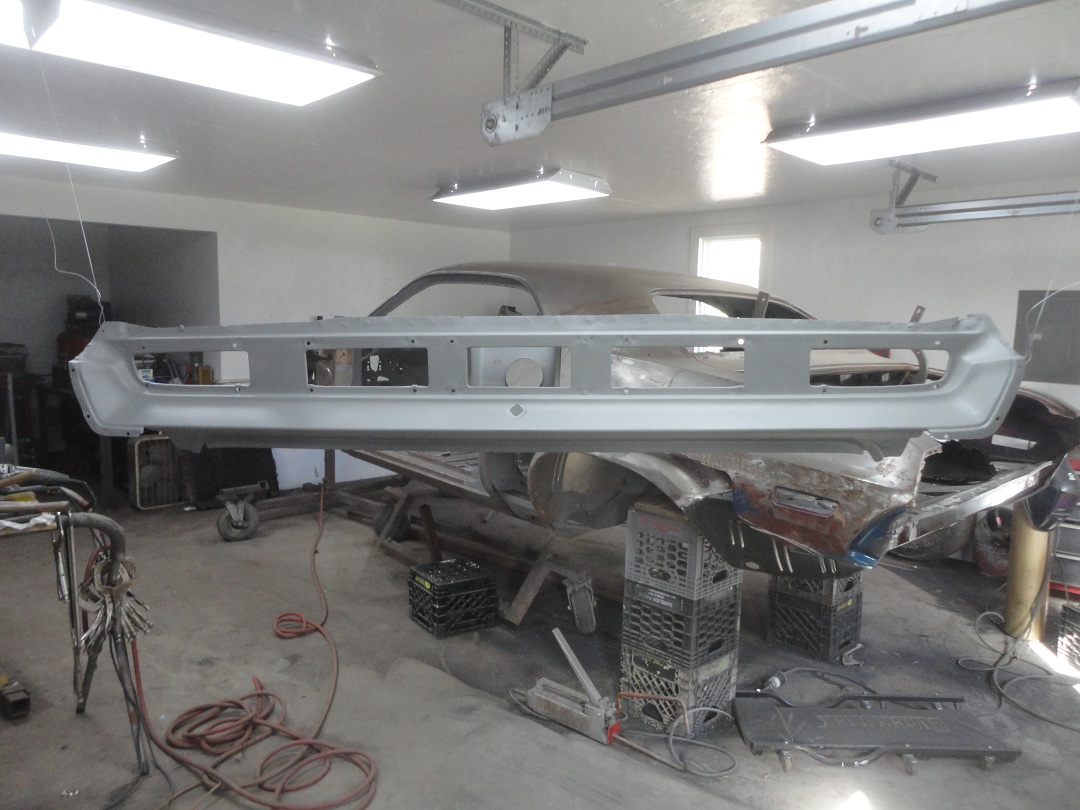 65) With the tail panel off, I took the opertunity to sandblast it and put it in primer (both sides). The tail panel should be fitted
to the car using the trunk lid to set the gaps around the trunk lid. It should be noted that I was planning on using quarter skins
instead of full quarter panels. If I were to install full quarters, the tail panel would need to be installed at the same time as the quarters.
65) With the tail panel off, I took the opertunity to sandblast it and put it in primer (both sides). The tail panel should be fitted
to the car using the trunk lid to set the gaps around the trunk lid. It should be noted that I was planning on using quarter skins
instead of full quarter panels. If I were to install full quarters, the tail panel would need to be installed at the same time as the quarters. |
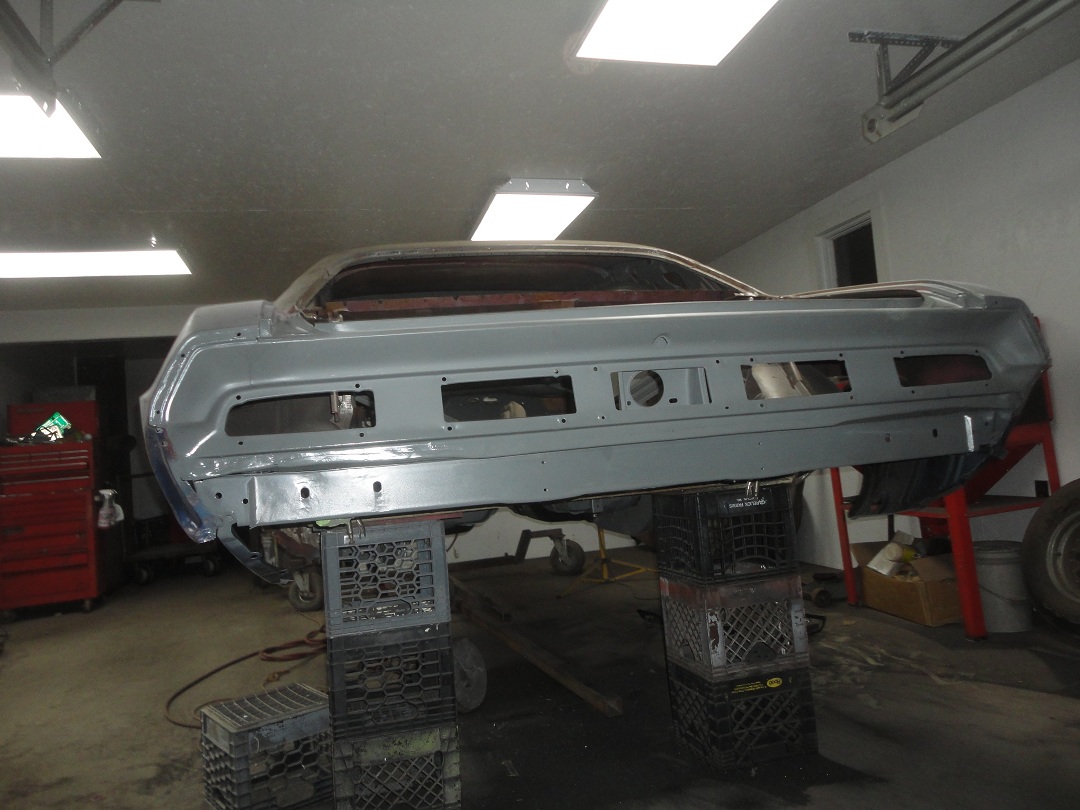 66) With the tail panel installed I primed the area below the tail panel so that it would be all done before I reattached the back
end to the rotisserie.
66) With the tail panel installed I primed the area below the tail panel so that it would be all done before I reattached the back
end to the rotisserie. |
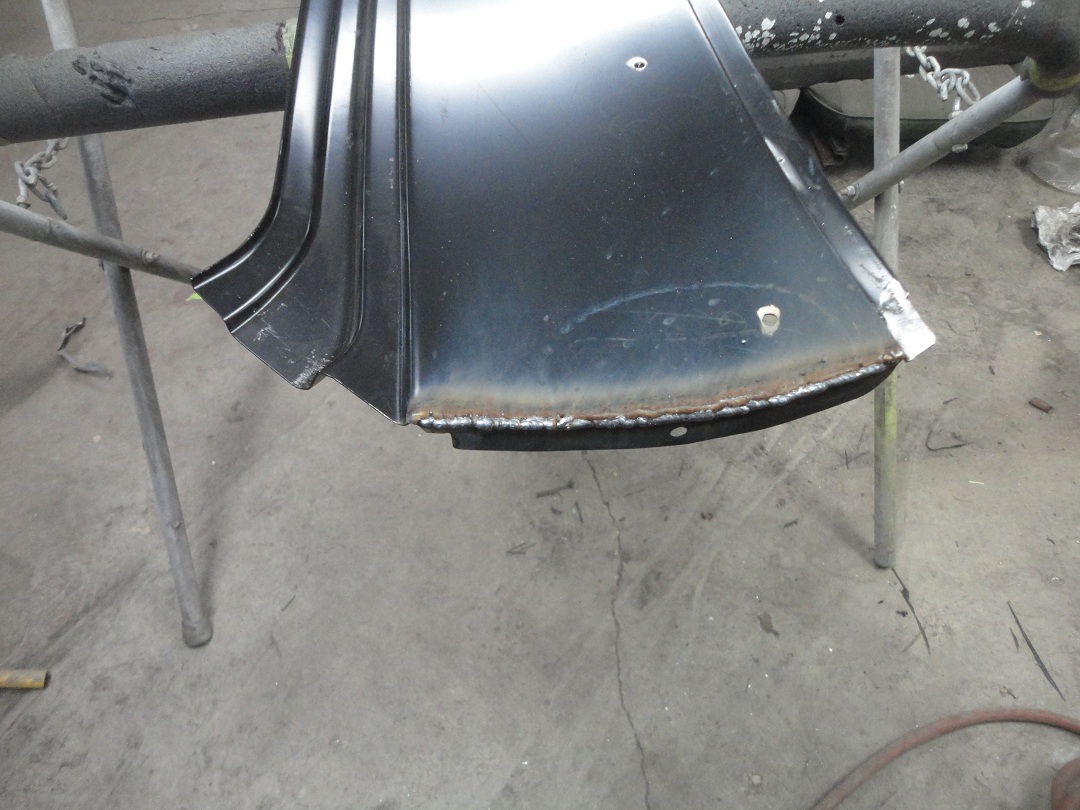
 67) The next area to tackle was the rear deck filler panel. The rear window opening is notoriously famous for rusting out on these cars.
Especially if the car was equiped with a vinyl top. Luckily new panels can be had for $140.
67) The next area to tackle was the rear deck filler panel. The rear window opening is notoriously famous for rusting out on these cars.
Especially if the car was equiped with a vinyl top. Luckily new panels can be had for $140. Here the rear deck filler panel has been cut out. This makes it easy to get inside with the sandblaster. |
 68) There always seems to be a price to pay when you buy repo sheetmetal. The rear deck filler panel was about 1/4" too short. I've
read that a bunch of people have experienced this problem on the web forums. (just ignore what you may see on those TV shows). I
added a bead of weld on each side of the panel to get it to fit in the original opening. I suppose if I were to install full quarter
panels, the gap would be hidden by bring the quarter panels closer together. Then I bet I would have trouble fitting the rear glass
and perhaps the moldings well?
68) There always seems to be a price to pay when you buy repo sheetmetal. The rear deck filler panel was about 1/4" too short. I've
read that a bunch of people have experienced this problem on the web forums. (just ignore what you may see on those TV shows). I
added a bead of weld on each side of the panel to get it to fit in the original opening. I suppose if I were to install full quarter
panels, the gap would be hidden by bring the quarter panels closer together. Then I bet I would have trouble fitting the rear glass
and perhaps the moldings well? |
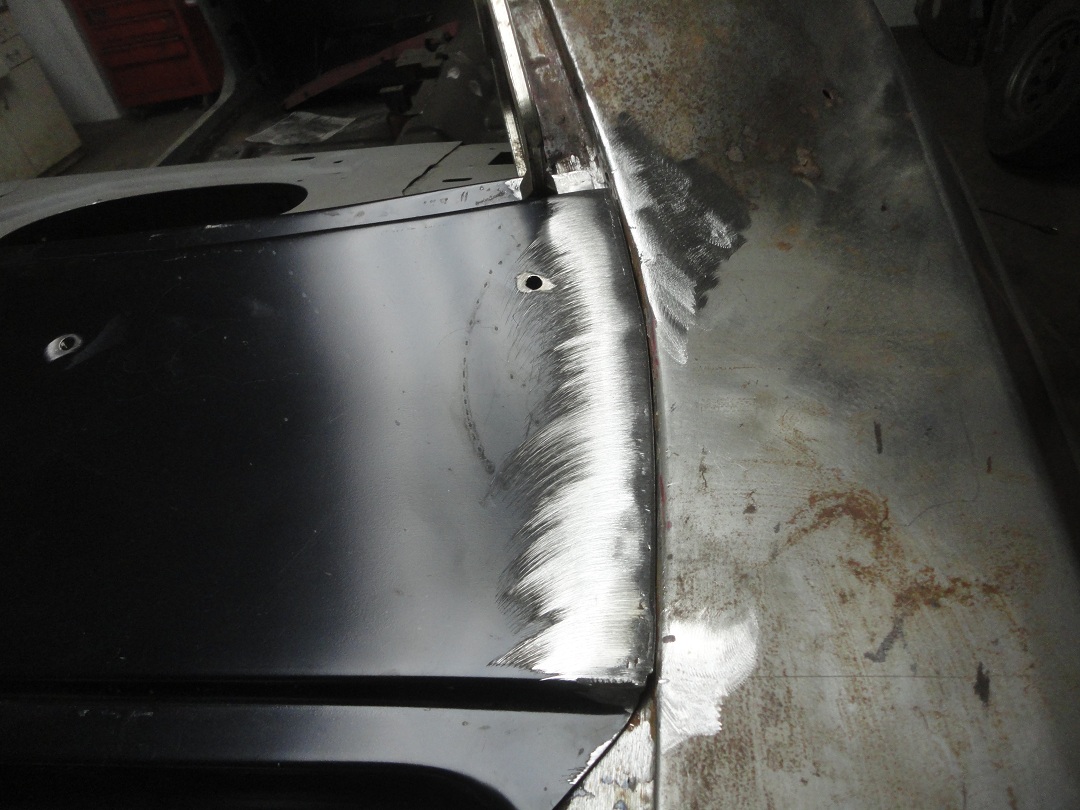 69) The bead gets welded down to produce a good fit to the quarter panels. Looking pretty close to finished in this picture.
 |
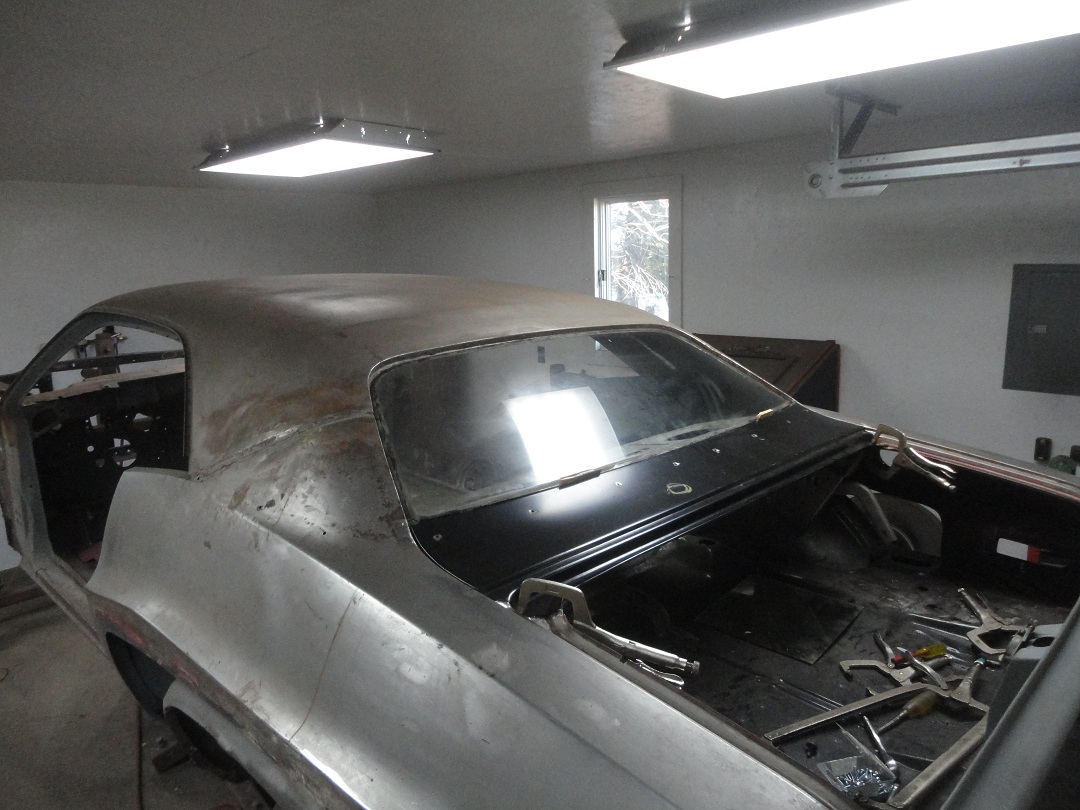 70) The panel was fitting clamped in place and the rear glass was placed in the opening. I also installed the trunk lid to verify all
of the gaps before welding the panel in.
70) The panel was fitting clamped in place and the rear glass was placed in the opening. I also installed the trunk lid to verify all
of the gaps before welding the panel in. |
 71) Also prior to welding I predilled all of the holes for the rear window moulding clips and for the vinyl top molding. Having the holes
for the window moulding clips made it possible to screw the rear deck filler panel to rear of the package tray panel for welding.
71) Also prior to welding I predilled all of the holes for the rear window moulding clips and for the vinyl top molding. Having the holes
for the window moulding clips made it possible to screw the rear deck filler panel to rear of the package tray panel for welding. |
 72) Here is a shot from the under side. You can see the heads of the screws that were temporarily holding the panels together. Normally I
would just drill some holes for the plug-welds, but someone had drilled new holes to pop-rivette new window clips in place. All I had to do
was drill the holes larger and add a couple more near the ends.11/25/2014
72) Here is a shot from the under side. You can see the heads of the screws that were temporarily holding the panels together. Normally I
would just drill some holes for the plug-welds, but someone had drilled new holes to pop-rivette new window clips in place. All I had to do
was drill the holes larger and add a couple more near the ends.11/25/2014 |