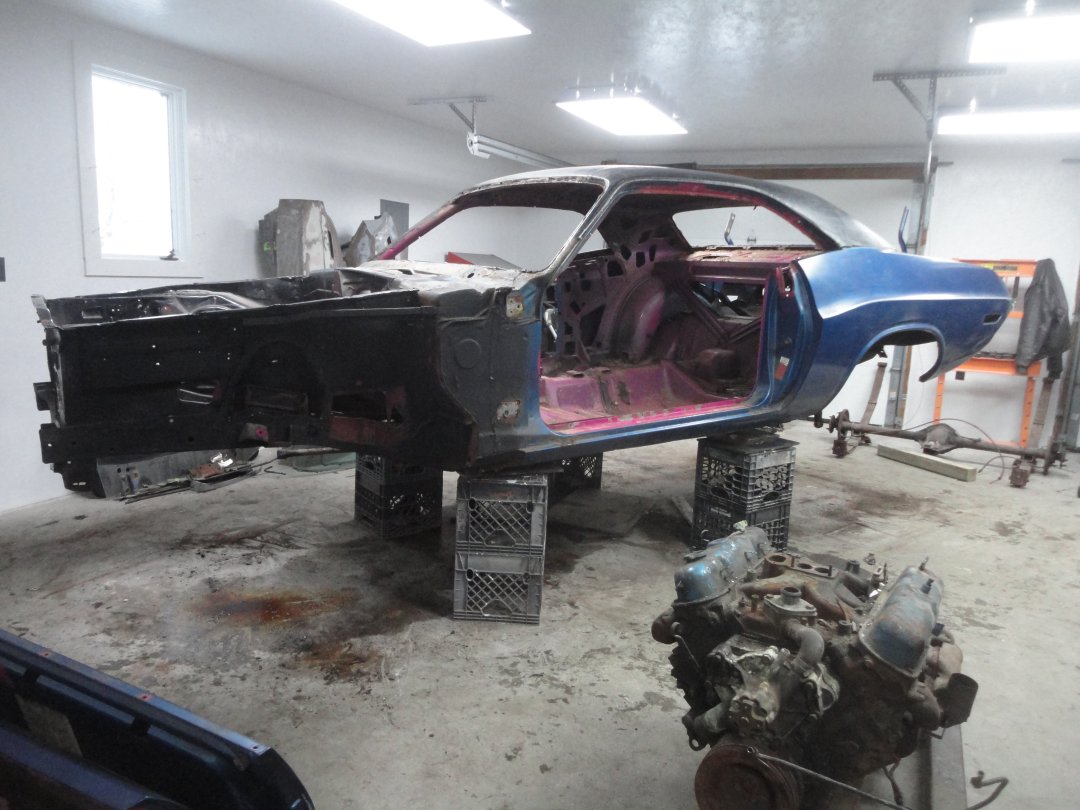
The car actually sat all spring, summer and fall before I started to work on it. I had a lot of things to finish up on the 63 Jaguar before I could start a new project. I also remodeled the interior of my shop which was long overdue. Finally, with winter setting in and some free time on my hands I decided to dismantle the Challenger and put it on the rotisserie (December 2014). I am not going to bother going into detail on how I took the car apart. Though I did take about 900 digital pictures and recorded about a half dozen videos during the taredown process.


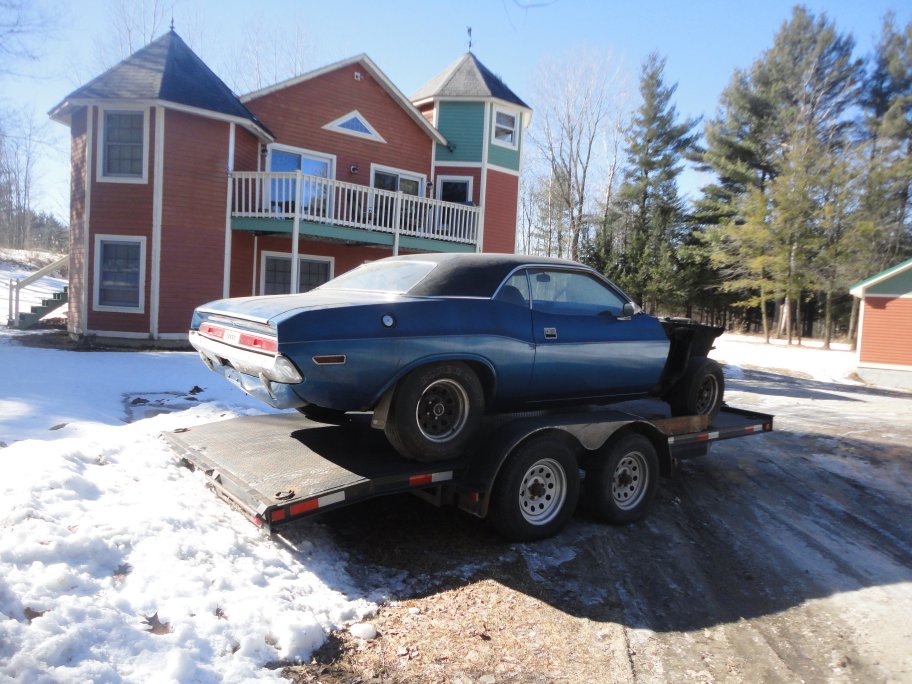
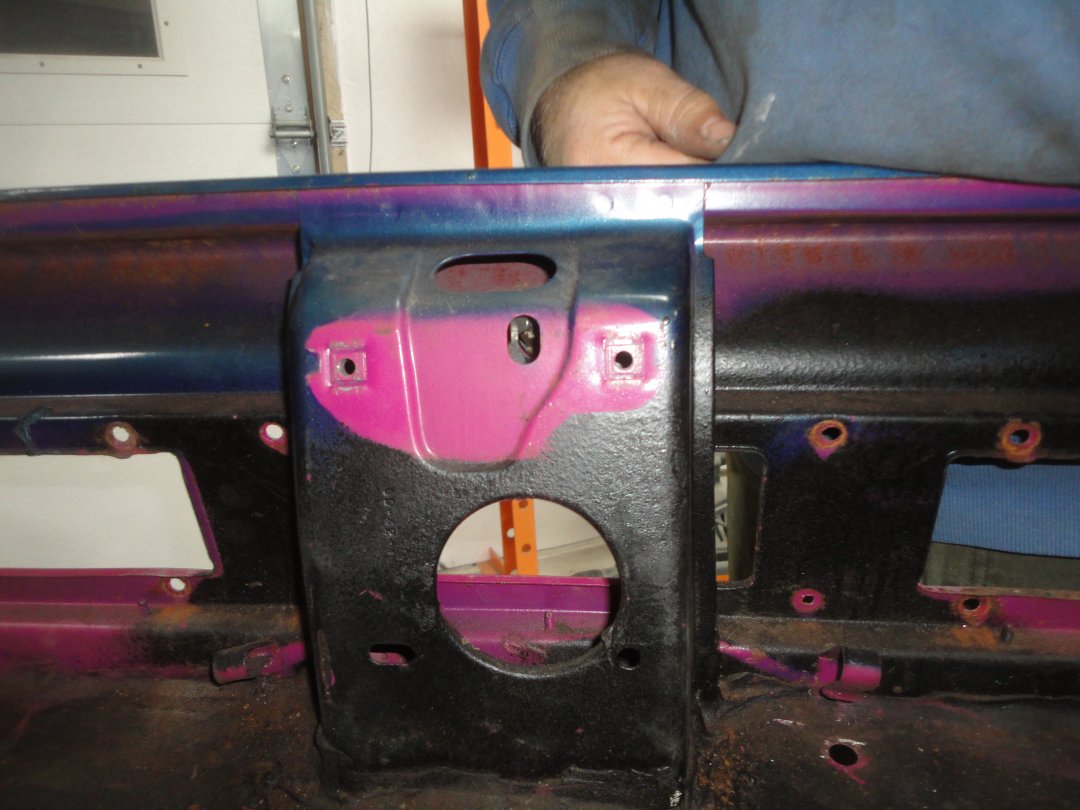
The second picture shows that the rear filler panel (between the bumper and tail panel) was attached to the car prior to painting and the seam was filled with seam sealer.
The third picture shows where the factory stapled the vinyl top in place at the upper corners of the windshield. They used 4 staples per side. Staples were also found by the rear window. I only noticed this when removing the vinyl top that had obviously been replaced. The top was definitely not a correct Challenger vinyl top. The seams were in the wrong location. The seams were across the roof instead of more down the sides of the roof and quater pillars. Now that I know this, I've been seeing the wrong tops on high dollar cars that have been "totally restored". Perhaps they used Barracuda tops instead?
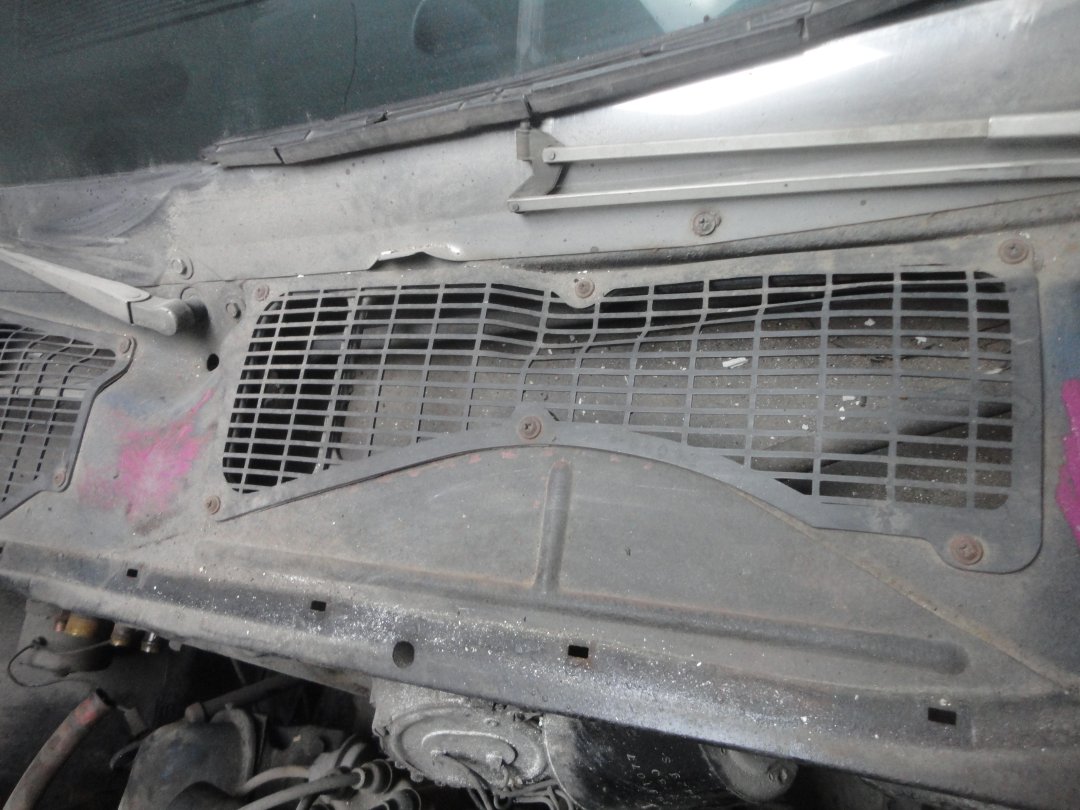
The fourthe picture is there to show that this car (built Feb 24,1970) uses the screw-in style cowl vents. The factory had also used philip screws instead of a hex head screw that I been seeing on other cars. This is one of the details that you shold pay attention to when restoring a car.
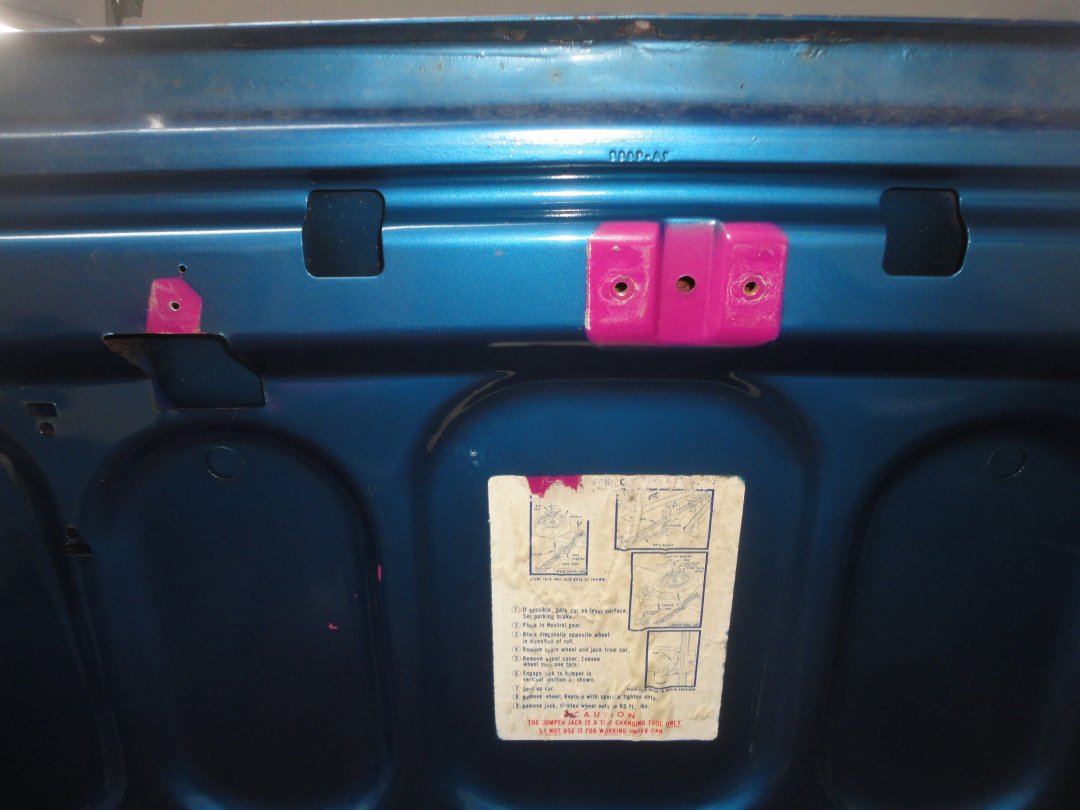
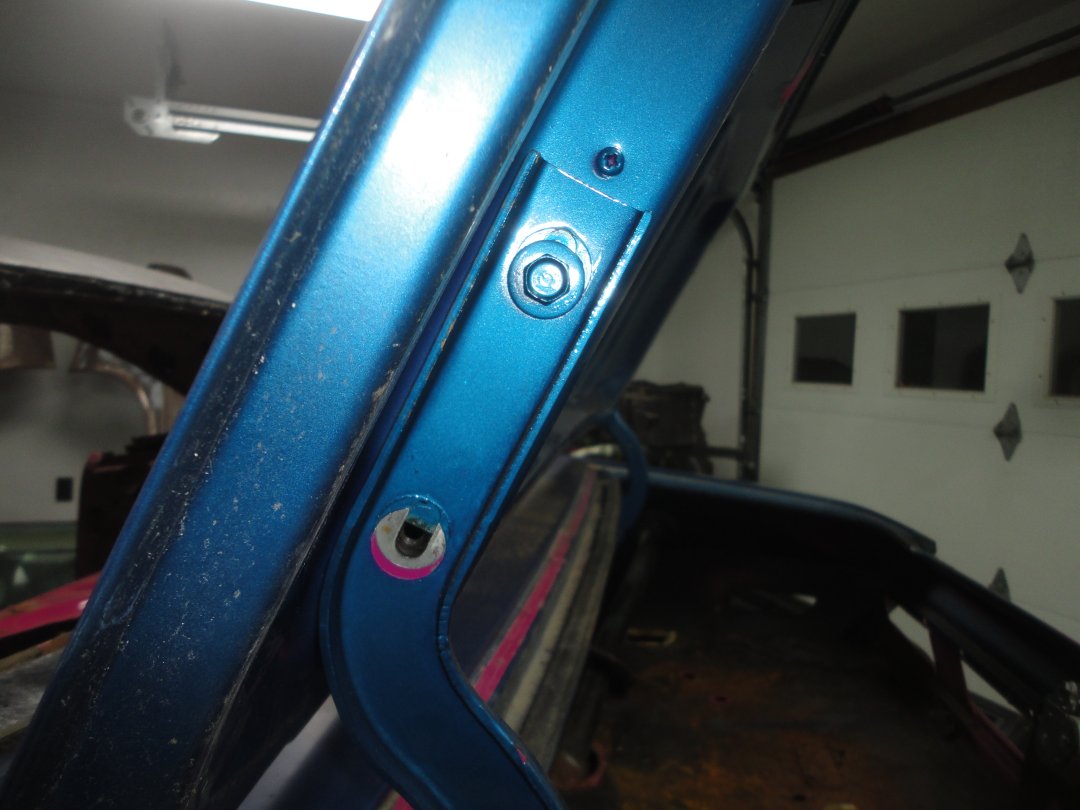
The trunk lid appeared to have been readjusted after paint. Not simply because you can see the pink color under the bolt head, but because the gap was so bad on the lid that the lid would have hit the quarter panel if the factory had not readjusted it. Note: It is not uncommon for the factory to have readjusted the panel fit after paint.
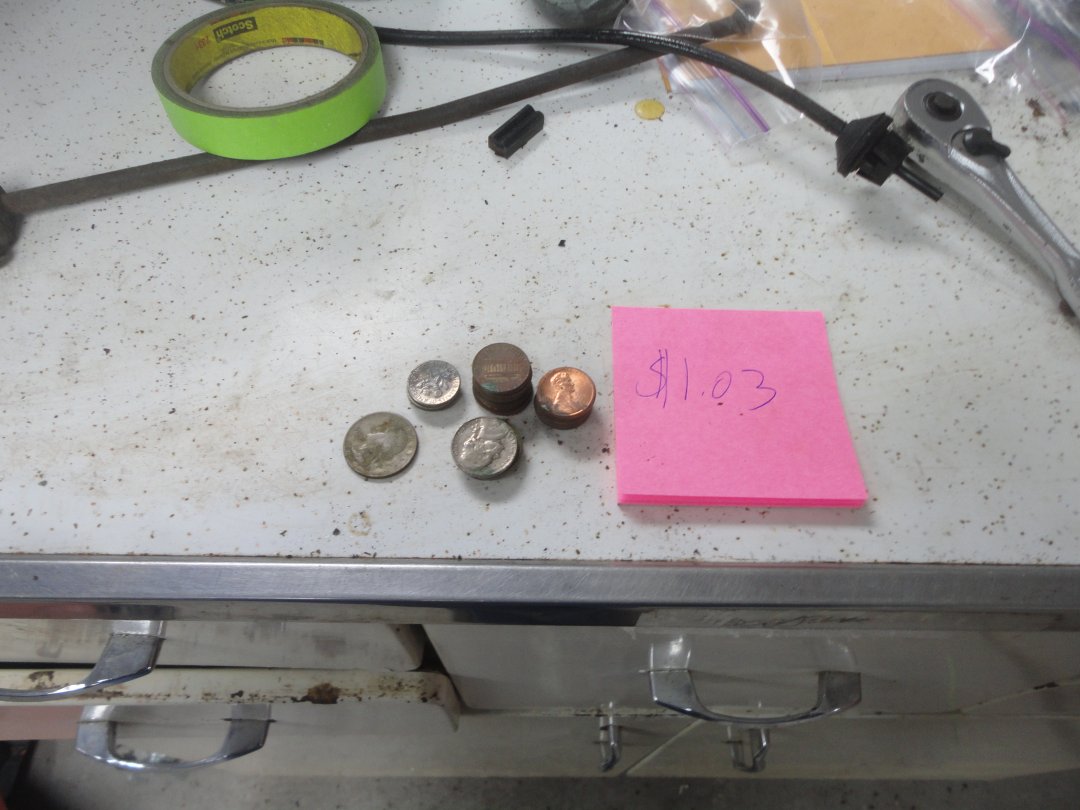
The last picture shows all of the change I found when taking the car apart. $1.03 is better than nothing. I also found an earing, comb and three empty boxes of Dynamints. Are there any collectors out there?
From the inside the trunk pan and the trunk floor extensions were pretty shot. There were plent of rust holes on the driver's side floor pan, front and rear. The passenger side looked pretty decent, but once you hit things with a sandblaster, those nasty rust holes would probably make an appearance just like they always do.
The firewall and windshield opening had the typical rusted through areas. The area where the upper and lower cowl meet, to the left of the windshield wiper motor is the typical place to find severe rust on these cars. On this one, the hole was so large that a previous repair was made by stuffing paper towels in the hole from the inside and smoothing it over with fiberglass body filler. Yup, all sins are revealed when you tare a car down to bare metal. I probably have to replace the upper cowl panel....
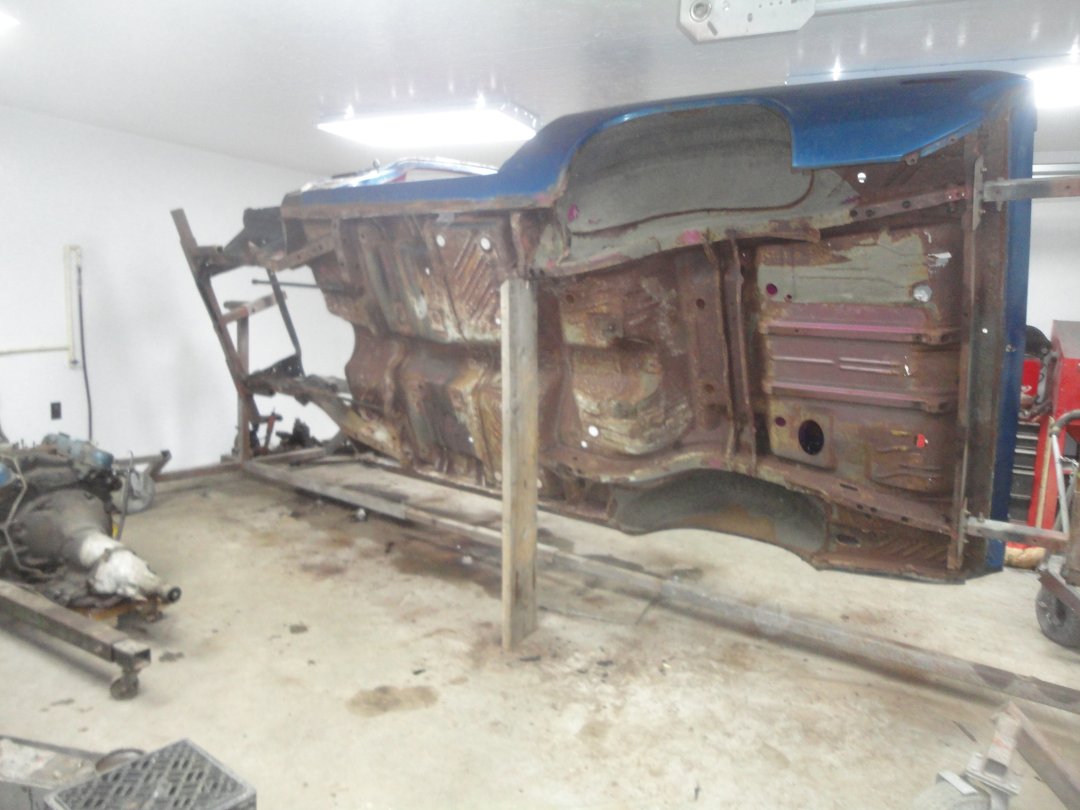
The last picture shows how rusty the undercarriage got from just sitting in a damp garage for 25 years. I'm sure the floors would have in much better shape if the factory had used more than a sneeze of primer on them. There were many areas that would be very difficult, if not impossible, to hit with a sandblaster. Since I was going to have to replace a big section of the floorpan and trunkpan, I decided to go ahead and replace all of the floors from the firewall back. This would give me the opertunity to sandblast and prime the inside of the frame rails.