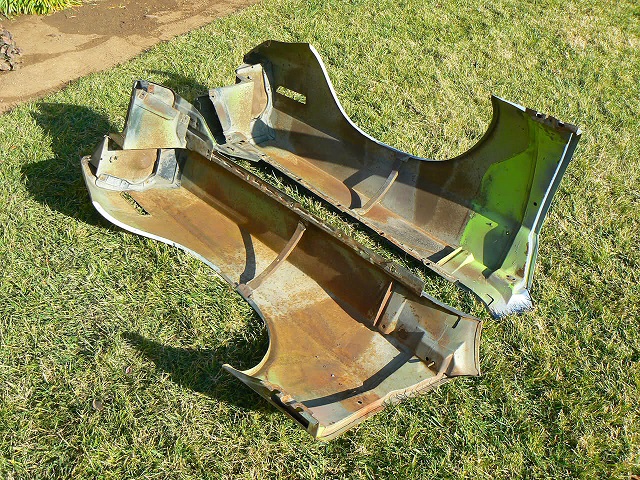
 175) From the beginning I was planning on not using repo fenders. I wanted this car to look factory original as possible and of course, I wanted the fenders to fit....
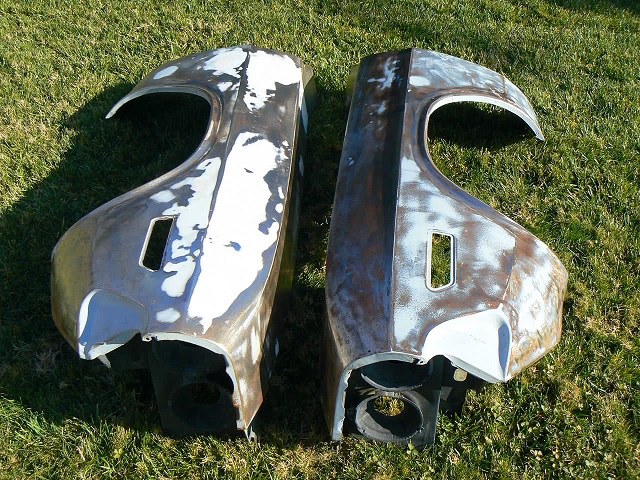
I found this set on ebay shortly after I purchased the car. They are original fenders off a 1970. They even had the headlight buckets and inner front dust shields. There was obvious damage on the right fender, but no rust holes of any kind. I was the only bidder and it cost me $1200 for the pair, which included shippng them to me from California to Vermont. Overall I consider that I good deal considering the best repos on the market would cost me that without shipping.
|
 176) Of course there are always suprises when you get stuff off ebay. In this case I found that the antenna hole was welded shut and the RH hood bumper nut was missing. Besides that, the fenders were actually pretty nice. They originally came from a sublime car that had appeared to have been repainted several items and also were repainted a different color each time.
|
 177) The left fender had some damage along the side above the body line and the top looked like someone had actually walked on them. I was able to fix 99% of the damage with a pick hammer and a body file.
|
 178) Even the top came out great. I seem to be getting good at the old school body repair methods. Make no mistake, I did have to apply a skim coat of filler to get it perfect.
|
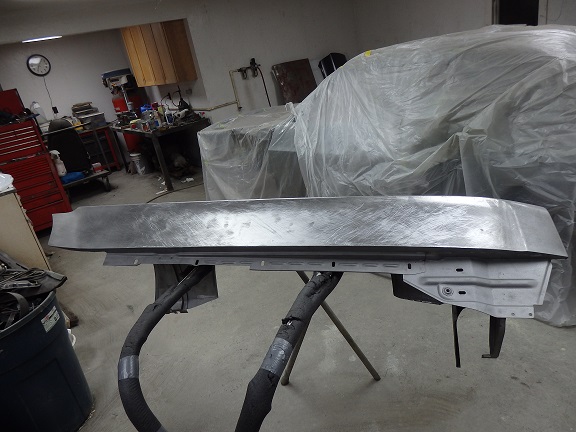
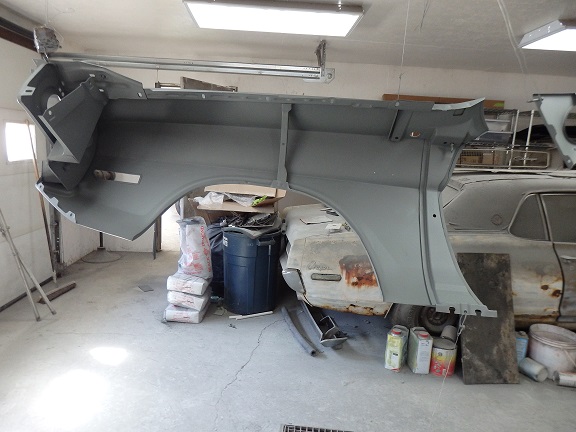
 179) Here it is in primer. On this fender I primed it in two stages. I primed the inside first and then primed the outside the following day.
|
 180) The top came out pretty nice as well. Though you can't see it in this picture, the sheetmetal stamping codes were very visible. This is something a repo fender would not have.
|
|
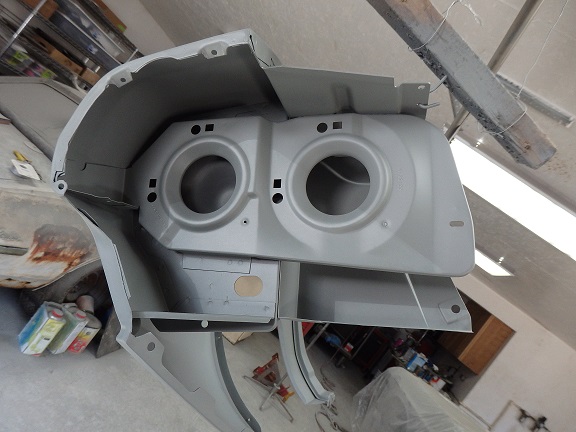
 181) The front of the fender where the headlight buckets are attached came out nice, clean and crisp. Though not evident in this picture, the SAE70 stamping was very legible. Again these details are something that a repo fender would not have.
|
 182) The right fender needed a lot more finessing. It had obviouis accident damage that wasn't fixed very well. I had some slide-pull holes to fill in and I had to open up the antenna hole. For the antenna hole, I purchased an NOS antenna bezel so that I could get the size of the hole and the contour of the fender correct. The work on the fender was mostly performed with it bolted to the car so that it properly aligned with the hood and door.
|
 183) There was only the slightest amount of filler work needed on the inside of the fender.
|
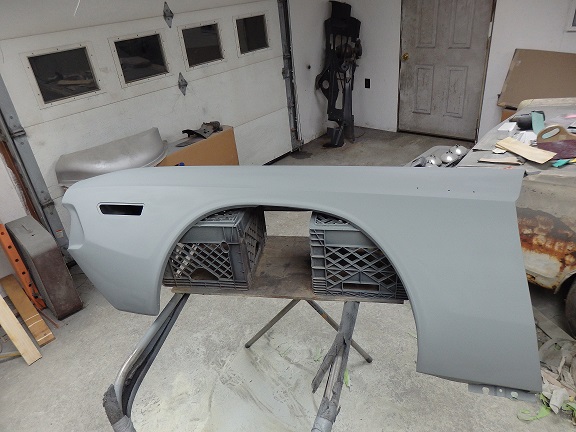
 184) Here it is in primer. For this fender I primed the whole thing at once. I was very pleased on how this turned out.
|
 185) Even the inside looked new. I know that some people don't go this far, but a good restoration is all about the details.
|
 186) Here's a picture of the front of the right fender. Again, nice, clean and crisp. No real work had to be done here, just sandblasting and priming. This area will be painted body color with some black out around the inner headlight. It waon't all be seen, but will be seen will look correct and original.
|
|