 18) I originally planned to replace the entire upper cowl, but when I got the repo AMD part I found so many discrepencies between
the repo part and the original, that I determined it was easier to fix the one I had using the repo part for patches. At least I
had the benefit of not moving the VIN stamping.
18) I originally planned to replace the entire upper cowl, but when I got the repo AMD part I found so many discrepencies between
the repo part and the original, that I determined it was easier to fix the one I had using the repo part for patches. At least I
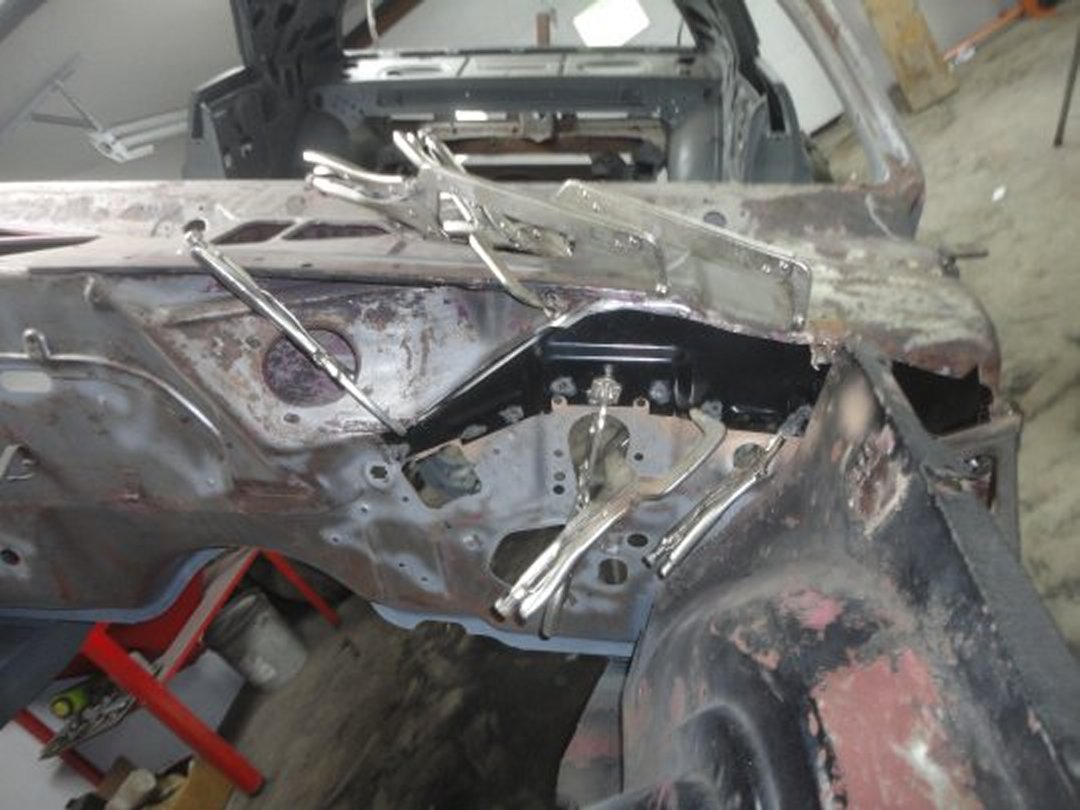
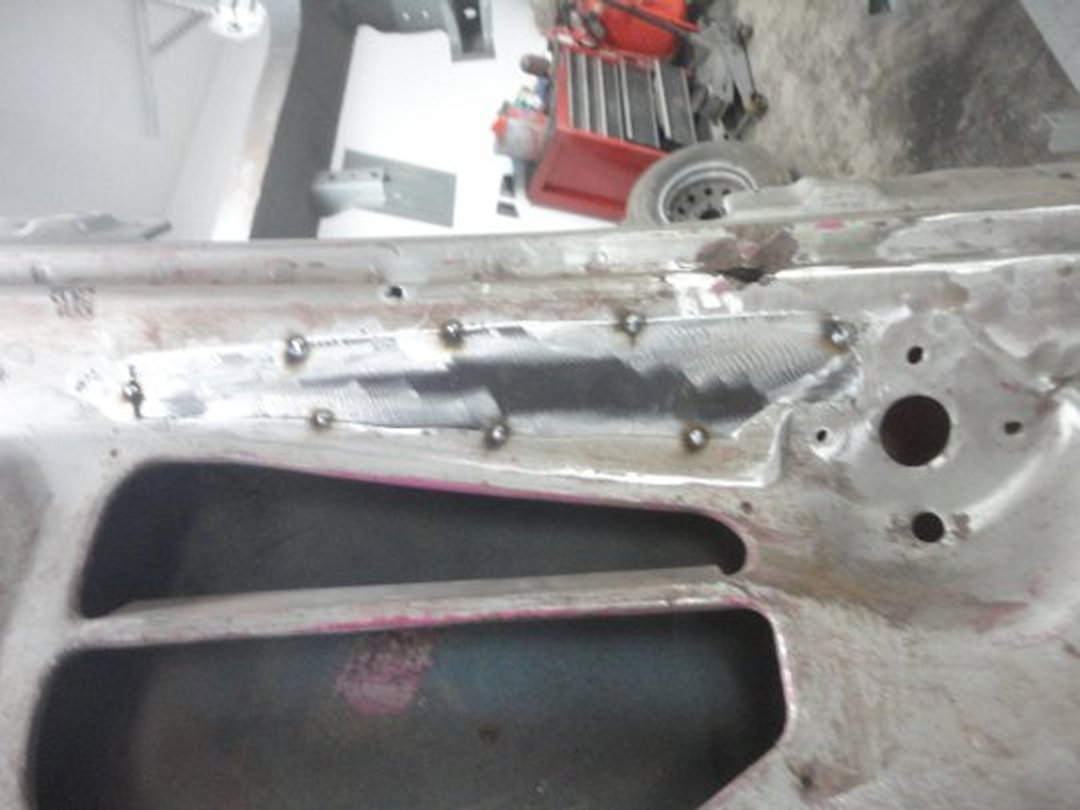
had the benefit of not moving the VIN stamping. In this picture a patch is clamped in place. To get things to fit right, I tucked the patch on the inside and cut through both the patch and original cowl as butt-weld. That way the new piece follows the shape of my cut. Otherwise I would have to precisely shape the patch to the opening prior to welding. To learn more on this technique take a look at my 1969 Mustang LE600 project. |
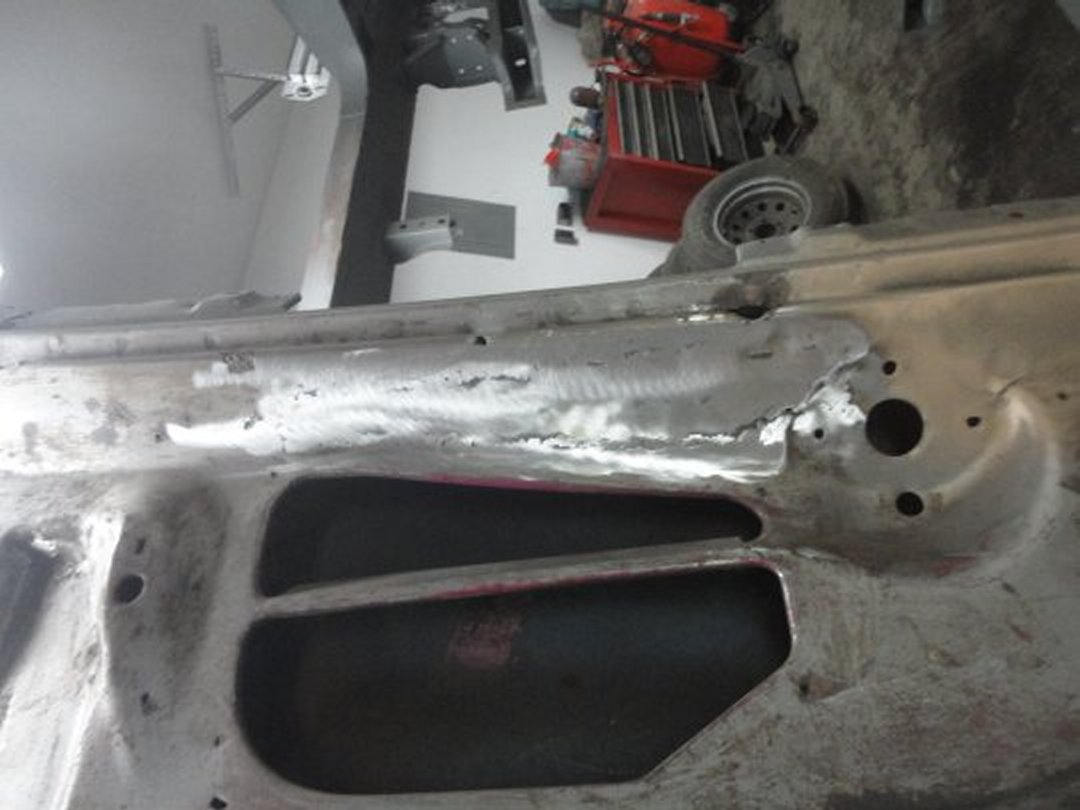
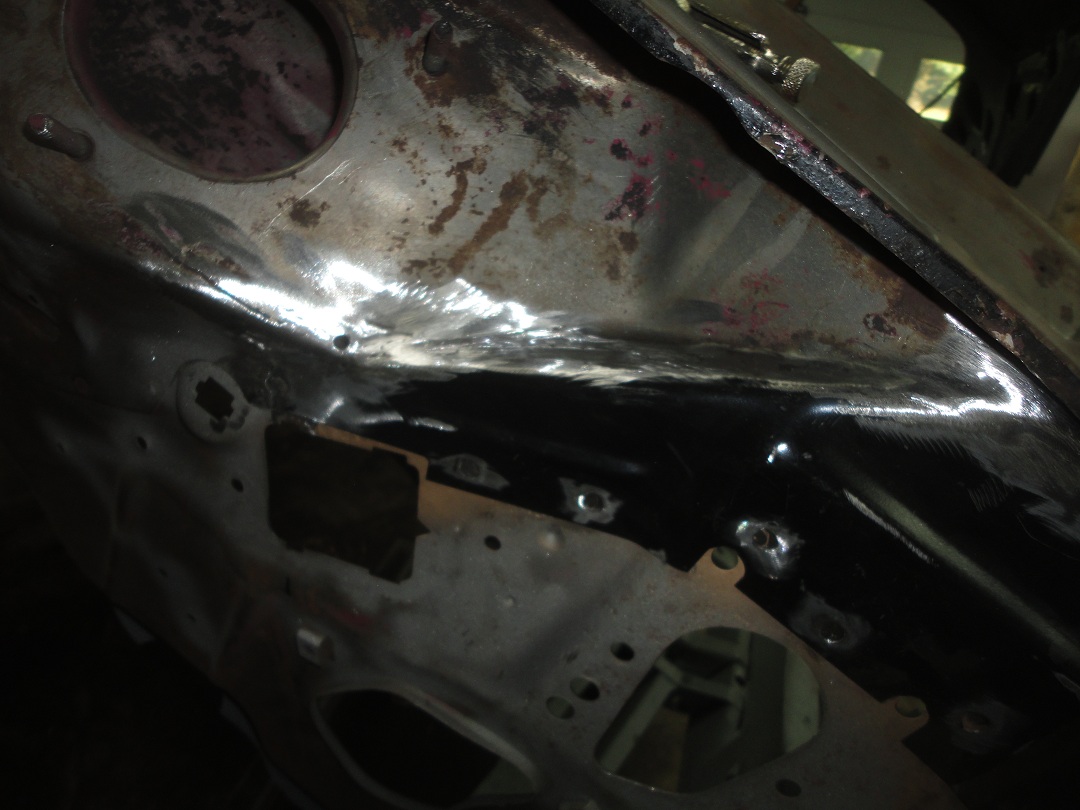 19) Here the patch is fully welded and grinded down. Notice the original 3/8" drain hole is still intack. Repo panels don't have this hole. The
original factory crease to the left oft he hole is also intack.
19) Here the patch is fully welded and grinded down. Notice the original 3/8" drain hole is still intack. Repo panels don't have this hole. The
original factory crease to the left oft he hole is also intack. |
 20) I was planning on sandblasting the rest of the cowl and firewall later, so I hit my welds with some weldthrough primer.
 |
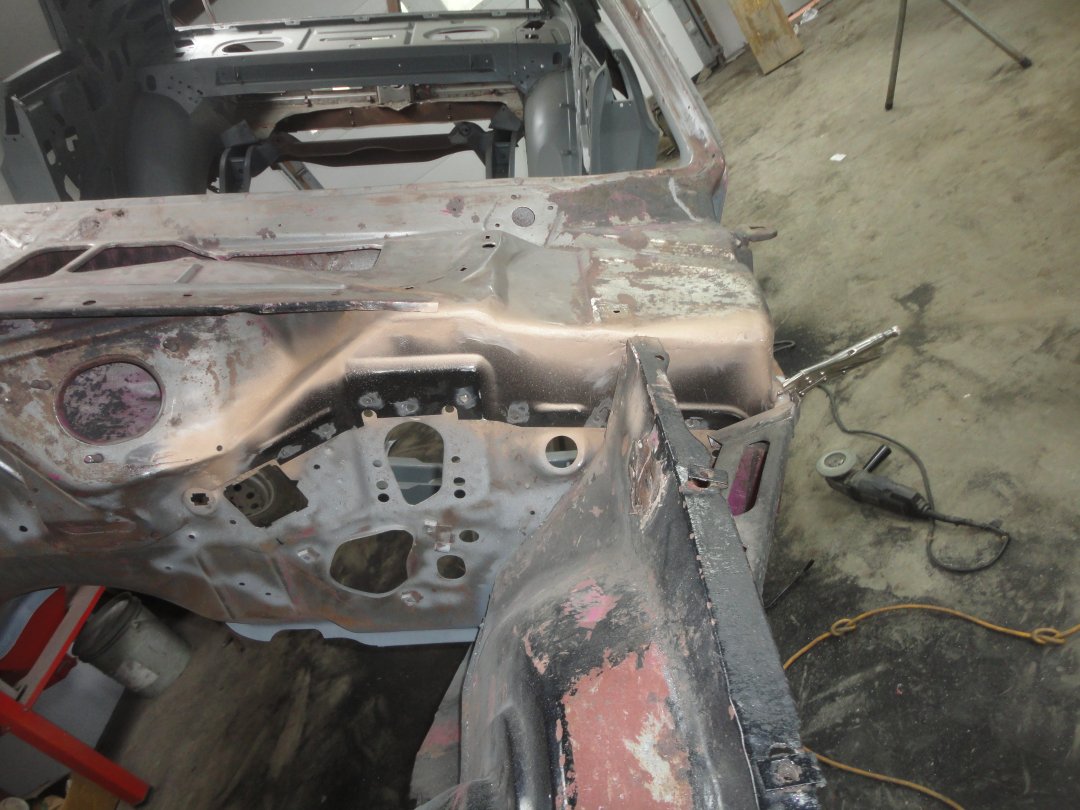
 21) There was a lot of holes and pitting to the right of driver's side winshield wiper, so I cut it out.
 |
 22) I made a patch from the repo cowl panel. Again using a piece from the same area to get the contours right. In this picture I had just
started the butt-welding process.
22) I made a patch from the repo cowl panel. Again using a piece from the same area to get the contours right. In this picture I had just
started the butt-welding process. |
 23) Here the weld was grinded down. The trick is to not grind off too much of the weld.
 |
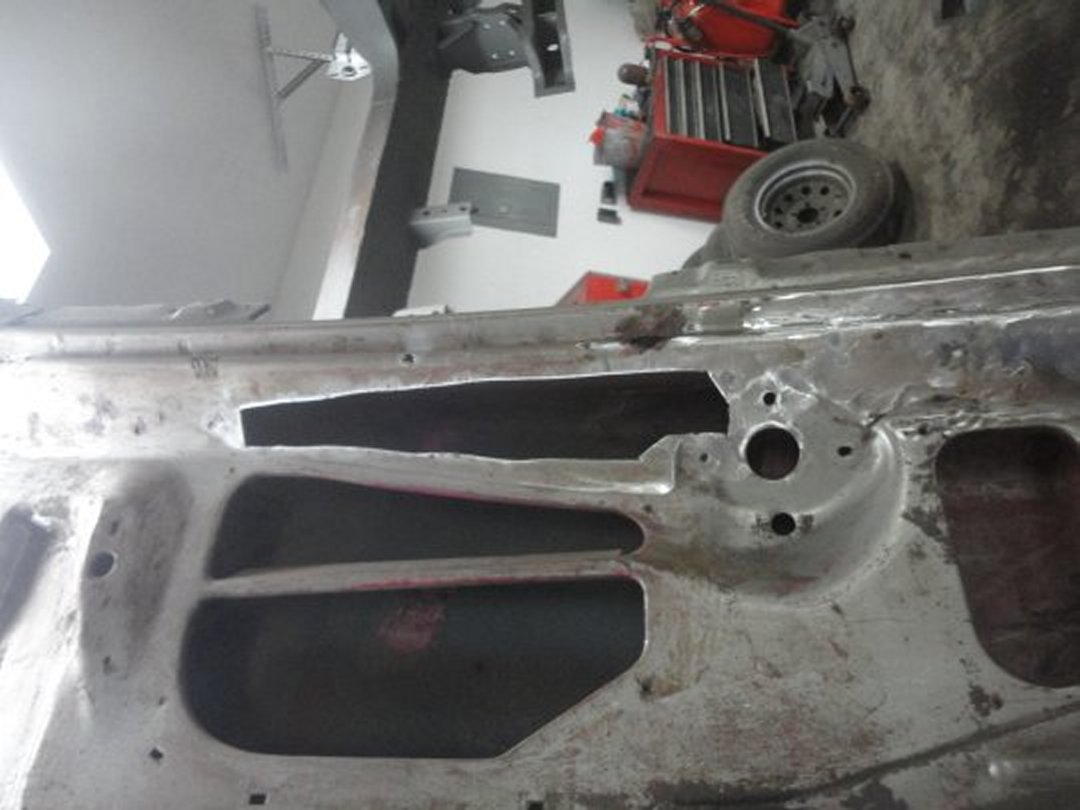
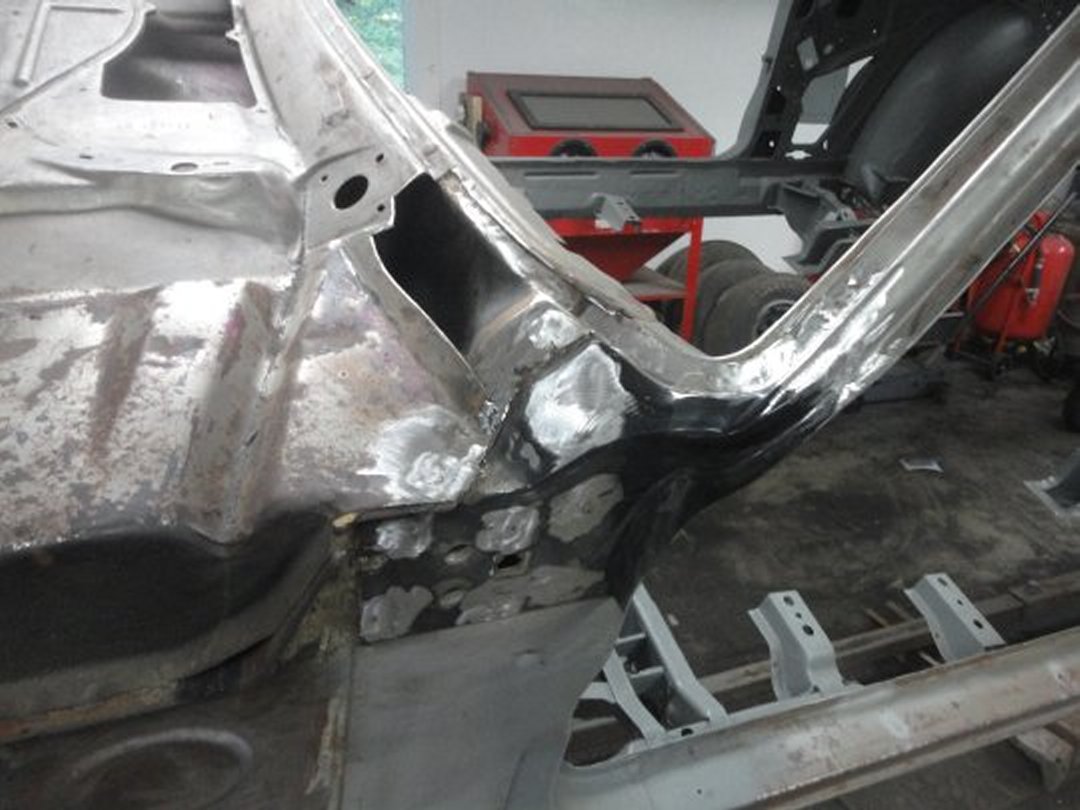
 24) Here is a picture showing the typical Mopar rust holes that form at the bottom of the windshield pillar.
 |
 25) Luckily AMD makes some great repair panels for this area. In this picture I had cut out all of the affected areas.
 |
 26) Welding in a new windshield pillar piece is relatively simple. Instead of clamps, I used the upper door hinge bolts and upper fender
bracket bolt to hold the repair piece in place.
26) Welding in a new windshield pillar piece is relatively simple. Instead of clamps, I used the upper door hinge bolts and upper fender
bracket bolt to hold the repair piece in place. |
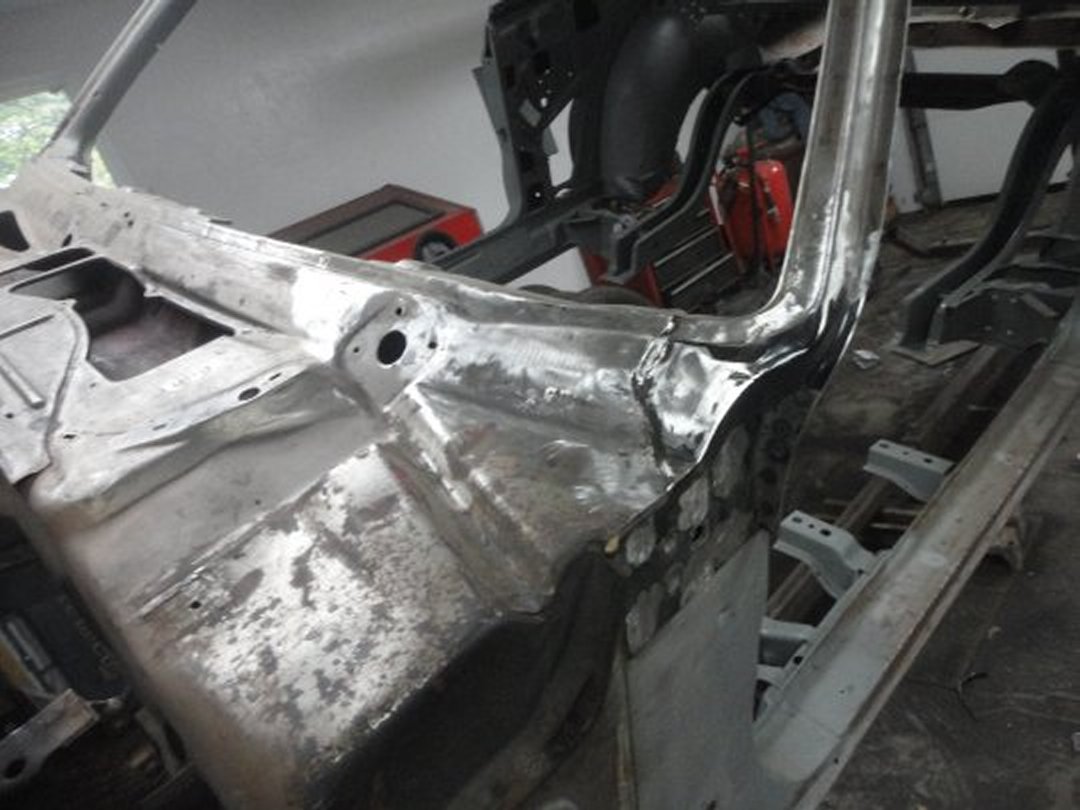 27) Just like with the previous cowl piece, I cut a patch off from the repo cowl panel and butt-welded it in place.
 Cowl repair work halted at this point so that I could get the floors put in. I needed to get the big jobs out of the way before snow began to fly. Once it gets cold, sandblasting outside becomes very difficult. The lines get clogged up with frost (warm indoor air moving through a small orifice outside causes the moisture in the air to condense and freeze the lines). |